Gajar Ki Kheer (Gajrela) - Traditional Pakistani Dessert
Recipe by Contemporary Cuisines
Ingredients
Main Ingredients
- 1 tbspDesi ghee
- 4 to 5 podsGreen cardamom
- 200 gBasmati rice
- 1 kgCarrots
- 4 kgFull-fat milk
- 1 cupSugar
- 1/2 tspCardamom powder
- 2 tbspRaisins
- as desiredMixed nuts (chopped)
- 250 g (optional)Khoya
- as desiredPistachios (for garnish)
- as desiredAlmonds (for garnish)
- as desiredRaisins (for garnish)
Step-by-Step Instructions
- 1.Prepare Rice and Carrots
Wash 200g Basmati rice and soak for 30 minutes. After soaking, coarsely grind the rice in a grinder with some water. Grate 1 kg carrots, wash them thoroughly to remove excess red color, and squeeze out any excess water.
- 2.Sauté Cardamom and Rice
In a large pan, add 1 tablespoon of Desi ghee and heat it. Add 4 to 5 green cardamom pods and let them crackle lightly for about 30 seconds. Then, add the coarsely ground rice (along with the water used for grinding) and cook until the raw smell of the rice is gone and it starts to cook, about 2-3 minutes.
- 3.Cook Carrots and Rice
Add the grated and squeezed carrots to the pan with the rice. Mix well and cook until all the moisture from the carrots and rice has evaporated, and they are well combined, about 10-15 minutes.
- 4.Add Milk and Simmer (First Batch)
Pour in 1.5 kg of full-fat milk. Stir well to combine all ingredients. Cover the pan and bring the mixture to a boil on low flame. Be careful not to let it boil over.
- 5.Continue Cooking and Stirring
Once the kheer starts to boil, uncover the pan. Stir continuously, scraping the sides of the pan to prevent sticking and ensure even cooking. Continue cooking until the kheer thickens slightly, about 10 minutes.
- 6.Add More Milk and Sugar
Add another 1.5 kg of milk to the thickening kheer. Stir well. Then, add 1 cup of sugar (adjust to taste) and mix thoroughly. Continue cooking and stirring, ensuring the kheer does not stick to the bottom, until it becomes quite thick and bubbles start to form, approximately 10-12 minutes.
- 7.Final Milk Addition and Thickening
Add the remaining 1 kg of milk. Stir well to incorporate. Continue cooking and stirring for another 10-15 minutes on medium-low heat until the rice and carrots are completely merged into the milk, and the kheer reaches a thick, creamy consistency. The texture should be such that the rice grains are visible but soft and blended.
- 8.Check Consistency and Add Flavorings
To check for perfect consistency, drop a small amount of kheer onto a clean plate; if it stays in place without spreading, it's ready. Add 1/2 teaspoon of cardamom powder, 2 tablespoons of raisins, and chopped mixed nuts. Mix everything thoroughly.
- 9.Incorporate Khoya (Optional) and Serve
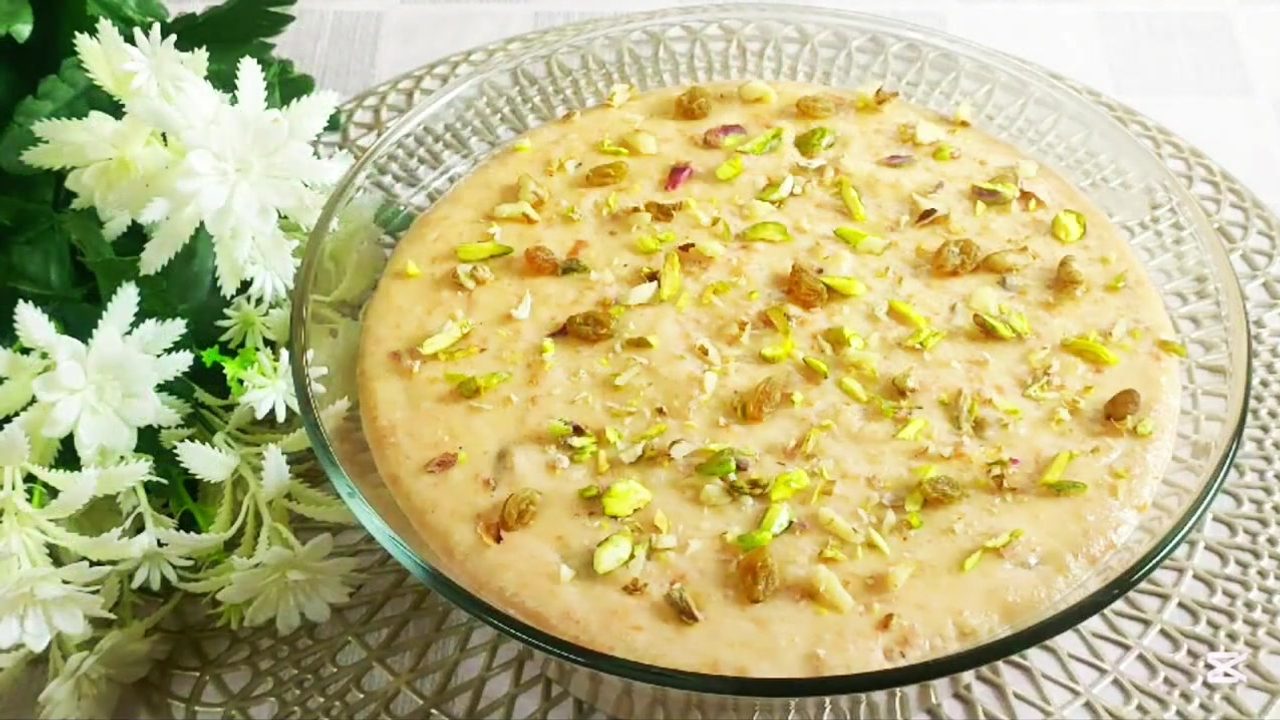
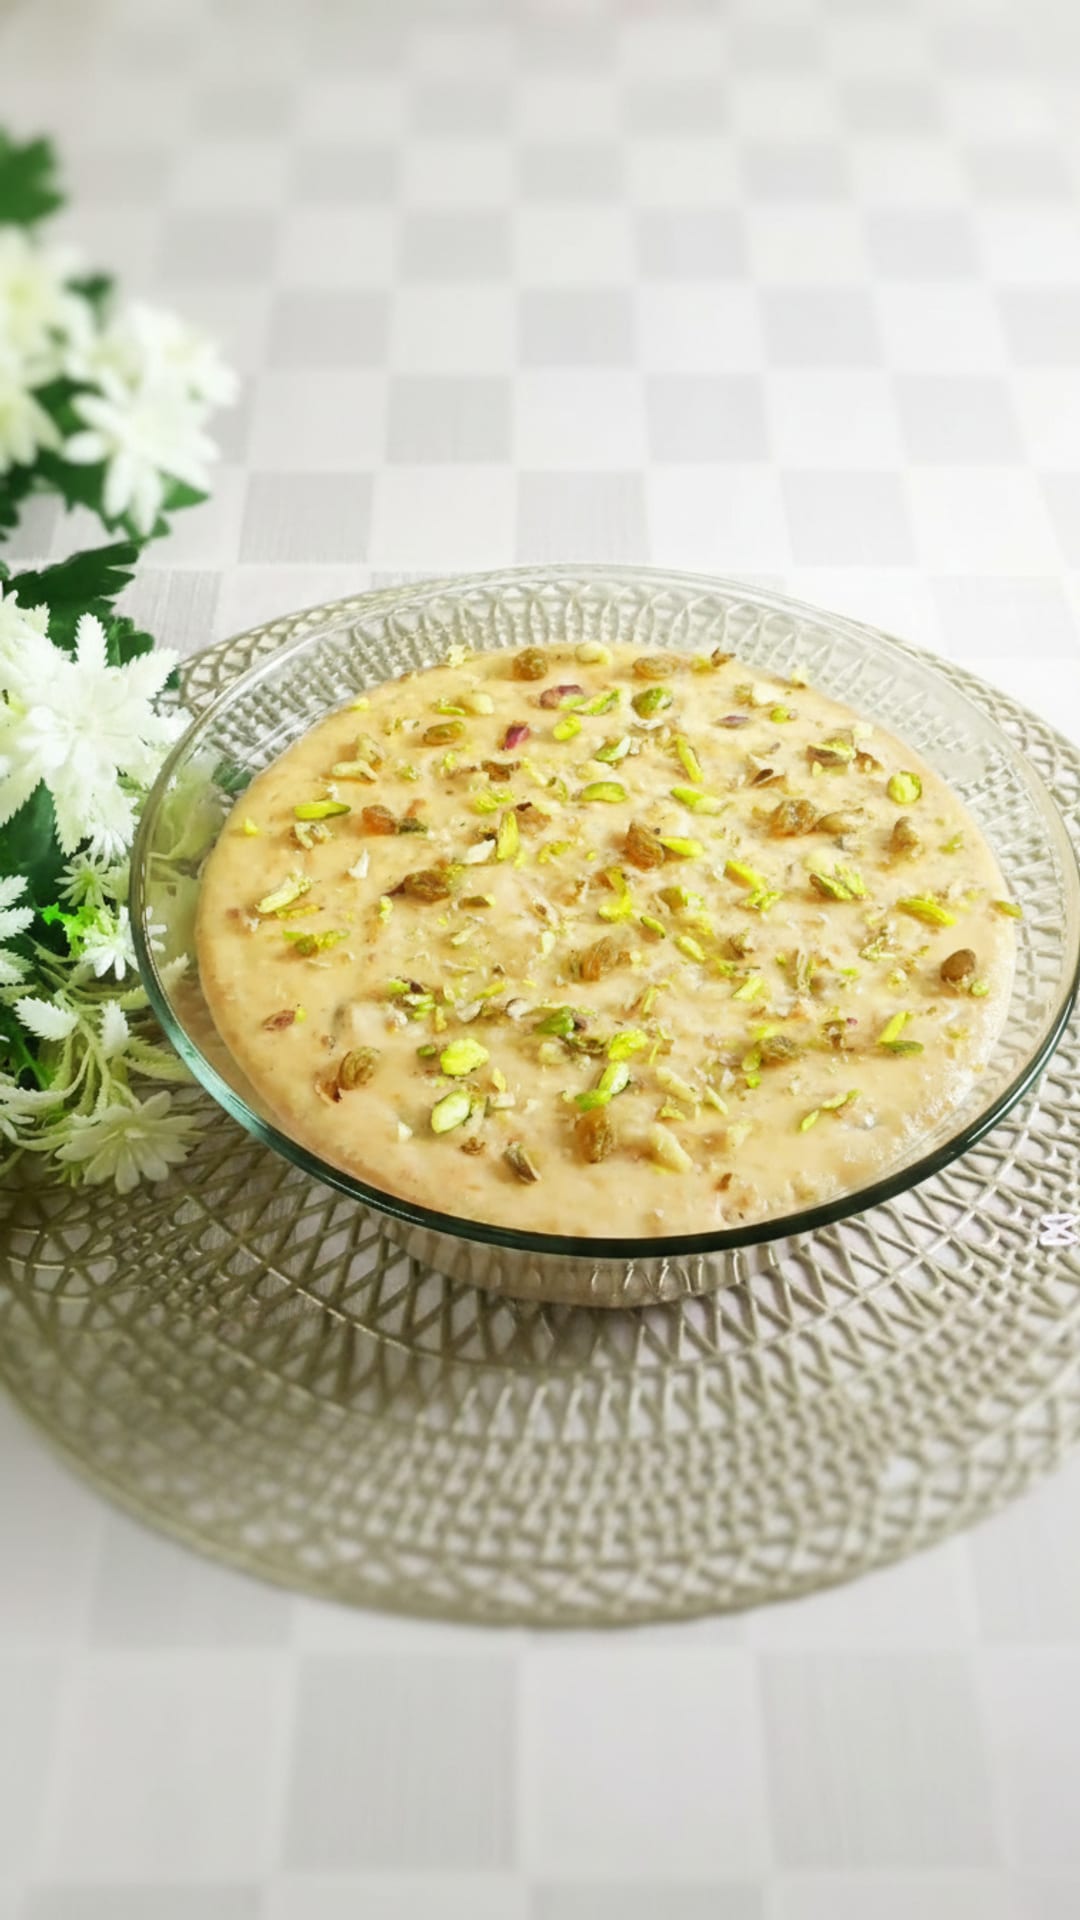
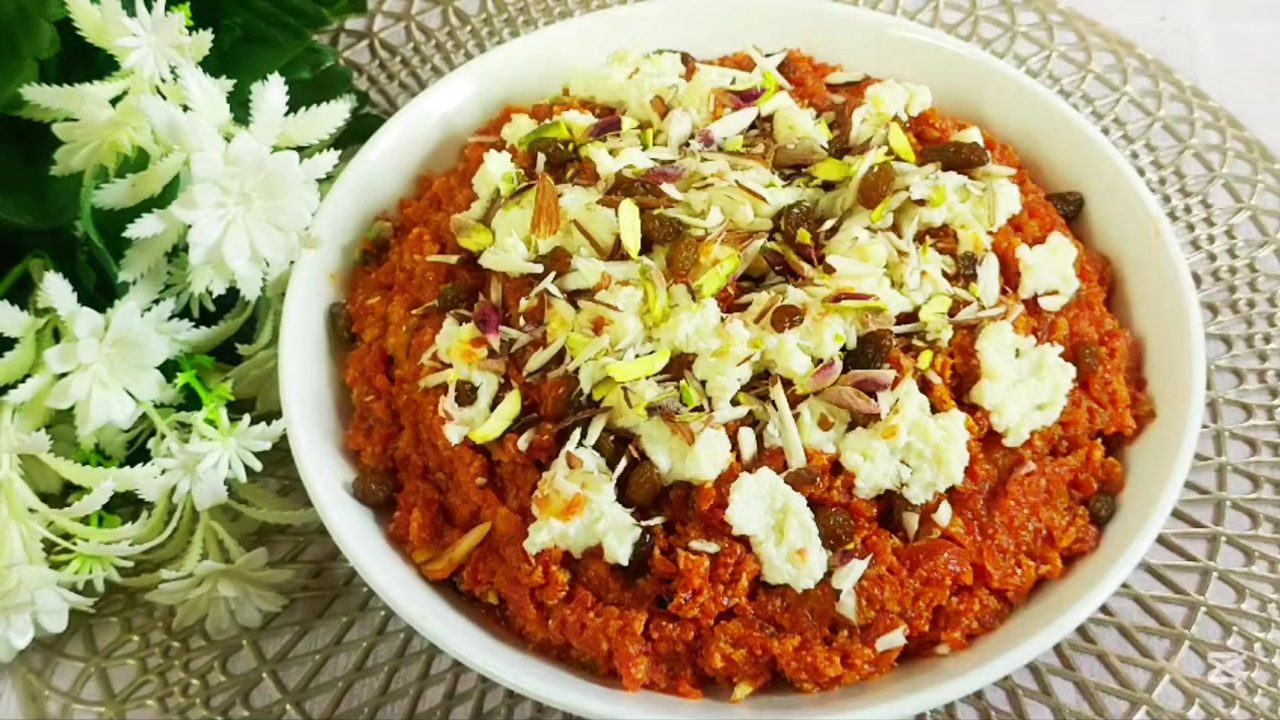
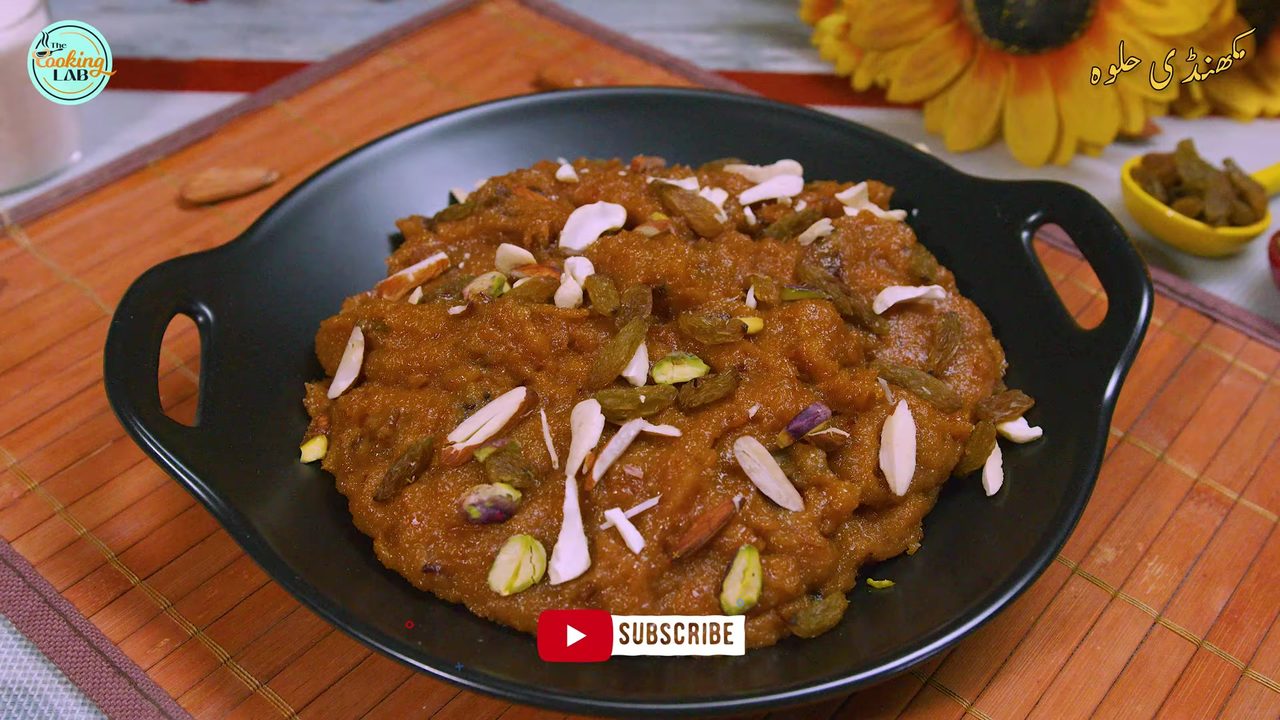
If desired, add 250g of khoya to the kheer and mix until it's fully incorporated and melted. Turn off the flame. Transfer the hot Gajar Ki Kheer into a serving bowl. Garnish generously with chopped pistachios, almonds, and additional raisins. Serve warm or chilled.



Comments (0)
Sign in to leave a comment on this recipe.
Loading comments...