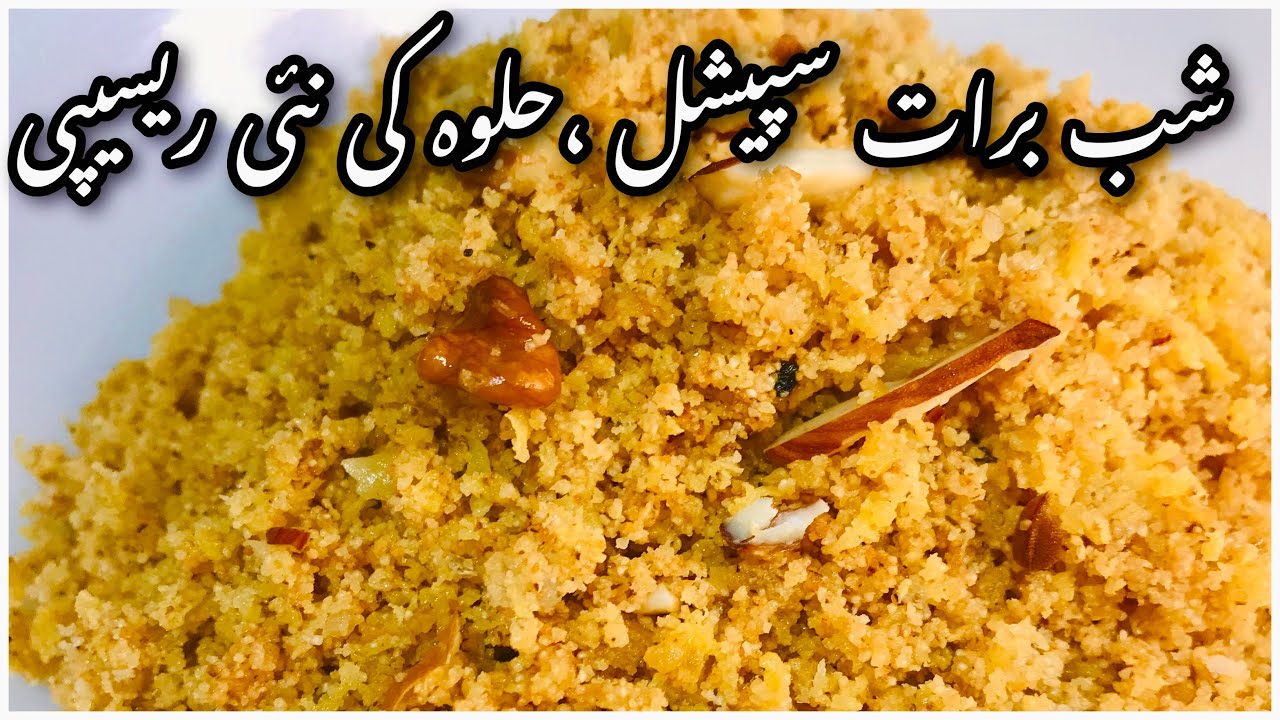
Andey aur Suji ka Halwa (Egg and Semolina Halwa)
Main Ingredients
Step-by-Step Instructions
Follow each step to make the recipe successfully.
Prepare Egg Mixture
Crack 3 eggs into a bowl. Add 1/2 cup of sugar to the eggs. the mixture thoroughly until the sugar is completely dissolved and no sugar granules are visible. Set this mixture aside.
Heat Ghee and Cardamom
Place a karahi (wok) on the stove. Add 4-5 tablespoons of desi ghee. Once the ghee is hot, add 2-3 green cardamom pods, ensuring they are opened to release their full aroma. Fry the cardamom for a few seconds.
Roast Semolina
Add 1 cup of semolina (suji) to the hot ghee and cardamom. Begin frying the semolina on medium-low heat, stirring continuously with a spatula. Continue frying until the semolina turns a light golden color, which should take about .
Darken Semolina
Continue frying the semolina on low heat, stirring constantly, until it achieves a darker, rich golden-brown color. This step is crucial for the halwa's final color and flavor.
Combine Mixtures
Pour the egg and sugar mixture directly into the roasted semolina in the karahi. Immediately begin stirring vigorously with a spatula. Ensure you scrape the sides and bottom of the pan to prevent the egg mixture from sticking. Maintain a low flame during this process.
Cook Halwa to Granular Texture
Continue cooking and stirring the mixture on low flame. The egg will gradually cook and combine with the semolina, first forming a paste-like consistency, then slowly breaking down into a granular, crumbly texture. Keep stirring until the halwa is completely dry and granular.
Add Nuts and Serve
Once the halwa has reached the desired granular texture, add the chopped almonds and walnuts. Stir them into the halwa. The halwa is now ready to be served. Transfer it to a serving bowl and enjoy.
Before You Cook
Helpful details before you startIngredient SubstitutionsMissing something? View suitable alternatives.View 3 swaps
No Egg?
- 1 tbsp ground flax + 3 tbsp water (rest 5 min) — Per egg, best in baking.
- 1/4 cup unsweetened applesauce — Per egg, in sweet baked goods.
- 1/4 cup silken tofu, blended — Per egg.
No Butter?
- 3/4 the amount of olive oil (for cooking, not baking)
- Equal parts ghee — Slightly nuttier flavor.
- Equal parts coconut oil (in baking)
No Ghee?
- Unsalted butter (1:1)
- Neutral oil (1:1, lacks the toasted note)
Variations
Simple ways to adapt this recipe.
- Adjust the sugar quantity according
Adjust the sugar quantity according to your preference for sweetness.
- Substitute desi ghee with DaldaIngredient swap
Substitute desi ghee with Dalda ghee or cooking oil if preferred.
- Add other dry fruits like cashewsCustomise
Pistachios, or shredded coconut for variety.
Helpful Tips
Small details that can improve the final result.
You might also like
Other recipes in the same cuisine, meal type, or style — ready to cook whenever you are.
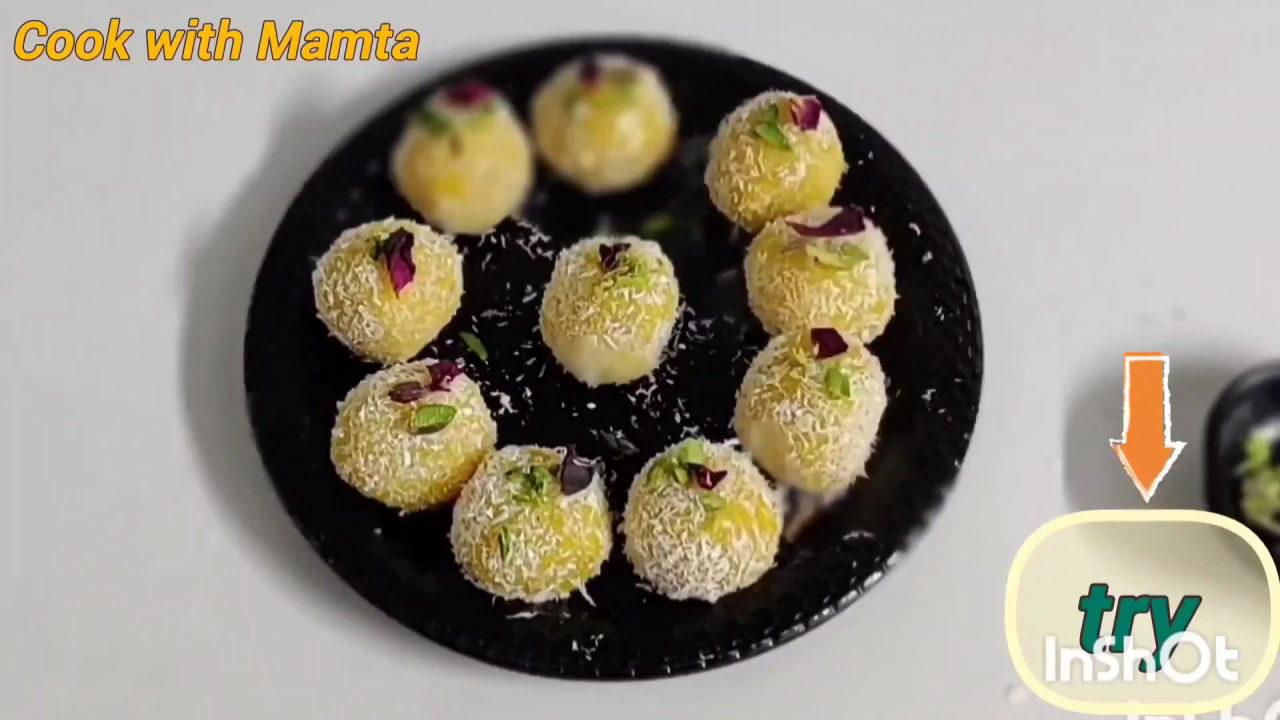
Mango Laddu Recipe - Cook with Mamta
Cuisine
Indian · Dessert
Prep + Cook Time
25 Minutes
Difficulty Level
Easy
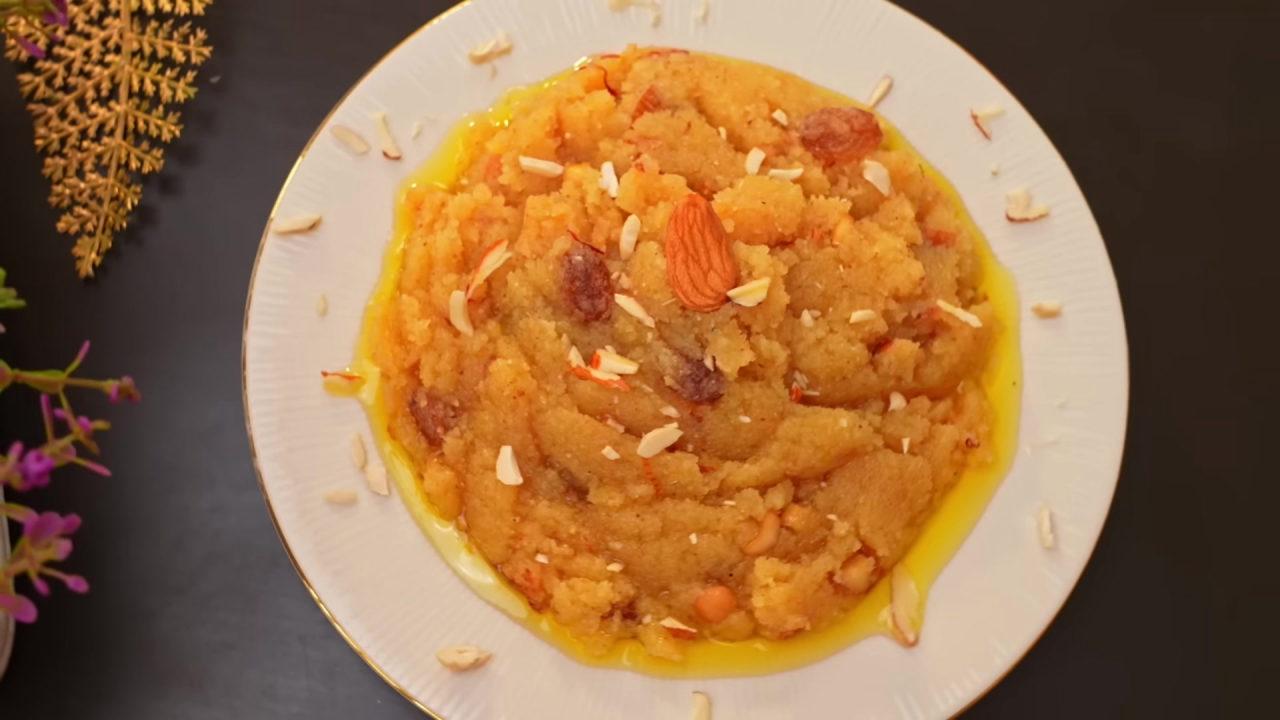
Perfect Sooji Halwa (Semolina Pudding)
Cuisine
Indian · North Indian
Prep + Cook Time
20 Minutes
Difficulty Level
Easy

Vanilla Spongy Cupcakes
Cuisine
Indian · Andhra
Prep + Cook Time
40 Minutes
Difficulty Level
Easy
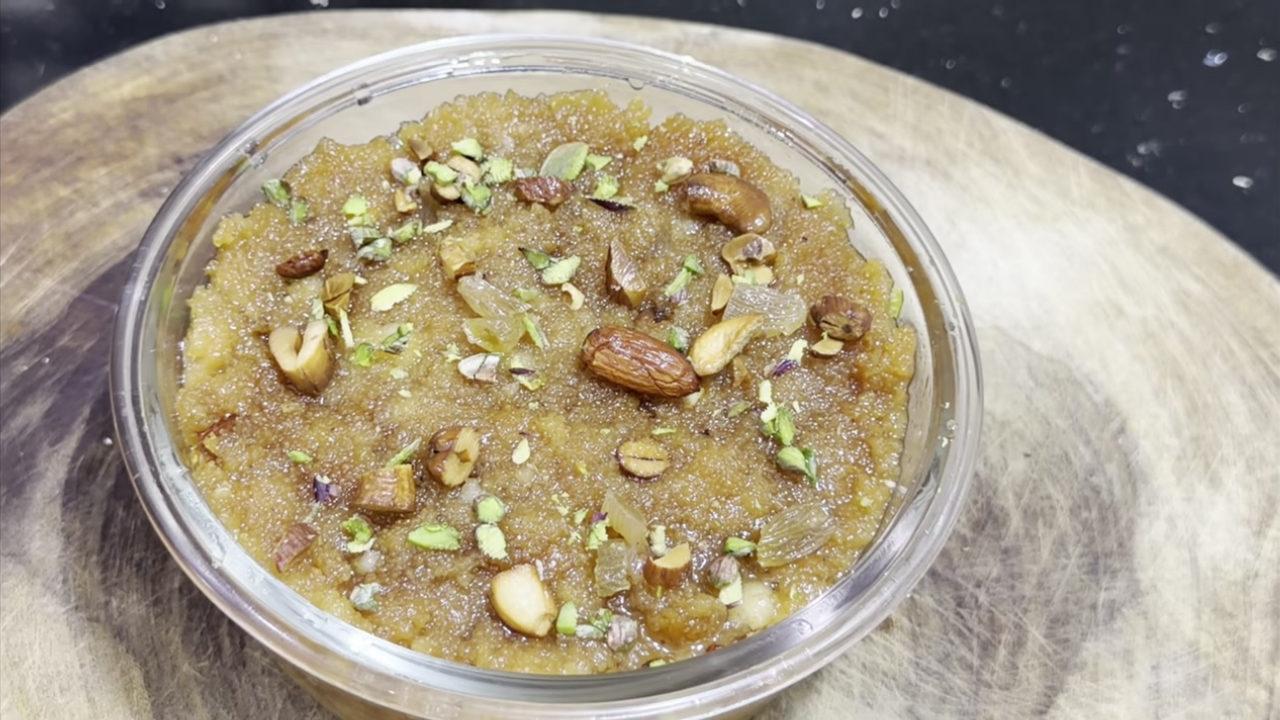
Makhandi Halwa – Delicious Semolina Dessert
Cuisine
Indian · North Indian
Prep + Cook Time
35 Minutes
Difficulty Level
Medium

Meethi Tikkiyan Recipe - Indian Sweet Biscuits
Cuisine
Indian · North Indian
Prep + Cook Time
1 hr 25 min
Difficulty Level
Medium
Crostata alla Nutella in 5 minuti – Facile e Veloce
Cuisine
Italian · Dessert
Prep + Cook Time
29 Minutes
Difficulty Level
Comments (0)
Sign in to leave a comment on this recipe.
Loading comments...