Caramel Slice – Australian Classic
Summary
- This recipe guides you through making a classic Australian caramel slice, featuring a crumbly shortbread base, a rich, sweet caramel layer, and a crisp chocolate topping. It's an addictive treat perfect for any occasion.
All Ingredients - For the Base
- Unsalted Butter 125 g
- Caster Sugar 0.5 cup
- Vanilla Extract 1 tsp
- Plain/All-purpose Flour 1.5 cups
All Ingredients - For the Caramel Layer
- Sweetened Condensed Milk 400 g can
- Butter 125 g
- Golden Syrup 2 tbsp
All Ingredients - For the Chocolate Topping
- Milk Chocolate Buttons 250 g
- Plain Vegetable Oil 1 tbsp
Tools You'll Need
- Pan
- Saucepan
- Cake pan
- Hand mixer
- Oven
- Microwave
- Mixing bowl
- Spatula
- Wooden spoon
- Bowl
- Knife
- Parchment paper
Don't have an ingredient? Try these swaps
No Butter?
- 3/4 the amount of olive oil (for cooking, not baking)
- Equal parts ghee — Slightly nuttier flavor.
- Equal parts coconut oil (in baking)
No Vanilla extract?
- Maple syrup (1:1)
- Vanilla bean: 1 inch scraped (per 1 tsp extract)
No All-purpose flour?
- White whole wheat flour (1:1)
- 1 cup minus 2 tbsp + 2 tbsp cornstarch (cake flour swap)
No Milk?
- Unsweetened almond / soy / oat milk (1:1)
- 1/2 cup evaporated milk + 1/2 cup water (per 1 cup)
⚠ Contains Allergens
Step-by-Step Instructions
Step 1: Prepare the Base Mixture
In a mixing bowl, combine 125g of unsalted butter (at room temperature), 1/2 cup of caster sugar, and 1 teaspoon of vanilla extract. Cream the mixture together using an electric mixer until it is smooth. If you don't have an electric mixer, you can use a silicone spatula and smush it together by hand. Check for smoothness by rubbing a small pinch between your fingers; if it's gritty, continue beating.
Step 2: Add Flour to the Base
Gradually add 1.5 cups of plain or all-purpose flour to the creamed butter mixture. Mix it in carefully until a soft, crumbly dough forms that holds its shape when pressed together.
Step 3: Prepare the Baking Pan
Lightly grease a 20cm (8-inch) square cake pan. Line the pan with non-stick baking paper, ensuring that there are long handles on at least two sides to help lift the slice out later.
Step 4: Press the Base into the Pan
Transfer the crumbly dough mixture into the prepared pan. Spread it out evenly and then use a flat-bottomed glass to firmly press the dough down until it is compact, smooth, and even all over the bottom of the pan.
Step 5: Bake the Base
Place the pan with the base into a preheated oven at 180°C (approximately 355°F) (360°F (approximately 180°C)). Bake for approximately , or until the base achieves a very light golden color.
Step 6: Prepare the Caramel Layer
While the base is cooling, start making the caramel. In a saucepan over a medium-low heat, combine a 400g can of sweetened condensed milk, 125g of butter, and 2 tablespoons of golden syrup. Stir the mixture gently and constantly for about . The butter will melt, and the mixture will slowly thicken and change from a pale creamy color to a beautiful light tan/bronze caramel color. Be extremely careful as you are working with super hot sugar.
Step 7: Pour Caramel Over the Base
Once the caramel mixture has thickened and reached the desired color, switch off the heat. Carefully and quickly pour the hot caramel over the baked biscuit base in the pan. Gently smooth it out evenly over the base using a wooden spoon. Any butter/oil on top will absorb into the caramel layer when chilled.
Step 8: Bake the Caramel Layer
Return the pan with the caramel layer to the preheated oven at 180°C (approximately 355°F) (360°F (approximately 180°C)) for about .
Step 9: Cool Completely
Carefully remove the caramel slice from the oven. Place it on the counter and allow it to cool completely to room temperature. This step is crucial; the slice must be entirely cool before adding the chocolate topping to prevent the chocolate from splitting or melting improperly.
Step 10: Prepare the Chocolate Topping
In a heatproof glass bowl, combine 250g of milk chocolate buttons and 1 tablespoon of plain vegetable oil. Lightly toss the chocolate and oil with a metal spoon. Melt the chocolate in the microwave in 30-second intervals, stirring with the metal spoon after each interval, until it is completely melted, smooth, and glossy.
Step 11: Add Chocolate Topping and Chill
Pour the melted chocolate over the completely cooled caramel layer. Gently smooth it evenly over the entire surface. Place the pan into the fridge to chill for a few hours, or until the chocolate topping has fully set and is firm.
Step 12: Slice and Serve
Once the slice is firm and the chocolate has set, gently lift it out of the pan using the baking paper handles. If desired, you can trim the edges for a perfect look. Heat a very sharp knife in hot water, dry it thoroughly, and carefully slice the caramel slice into squares. Wipe and reheat the knife after each cut to ensure clean, precise slices. Serve and enjoy your delicious homemade caramel slice!
Pro Tips
• Ensure butter is at room temperature for easy creaming.
• Rub a small amount of creamed butter and sugar between your fingers; if it's gritty, beat more.
• Use a flat-bottomed glass to compact the base evenly.
• Stir the caramel mixture gently and constantly to prevent sticking and burning.
• Allow the caramel layer to cool completely before adding the chocolate topping to prevent splitting.
• Use a metal spoon when melting chocolate in the microwave and stir after each interval to prevent splitting.
• Heat a sharp knife in hot water and dry it before slicing for clean cuts. Wipe and reheat the knife after each slice.
Variations
• Add a pinch of salt to the caramel mixture for a salted caramel slice.
• Use dark chocolate for the topping for a richer flavor.
More from One Pot Chef
Other recipes converted from One Pot Chef's cooking videos.
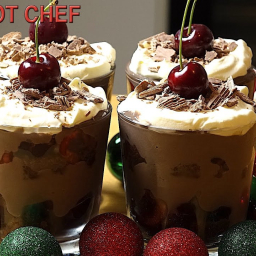
Cheater's Chocolate Cherry Trifles – Dessert
Cuisine
Dessert
Prep + Cook Time
45 Minutes
Difficulty Level
Easy
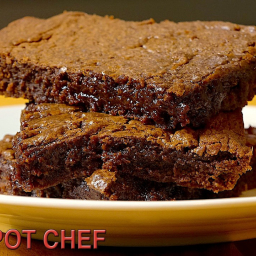
3 Ingredient Chocolate Nutella Brownies – Easy Dessert
Cuisine
Dessert · Chocolate
Prep + Cook Time
30 Minutes
Difficulty Level
Easy

Ultimate Potato Wedges – One Pot Chef Style
Cuisine
Western · Australian
Prep + Cook Time
1 hr 5 min
Difficulty Level
Easy
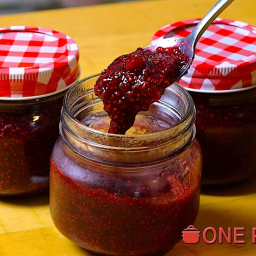
Easy Mixed Berry Jam – One Pot Chef Style
Cuisine
Western · Dessert
Prep + Cook Time
15 Minutes
Difficulty Level
Easy

No-Bake Chocolate Cheesecake
Cuisine
Western · Dessert
Prep + Cook Time
6 hr 25 min
Difficulty Level
Easy
You might also like
Other recipes in the same cuisine, meal type, or style — ready to cook whenever you are.
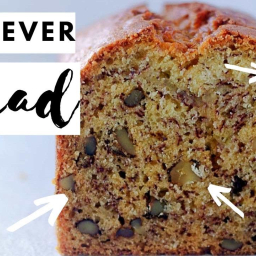
World's Best Vegan Banana Bread Recipe
Cuisine
American · Dessert
Prep + Cook Time
1 hr 25 min
Difficulty Level
Easy

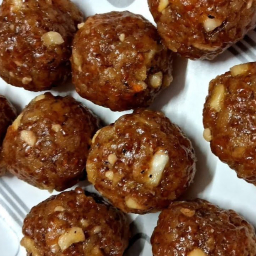
Besan Nankhatai - Khushkhushit and Sazuk Tupatli
Cuisine
Indian · Maharashtrian
Prep + Cook Time
45 Minutes
Difficulty Level
Easy
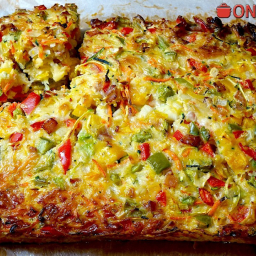
Rainbow Vegetable Egg and Bacon Slice – One Pot Chef Style
Cuisine
Australian · Breakfast/Brunch
Prep + Cook Time
1 hr 5 min
Difficulty Level
Easy
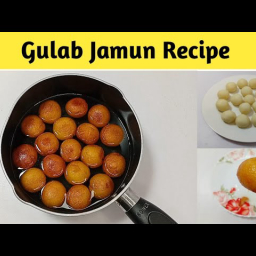
Gulab Jamun Recipe - Indian Sweet
Cuisine
Indian
Prep + Cook Time
45 Minutes
Difficulty Level
Medium
Paneer Kathi Roll
Cuisine
Indian · North Indian
Prep + Cook Time
30 Minutes
Difficulty Level
Comments
Sign in to leave a comment on this recipe.
Loading comments...