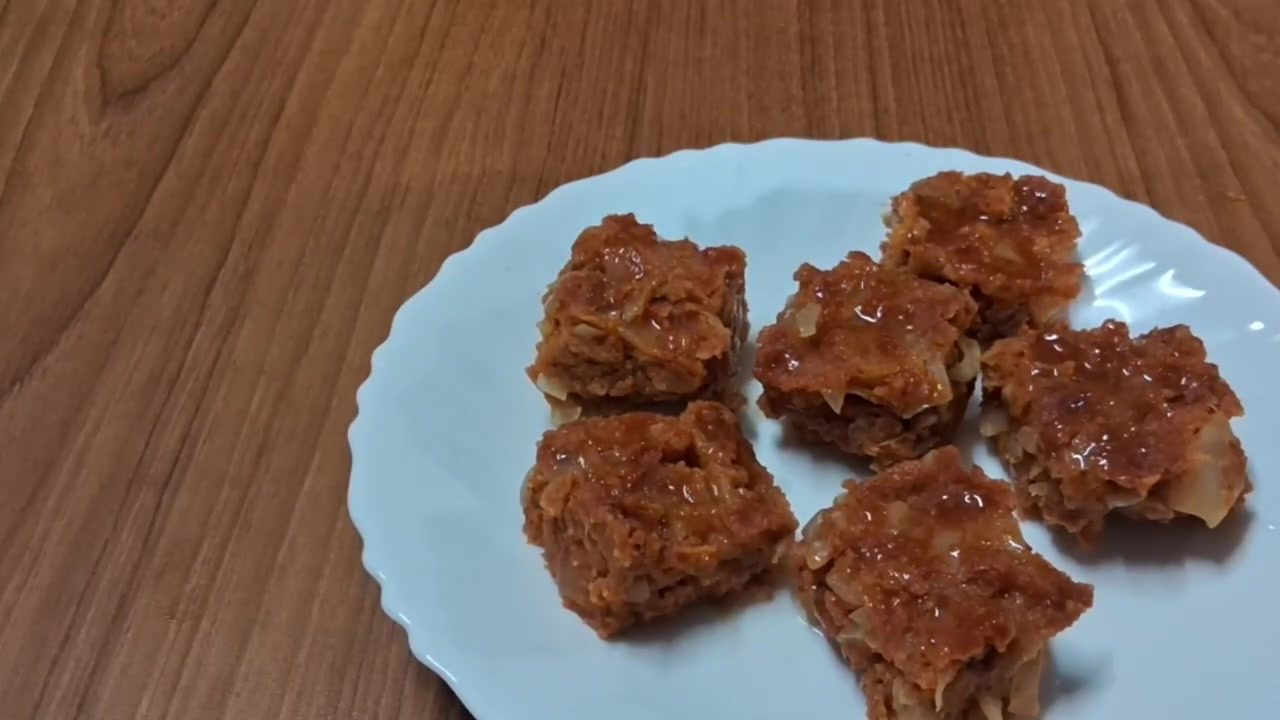
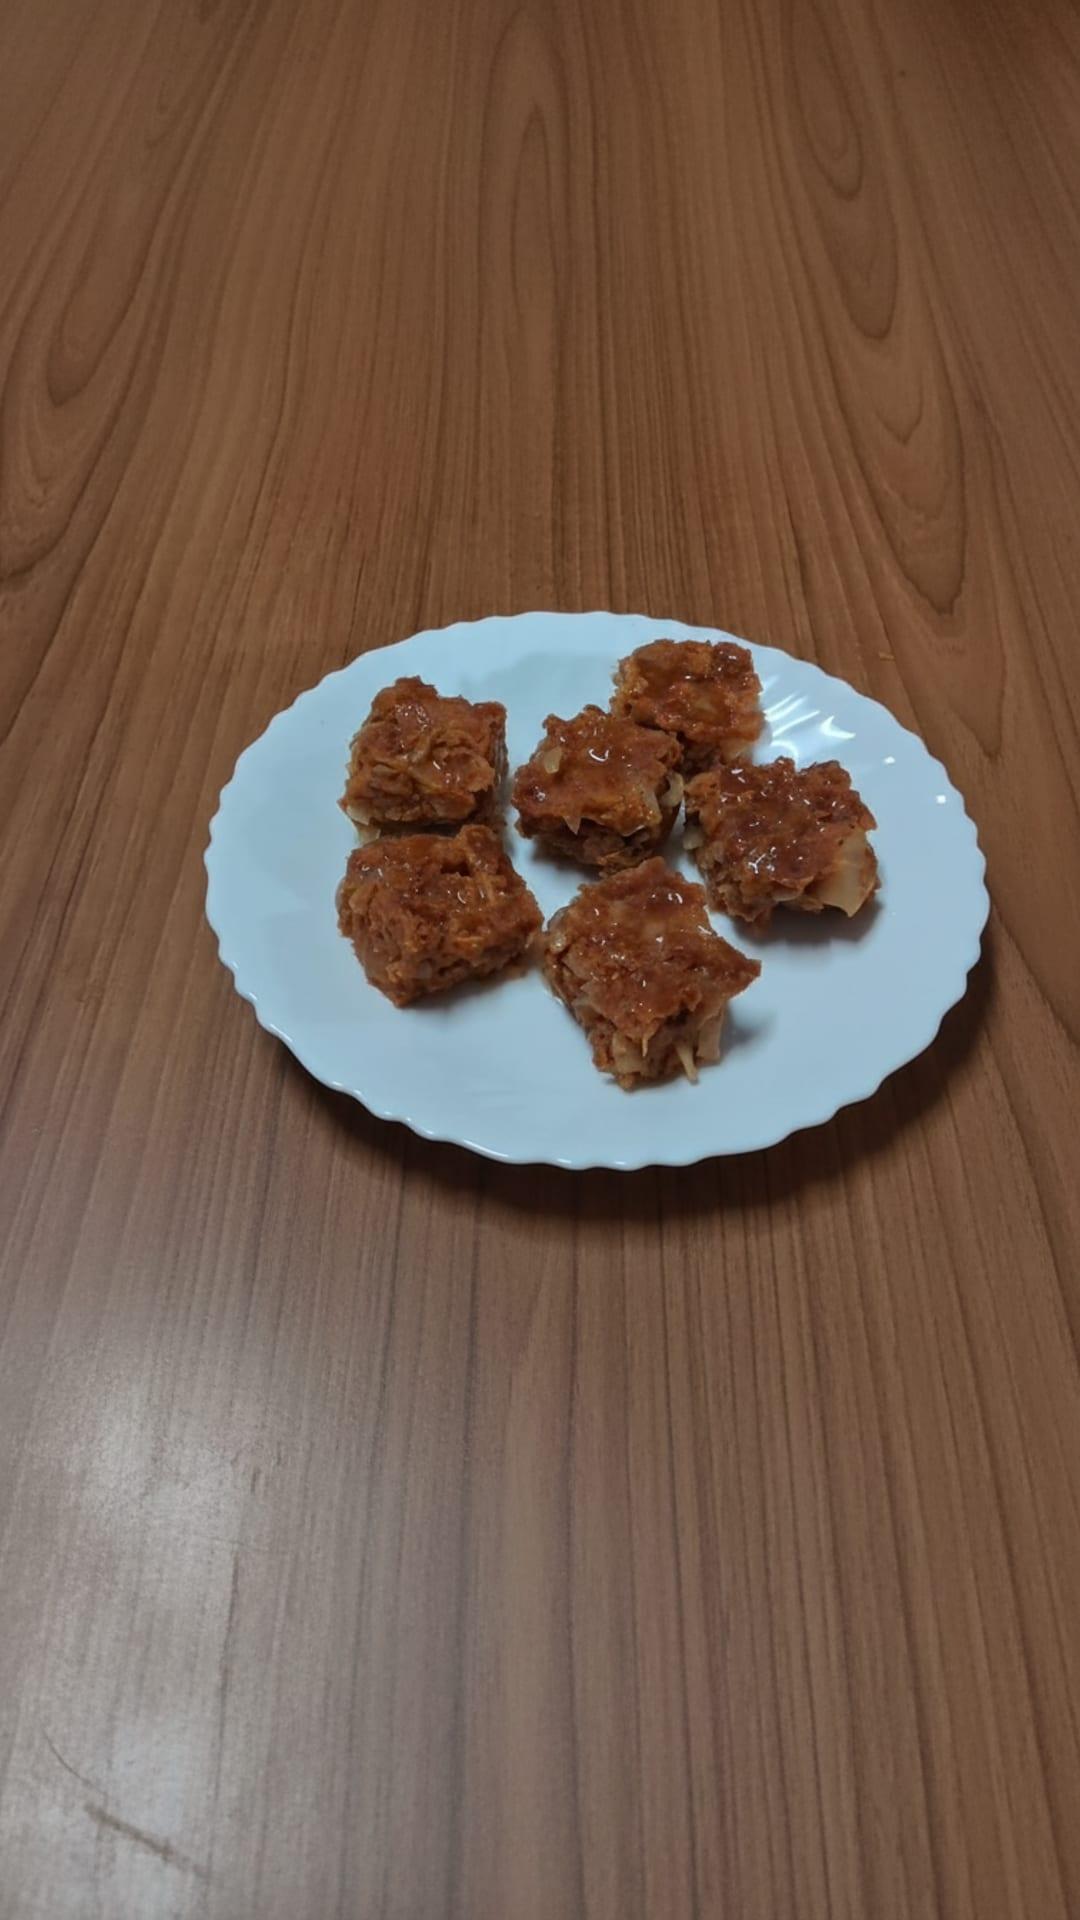
Steamed Spicy Cabbage Idli (Cabbage Sanna Kotto)
Recipe by Kamaths Veg N Non Veg
Ingredients
For Soaking (Overnight)
- 4 tspTurdal
- 4 tspChanadal
- 4 tspMoongdal
- 8 tspRice
For Grinding Paste
- 5-6 tspChilli Powder (dry fried)
- 1 small pieceTamarind
- 1/4 of a coconutCoconut (cut pieces or grated)
- 2Green Chillies
- 1/4 tspHing (Asafoetida)
- to tasteSalt
For Mixing
- 2 mediumOnion (chopped)
- 1/2 smallCabbage (chopped)
- for servingCoconut Oil
Step-by-Step Instructions
- 1.Soak Dals and Rice
The day before you plan to make the idli, thoroughly wash and soak the turdal, chanadal, moongdal, and rice in separate bowls or together in enough water overnight. Ensure they are well-cleaned before soaking.
- 2.Prepare Spice Paste
Take a mixer grinder. Add the cut coconut pieces, dry-fried chili powder (5-6 tsp, adjust to taste), a small piece of tamarind, and 2 green chilies. Grind these ingredients with a little water to form a coarse paste. Do not make it too fine.
- 3.Grind Soaked Ingredients
Drain the water from the soaked dals and rice. Add them to the grinder along with the prepared spice paste. Add salt to taste and a pinch of hing. Grind again with a little water until you get a slightly coarse, thick batter. The consistency should not be fully smooth.
- 4.Combine with Vegetables
In a large mixing bowl, add the finely chopped cabbage (half a small cabbage) and chopped onions (2 medium onions). Add the freshly ground dal and spice batter to the bowl. Mix everything thoroughly by hand, ensuring the batter coats all the cabbage and onion pieces evenly.
- 5.Prepare for Steaming
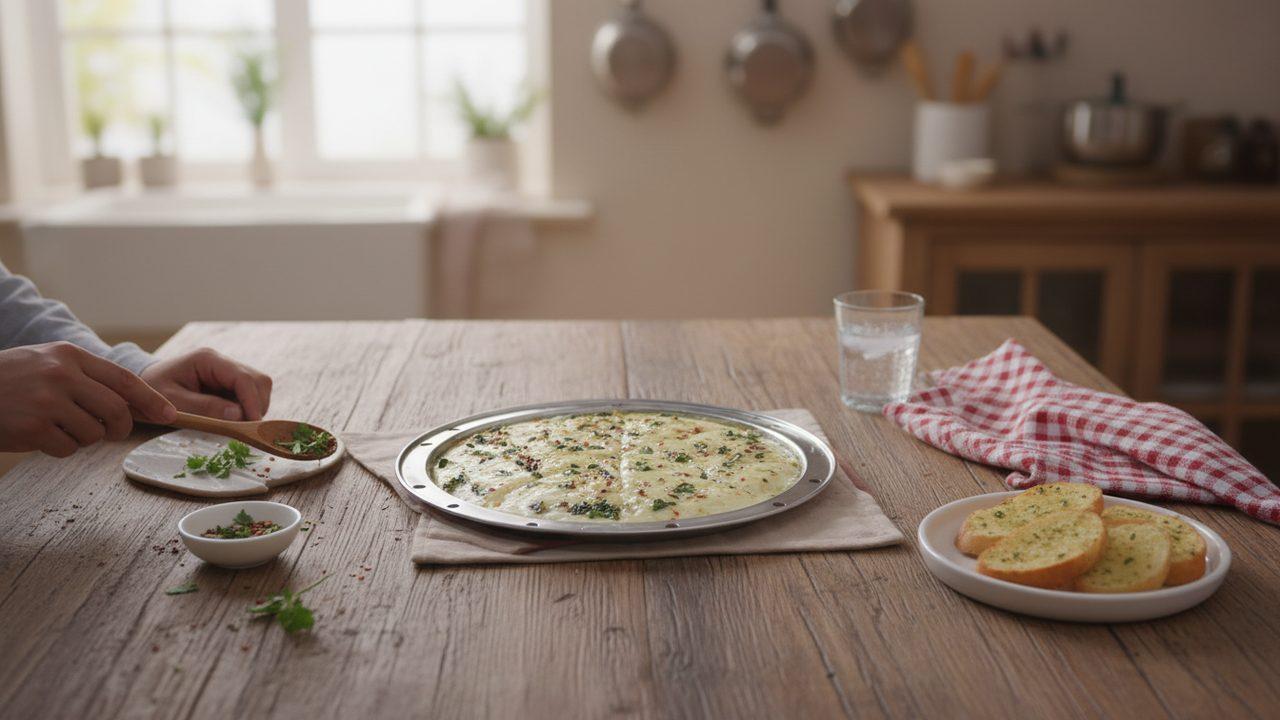
Take a steaming container (like a cake tin or a flat-bottomed steel dabba) and grease its bottom and sides generously with oil to prevent sticking. Transfer the mixed cabbage and dal batter into the greased container. Press it down firmly and evenly with your hands.
- 6.Steam the Idli
Place the filled container into an idli steamer or any large pot with a steaming rack. Ensure there is enough water in the steamer below the container. Cover the steamer and steam for 20 to 25 minutes. To check if it's done, insert a knife into the center; it should come out clean.
- 7.Cool, Cut, and Serve
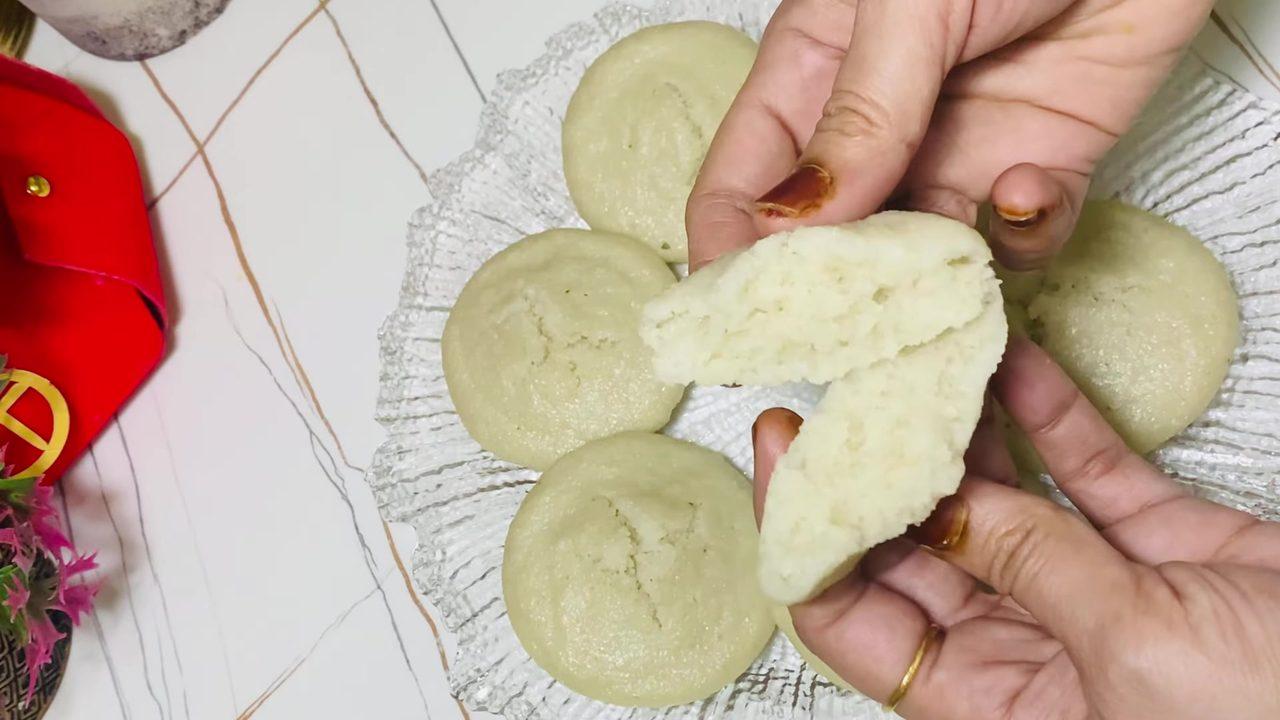
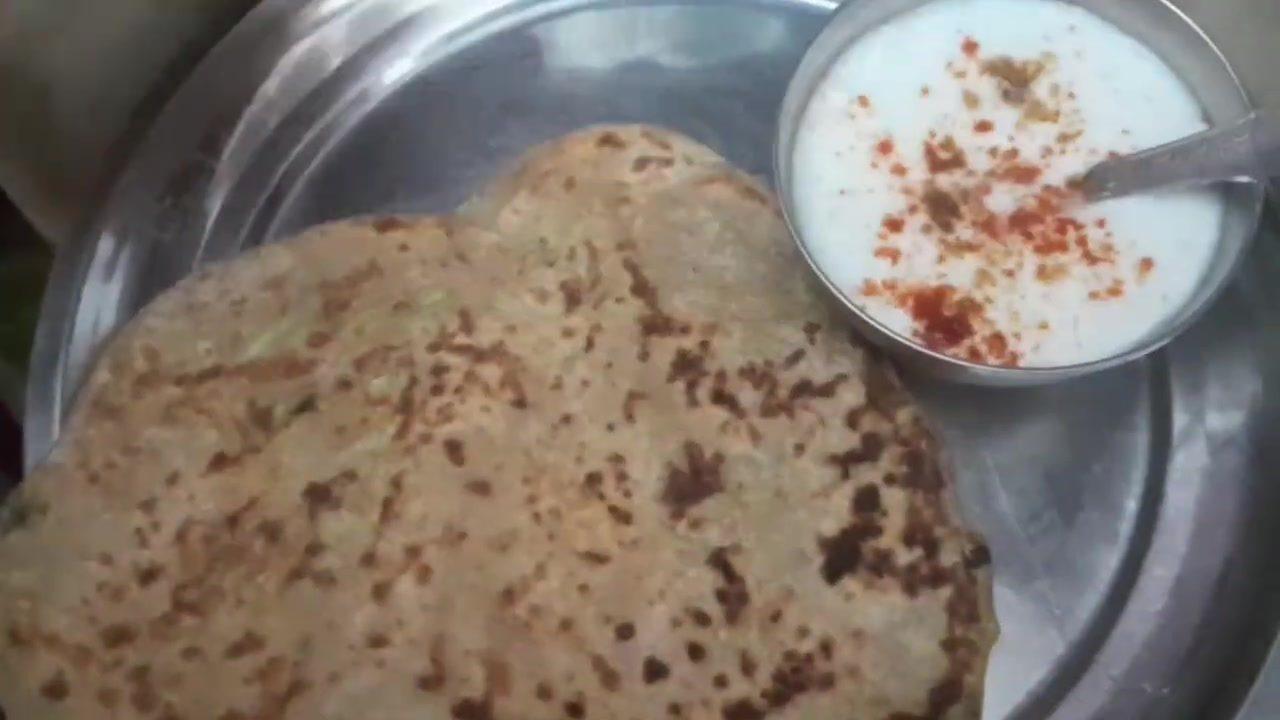
Once steamed, remove the container from the steamer and let it cool down slightly. Once cooled, use a knife (greased with a little oil to prevent sticking) to cut the steamed idli into square or desired shapes. Serve the Steamed Spicy Cabbage Idli hot, optionally drizzled with coconut oil for an authentic taste. It pairs wonderfully with rice and dal.

Comments (0)
Sign in to leave a comment on this recipe.
Loading comments...