Ghiya (Bottle Gourd) Paratha
Ingredients
Main Ingredients
- 2 medium-sized (peeled and grated)Bottle Gourd
- 2 tablespoonsWhole Wheat Flour
- 1/2 teaspoonRed Chili Powder
- 1/4 teaspoonTurmeric Powder
- 1/2 teaspoonGaram Masala
- 1 teaspoonSalt
- 1 tablespoon (crushed)Kasuri Methi
- for cookingGhee/Oil
- as neededWhole Wheat Dough
- for dustingDry Whole Wheat Flour
For Serving
- as desiredCurd
- as desiredGreen Chutney
- as desiredPizza/Pasta Sauce
Step-by-Step Instructions
- 1.Prepare the Bottle Gourd
Peel and grate two medium-sized bottle gourds. Ensure not to drain the water from the grated bottle gourd as it contains essential nutrients.
- 2.Mix the Filling
In a bowl with the grated bottle gourd, add 2 tablespoons of whole wheat flour, 1/2 teaspoon red chili powder, 1/4 teaspoon turmeric powder, 1/2 teaspoon garam masala, and 1 teaspoon salt. Add 1 tablespoon of crushed Kasuri Methi.
- 3.Combine Ingredients
Mix all the ingredients thoroughly until well combined. The added flour will help absorb the moisture from the bottle gourd, ensuring all the healthy nutrients are retained within the paratha.
- 4.Prepare the Dough Base
Take a portion of pre-made whole wheat dough and roll it out into a flat circle on a rolling board.
- 5.Apply Ghee and Filling
Spread a thin layer of ghee or oil evenly over the rolled-out dough. Then, place a generous amount of the prepared bottle gourd filling in the center of the dough.
- 6.Prevent Stickiness
Sprinkle a little dry whole wheat flour over the filling. This crucial step helps prevent the filling from sticking to the rolling pin and ensures easy rolling of the paratha.
- 7.Fold and Shape the Paratha
Carefully fold the dough over the filling, sealing it into a log shape. Then, coil the log into a round shape, tucking the ends underneath.
- 8.Roll the Paratha
Gently roll out the stuffed dough into a paratha of your desired thickness and shape.
- 9.Cook the Paratha
Heat a non-stick tawa (griddle) over medium heat and grease it with a little ghee or oil. Place the rolled paratha on the hot tawa.
- 10.Flip and Apply Ghee
Cook for approximately 1-2 minutes until light brown spots appear on the underside, then flip the paratha. Apply ghee or oil generously on the cooked side.
- 11.Cook Both Sides Evenly
Flip the paratha again and apply ghee or oil on the other side. Press gently with a spatula to ensure even cooking and a crispy texture. Continue cooking until both sides are golden brown and thoroughly cooked.
- 12.Serve Hot
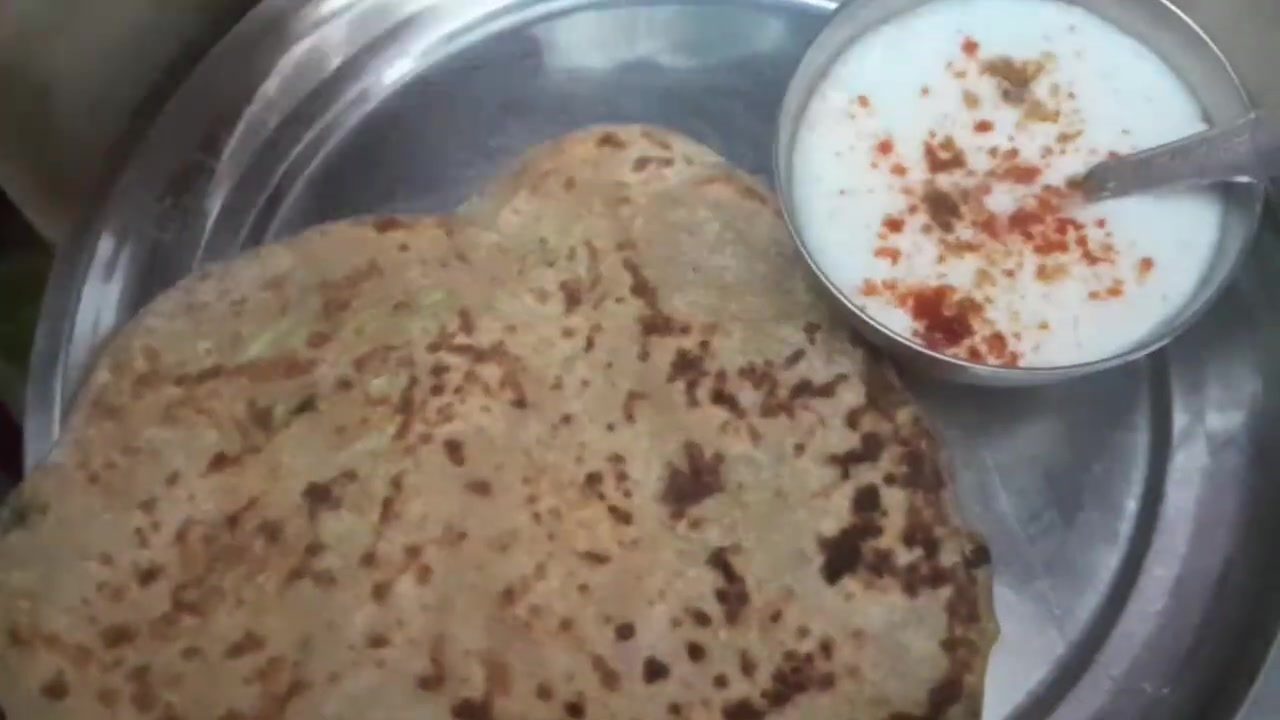
Remove the cooked paratha from the tawa and place it on a serving plate. Serve hot with a side of curd (dahi) seasoned with spices, green chutney, or your preferred sauce.

Comments (0)
Sign in to leave a comment on this recipe.
Loading comments...