Perfect Chapati (Roti) - Back to Basics
Main Ingredients
Step-by-Step Instructions
Follow each step to make the recipe successfully.
Prepare the Dough
In a large bowl, combine 250g of chapati flour with 150ml of cold water. Mix and the ingredients until a soft but not sticky dough forms. The amount of water may vary slightly depending on the flour brand.
Rest the Dough
Cover the dough with a clean tea towel and for . This allows the gluten to relax, resulting in a softer chapati.
Final Knead
After , give the dough a final for about . This further improves the dough's texture, making it springy and firm.
Prepare for Rolling
Divide the dough into 4 equal portions. Take one portion, roll it into a smooth ball between your palms, then dip it into dry chapati flour. Pinch the middle of the dough ball to ensure it puffs up during cooking.
Heat the Tawa
Turn on your portable gas hob to full power, then place the tawa (griddle) on top. the heat to low-medium. Allow the tawa to heat up while you roll out the chapati.
Roll out the Chapati
Place the floured dough ball on a clean, lightly floured surface. Use a rolling pin to roll it out evenly, turning and re-flouring as needed, until you have a nice round chapati.
Cook the First Side
Carefully transfer the rolled chapati onto the hot tawa. Cook for approximately , or until you see the color of the chapati change slightly on the top surface.
Cook the Second Side
Flip the chapati over and cook for another . You should see small bubbles forming on the surface.
Puff the Chapati (Flipper Method)
Remove the tawa from the heat. Place the chapati onto a roti flipper (grill) directly over the full flame of the gas hob. Gently move and flip the chapati over the flame to allow it to puff up completely and cook evenly on both sides, ensuring the edges are also cooked. Once puffed and lightly browned, remove from heat.
Puff the Chapati (Tea Towel Method)
Alternatively, after cooking both sides on the tawa, turn the chapati over. Using a clean tea towel, gently apply pressure around the edges of the chapati on the tawa. This will help it puff up. Continue applying pressure and turning until the chapati is fully puffed and cooked.
Keep Warm
Once cooked, place the chapati into a clean tea towel to keep it warm while you cook the remaining chapatis.
Before You Cook
Helpful details before you startPlan Ahead
Complete this step earlier to save time later.
- View Step 2Rest the Dough30 minutes
Cover the dough with a clean tea towel and let it rest for 30 minutes. This allows the gluten to relax, resulting in a softer chapati.
Variations
Simple ways to adapt this recipe.
- A pinch of salt can
A pinch of salt can be added to the dough if desired.
- A crepe pan or aIngredient swap
A crepe pan or a normal frying pan can be used instead of a tawa.
Helpful Tips
Small details that can improve the final result.
More from My Little Kitchen
Other recipes converted from My Little Kitchen's cooking videos.

Perfect Chapatti / Roti
Cuisine
Indian · South Asian
Prep + Cook Time
47 Minutes
Difficulty Level
Medium
Perfect Chapati (Roti) - Traditional Indian Flatbread
Cuisine
Indian · North Indian
Prep + Cook Time
1 hr
Difficulty Level
Easy
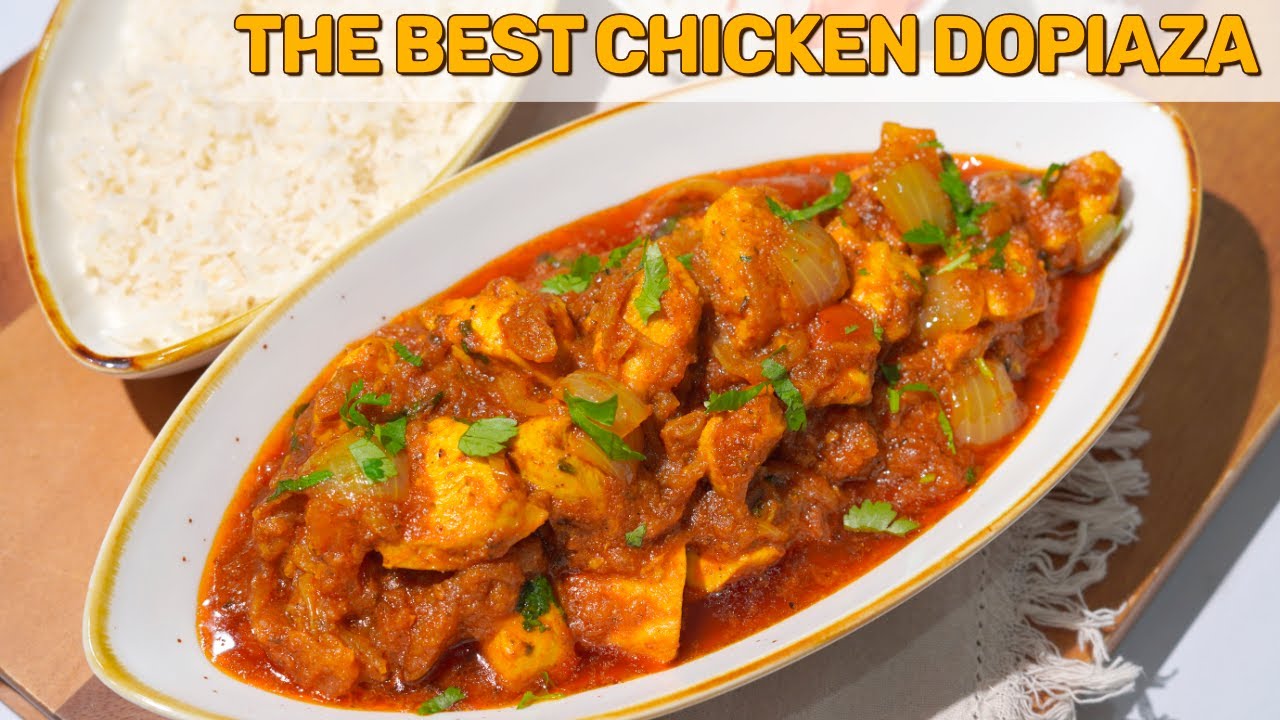
Chicken Dopiyaza – My Style
Cuisine
Indian · North Indian
Prep + Cook Time
1 hr
Difficulty Level
Medium
Perfect Chapati – Indian Flatbread
Cuisine
Indian · North Indian
Prep + Cook Time
45 Minutes
Difficulty Level
Easy
How to Make Perfect Chapati/Roti
Cuisine
Indian · North Indian
Prep + Cook Time
45 Minutes
Difficulty Level
Easy

Restaurant Style Saag Paneer
Cuisine
Indian · North Indian
Prep + Cook Time
40 Minutes
Difficulty Level
Easy
You might also like
Other recipes in the same cuisine, meal type, or style — ready to cook whenever you are.
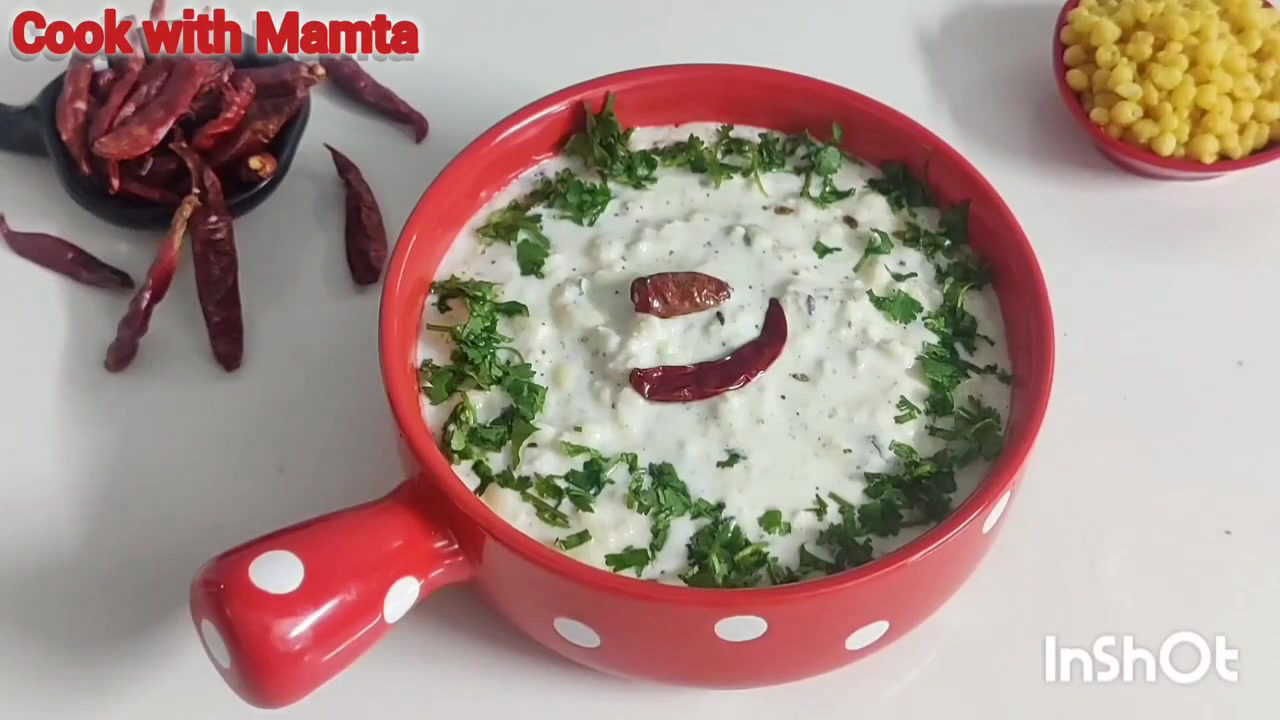
Boondi Raita with Tadka
Cuisine
Indian · North Indian
Prep + Cook Time
20 Minutes
Difficulty Level
Easy

Paneer Tikka Roll
Cuisine
Indian · North Indian
Prep + Cook Time
30 Minutes
Difficulty Level
Easy
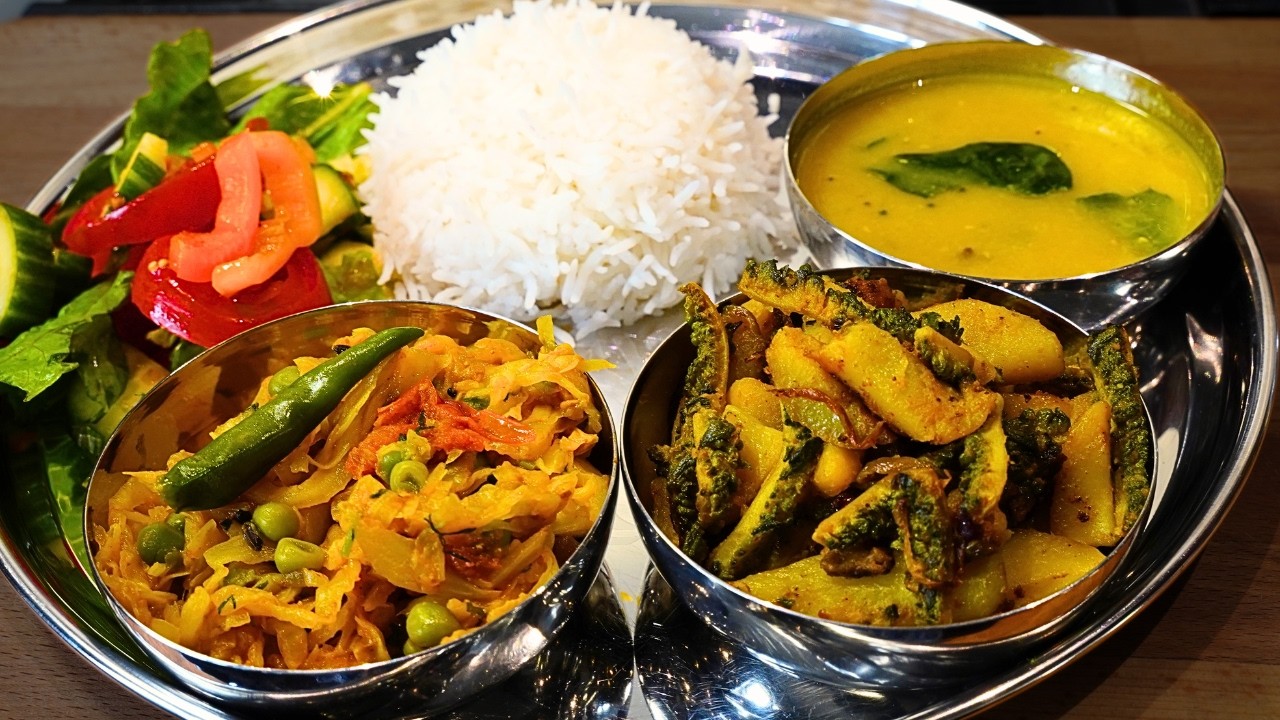
Vegetarian/Vegan Thali - Indian Home Style
Cuisine
Indian
Prep + Cook Time
1 hr 30 min
Difficulty Level
Medium

Rajasthani Style Dal Tadka (Pancharatna Dal Tadka / Dal Panchmel)
Cuisine
Indian · Rajasthani
Prep + Cook Time
40 Minutes
Difficulty Level
Medium
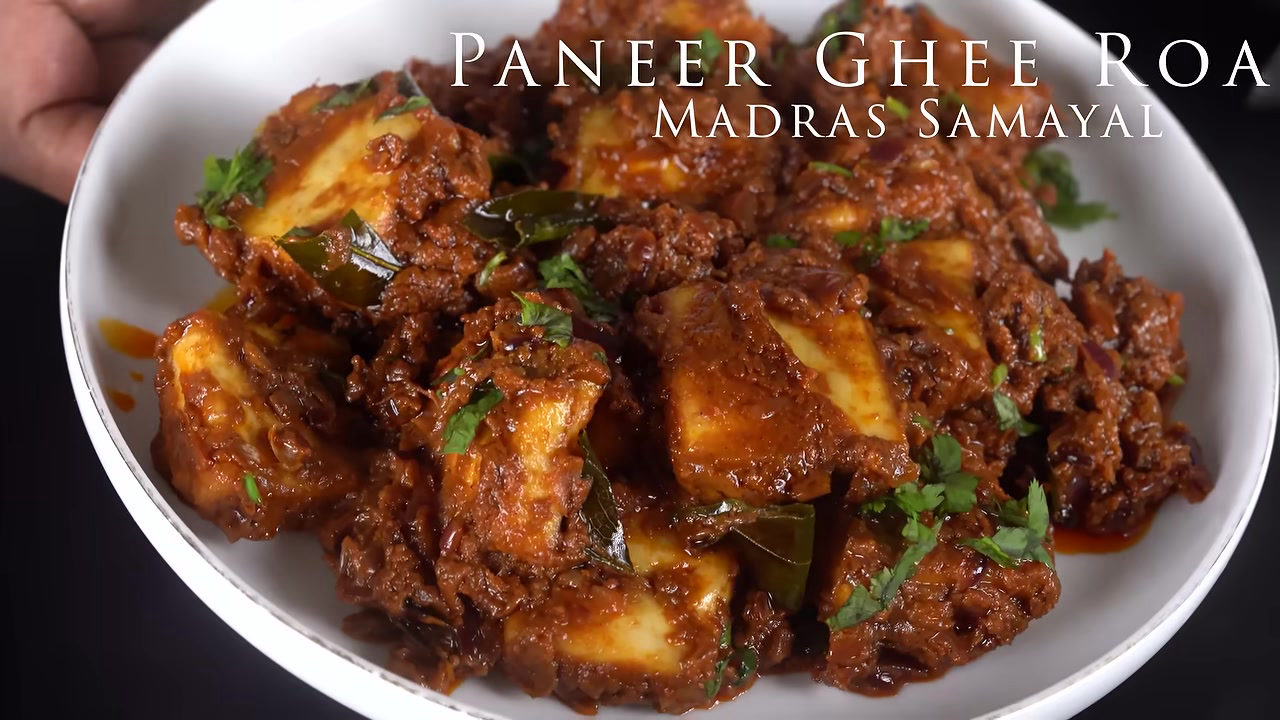
Paneer Ghee Roast - Madras Samayal
Cuisine
Indian · South Indian
Prep + Cook Time
30 Minutes
Difficulty Level
Medium
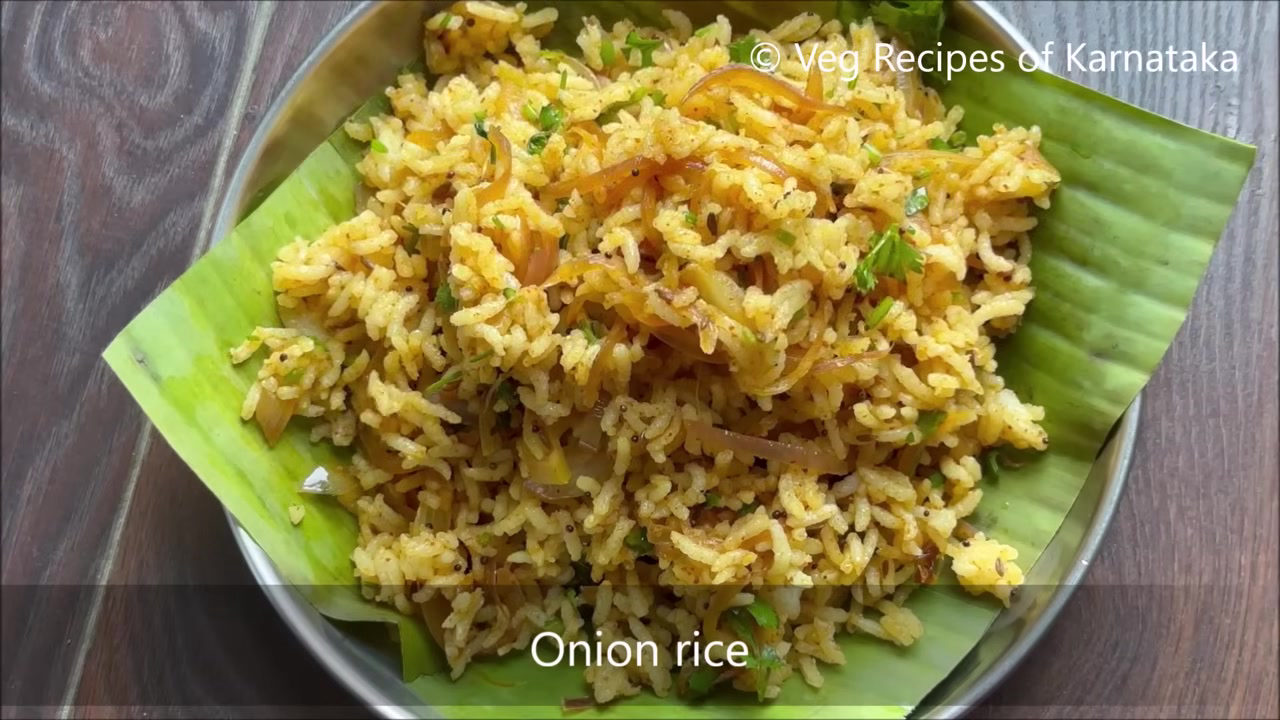
Onion Rice (Eerulli Rice) – South Indian Style
Cuisine
Indian · South Indian
Prep + Cook Time
25 Minutes
Difficulty Level
Comments (0)
Sign in to leave a comment on this recipe.
Loading comments...