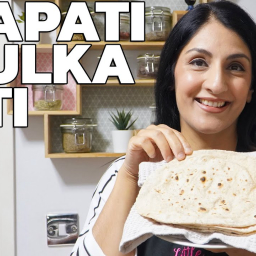
How to Make Perfect Chapati/Roti
Summary
- A simple, step-by-step guide to making soft, fluffy Indian flatbread, also known as Roti or Phulka. This recipe uses only two basic ingredients, chapati flour and water, and demonstrates two methods for cooking the flatbread to perfection on a gas hob.
All Ingredients - For the Dough
- Chapati Flour (Atta) 250g
- Water 150ml
Tools You'll Need
- Tawa
- Pan
- Mixing bowl
- Bowl
- Rolling pin
- Tongs
Plan Ahead
Up to 30 min of hands-off time you can shift to earlier.
- Step 2 · Rest30 min
Rest the Dough Cover the bowl with a clean tea towel and let the dough res…
⚠ Contains Allergens
Step-by-Step Instructions
Step 1: Prepare the Dough
In a large bowl, combine 250g of chapati flour and 150ml of water. Mix and with your hand for a few minutes until a soft, but not sticky, dough is formed.
Step 2: Rest the Dough
Cover the bowl with a clean tea towel and let the dough rest for .
Step 3: Final Knead and Portion
After , give the dough a final for about a minute. Transfer the dough to a lightly floured surface and divide it into 4 equal portions.
Step 4: Shape the Dough Balls (Pedas)
Take one portion of dough. Dip it in dry flour. Using your fingers, tuck the edges of the dough into the center and pinch to seal. Then, roll it between your palms to form a smooth, crack-free ball. Repeat for all portions.
Step 5: Roll the Chapati
Preheat a tawa (flat pan) on a low to medium flame. Take one dough ball, flatten it, and coat it generously in dry flour. Place it on your work surface and use a rolling pin to roll it into a thin, even circle, turning and flouring as needed to prevent sticking.
Step 6: Cook the Chapati - First Side
Shake off any excess flour from the rolled chapati and place it on the hot tawa. Cook for about , or until you see the color on top start to change.
Step 7: Cook the Chapati - Second Side
Flip the chapati and cook the other side for another until light brown spots start to appear.
Step 8: Puff the Chapati on Direct Flame
Flip the chapati one more time. Remove the tawa from the gas hob. Turn the flame to high. Using tongs or a roti flipper, place the chapati directly over the flame. It will puff up into a ball. Keep turning it over the flame for a few seconds to cook evenly and get some charred spots. Place the cooked chapati in a clean tea towel to keep it warm and soft.
Step 9: Alternative Method: Puffing on the Tawa
If you don't have a gas hob, after cooking both sides, flip the chapati again. Use a folded, clean tea towel to gently press down around the edges of the chapati. This pressure will cause it to puff up on the tawa itself. Keep turning and pressing until cooked through.
Pro Tips
• Chapati flour is also known as roti flour or atta. It is different from all-purpose flour as it's made from the entire wheat grain, resulting in softer chapatis.
• Different brands of flour may require slightly more or less water, so adjust as needed to get a soft, non-sticky dough.
• Resting the dough for 30 minutes is a crucial step for soft chapatis.
• When forming the dough balls (pedas), tucking the edges into the center and pinching them closed helps the chapati puff up evenly.
• If you don't have a gas hob, you can use a clean tea towel to press down on the chapati while it's on the pan to help it puff up.
Variations
• A pinch of salt can be added to the flour before kneading for extra flavor.
More from My Little Kitchen
Other recipes converted from My Little Kitchen's cooking videos.
Perfect Chapati (Roti) - Traditional Indian Flatbread
Cuisine
Indian · North Indian
Prep + Cook Time
1 hr
Difficulty Level
Easy

Chicken Dopiyaza – My Style
Cuisine
Indian · North Indian
Prep + Cook Time
1 hr
Difficulty Level
Medium
Perfect Chapati (Roti) - Back to Basics
Cuisine
Indian · South Asian
Prep + Cook Time
45 Minutes
Difficulty Level
Easy
Perfect Chapati – Indian Flatbread
Cuisine
Indian · North Indian
Prep + Cook Time
45 Minutes
Difficulty Level
Easy
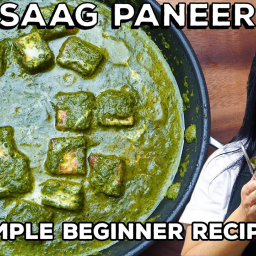
Restaurant Style Saag Paneer
Cuisine
Indian · North Indian
Prep + Cook Time
40 Minutes
Difficulty Level
Easy
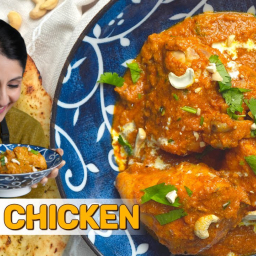
Shahi Chicken Curry – Mughlai Style
Cuisine
Indian · Mughlai
Prep + Cook Time
55 Minutes
Difficulty Level
Medium
You might also like
Other recipes in the same cuisine, meal type, or style — ready to cook whenever you are.

Crispy Bhindi Fry (Okra Stir Fry)
Cuisine
Indian · North Indian
Prep + Cook Time
25 Minutes
Difficulty Level
Easy
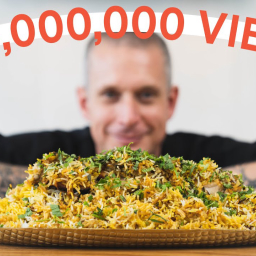
Hyderabadi Biryani – Authentic Indian
Cuisine
Indian · Hyderabadi
Prep + Cook Time
2 hr 30 min
Difficulty Level
Medium
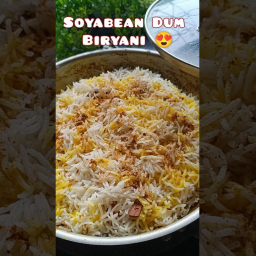
Soyabean Dum Biryani
Cuisine
Indian · North Indian
Prep + Cook Time
1 hr 5 min
Difficulty Level
Medium
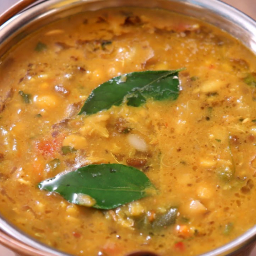
Dhabewali Dal – Dhaba Style Lentils
Cuisine
Indian · North Indian
Prep + Cook Time
45 Minutes
Difficulty Level
Medium

Restaurant Style Paneer Khurchan Recipe
Cuisine
Indian · North Indian
Prep + Cook Time
45 Minutes
Difficulty Level
Medium
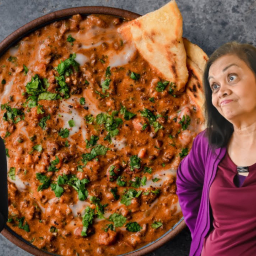
Making Vegan Dal Makhani
Cuisine
Indian · Punjabi
Prep + Cook Time
2 hr 30 min
Difficulty Level
Comments
Sign in to leave a comment on this recipe.
Loading comments...