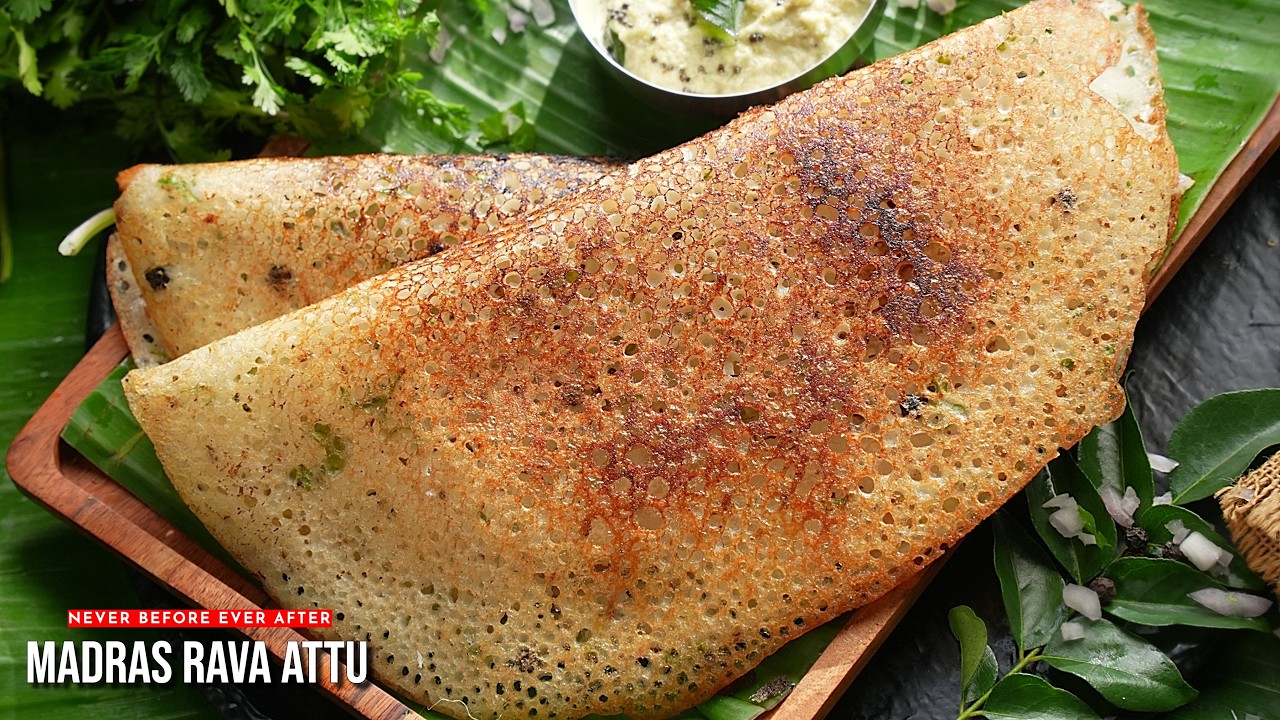
Madras Style Rava Dosa (Rava Attu)
Recipe by Vismai Food
Ingredients
For the Rava Dosa Batter
- 1/2 cupRice flour
- 1/2 cupSemolina (Bombay Rava)
- 1/4 cupMaida (All-purpose flour)
- to tasteSalt
- 1 tspCumin seeds
- 1 tspWhole black pepper
- 750-800 mlWater
- 1 sprigFinely chopped curry leaves
For Cooking & Garnish (Optional)
- as neededOil
- 1/2Onion (for seasoning tawa)
- as neededFinely chopped onion (for variation)
- as neededFinely chopped green chilies (for variation)
- as neededFinely chopped ginger (for variation)
Step-by-Step Instructions
- 1.Prepare the Batter
In a large bowl, combine 1/2 cup rice flour, 1/2 cup semolina, 1/4 cup maida, salt to taste, 1 teaspoon cumin seeds, and 1 teaspoon whole black pepper. Whisk these dry ingredients together well.
- 2.Add Water and Whisk
Gradually add 750-800 ml of water to the dry ingredients while continuously whisking to form a smooth, thin batter. Ensure there are no lumps.
- 3.Incorporate Curry Leaves and Rest
Add finely chopped curry leaves to the batter and whisk again. Cover the bowl and let the batter rest for a minimum of 30 minutes. This resting period is crucial for the dosa's texture and to prevent it from breaking on the tawa.
- 4.Prepare the Dosa Tawa
Heat a thick cast iron dosa tawa on high flame. Once hot, drizzle a little oil on it. Take half an onion, pierce it with a fork, and rub it all over the tawa to season it. This helps in making crispy dosas that don't stick.
- 5.Pour the Dosa
Before pouring each dosa, stir the batter well as the flours tend to settle at the bottom. Take about 3/4 cup of batter and pour it onto the hot tawa from the outside in, spreading it thinly. If there are any small gaps, lightly fill them with a few drops of batter.
- 6.Cook the Dosa
Drizzle oil around the edges of the dosa. Reduce the flame to medium and let the dosa cook. Continuously move the tawa around on the burner to ensure even heat distribution and uniform crispiness. Cook until the dosa turns golden brown and crispy, and easily separates from the tawa.
- 7.Serve the Dosa
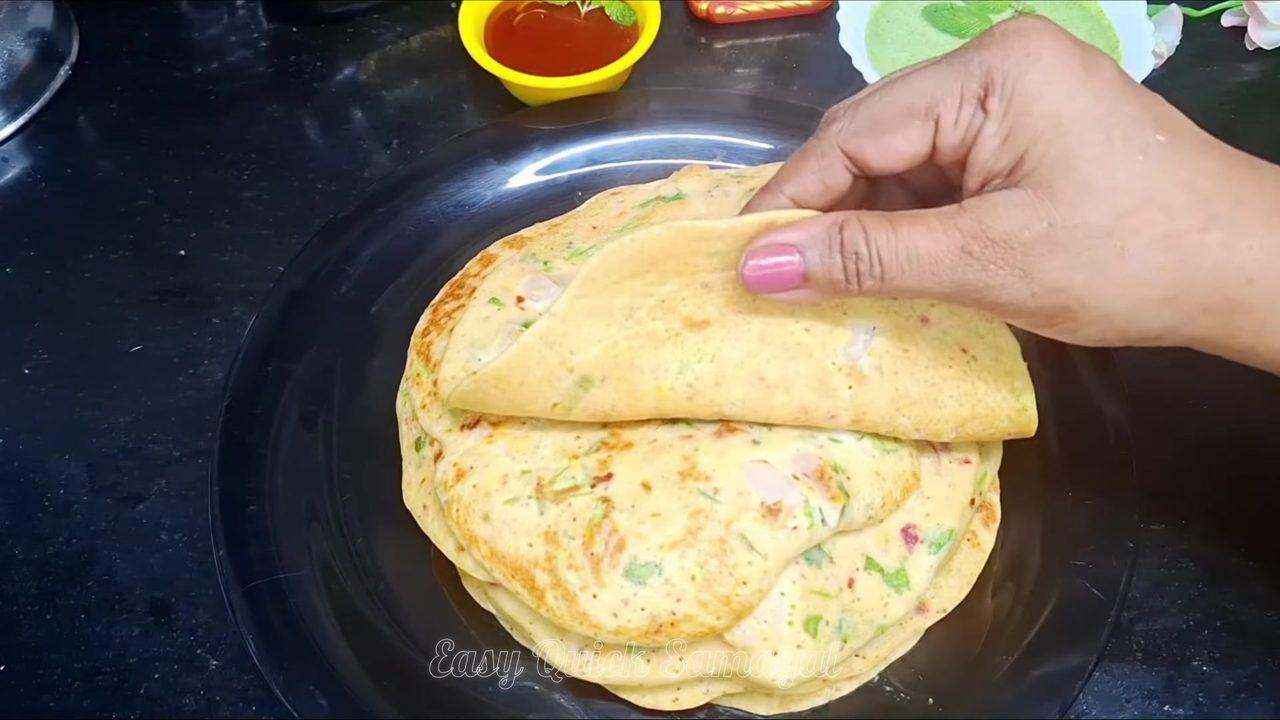
Once cooked, carefully fold the dosa and remove it from the tawa. Serve hot with chutney.
- 8.Optional: Make Onion Rava Dosa
For an onion rava dosa, sprinkle finely chopped onions, green chilies, and ginger directly onto the hot tawa before pouring the batter (as shown at 2:42). Then, pour the batter over these toppings from outside to inside, drizzle oil, and cook on medium flame until golden and crispy, similar to the plain dosa.
Comments (0)
Sign in to leave a comment on this recipe.
Loading comments...