
How to Make Roti at Home
Roti Dough
For Rolling and Finishing
Step-by-Step Instructions
Follow each step to make the recipe successfully.
Prepare the Dough Ingredients
In a KitchenAid mixing bowl, add 2 cups of roti/aata flour, 1/2 teaspoon of salt, and 1 teaspoon of vegetable oil.
Start Kneading the Dough
Lower the dough hook attachment into the bowl, lock it, and start mixing on low speed. Gradually add 1 cup of water while the mixer is running.
Continue Kneading and Adjust Water
Add the remaining 1 cup of roti/aata flour. Continue , adding water gradually, a little bit at a time, until the dough comes together. You can increase the mixer speed if the slows down. The dough should be soft but not too sticky.
Achieve Smooth Dough Consistency
Continue until the dough is smooth and the sides of the bowl come out clean. The total water needed can vary between 1 to 2 cups depending on factors like humidity and temperature.
Rest the Dough
If making rotis immediately, lightly oil a bowl and place the dough inside. Let the dough rest for . If preparing for later, place the dough in any container with a lid to avoid crusting and refrigerate.
Portion and Shape Dough Balls (Pedas)
Break off a handful of dough. Dip it in dry all-purpose flour. Start by taking the sides of the dough and moving them inward, then smoothing it out to form a round ball (peda). Pinch the bottom to seal.
Prepare for Rolling
Gently press down on the peda and dip it in all-purpose flour on both sides. Then, firmly move the peda in a circular motion between your fingertips and thumbs to flatten it slightly.
Roll the Roti
Place the flattened peda on a counter or rolling board. Begin rolling it thin like a tortilla using a rolling pin. Sprinkle all-purpose flour as needed if the dough starts sticking to the rolling pin or surface.
Heat the Pan
Heat a non-stick flat pan (like a crepe pan) on medium heat. The pan is ready when a drop of water sizzles upon contact.
Cook the Roti on the Pan (First Side)
Place the rolled roti onto the hot pan. Once the roti is easy to lift off the pan, go ahead and flip it to the other side.
Cook the Roti on the Pan (Second Side)
Keep lifting and checking the roti to see brown spots of cooked dough appearing. Using a rolled-up tea towel, gently press down on the roti and move it around the pan. This ensures even cooking and helps to puff up the roti. A fully puffed roti is known as a 'perfect roti'.
Release Steam and Finish Cooking
Once puffed, flip the roti again. Gently press down on it with the tea towel to release the , being careful not to press too hard as the can burn. The roti is done when both sides have evenly placed brown spots and no raw dough is visible.
Alternative Cooking Method (Direct Flame)
Alternatively, after flipping the roti for the first time on the pan, remove the pan from the stove. Place a wire stand over the burner and use metal tongs to place the roti directly over the flame. Move it around to ensure all sides are cooked and it puffs up. Flip and repeat for the other side until done.
Butter and Serve
Lift your cooked roti and place it on a tea towel in a basket to absorb any moisture. You can lightly butter the tops of the rotis to keep them soft and give them a buttery flavor. Serve immediately with any meat or vegetable dish, such as dal tadka.
Storage Instructions
To keep rotis soft for up to a day, store them in an airtight container or a zip-lock bag.
Before You Cook
Helpful details before you startIngredient SubstitutionsMissing something? View suitable alternatives.View 2 swaps
No All-purpose flour?
- White whole wheat flour (1:1)
- 1 cup minus 2 tbsp + 2 tbsp cornstarch (cake flour swap)
No Butter?
- 3/4 the amount of olive oil (for cooking, not baking)
- Equal parts ghee — Slightly nuttier flavor.
- Equal parts coconut oil (in baking)
Storage & Leftovers
Keep your leftovers fresh and ready to enjoy.
- Store
Store cooked rotis in an airtight container or a zip-lock bag for up to a day to maintain softness.
- Store
To keep rotis soft for up to a day, store them in an airtight container or a zip-lock bag.
Variations
Simple ways to adapt this recipe.
- Cook roti directly on the
Cook roti directly on the flame using a wire stand and tongs for a more traditional puffed result.
Helpful Tips
Small details that can improve the final result.
More from Masala Mama
Other recipes converted from Masala Mama's cooking videos.
You might also like
Other recipes in the same cuisine, meal type, or style — ready to cook whenever you are.
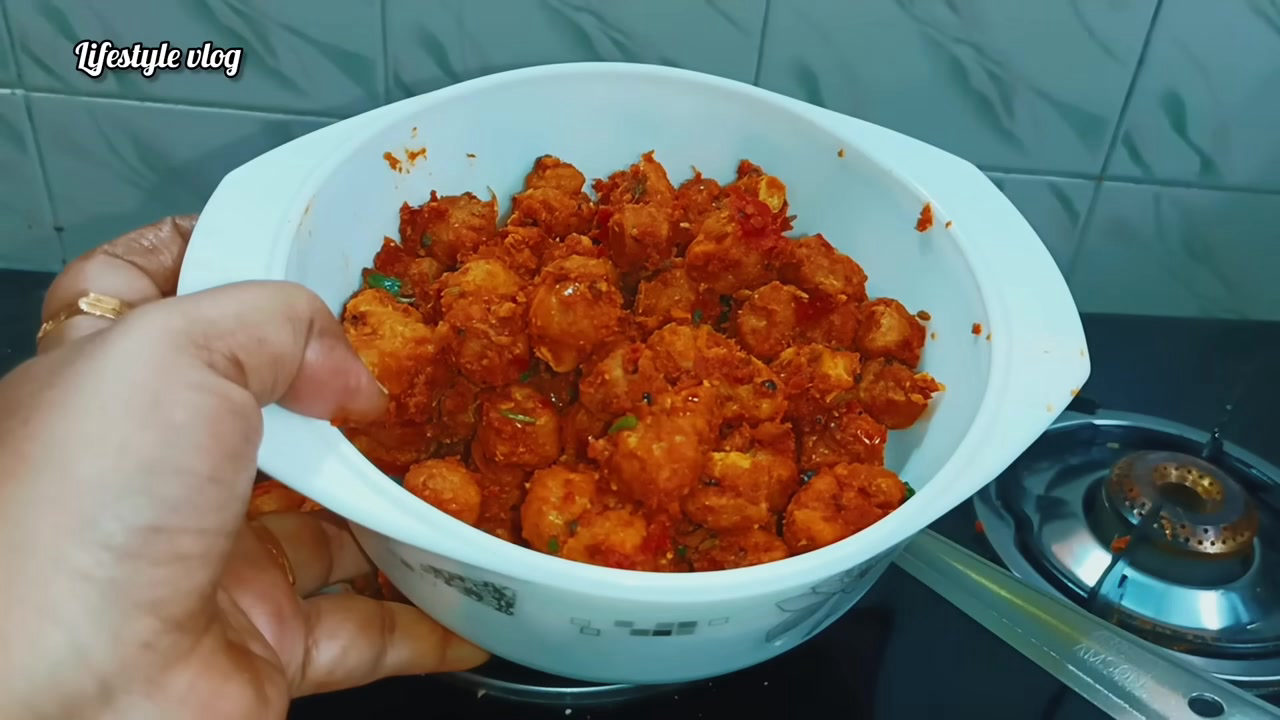
Soya Egg Fry - South Indian Style
Cuisine
Indian · South Indian
Prep + Cook Time
30 Minutes
Difficulty Level
Easy

Soya and Egg Fry
Cuisine
Indian · South Indian
Prep + Cook Time
35 Minutes
Difficulty Level
Easy
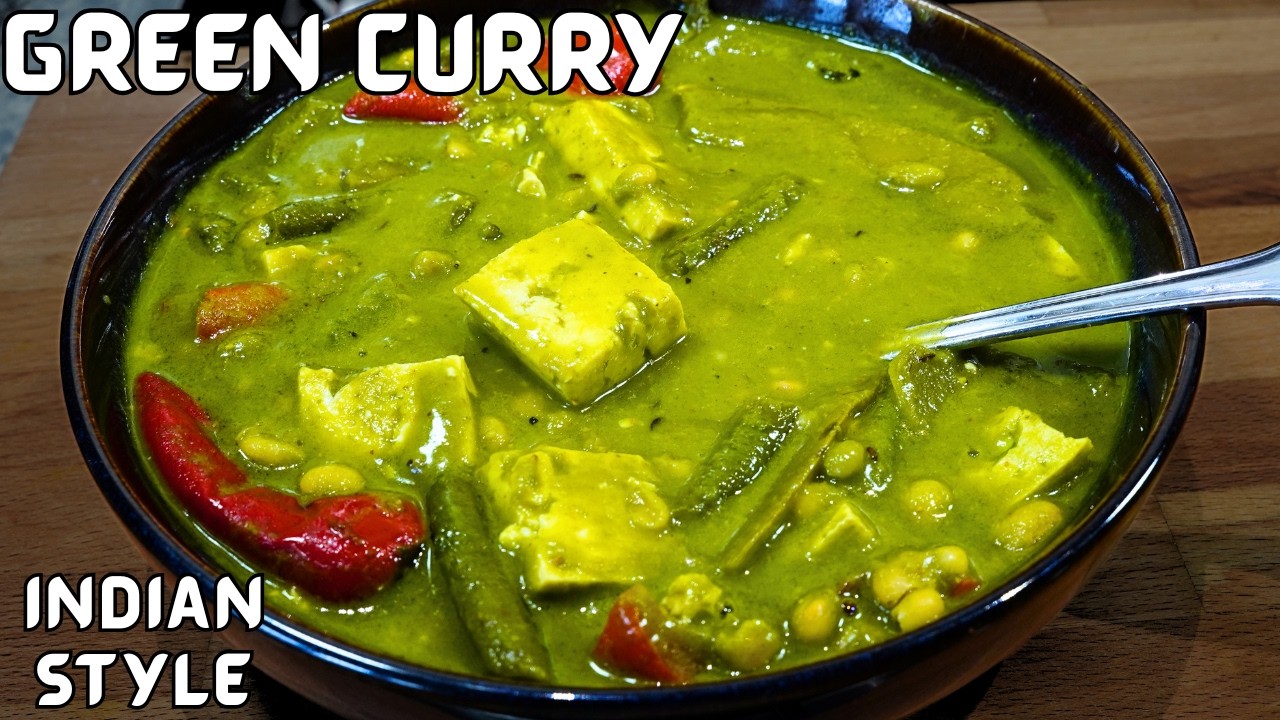
Creamy Green Curry with White Beans and Tofu
Cuisine
Indian
Prep + Cook Time
35 Minutes
Difficulty Level
Easy

Aloo Matar - Indian Potato and Peas Curry
Cuisine
Indian · North Indian
Prep + Cook Time
50 Minutes
Difficulty Level
Easy
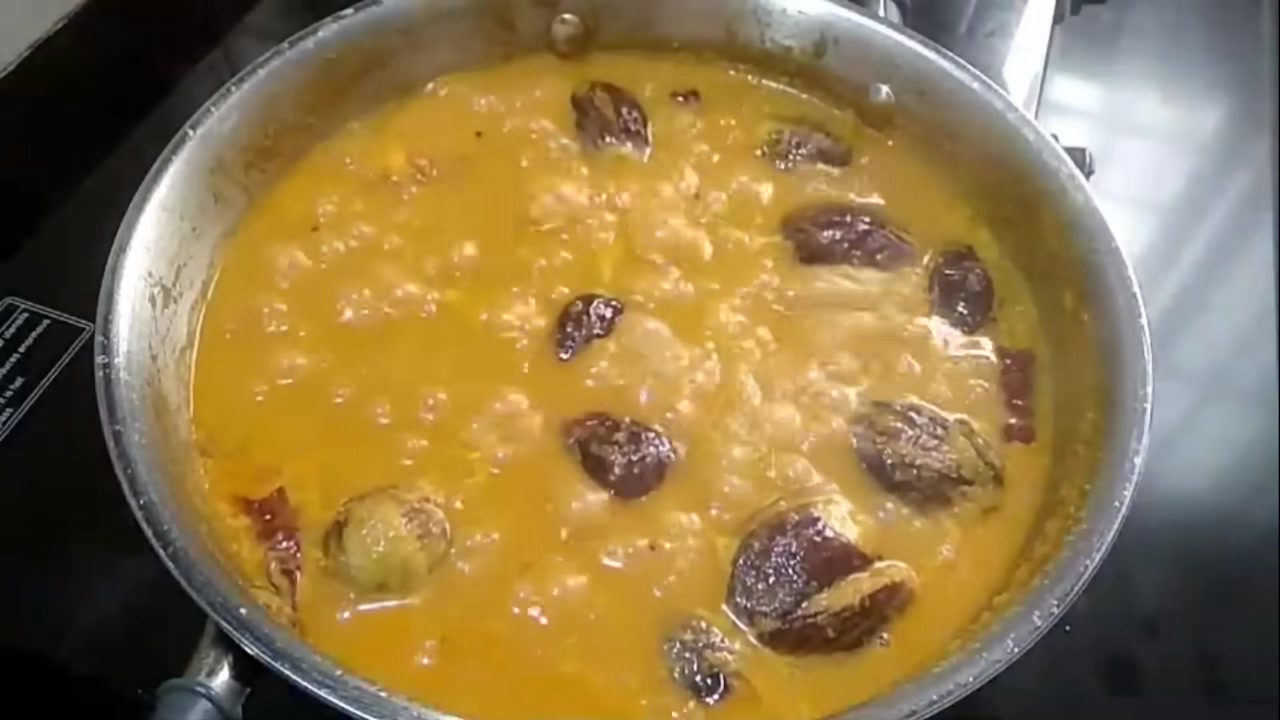
Ennai Kathirikai Kulambu (Oil Brinjal Curry)
Cuisine
Indian · South Indian
Prep + Cook Time
45 Minutes
Difficulty Level
Medium
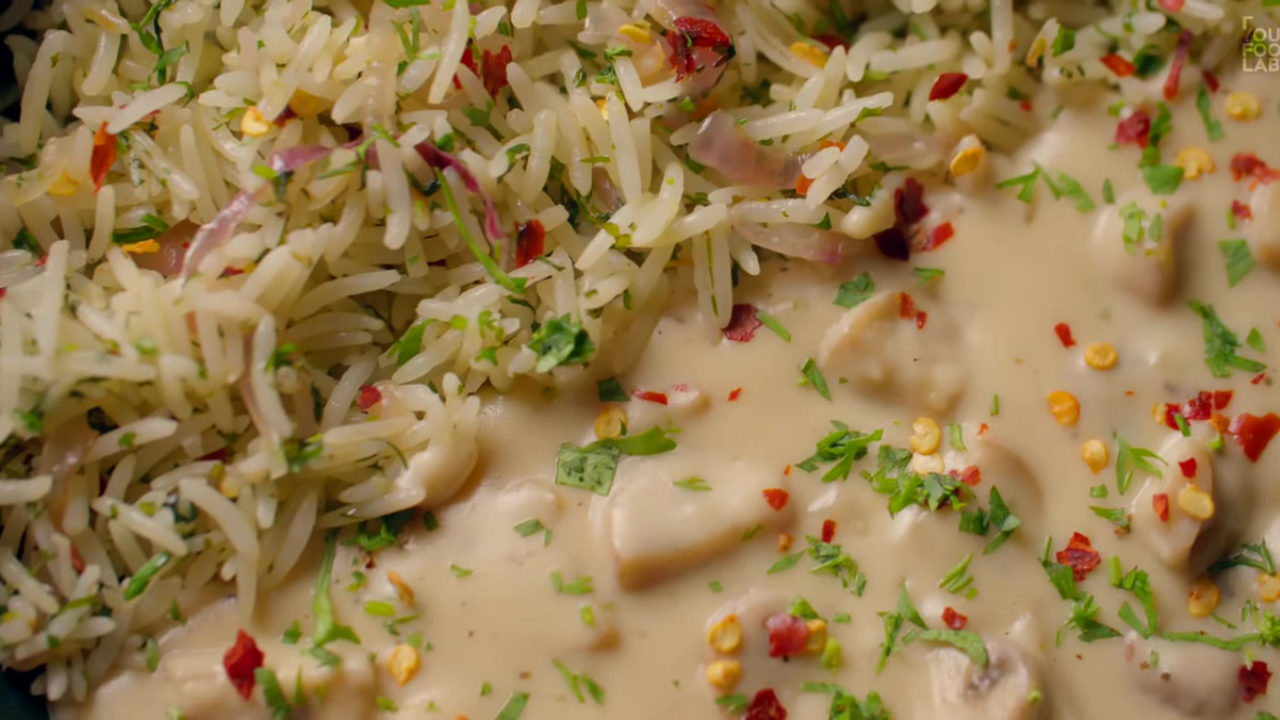
Creamy Mushroom with Lemon Coriander Rice
Cuisine
Indian · Fusion
Prep + Cook Time
35 Minutes
Difficulty Level
Comments (0)
Sign in to leave a comment on this recipe.
Loading comments...