Fullmeals
HomeExploreCreatorsPantry MatchSurprise Me
HomeExploreCreatorsPantry MatchSurprise MeShopping ListMy Favorites
Fullmeals

Fullmeals helps you cook without watching by converting cooking videos into simple, step-by-step recipes designed for real kitchens.

cook@fullmeals.com

Quick Links

  • How it Works
  • Categories
  • Explore Recipes
  • RSS Feed

Legal

  • Terms of Use
  • Privacy Policy

© 2026 Fullmeals. All rights reserved.

Fullmeals

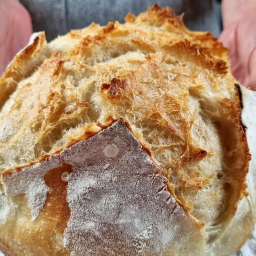
Easy No-Knead Bread – Fluffy & Crusty

Recipe by Foodie
  • Ready in165 min
  • Prep15 min
  • Cook30 min
  • CuisineEuropean · Bakery
  • Serves8 Servings
  • Calories~180 kcal
Easy No-Knead Bread – Fluffy & Crusty

Ingredients

Main Ingredients

  • 1 cup (220 ml)Water
  • ¾ tsp (3 g)Fresh yeast
  • ½ tsp (2 g)Dry yeast
  • 2 ½ cups (320 g)Bread flour
  • 1 tsp (6 g)Salt

Step-by-Step Instructions

  1. 1.Combine Wet Ingredients

    Pour 1 cup (220 ml) of water into a large bowl. Crumble ¾ tsp (3g) of fresh yeast (or ½ tsp (2g) of dry yeast) into the water. Mix well with a wooden spoon until the yeast is dissolved.

  2. 2.Add Dry Ingredients

    Add 2 ½ cups (320 g) of bread flour and 1 tsp (6g) of salt to the bowl. Mix with the wooden spoon until there is no dry flour left and a shaggy dough forms. No need for traditional kneading. Scrape any dough from the spoon with a spatula.

  3. 3.First Dough Rest

    Cover the bowl and let the dough rest at room temperature for 30 minutes.

  4. 4.First Stretch and Fold

    After 30 minutes, wet your hand and gently stretch each of the four sides of the dough, folding it towards the center. Lift the dough and slap it back into the bowl several times to develop gluten. This technique is called 'lift and slap'.

  5. 5.Second Dough Rest

    Cover the bowl again and let the dough rest for another 30 minutes.

  6. 6.Second Stretch and Fold

    Repeat the stretching, folding, lifting, and slapping technique from step 4. The dough should be more elastic now.

  7. 7.Final Dough Rise

    Cover the bowl and let the dough rise at room temperature until it has doubled in size, which usually takes about 2 hours.

  8. 8.Shape the Dough

    Lightly sprinkle flour on a clean work surface. Gently scrape the risen dough onto the floured surface. Fold the dough in half. Gently stretch the dough to form a long strip, being careful not to deflate the air bubbles (bubbles are a great sign!).

  9. 9.Roll and Seal

    Starting from one end, gently roll the dough, bringing in the sides with each roll to create a tight cylinder. This process helps create a good structure and is full of bubbles. Seal the seam and the sides to form a neat loaf. Fold the loaf in half and gently shape it into a round.

  10. 10.Second Proofing

    Place the shaped dough on parchment paper inside a deep pot (suitable for baking). Cover the pot with a towel and let the dough rise for 1 hour.

  11. 11.Prepare for Baking

    Lightly sprinkle flour over the top of the risen bread. Gently smooth the flour with your hand. Score the top of the bread with a sharp blade or knife in a cross pattern. Sprinkle a little water on the sides of the pot (avoiding direct contact with the bread). Cover the pot with a lid or another oven-safe pan.

  12. 12.Initial Bake

    Bake the covered bread in a preheated oven at 450°F (230°C) for 20 minutes.

  13. 13.Final Bake

    Carefully remove the lid from the pot. Reduce the oven temperature to 390°F (200°C) and bake for an additional 10 minutes, or until the crust is golden brown and the bread sounds hollow when tapped on the bottom.

  14. 14.Cool the Bread

    Carefully take the bread out of the pot and allow it to cool completely on a wire rack before slicing. The aroma will be spectacular!

  15. 15.Serve

    Slice the bread and serve it with butter. Enjoy the fluffy and soft crumb!

Printed from Fullmeals.com — turn any cooking video into a recipe.

Easy No-Knead Bread – Fluffy & Crusty

Ready in

165 mins

Cuisine

European · Bakery

Prep Time

15 min

Cook Time

30 min

Serving

8 Servings

Calories / Serving

~180 kcal
Recipe by Foodie on YouTube
Adjust Servings
Measurements
Tap an ingredient to mark it ready0 of 5 ready
All Ingredients

Main Ingredients

Step-by-Step Instructions

Follow each step to make the recipe successfully.

  1. 1

    Combine Wet Ingredients

    Pour 1 cup (220 ml) of water into a large bowl. Crumble ¾ tsp (3g) of fresh yeast (or ½ tsp (2g) of dry yeast) into the water. Mix well with a wooden spoon until the yeast is dissolved.

  2. 2

    Add Dry Ingredients

    Add 2 ½ cups (320 g) of bread flour and 1 tsp (6g) of salt to the bowl. Mix with the wooden spoon until there is no dry flour left and a shaggy dough forms. No need for traditional . Scrape any dough from the spoon with a spatula.

  3. 3

    First Dough Rest

    Cover the bowl and let the dough rest at room temperature for .

  4. 4

    First Stretch and Fold

    After , wet your hand and gently stretch each of the four sides of the dough, folding it towards the center. Lift the dough and slap it back into the bowl several times to develop gluten. This technique is called 'lift and slap'.

  5. 5

    Second Dough Rest

    Cover the bowl again and let the dough rest for another .

  6. 6

    Second Stretch and Fold

    Repeat the stretching, folding, lifting, and slapping technique from step 4. The dough should be more elastic now.

  7. 7

    Final Dough Rise

    Cover the bowl and let the dough rise at room temperature until it has doubled in size, which usually takes about .

  8. 8

    Shape the Dough

    Lightly sprinkle flour on a clean work surface. Gently scrape the risen dough onto the floured surface. Fold the dough in half. Gently stretch the dough to form a long strip, being careful not to deflate the air bubbles (bubbles are a great sign!).

  9. 9

    Roll and Seal

    Starting from one end, gently roll the dough, bringing in the sides with each roll to create a tight cylinder. This process helps create a good structure and is full of bubbles. Seal the seam and the sides to form a neat loaf. Fold the loaf in half and gently shape it into a round.

  10. 10

    Second Proofing

    Place the shaped dough on parchment paper inside a deep pot (suitable for baking). Cover the pot with a towel and let the dough rise for .

  11. 11

    Prepare for Baking

    Lightly sprinkle flour over the top of the risen bread. Gently smooth the flour with your hand. top of the bread with a sharp blade or knife in a cross pattern. Sprinkle a little water on the sides of the pot (avoiding direct contact with the bread). Cover the pot with a lid or another oven-safe pan.

  12. 12

    Initial Bake

    Bake the covered bread in a preheated oven at 450°F (≈230°C) (approximately 230°C) (230°C (≈445°F) (approximately 445°F)) for .

  13. 13

    Final Bake

    Carefully remove the lid from the pot. the oven temperature to 390°F (≈200°C) (approximately 200°C) (200°C (≈390°F) (approximately 390°F)) and bake for an additional , or until the crust is golden brown and the bread sounds hollow when tapped on the bottom.

  14. 14

    Cool the Bread

    Carefully take the bread out of the pot and allow it to cool completely on a wire rack before slicing. The aroma will be spectacular!

  15. 15

    Serve

    Slice the bread and serve it with butter. Enjoy the fluffy and soft crumb!
Before You Cook

Helpful details before you start
AllergensThis recipe contains gluten.
gluten

Plan Ahead

Complete this step earlier to save time later.

  • Step3
    First Dough Rest30 minutes

    Cover the bowl and let the dough rest at room temperature for 30 minutes.

    View Step 3
  • Step5
    Second Dough Rest30 minutes

    Cover the bowl again and let the dough rest for another 30 minutes.

    View Step 5
  • Step7
    Final Dough Rise2 hours

    Cover the bowl and let the dough rise at room temperature until it has doubled in size, which usually takes about 2 hours.

    View Step 7

Helpful Tips

Small details that can improve the final result.

  • 1
    Cooking tipUse a Wet Hand When

    Use a wet hand when stretching and folding the dough to prevent sticking.

  • 2
    Cooking tipThe 'lift and Slap' Technique

    The 'lift and slap' technique helps develop gluten without traditional kneading.

  • 3
    TipBe Gentle When Shaping the

    Be gentle when shaping the dough to preserve the air bubbles.

  • 4
    TipA Hollow Sound When Tapping

    A hollow sound when tapping the bottom of the baked bread indicates it's perfectly done.

Was this recipe helpful?

Comments (0)

Sign in to leave a comment on this recipe.

Loading comments...

More from Foodie

Other recipes converted from Foodie's cooking videos.

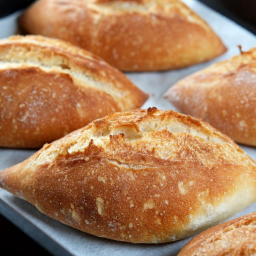
Crispy Wheat Grain Bread

Crispy Wheat Grain Bread

Cuisine

European

Prep + Cook Time

4 hr 25 min

Difficulty Level

Medium

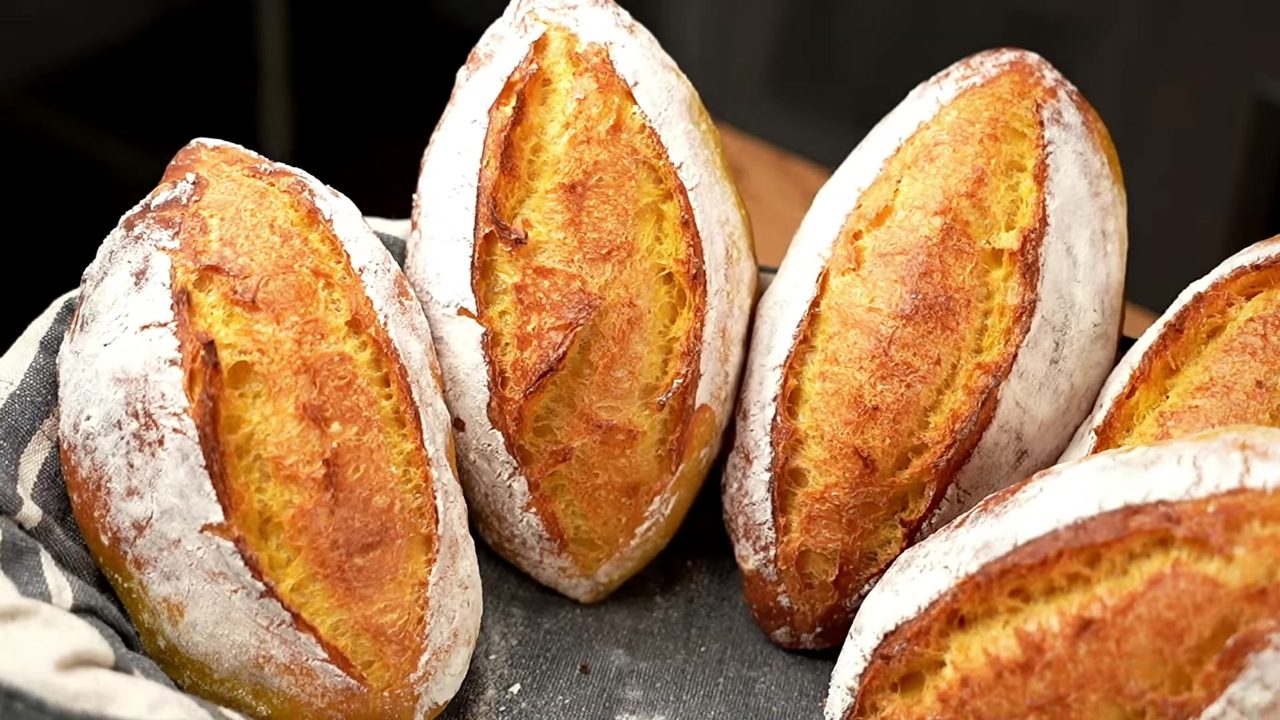
Pumpkin Bread Rolls – No-Knead

Pumpkin Bread Rolls – No-Knead

Cuisine

European · French

Prep + Cook Time

2 hr 20 min

Difficulty Level

Easy

You might also like

Other recipes in the same cuisine, meal type, or style — ready to cook whenever you are.

Vegetable Cheese Sandwich - Quick & Easy

Vegetable Cheese Sandwich - Quick & Easy

Cuisine

Indian · Snack

Prep + Cook Time

45 Minutes

Difficulty Level

Easy

Spicy Onion Dosa

Spicy Onion Dosa

Cuisine

Indian · South Indian

Prep + Cook Time

5 Minutes

Difficulty Level

Easy

Liquid Dough Breakfast (Savory Pancakes with Veggies & Cheese)

Liquid Dough Breakfast (Savory Pancakes with Veggies & Cheese)

Cuisine

Indian · South Asian

Prep + Cook Time

25 Minutes

Difficulty Level

Easy

Curd Sandwich

Curd Sandwich

Cuisine

Indian · Snacks

Prep + Cook Time

20 Minutes

Difficulty Level

Easy

Healthy Poha with Fox Nuts and Peanuts

Healthy Poha with Fox Nuts and Peanuts

Cuisine

Indian · North Indian

Prep + Cook Time

25 Minutes

Difficulty Level

Easy

Instant Poha Rava Paddu (Gunta Ponganalu) - Quick & Easy Breakfast

Instant Poha Rava Paddu (Gunta Ponganalu) - Quick & Easy Breakfast

Cuisine

Indian · South Indian

Prep + Cook Time

35 Minutes

Difficulty Level

Easy