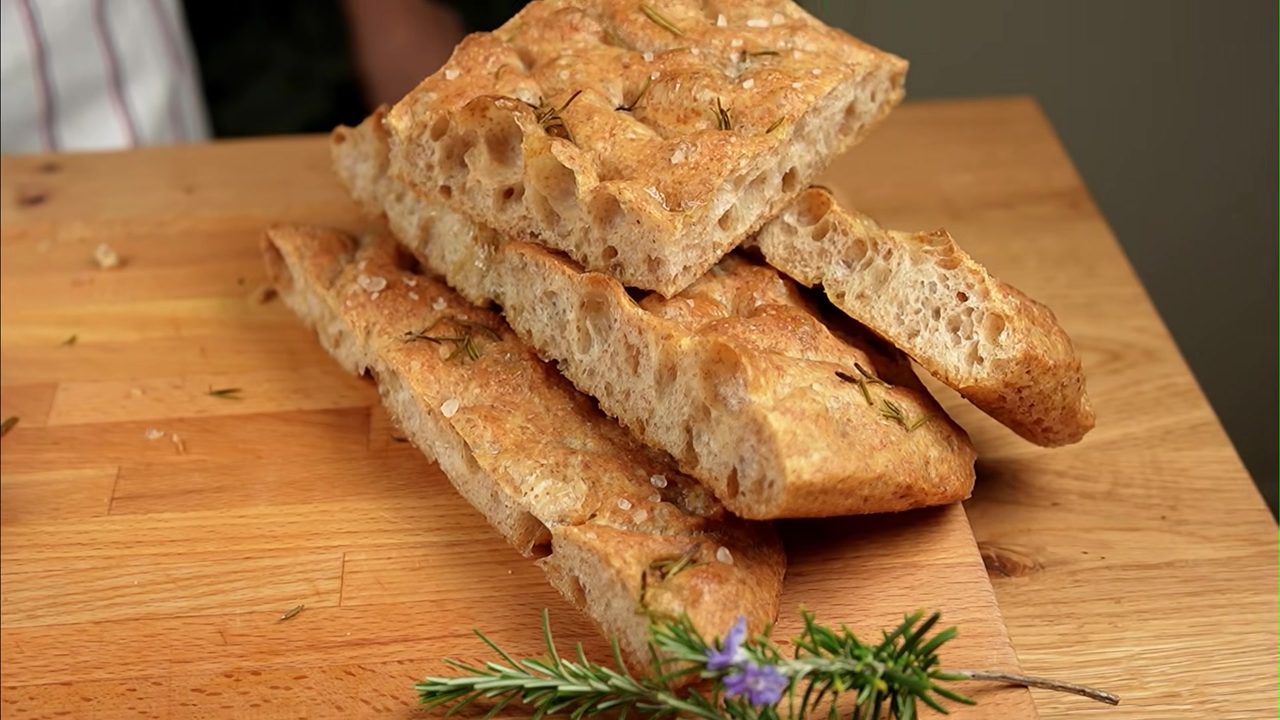
Whole Wheat Focaccia with Rosemary – Italian Style
Recipe by Foody
Ingredients
Main Ingredients
- 1 cup (235ml)Water
- 1 tsp (5g)Fresh yeast
- ½ tsp (3g)Dry yeast
- 1 ½ cups + 1 tbsp (200g)Bread flour
- ¾ cup (100g)Whole wheat flour
- 1 tsp (6g)Salt
- generous amountOlive oil
- a few sprigsFresh rosemary
- a pinchCoarse salt
Optional for Serving
- a few slicesMozzarella
Step-by-Step Instructions
- 1.Combine Water and Yeast
Pour 1 cup (235ml) of water into a large bowl. Crumble 1 tsp (5g) of fresh yeast (or add ½ tsp (3g) of dry yeast) into the water. Mix well with a wooden spoon until the yeast is dissolved.
- 2.Add Flours and Salt
Add 1 ½ cups + 1 tbsp (200g) of bread flour and ¾ cup (100g) of whole wheat flour to the bowl. Sprinkle 1 tsp (6g) of salt over the flour.
- 3.Mix the Dough
Mix the ingredients with a wooden spoon until there is no dry flour left and a shaggy, cohesive dough forms. No need to knead at this stage, just mix.
- 4.First Rest
Cover the bowl with a plate and let the dough rest for 30 minutes.
- 5.Stretch and Fold (First Set)
With a wet hand, gently stretch each of the four sides of the dough upwards and fold it towards the center. Repeat this process three times to strengthen the gluten network.
- 6.Lift and Slap (First Set)
Lift the dough from the bowl and slap it back down a few times. This technique, called 'lift and slap', further develops the gluten.
- 7.Second Rest
Cover the bowl again and let the dough rest for another 30 minutes.
- 8.Stretch and Fold & Lift and Slap (Second Set)
Repeat the stretching and folding of the four sides, followed by the 'lift and slap' technique, as done in steps 5 and 6.
- 9.Overnight Proof
Cover the dough and let it proof overnight in the fridge for 12-16 hours, or on the counter until it doubles in size. The dough will become very airy and bubbly.
- 10.Quick Stretch and Fold & Slaps
Perform a quick stretch and fold of the dough, followed by a couple of 'slaps' to gently degas it.
- 11.Room Temperature Rest
Cover the dough and let it rest for 30 minutes to reach room temperature.
- 12.Prepare Baking Pan
Generously grease a rectangular baking pan with olive oil, ensuring the bottom and sides are well coated.
- 13.Transfer Dough to Pan
Carefully transfer the dough into the greased baking pan.
- 14.Spread Dough (Initial)
Gently try to spread the dough in the pan. Don't worry if it doesn't cover the entire pan initially. If the dough resists, allow it to relax for 5 minutes before continuing.
- 15.Drizzle Olive Oil and Spread More
Drizzle a little more olive oil over the dough and continue spreading it to fill the pan evenly.
- 16.Final Rise
Cover the pan and let the dough rise for 45 minutes.
- 17.Add Rosemary
Remove the leaves from fresh rosemary sprigs and spread them evenly over the risen dough.
- 18.Drizzle More Olive Oil
Drizzle another layer of olive oil over the rosemary and dough.
- 19.Sprinkle Water
Sprinkle a little water over the dough, which helps create a crispy crust.
- 20.Dimple the Focaccia
Using your fingers, dimple the focaccia all over, creating characteristic indentations. This is the fun part!
- 21.Sprinkle Coarse Salt
Sprinkle a little coarse salt on top of the focaccia for extra flavor and texture.
- 22.Bake the Focaccia
Bake the focaccia in a preheated oven at 430°F (220°C) for 20 minutes, or until it's golden brown and sizzling.
- 23.Cool and Serve
Carefully remove the focaccia from the oven and let it cool slightly on a wire rack. It will be sizzling and aromatic.
- 24.Slice and Enjoy
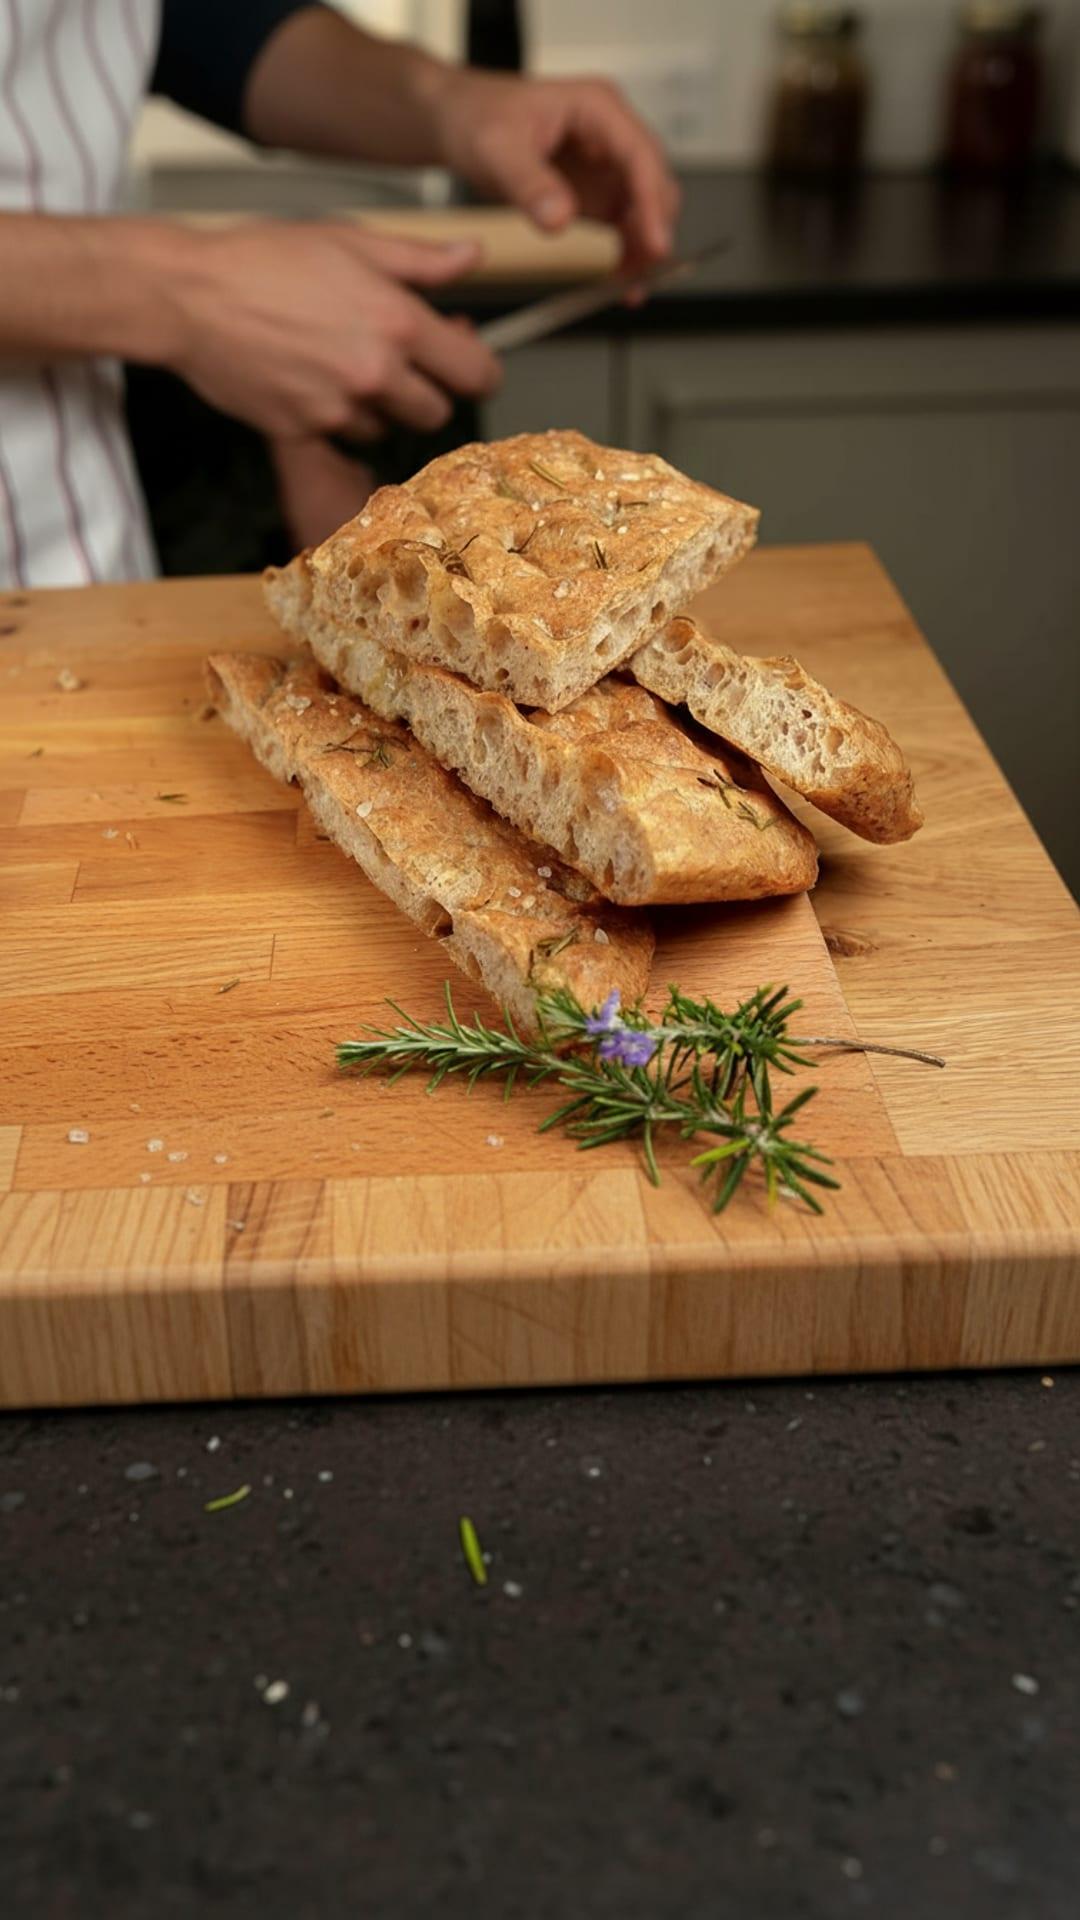
Once cooled, transfer the focaccia to a cutting board and slice it into desired portions. Observe the beautiful rustic color and airy interior.
- 25.Optional Mozzarella Sandwich
For a quick and delicious sandwich, take a slice of focaccia, place fresh mozzarella slices on top, and drizzle with a little olive oil. This is all it needs for a delightful bite.








Comments (0)
Sign in to leave a comment on this recipe.
Loading comments...