Raw Mango Chutney (Kairi Chutney) – Pakistani Style
Summary
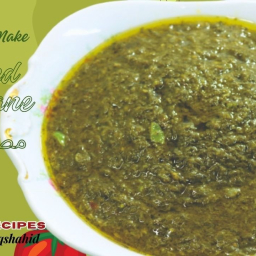
- A tangy and flavorful chutney made from roasted raw mangoes, blended with fresh herbs and spices. This easy-to-make condiment is perfect to serve alongside your meals, offering a refreshing and zesty kick.
Video Chapters
Jump straight to any step in the video.
All Ingredients - Main Ingredients
- Raw Mangoes (Kairi) 3 (approx. 330g)
- Garlic Cloves 2
- Ginger 1-inch piece
- Fresh Coriander 1/4 cup
- Green Chili 1 (or to taste)
- Salt 1/4 tsp
- Crushed Roasted Cumin 1/4 tsp
- Crushed Black Pepper 1/8 tsp
- Water 3-4 tbsp
Tools You'll Need
- Blender
- Knife
- Bowl
Don't have an ingredient? Try these swaps
No Garlic (fresh)?
- 1/4 tsp garlic powder (per clove)
- 1/2 tsp garlic granules (per clove)
No Cilantro?
- Flat-leaf parsley (1:1, milder)
- Fresh mint (in chutneys, salads)
Step-by-Step Instructions
Step 1: Prepare Raw Mangoes
Take three raw mangoes, weighing approximately 330g in total. These will be the base for your chutney.
Step 2: Roast Mangoes
Insert a knife into each raw mango and hold it over a gas stove flame. Roast each mango, rotating it frequently, until its skin is charred and the pulp inside becomes soft. This process should take about per mango. You will notice water oozing out, indicating the mango is cooking internally.
Step 3: Peel and Extract Pulp
Once all mangoes are roasted and slightly cooled, carefully peel off the charred skin. Then, use a knife or spoon to scoop out all the soft mango pulp into a bowl, discarding the pit.
Step 4: Combine Ingredients
To the bowl with mango pulp, add 2 cloves of peeled garlic, a 1-inch piece of ginger, 1/4 cup of fresh coriander, and 1 green chili (adjust to your spice preference). Season with 1/4 teaspoon of salt, 1/4 teaspoon of crushed roasted cumin, and 1/8 teaspoon of crushed black pepper.
Step 5: Blend the Chutney
Transfer all the combined ingredients into a blender jug. Add 3-4 tablespoons of water. If you prefer a cold chutney, you can add a few ice cubes at this stage. Blend until the mixture is smooth and forms a consistent chutney.
Step 6: Serve and Taste
Pour the freshly blended raw mango chutney into a serving bowl. Taste and adjust seasonings if necessary. If the chutney is too tart for your liking, you can add a small amount of sugar to balance the flavor. Serve immediately or chill before serving.
Pro Tips
• Roast mangoes until the skin is charred and the pulp is soft.
• Use gloves while peeling the roasted mangoes to avoid stickiness.
• Adjust the amount of green chili and salt according to your taste preference.
• For a cold chutney, add a few ice cubes while blending.
• If the chutney is too tart, add a small amount of sugar to balance the flavor.
Variations
• Add sugar to balance the tartness for a sweeter chutney.
• Experiment with different herbs like mint for a varied flavor profile.
Your Notes
Jot down your tweaks — swaps you tried, cook-time adjustments, family reactions. Saved on this device only, and printed with the recipe.
More from Recipe Trier
Other recipes converted from Recipe Trier's cooking videos.

Chicken Kung Pao
Cuisine
Asian · Chinese
Prep + Cook Time
40 Minutes
Difficulty Level
Medium
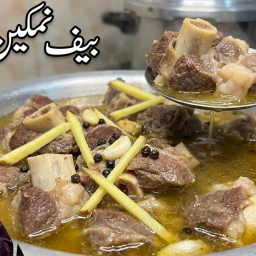
Namkeen Gosht – Traditional Pakistani Style
Cuisine
Pakistani · North Indian
Prep + Cook Time
1 hr
Difficulty Level
Easy
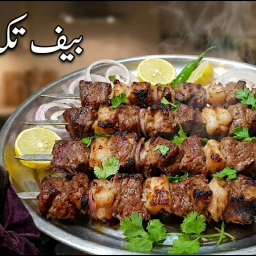
Beef Tikka Boti - Crispy Outside, Juicy Inside
Cuisine
Pakistani
Prep + Cook Time
1 hr 15 min
Difficulty Level
Medium
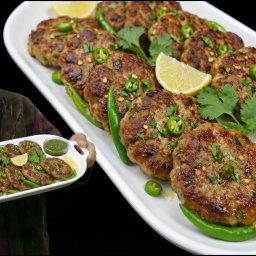
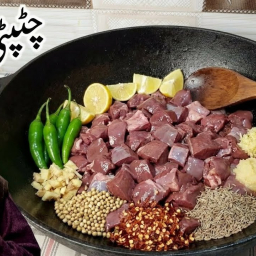
Chatkhara Qeema Kabab Recipe | Raw Mince Kabab Recipe | How to make Chatkhara Kabab
Cuisine
Pakistani · South Asian
Prep + Cook Time
35 Minutes
Difficulty Level
Medium
Beef Kaleji Fry (Spicy Liver Fry) - Recipe Trier
Cuisine
Pakistani · South Asian
Prep + Cook Time
25 Minutes
Difficulty Level
Easy

Beef Seekh Kabab Recipe | Bakra Eid Special | Recipe Trier
Cuisine
Pakistani · South Asian
Prep + Cook Time
1 hr 5 min
Difficulty Level
Medium
You might also like
Other recipes in the same cuisine, meal type, or style — ready to cook whenever you are.
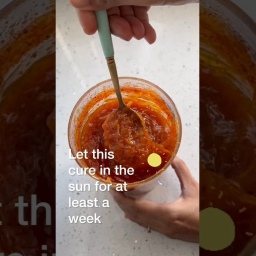
Sweet and Spicy Raw Mango Chutney (Chunda)
Cuisine
Indian · North Indian
Prep + Cook Time
168 hr
Difficulty Level
Easy
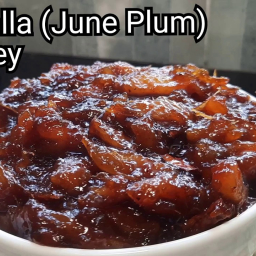
Ambarella (June Plum) Chutney – Shahee Lanka Style
Cuisine
Sri Lankan
Prep + Cook Time
40 Minutes
Difficulty Level
Medium
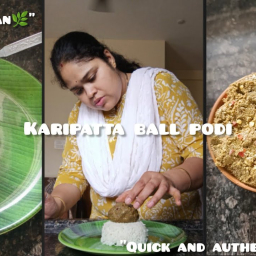
Curry Patta Podi (Dry Chutney) - South Indian Style
Cuisine
Indian · South Indian
Prep + Cook Time
35 Minutes
Difficulty Level
Medium
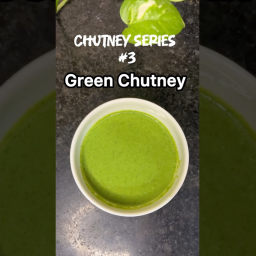
Green Chutney – Chutney Series #3
Cuisine
Indian · North Indian
Prep + Cook Time
5 Minutes
Difficulty Level
Easy
Spiced Purslane (Kulfa Saag)
Cuisine
Pakistani · South Asian
Prep + Cook Time
1 hr 15 min
Difficulty Level
Medium

Dry Dates Halwa (Chhuaron ka Halwa) - Unique & Healthy
Cuisine
Pakistani · South Asian
Prep + Cook Time
50 Minutes
Difficulty Level
Comments
Sign in to leave a comment on this recipe.
Loading comments...