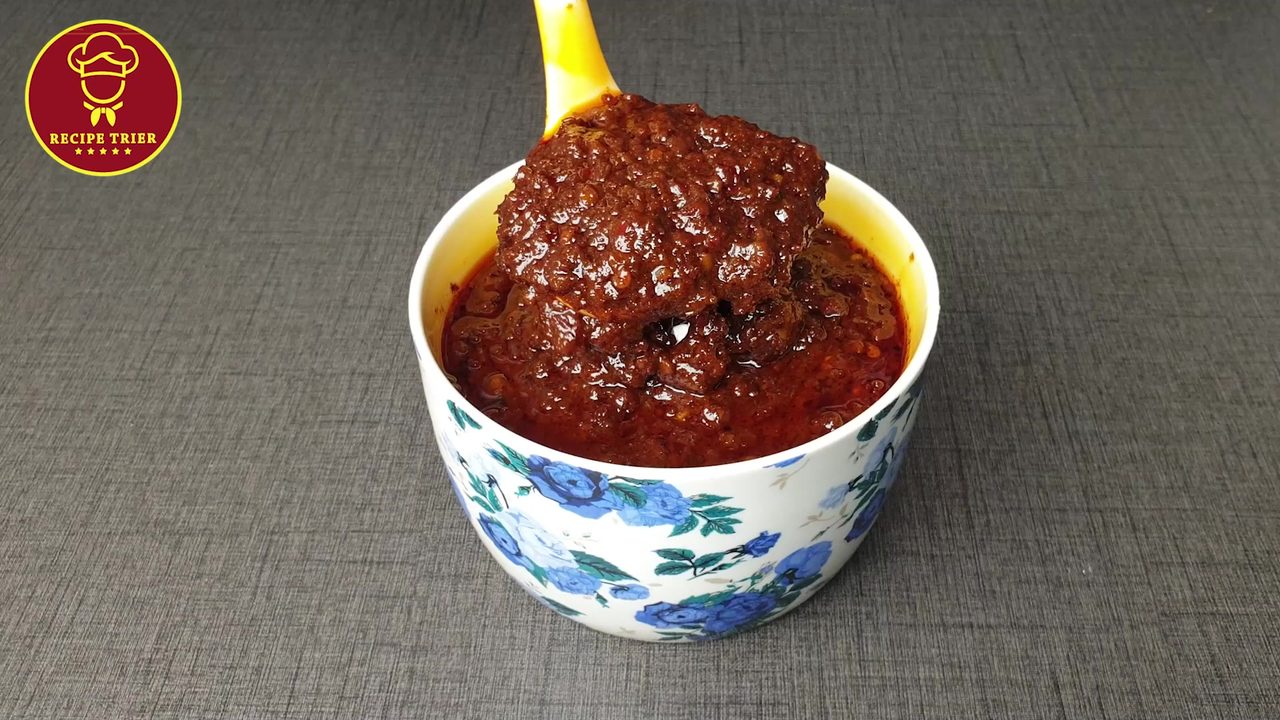
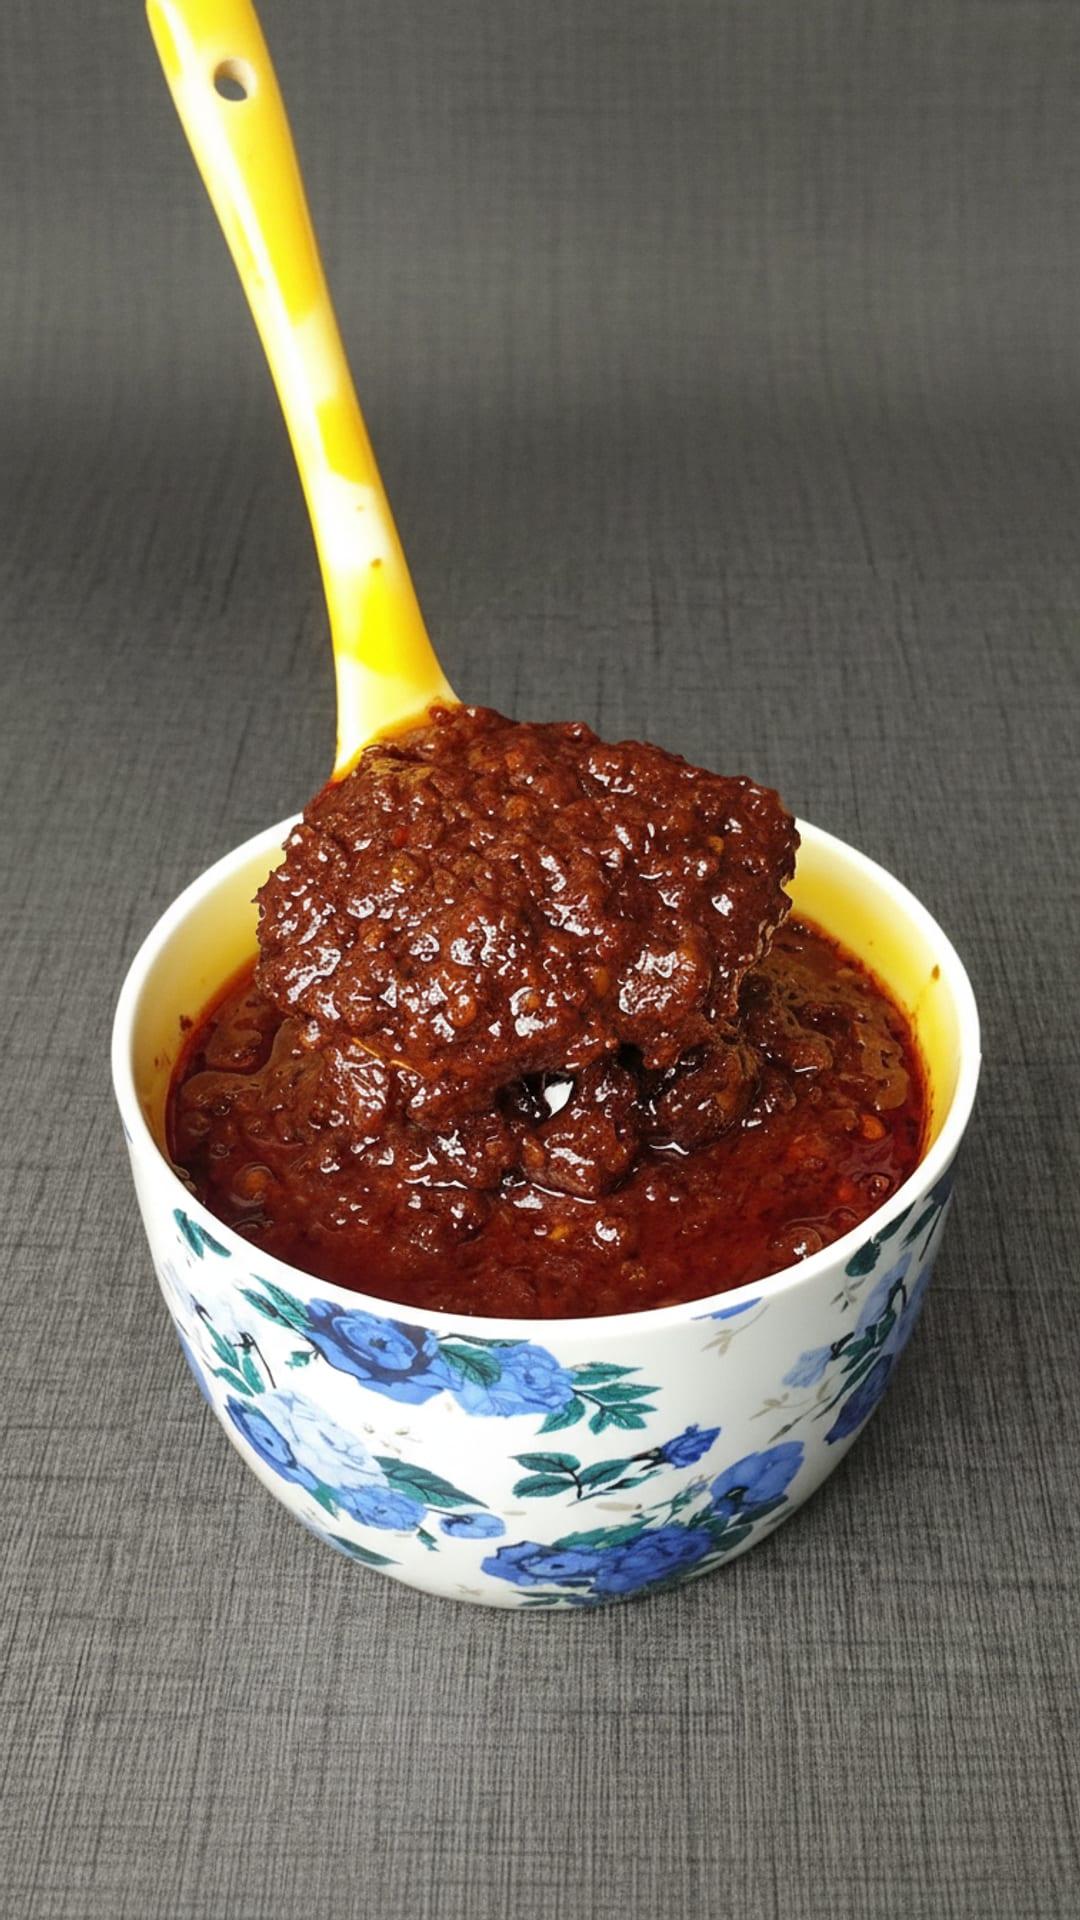
Chinese Chili Paste (Instant Recipe)
Recipe by RECIPE TRIER
Ingredients
Chili Paste Ingredients
- 1.5 glassesWater
- 50 gramsCrushed Red Chili (Dhara Mirch)
- 50 gramsRed Chili Powder (Kuti Lal Mirch)
- 1 teaspoonGarlic Paste
- 1 teaspoonGinger Paste
- 2 tablespoonsSoy Sauce
- 2 tablespoonsVinegar
- 60 grams (4 tablespoons)Sugar
- 1 heaped teaspoonSalt
- 2-2.5 tablespoonsKetchup
- 1 cupCooking Oil
Step-by-Step Instructions
- 1.Prepare the Chili Base
Place a pan on the stove and turn on the heat. Add 1 glass of water to the pan. Then, add 50 grams of crushed red chili and 50 grams of red chili powder. Mix these ingredients well with a spatula.
- 2.Simmer the Chilies
Cook the chili mixture on very low heat for approximately 10-15 minutes, stirring occasionally. Add another half glass of water to adjust consistency and continue simmering until the chilies soften.
- 3.Add Aromatics and Seasonings
Once the chilies are soft and the water has reduced, add 1 teaspoon of garlic paste and 1 teaspoon of ginger paste. Follow with 2 tablespoons of soy sauce, 2 tablespoons of vinegar, 60 grams (4 tablespoons) of sugar, 1 heaped teaspoon of salt, and 2 to 2.5 tablespoons of ketchup. Mix all ingredients thoroughly.
- 4.Cook Until Water Evaporates
Increase the heat slightly and continue cooking the mixture, stirring constantly, until all the water has evaporated and the paste thickens. The goal is to thoroughly cook and blend all the added flavors.
- 5.Prepare Hot Oil
While the chili paste is cooking, place a separate small pan on another burner. Add 1 cup of cooking oil to this pan and heat it until it is very hot.
- 6.Temper the Chili Paste with Hot Oil
Carefully pour the hot oil over the chili paste in small batches, using a ladle. The oil will sizzle and create steam. Stir the paste continuously as you add the oil to incorporate it evenly. Continue until all the hot oil is mixed into the chili paste.
- 7.Cool and Store
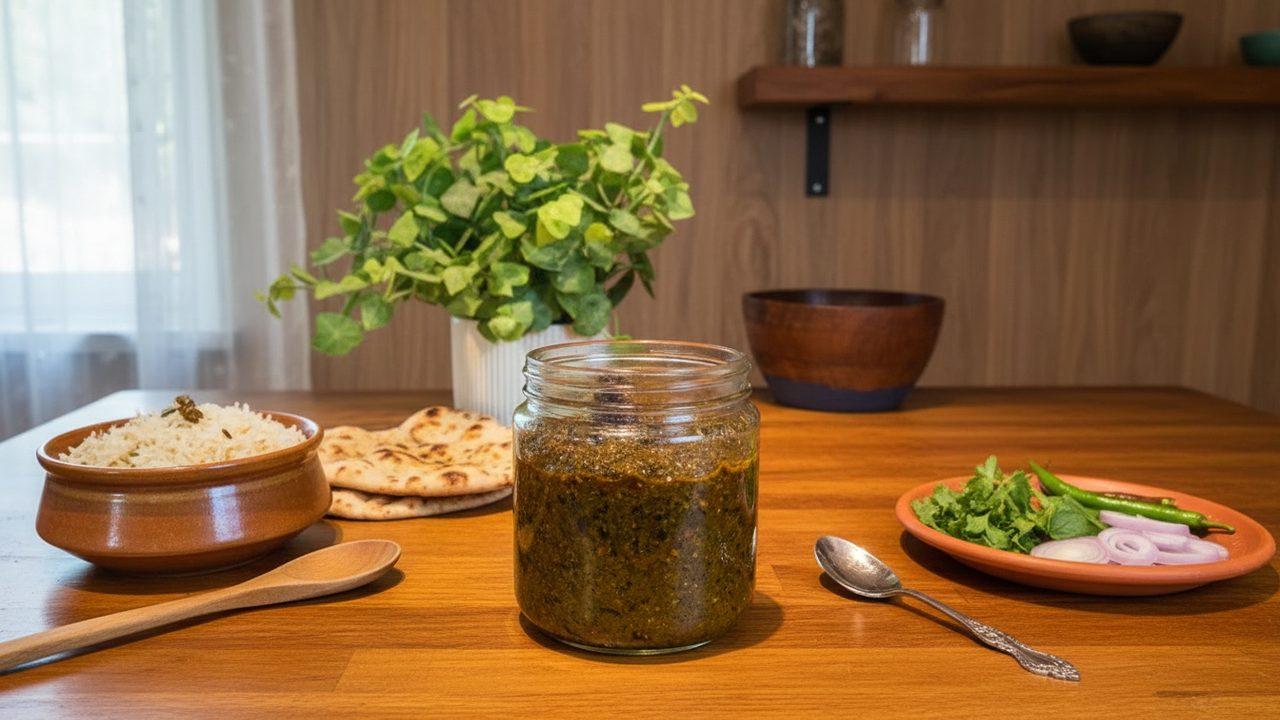
Once all the oil is incorporated, turn off the heat and let the chili paste cool down completely. After cooling, transfer the Chinese chili paste into a clean, airtight container for storage. It can be stored for several months.


Comments (0)
Sign in to leave a comment on this recipe.
Loading comments...