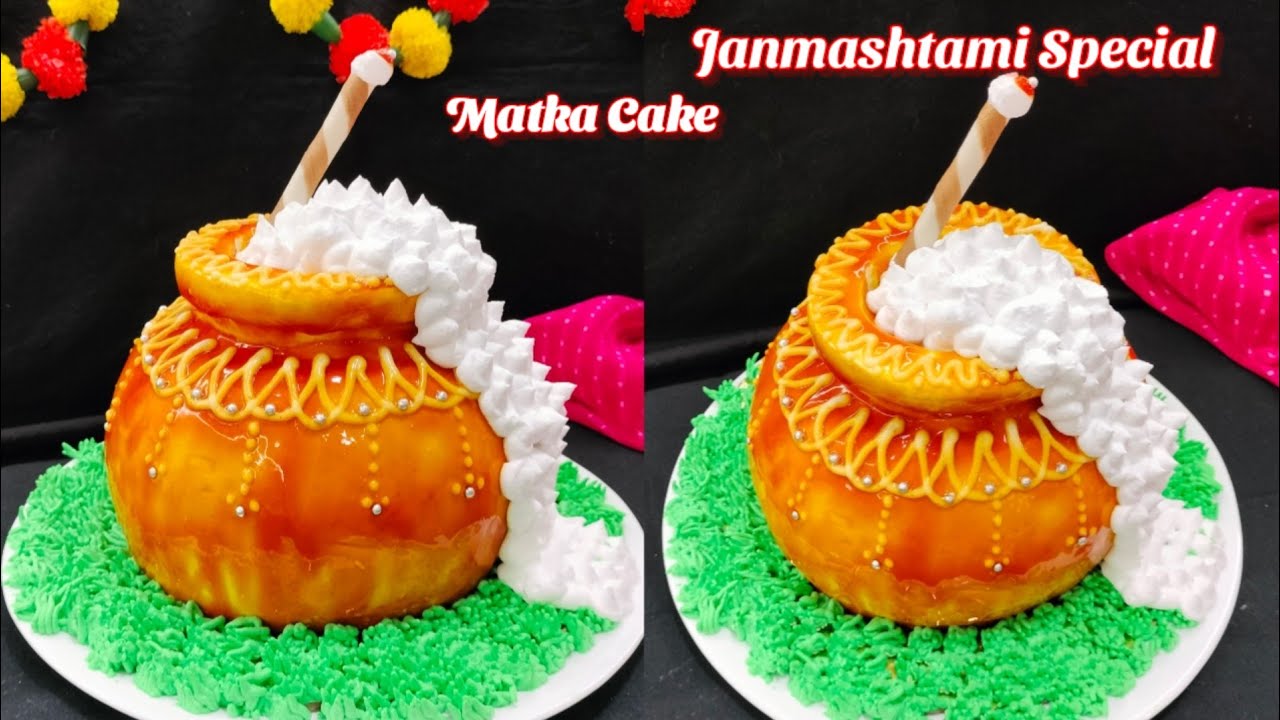
Mataki Cake – Janmashtami Special
For the Cake Base and Filling
For the Natural Glaze
For Decoration
Step-by-Step Instructions
Follow each step to make the recipe successfully.
Prepare the Cake Layers
Take a pre-baked eggless vanilla sponge cake. Using a bread knife, carefully cut the cake into three equal layers. Place the first layer on a cake turntable.
Layering the Cake
Moisten the first cake layer generously with sugar syrup. Apply a thick layer of cream and spread it evenly. Top with a layer of mango crush. Repeat this process for the second cake layer. For the third layer, use the dome-shaped top of the cake, moisten it with sugar syrup, and place it on top.
Crumb Coat and Initial Shaping
Apply a generous amount of cream all over the cake, filling any gaps, especially around the dome shape. Use a piping bag to easily fill the holes. Use a knife or spatula to roughly spread the cream. To give the cake a perfect dome shape for the mataki, carefully cut the bottom edges of the cake obliquely (at an angle) using a knife.
Smooth the Cake Surface
Use a large, flat scraper (can be homemade from an office file) to smooth the entire surface of the cake, creating a rounded, pot-like shape. For an extra smooth and glossy finish, gently run a knife (warmed slightly over a gas flame) over the creamed surface. Be careful not to overheat the knife, as it can melt the cream.
Create the Mataki Neck
Using a piping bag filled with cream, pipe layers of cream around the top center of the cake to form the neck of the mataki. Gradually build up the layers, making the top wider than the base of the neck. Use a small, curved scraper (homemade from an office file) to smooth and define the neck shape, giving it a slightly outward flare.
Prepare the Natural Glaze
In a bowl, combine the natural glaze with a few drops each of brown, metallic gold, orange, and lemon yellow food gel colors. Mix thoroughly until you achieve a beautiful, glossy, dark yellow (basanti) shade. Ensure the glaze is slightly warm and has a flowing consistency.
Glaze the Mataki Cake
Place the creamed mataki cake in the freezer for to chill. Once chilled, transfer the prepared natural glaze into a piping bag. Carefully pour the glaze over the mataki, starting from the top and allowing it to flow down the sides, covering the entire surface. Use a knife to gently spread the glaze if needed, and ensure the inside of the mataki neck is also coated.
Transfer and Decorate the Mataki
Carefully transfer the glazed mataki cake onto a golden cake board or serving plate. Using a piping bag with a small nozzle (filled with cream thinned with fresh cream), create decorative patterns around the neck and body of the mataki. Add silver edible balls to enhance the design.
Add Grass Base and Butter
Using a grass nozzle attached to a piping bag filled with green-colored cream, create a 'grass' base around the bottom of the mataki on the cake board. Fill the inside of the mataki with white cream, allowing some to spill over the side to simulate overflowing butter. Insert a chocolate roll into the 'butter' to represent Lord Krishna's bansuri (flute). Optionally, decorate the tip of the bansuri with a small dab of cream.
Before You Cook
Helpful details before you startStorage & Leftovers
Keep your leftovers fresh and ready to enjoy.
- Freeze
If the whipped cream starts melting while decorating, place the cake in the freezer for 30 minutes to firm it up.
- Freeze
Chill the cake in the freezer for 15 minutes before pouring the natural glaze to help it set better.
- Freeze
Place the creamed mataki cake in the freezer for 15 minutes to chill.
Variations
Simple ways to adapt this recipe.
- Use strawberry or pineapple crushIngredient swap
Use strawberry or pineapple crush instead of mango crush for different flavor profiles.
- Experiment with different food color
Experiment with different food color combinations for the natural glaze to achieve various mataki colors.
- Decorate with different edible sprinkles
Decorate with different edible sprinkles or chocolate shavings according to your preference.
Helpful Tips
Small details that can improve the final result.
Your Notes
Save your personal tweaks, substitutions and cooking adjustments.
Saved only on this device.Example: Used less salt, cooked 5 minutes longer, added extra coriander.
Included when you print this recipe.
More from Niti's Cooking
Other recipes converted from Niti's Cooking's cooking videos.

Palak Patta Chaat - Crispy Spinach Leaf Fritters Chaat
Cuisine
Indian · Street Food
Prep + Cook Time
30 Minutes
Difficulty Level
Medium

Tricolor Puri
Cuisine
Indian · North Indian
Prep + Cook Time
45 Minutes
Difficulty Level
Medium

Chilli Idlis – Indo-Chinese Fusion
Cuisine
Indian · Indo-Chinese
Prep + Cook Time
30 Minutes
Difficulty Level
Medium

Soft & Creamy Cinnamon Rolls
Cuisine
American · Dessert
Prep + Cook Time
2 hr 18 min
Difficulty Level
Medium

Paan Ice Cream – No Cook, No Machine
Cuisine
Indian · North Indian
Prep + Cook Time
10 hr 20 min
Difficulty Level
Easy
You might also like
Other recipes in the same cuisine, meal type, or style — ready to cook whenever you are.

Mango Cake – Easy & Fluffy
Cuisine
Indian
Prep + Cook Time
1 hr
Difficulty Level
Easy
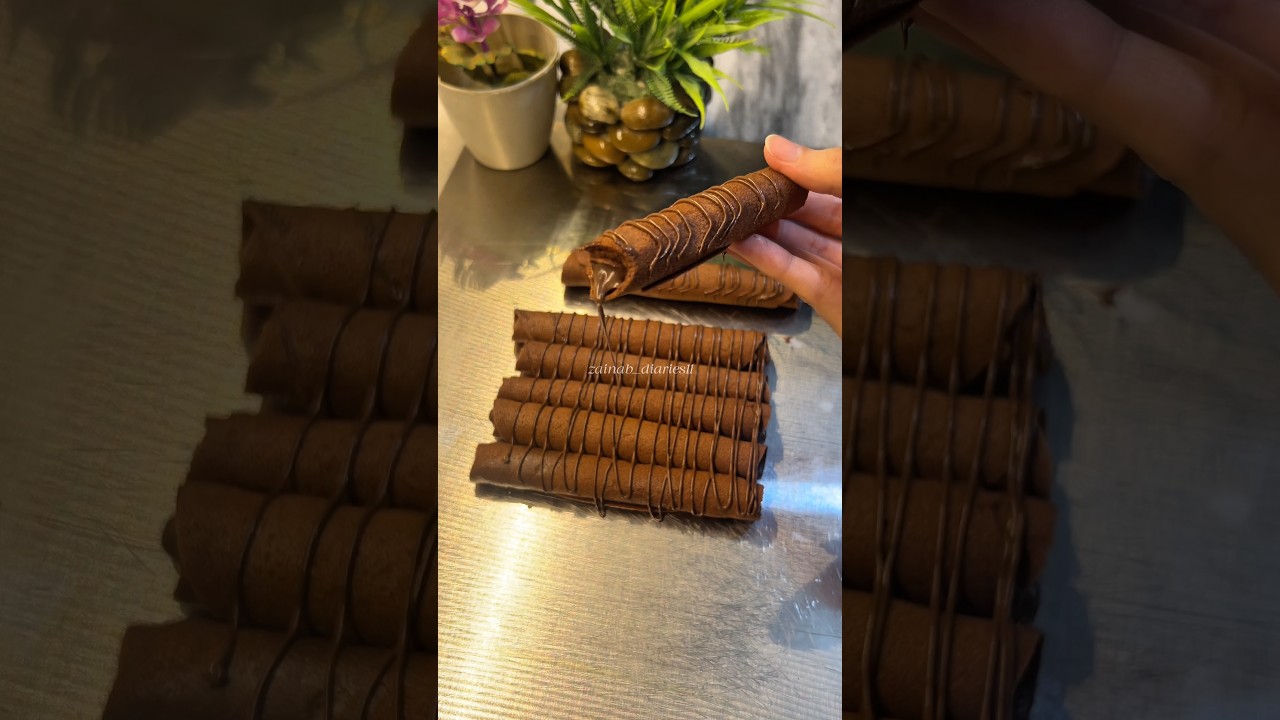
Crispy Eggless Chocolate Wafer Rolls
Cuisine
Indian
Prep + Cook Time
35 Minutes
Difficulty Level
Easy

Onion Paratha (Healthy)
Cuisine
Indian · North Indian
Prep + Cook Time
30 Minutes
Difficulty Level
Easy
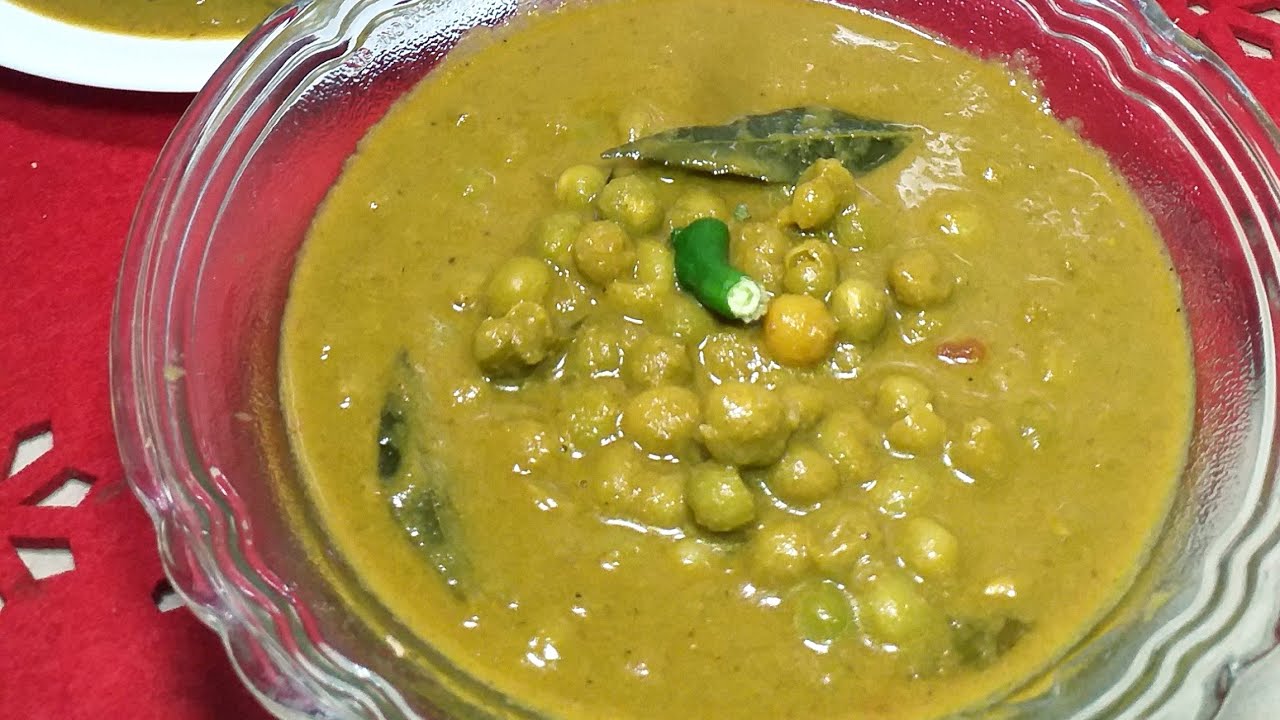
Green Peas Curry – South Indian Style
Cuisine
Indian · South Indian
Prep + Cook Time
50 Minutes
Difficulty Level
Medium

Paneer Bhurji
Cuisine
Indian · North Indian
Prep + Cook Time
30 Minutes
Difficulty Level
Easy

Mix Veg (Restaurant style)
Cuisine
Indian · North Indian
Prep + Cook Time
1 hr 5 min
Difficulty Level
Comments (0)
Sign in to leave a comment on this recipe.
Loading comments...