Fullmeals
HomeExploreCreatorsPantry MatchSurprise Me
HomeExploreCreatorsPantry MatchSurprise MeShopping ListMy Favorites
Fullmeals

Fullmeals helps you cook without watching by converting cooking videos into simple, step-by-step recipes designed for real kitchens.

cook@fullmeals.com

Quick Links

  • How it Works
  • Categories
  • Explore Recipes
  • RSS Feed

Legal

  • Terms of Use
  • Privacy Policy

© 2026 Fullmeals. All rights reserved.

Fullmeals

Making Soft Rotis/Chapatis/Phulkas on an Electric Stove

Recipe by Curries With Bumbi

  • Ready in60 min
  • Prep35 min
  • Cook25 min
  • CuisineIndian · North Indian
  • Serves4 People
  • Calories~250 kcal
Making Soft Rotis/Chapatis/Phulkas on an Electric Stove

Ingredients

Main Ingredients

  • 1.5 cupsAtta (stone ground whole wheat flour)
  • 1/4 tspSalt
  • 1 tspOil
  • a little less than 1 cupBoiling hot water
  • as neededExtra virgin olive oil (or ghee/butter)

Step-by-Step Instructions

  1. 1.Prepare the Dough Mixture

    In a large bowl, combine 1.5 cups of atta (stone ground whole wheat flour), 1/4 teaspoon of salt, and 1 teaspoon of oil. Rub the flour and oil together with your hands until you achieve a breadcrumb-like texture.

  2. 2.Add Hot Water and Rest

    Add a little less than a cup of boiling hot water to the mixture. Mix everything with a spoon and let it rest for 10 minutes. This helps in making the chapatis soft.

  3. 3.Knead the Dough

    Once the dough is comfortable enough to handle, start kneading it. Keep a bowl of warm water nearby. Dip your knuckle in the water, spread out the dough by pressing your knuckle, then gather it together. Repeat this process until you get a soft and very smooth dough. If the dough is too sticky, add a teaspoon of flour at a time. If it's too stiff, add just a sprinkle of water at a time. The final dough should be soft and non-sticky.

  4. 4.Rest the Dough

    After kneading, dab a little water on the dough, cover it with a bowl or a wet cloth, and allow it to rest for 20 minutes. This step is crucial for soft chapatis.

  5. 5.Form Dough Balls

    After 20 minutes, knead the dough one more time. Then, break off small portions of the dough and roll each into a smooth, round ball between your palms, ensuring no large cracks. Gently press each ball to flatten it slightly. Cover the formed dough balls to prevent them from drying out while you roll them.

  6. 6.Prepare for Rolling

    Dust a small amount of atta onto a dough ball. Dust your work surface (chakla or kitchen countertop) with flour. Gently press the floured dough ball with your finger to flatten it further.

  7. 7.Roll out the Roti

    Using a rolling pin (belan), gently roll out the roti. Roll along the top and bottom, then turn the roti slightly and roll again. Do not apply too much pressure. Ensure the roti is evenly thick all around to help it puff up. If it sticks, sprinkle a little more flour, but avoid too much as it can make the roti hard. Aim for a thickness similar to what is shown at 7:00.

  8. 8.Remove Excess Flour

    After rolling, flip the roti between your palms to remove any excess dry flour. This prevents the roti from turning hard during cooking.

  9. 9.Heat the Tawa (Pan)

    Place a heavy-bottomed pan or tawa (cast iron pan or skillet) on your electric stove. Heat it on medium-high heat. For an electric stove, this was between level 3 and 4. Test the heat by sprinkling a few drops of water; if the beads disappear quickly, the pan is ready. Proper heat is essential: too low makes rotis hard, too high burns them.

  10. 10.Cook the Roti

    Carefully place the rolled roti onto the hot tawa. As soon as you see the color on the surface changing and small bubbles forming (approximately 2 seconds), immediately flip it. Wait for another 2 seconds, then flip again. When the roti starts puffing up, gently press it with a spatula all around to help it puff completely. If it browns satisfactorily but doesn't puff, don't keep cooking it, as it will turn hard.

  11. 11.Serve and Store

    Once cooked, transfer the roti to a bowl or pot lined with a clean cloth to prevent it from becoming soggy. Smear a little extra virgin olive oil (or ghee/butter) on the roti to keep it soft for a long time. Leftover rotis can be stored in the fridge for up to two days. Heating instructions for leftovers are provided in the description box.

Printed from Fullmeals.com — turn any cooking video into a recipe.

Making Soft Rotis/Chapatis/Phulkas on an Electric Stove

Ready in

60 mins

Cuisine

Indian · North Indian

Prep Time

35 min

Cook Time

25 min

Serving

4 People

Calories / Serving

~250 kcal
Recipe by Curries With Bumbi on YouTube
Adjust Servings
Measurements
Tap an ingredient to mark it ready0 of 5 ready
All Ingredients

Main Ingredients

Step-by-Step Instructions

Follow each step to make the recipe successfully.

  1. 1

    Prepare the Dough Mixture

    In a large bowl, combine 1.5 cups of atta (stone ground whole wheat flour), 1/4 teaspoon of salt, and 1 teaspoon of oil. Rub the flour and oil together with your hands until you achieve a breadcrumb-like texture.

  2. 2

    Add Hot Water and Rest

    Add a little less than a cup of boiling hot water to the mixture. Mix everything with a spoon and for . This helps in making the chapatis soft.

  3. 3

    Knead the Dough

    Once the dough is comfortable enough to handle, start it. Keep a bowl of warm water nearby. Dip your knuckle in the water, spread out the dough by pressing your knuckle, then gather it together. Repeat this process until you get a soft and very smooth dough. If the dough is too sticky, add a teaspoon of flour at a time. If it's too stiff, add just a sprinkle of water at a time. The final dough should be soft and non-sticky.

  4. 4

    Rest the Dough

    After , dab a little water on the dough, cover it with a bowl or a wet cloth, and allow it to rest for . This step is crucial for soft chapatis.

  5. 5

    Form Dough Balls

    After , the dough one more time. Then, break off small portions of the dough and roll each into a smooth, round ball between your palms, ensuring no large cracks. Gently press each ball to flatten it slightly. Cover the formed dough balls to prevent them from drying out while you roll them.

  6. 6

    Prepare for Rolling

    Dust a small amount of atta onto a dough ball. Dust your work surface (chakla or kitchen countertop) with flour. Gently press the floured dough ball with your finger to flatten it further.

  7. 7

    Roll out the Roti

    Using a rolling pin (belan), gently roll out the roti. Roll along the top and bottom, then turn the roti slightly and roll again. Do not apply too much pressure. Ensure the roti is evenly thick all around to help it puff up. If it sticks, sprinkle a little more flour, but avoid too much as it can make the roti hard. Aim for a thickness similar to what is shown at 7:00.

  8. 8

    Remove Excess Flour

    After rolling, flip the roti between your palms to remove any excess dry flour. This prevents the roti from turning hard during cooking.

  9. 9

    Heat the Tawa (Pan)

    Place a heavy-bottomed pan or tawa (cast iron pan or skillet) on your electric stove. Heat it on medium-high heat. For an electric stove, this was between level 3 and 4. Test the heat by sprinkling a few drops of water; if the beads disappear quickly, the pan is ready. Proper heat is essential: too low makes rotis hard, too high burns them.

  10. 10

    Cook the Roti

    Carefully place the rolled roti onto the hot tawa. As soon as you see the color on the surface changing and small bubbles forming (approximately ), immediately flip it. Wait for another , then flip again. When the roti starts puffing up, gently press it with a spatula all around to help it puff completely. If it browns satisfactorily but doesn't puff, don't keep cooking it, as it will turn hard.

  11. 11

    Serve and Store

    Once cooked, transfer the roti to a bowl or pot lined with a clean cloth to prevent it from becoming soggy. Smear a little extra virgin olive oil (or ghee/butter) on the roti to keep it soft for a long time. Leftover rotis can be stored in the fridge for up to two days. Heating instructions for leftovers are provided in the description box.

Before You Cook

Helpful details before you start
Ingredient SubstitutionsMissing something? View suitable alternatives.
View 2 swaps
  • No Butter?

    • 3/4 the amount of olive oil (for cooking, not baking)
    • Equal parts ghee — Slightly nuttier flavor.
    • Equal parts coconut oil (in baking)
  • No Ghee?

    • Unsalted butter (1:1)
    • Neutral oil (1:1, lacks the toasted note)
Ingredient Substitutions
  • No Butter?

    • 3/4 the amount of olive oil (for cooking, not baking)
    • Equal parts ghee — Slightly nuttier flavor.
    • Equal parts coconut oil (in baking)
  • No Ghee?

    • Unsalted butter (1:1)
    • Neutral oil (1:1, lacks the toasted note)
AllergensThis recipe contains gluten.
gluten

Storage & Leftovers

Keep your leftovers fresh and ready to enjoy.

  • Refrigerate

    Leftover rotis can be stored in the fridge for up to two days.

  • Store

    Heating instructions for leftovers are provided in the description box.

Variations

Simple ways to adapt this recipe.

  • 1
    Puffing rotis directly on an

    Puffing rotis directly on an electric stove using a rack (refer to the detailed video linked in the description).

Helpful Tips

Small details that can improve the final result.

  • 1
    TipUse Stone

    Ground fine whole wheat flour (atta) for best results.

  • 2
    Cooking tipUse Boiling Hot Water for

    Use boiling hot water for kneading the dough to make chapatis soft and easier to handle.

  • 3
    PreparationAllow the Dough to Rest

    Allow the dough to rest for 20 minutes to become more manageable and soft.

  • 4
    Cooking tipKnead the Dough Until It

    Knead the dough until it is soft and non-sticky; adjust with small amounts of flour or water as needed.

  • 5
    TipRoll Out Rotis Gently and

    Roll out rotis gently and evenly to ensure they puff up well.

  • 6
    Cooking tipAdjust the Pan Heat Carefully

    Too low makes rotis hard, too high burns them.

  • 7
    TipSmear Ghee

    Butter, or extra virgin olive oil on cooked rotis to keep them soft for longer.

Was this recipe helpful?

Comments (0)

Sign in to leave a comment on this recipe.

Loading comments...

More from Curries With Bumbi

Other recipes converted from Curries With Bumbi's cooking videos.

Easy Paneer Curry – North Indian Style

Easy Paneer Curry – North Indian Style

Cuisine

Indian · North Indian

Prep + Cook Time

45 Minutes

Difficulty Level

Easy

Vegetable Dal (Lentil Curry) with Tarka – Indian Style

Vegetable Dal (Lentil Curry) with Tarka – Indian Style

Cuisine

Indian · Bengali

Prep + Cook Time

1 hr

Difficulty Level

Medium
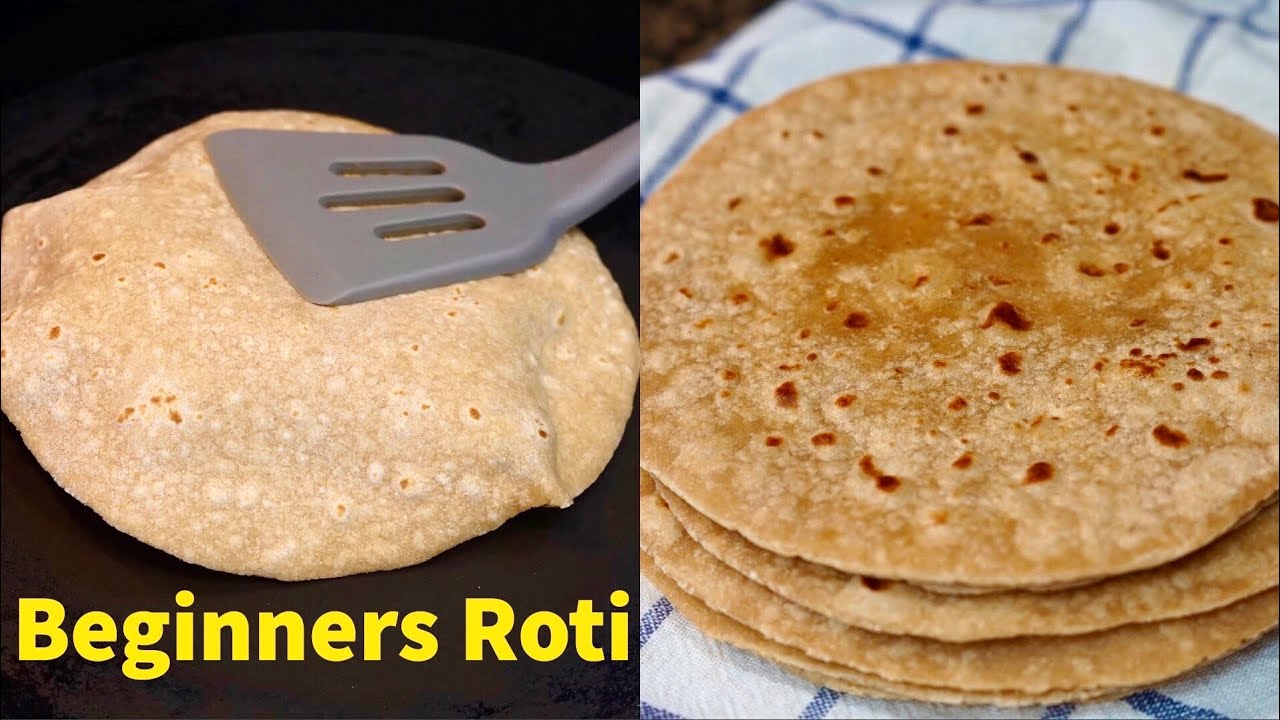
How to make soft Roti/Chapati/Phulka on an electric stove

How to make soft Roti/Chapati/Phulka on an electric stove

Cuisine

Indian · North Indian

Prep + Cook Time

50 Minutes

Difficulty Level

Medium

Chicken Biryani - Restaurant Style

Chicken Biryani - Restaurant Style

Cuisine

Indian · Mughlai

Prep + Cook Time

2 hr 15 min

Difficulty Level

Medium

Dal Makhani – Punjabi Style

Dal Makhani – Punjabi Style

Cuisine

Indian · North Indian

Prep + Cook Time

1 hr 15 min

Difficulty Level

Medium
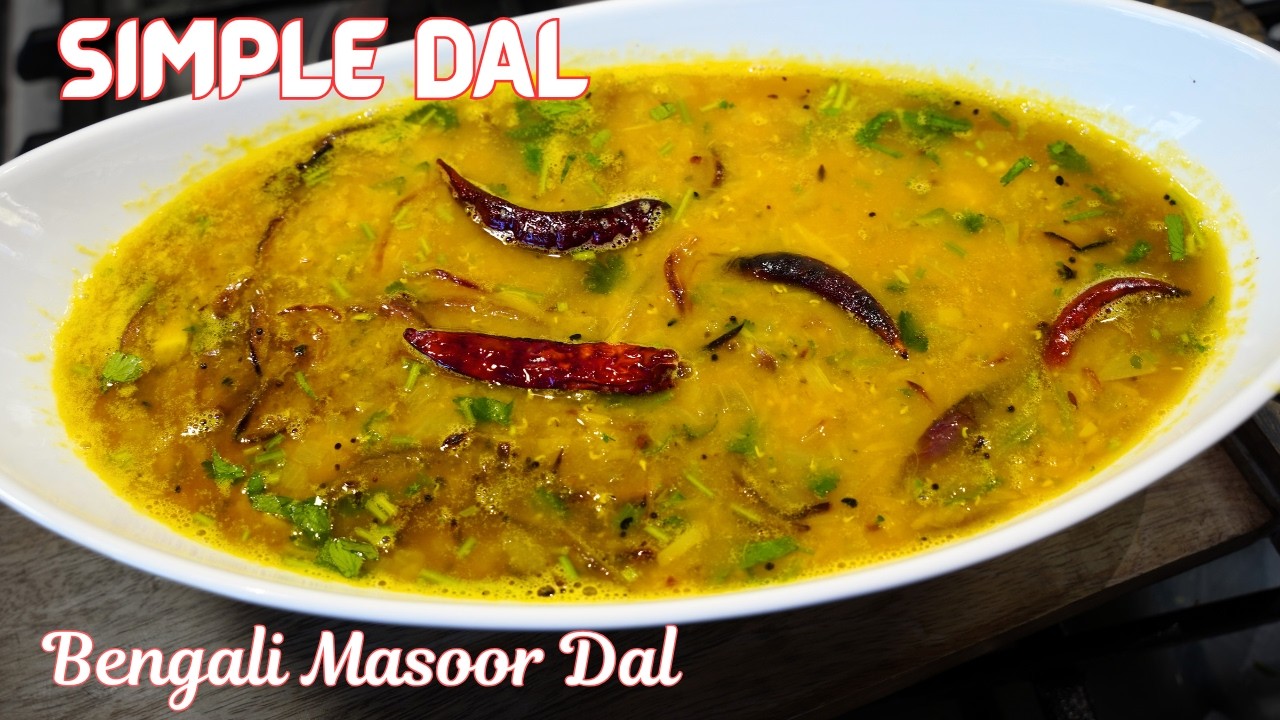
Masoor Dal (Red Lentil Soup) – East Indian Style

Masoor Dal (Red Lentil Soup) – East Indian Style

Cuisine

Indian · East Indian / Bengali

Prep + Cook Time

40 Minutes

Difficulty Level

Easy

You might also like

Other recipes in the same cuisine, meal type, or style — ready to cook whenever you are.
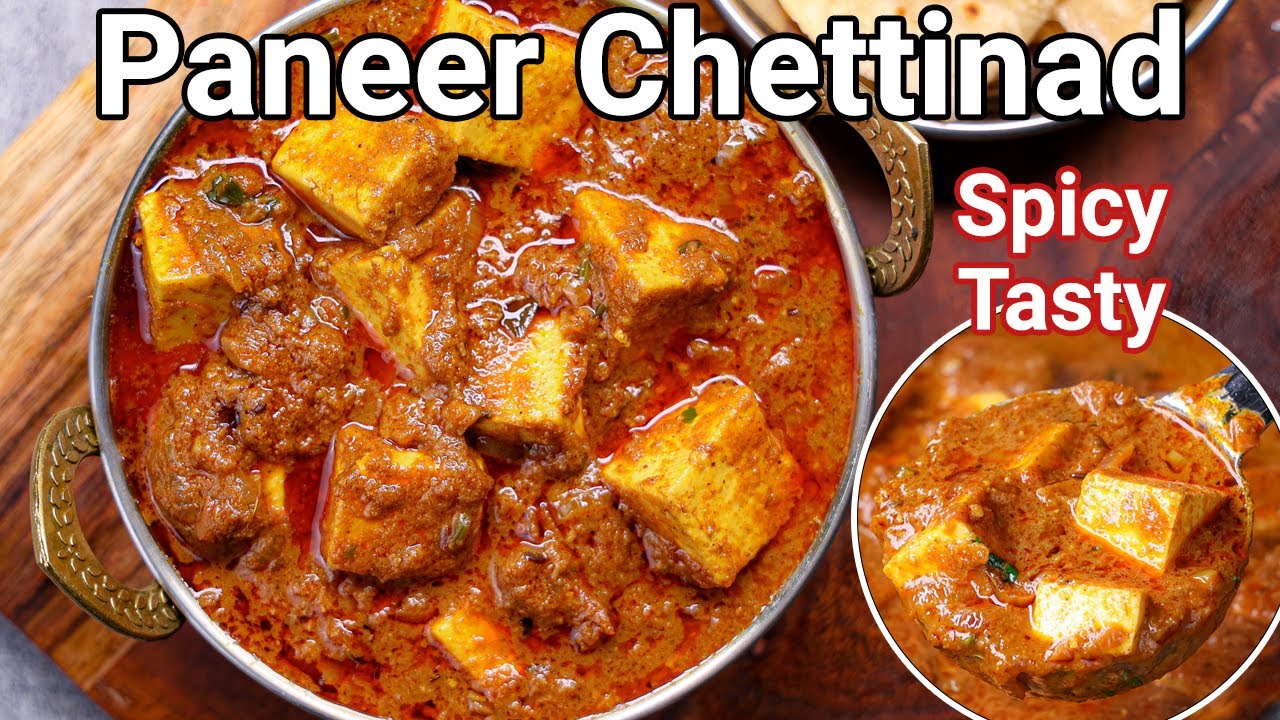
Spicy Homemade Masala Paneer Chettinad (South Indian Paneer Curry)

Spicy Homemade Masala Paneer Chettinad (South Indian Paneer Curry)

Cuisine

Indian · South Indian

Prep + Cook Time

45 Minutes

Difficulty Level

Medium

Perfect Chapatti / Roti

Perfect Chapatti / Roti

Cuisine

Indian · South Asian

Prep + Cook Time

47 Minutes

Difficulty Level

Medium

Homemade Roti (Indian Flatbread)

Homemade Roti (Indian Flatbread)

Cuisine

Indian · North Indian

Prep + Cook Time

32 Minutes

Difficulty Level

Easy

Dhaba Style Curry MUTTER PANEER

Dhaba Style Curry MUTTER PANEER

Cuisine

Indian · North Indian

Prep + Cook Time

40 Minutes

Difficulty Level

Medium

Palak Paneer with a Twist

Palak Paneer with a Twist

Cuisine

Indian · North Indian

Prep + Cook Time

35 Minutes

Difficulty Level

Medium

Palak Paneer (Spinach and Paneer Curry)

Palak Paneer (Spinach and Paneer Curry)

Cuisine

Indian · North Indian

Prep + Cook Time

45 Minutes

Difficulty Level

Medium