
Leftover Dal Chawal Idli - Quick & Easy Recipe
For Idli Batter
For Tempering
Step-by-Step Instructions
Follow each step to make the recipe successfully.
Prepare the Batter
In a mixer grinder, add 1 bowl of leftover rice, 1 bowl of leftover dal, 1.5 bowls of semolina, and 1 bowl of curd. Grind into a smooth paste, adding about 0.5 cup of water if necessary to achieve a smooth consistency. Transfer the batter to a bowl and for .
Prepare the Tempering
Heat 1 tsp of oil in a pan. Add 0.5 tsp of cumin seeds and 0.5 tsp of mustard seeds. Once they splutter, add 2-3 chopped green chilies, 1 chopped onion, 1 chopped capsicum, and 1 grated carrot. the vegetables for until slightly softened. Turn off the heat.
Combine and Season
Add the vegetables to the rested idli batter. Add chopped coriander leaves, salt to taste (remembering dal might already have salt), and 0.5 tsp of chili flakes. Mix all ingredients thoroughly until well combined.
Prepare Idli Molds and Steamer
Grease the idli molds with a little oil to prevent sticking. Fill the steamer with water and bring it to a boil while preparing the batter.
Add Fruit Salt
Just before , add 1.5 pouches of fruit salt (Eno) to the batter. Pour about 1 tablespoon of water over the Eno to activate it. Quickly mix the Eno into the batter until it's frothy. Do not overmix.
Steam the Idlis
Immediately pour the batter into the greased idli molds, filling each cavity about three-quarters full. Place the molds into the pre-heated steamer. Cover and on medium flame for after the has built up.
Serve
Once , remove the idli molds from the steamer and let them cool for . Gently demold the idlis. Serve the soft and fluffy leftover dal chawal idlis with your favorite chutney.
Before You Cook
Helpful details before you startIngredient SubstitutionsMissing something? View suitable alternatives.View 3 swaps
No Yogurt?
- Sour cream (1:1)
- Buttermilk (1:1, slightly thinner result)
No Onion?
- 1 tbsp onion powder (per medium onion)
- 3 tbsp dried minced onion
- Shallots or leeks (1:1)
No Cilantro?
- Flat-leaf parsley (1:1, milder)
- Fresh mint (in chutneys, salads)
Storage & Leftovers
Keep your leftovers fresh and ready to enjoy.
- Store
This recipe transforms leftover dal and rice into delicious, soft, and fluffy idlis.
- Store
In a mixer grinder, add 1 bowl of leftover rice, 1 bowl of leftover dal, 1.
- Store
Serve the soft and fluffy leftover dal chawal idlis with your favorite chutney.
Variations
Simple ways to adapt this recipe.
- Add other vegetables like peasCustomise
Corn, or finely chopped beans.
- Adjust spice level by increasing
Adjust spice level by increasing or decreasing green chilies and chili flakes.
- Serve with coconut chutney or sambar
Helpful Tips
Small details that can improve the final result.
You might also like
Other recipes in the same cuisine, meal type, or style — ready to cook whenever you are.
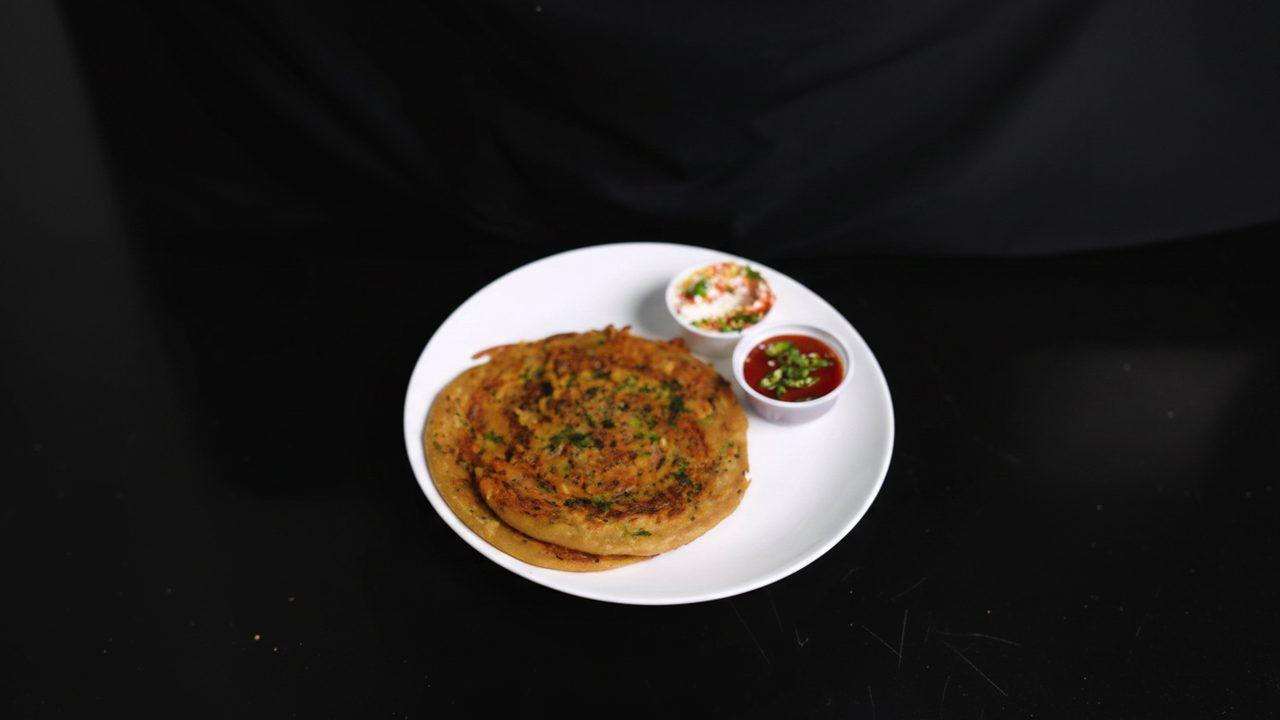
Onion Laccha Paratha - Indian Style
Cuisine
Indian · North Indian
Prep + Cook Time
35 Minutes
Difficulty Level
Medium
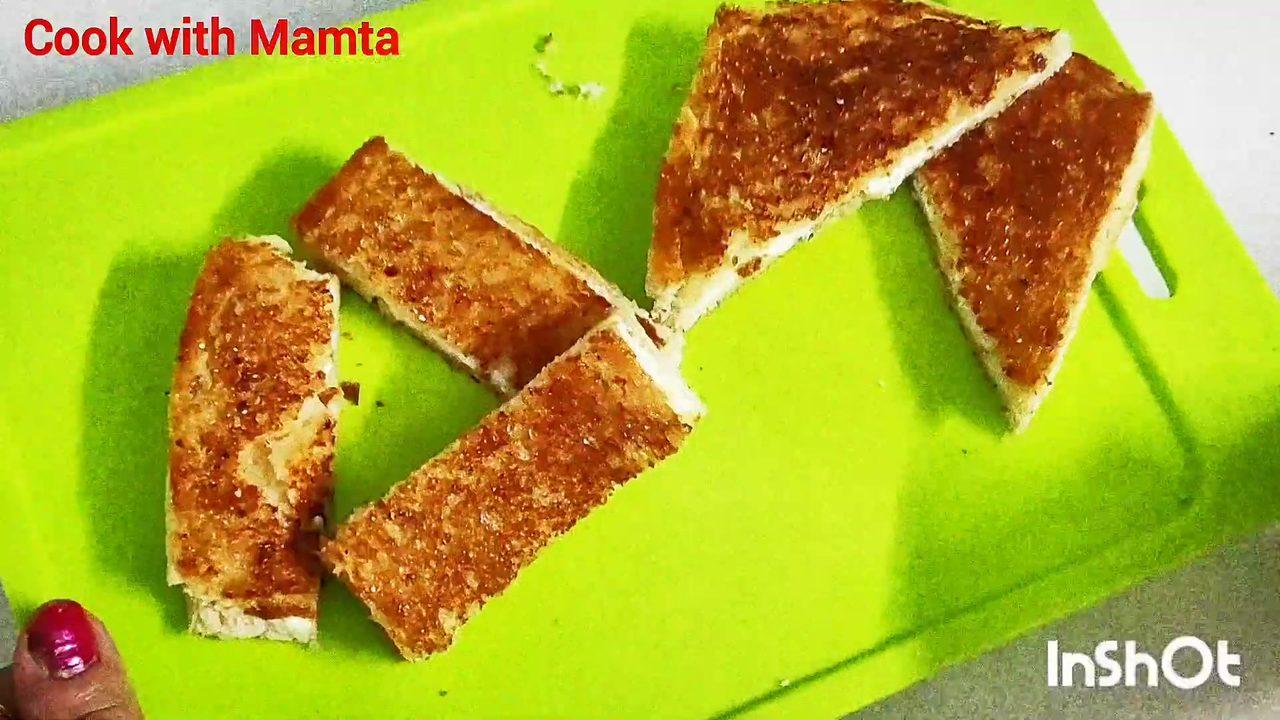
Sweet Salty Cheesy Sandwich - Quick Snack
Cuisine
Indian · Snack
Prep + Cook Time
10 Minutes
Difficulty Level
Easy
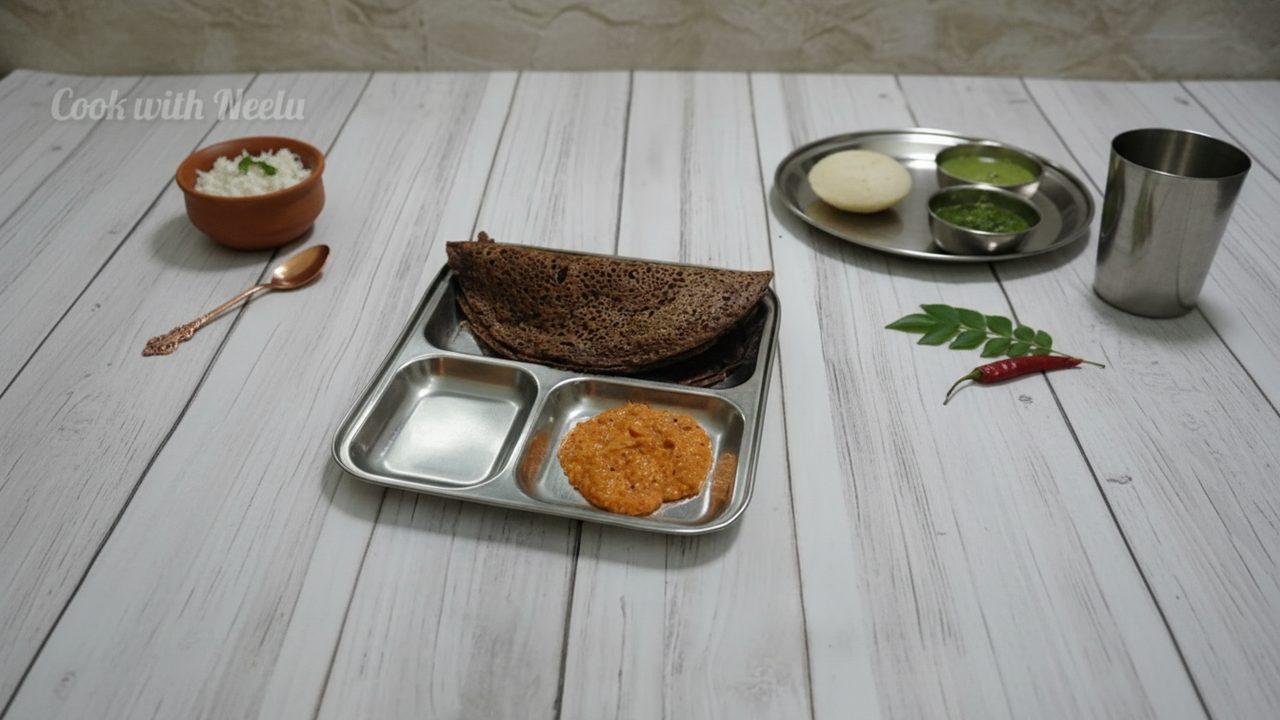
Ragi Dosa with Spicy Garlic Tomato Chutney
Cuisine
Indian · South Indian
Prep + Cook Time
40 Minutes
Difficulty Level
Easy
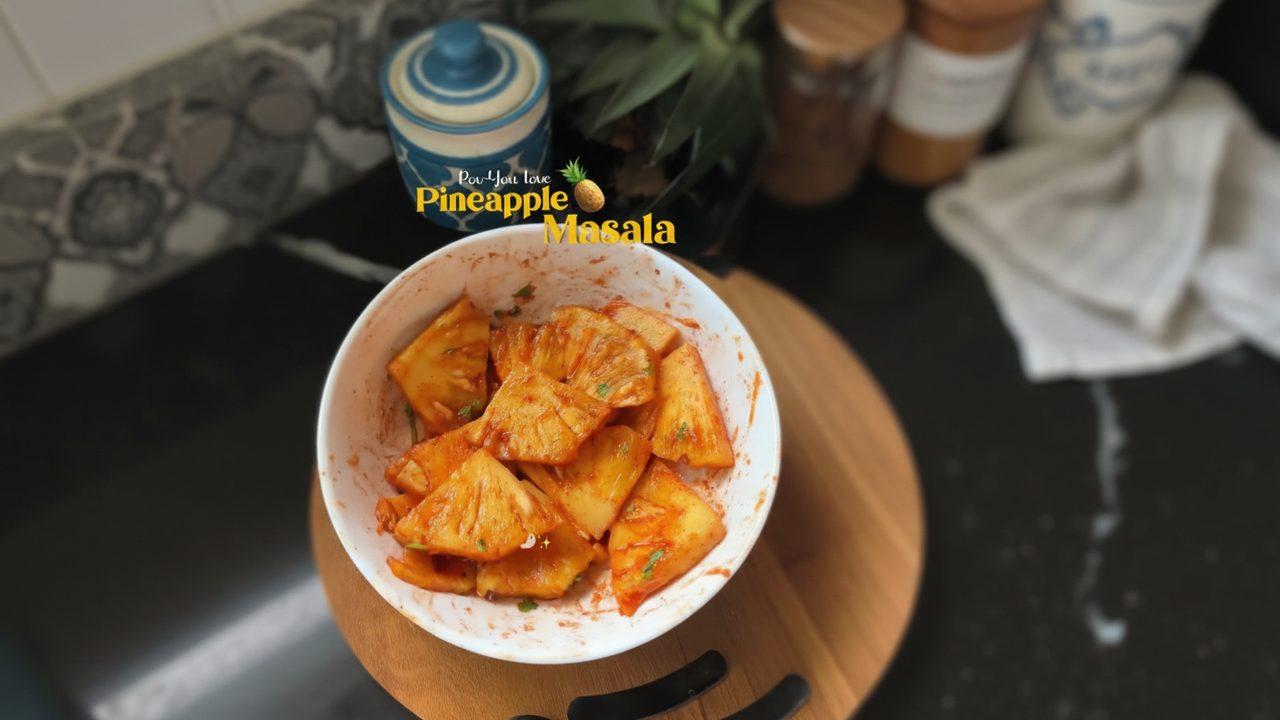
Pineapple Masala – Indian Street Style
Cuisine
Indian · Street Food
Prep + Cook Time
5 Minutes
Difficulty Level
Easy
Crispy Kurkuri Bhindi
Cuisine
Indian · North Indian
Prep + Cook Time
25 Minutes
Difficulty Level
Easy

Jaggery Coconut Cookies (Air Fryer)
Cuisine
Indian
Prep + Cook Time
50 Minutes
Difficulty Level
Comments (0)
Sign in to leave a comment on this recipe.
Loading comments...