Lauki Curry (Green Squash with Red Lentils) – South Indian Style
Recipe by Vegetarian Home Style Cooking

Ingredients
Main Ingredients
- 1 mediumGreen Squash (Lauki)
- 2 medium (or 1 large plum tomato), choppedTomatoes
- 2 medium, peeled wholeOnions
- 2 medium, cut into large piecesPotatoes
- 1 cupWater
For the Paste
- 1/2 cupRed Lentils (Tur Dal or Moong Dal)
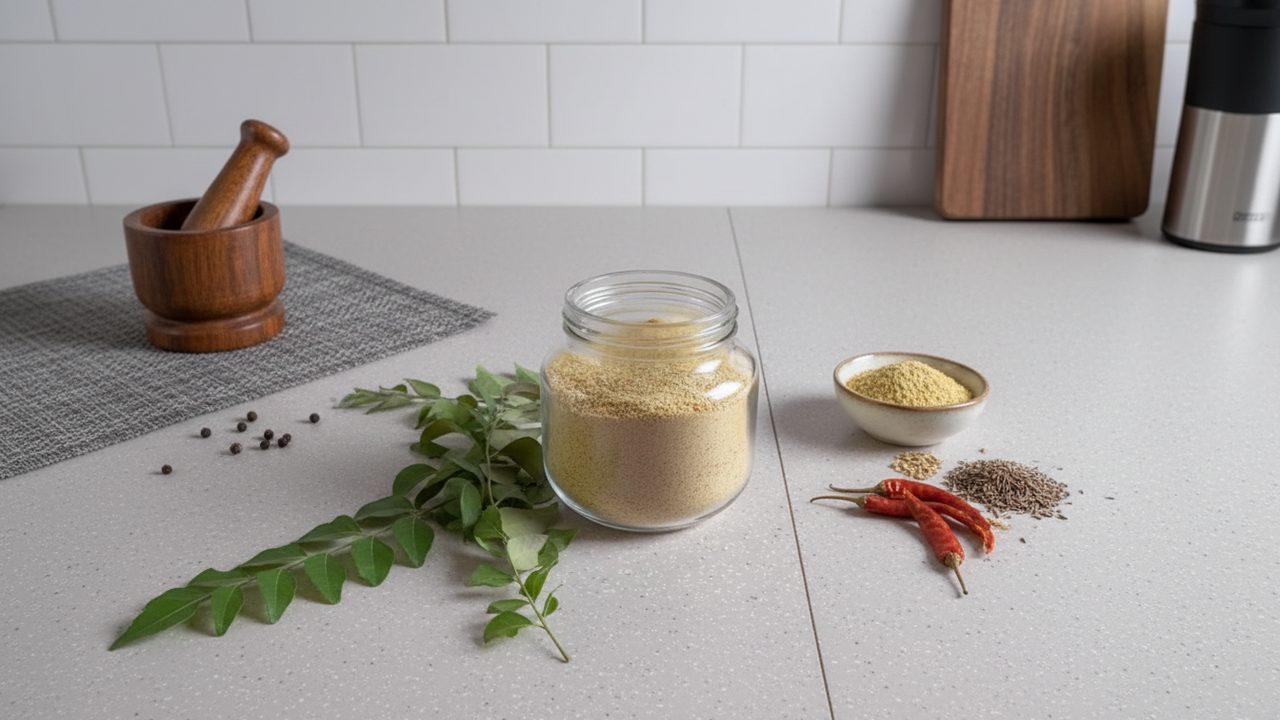
- 1 tbspCoriander Seeds
- 1 tbspCumin Seeds
- 1/4 cup (frozen or fresh)Coconut
- 4 clovesGarlic
- 1 tsp (or to taste)Salt
- 1 tspTurmeric Powder
- 1 tsp (or to taste)Red Chili Powder
- 1 tbsp (white or brown)Sugar
- 1/4 cup (handful)Curry Leaves
- 2 tbspTamarind Paste
For Tempering
- 1 tbspOil
- 1 tspCumin Seeds
- 1 tspMustard Seeds
Step-by-Step Instructions
- 1.Prepare Lentils and Spices
Place the red lentils, coriander seeds, and cumin seeds in a microwave-safe bowl. Microwave for 1 minute to lightly roast them. This enhances their flavor.
- 2.Load Instant Pot with Vegetables
Add the chopped tomatoes, peeled whole onions, cut potatoes, and chopped green squash to the inner pot of the Instant Pot.
- 3.Prepare the Spice Paste
Transfer the microwaved red lentils, coriander seeds, cumin seeds, coconut, and garlic cloves to a blender. Add 1 cup of water and blend until a fine, smooth paste is formed.
- 4.Season the Paste
To the blended paste, add salt, turmeric powder, red chili powder, sugar, tamarind paste, and curry leaves. Mix all ingredients thoroughly until well combined.
- 5.Combine and Pressure Cook
Pour the seasoned paste mixture over the vegetables in the Instant Pot. Close the Instant Pot lid and ensure the vent is in the sealing position. Set the Instant Pot to 'Manual' (or 'Pressure Cook') on high pressure for 5 minutes.
- 6.Natural Pressure Release
Once the cooking cycle is complete, allow the Instant Pot to perform a Natural Pressure Release (NPR). This means letting the pressure release naturally until the silver float valve drops down. This usually takes about 10-15 minutes.
- 7.Prepare Tempering
While the Instant Pot is releasing pressure, prepare the tempering. In a small microwave-safe bowl, add 1 tablespoon of oil, 1 teaspoon of cumin seeds, and 1 teaspoon of mustard seeds. Microwave for 1 minute until the seeds splutter.
- 8.Finish and Serve
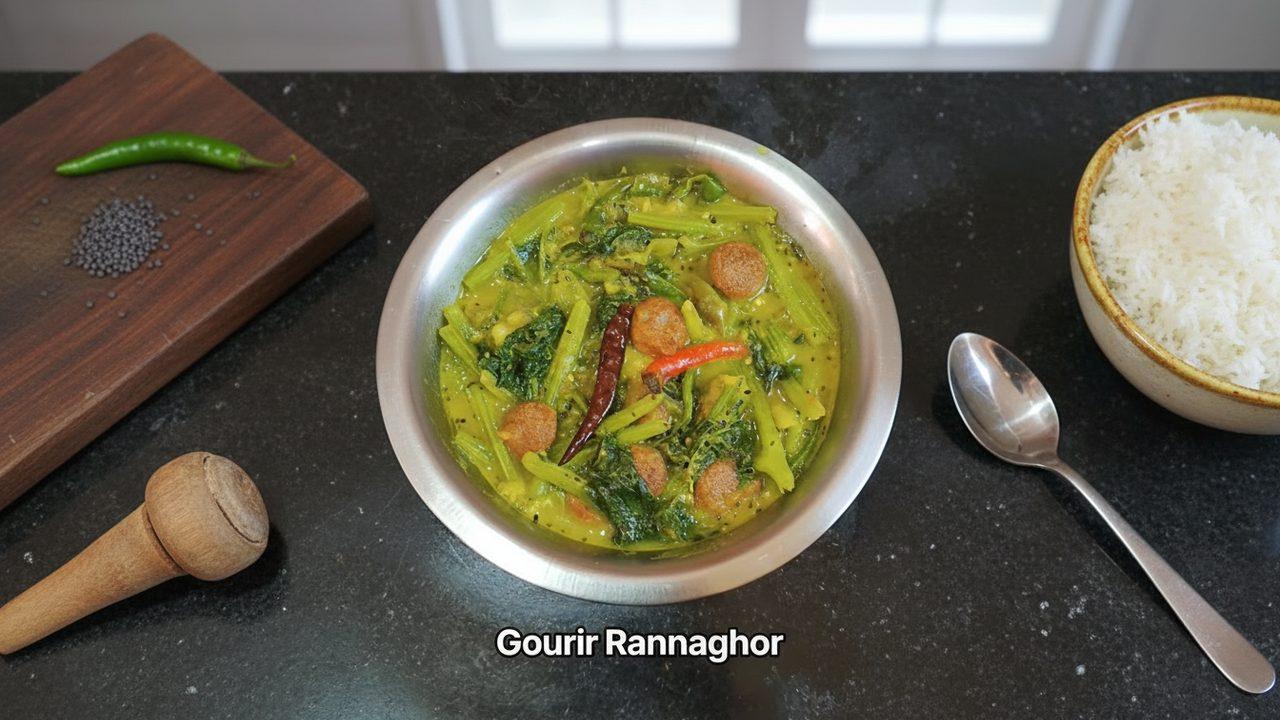
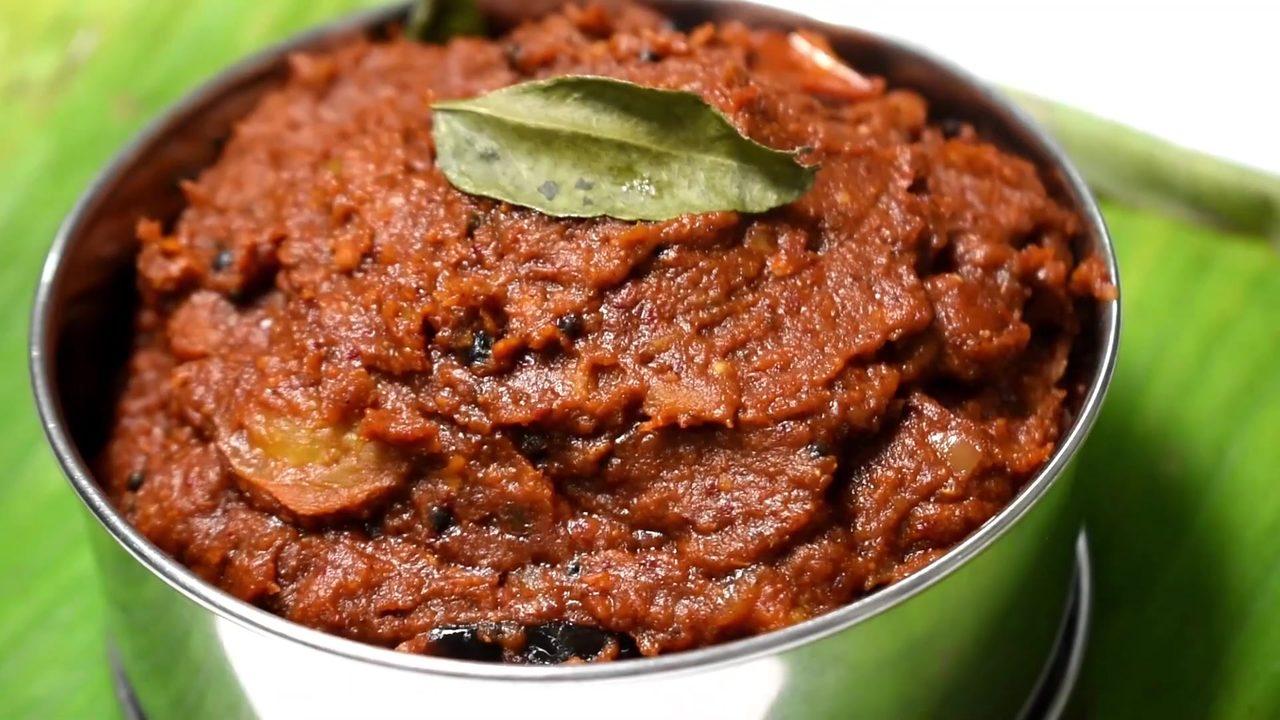
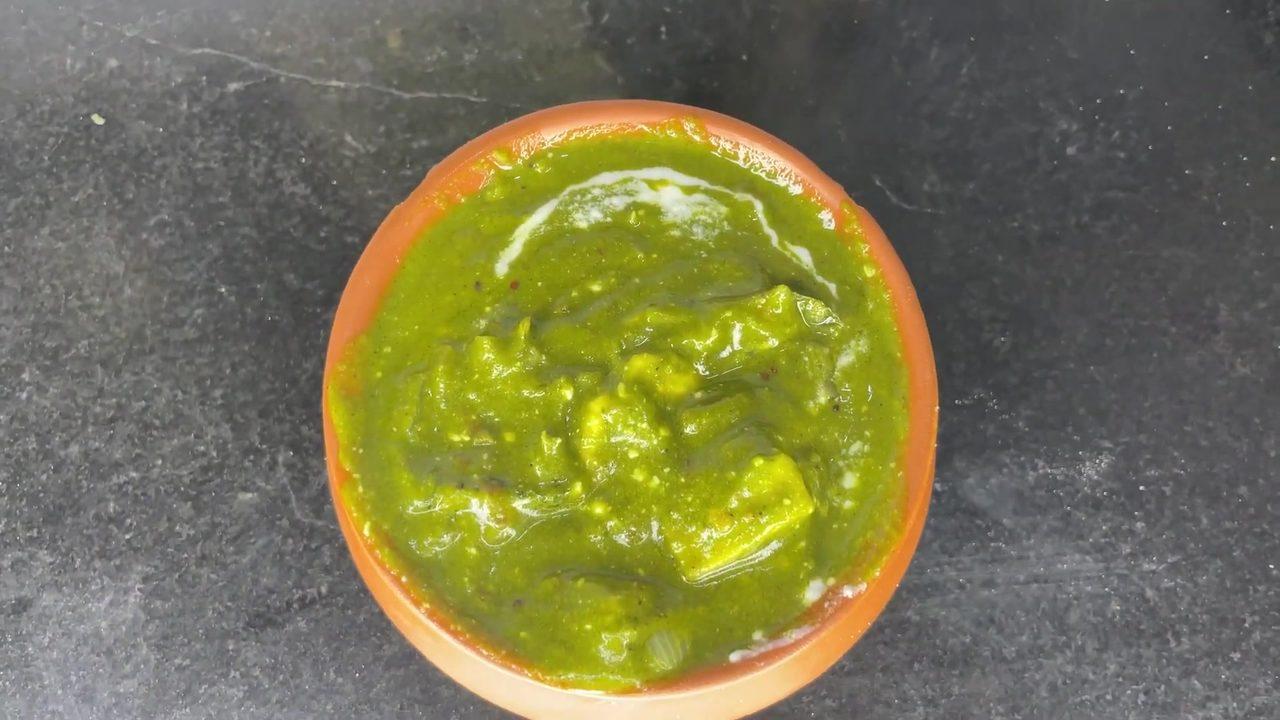
Once the pressure is fully released, open the Instant Pot lid. Stir the curry gently. Add the prepared tempering to the curry and mix well. Serve the hot Lauki Curry with your choice of grains or flatbreads.









Comments (0)
Sign in to leave a comment on this recipe.
Loading comments...