Homemade Paneer – Indian
All Ingredients - Main Ingredients
- Full-fat milk 2 liters
- Lemon juice or white vinegar 4-6 tablespoons
Don't have an ingredient? Try these swaps
No Milk?
- Unsweetened almond / soy / oat milk (1:1)
- 1/2 cup evaporated milk + 1/2 cup water (per 1 cup)
No Lemon juice?
- Lime juice (1:1)
- 1/2 the amount white vinegar — In dressings, savory dishes.
No Vinegar (white)?
- Lemon or lime juice (1:1)
- Apple cider vinegar (1:1)
⚠ Contains Allergens
Step-by-Step Instructions
Step 1: Heat the Milk
Pour the full-fat milk into a heavy-bottomed pot and place it on the stove. Heat the milk over medium-high heat, stirring occasionally with a spoon to prevent scorching, until it comes to a rolling boil and bubbles appear on the surface.
Step 2: Curdle the Milk
Once the milk is boiling, the heat to low. Gradually add the lemon juice or white vinegar, stirring gently. Continue stirring until the milk completely curdles, separating into solid white curds and yellowish-green whey. This should happen within .
Step 3: Strain the Curds
Line a colander with a clean cheesecloth or a thin cotton kitchen towel. Place the colander over a large bowl or sink. Carefully pour the curdled milk into the cheesecloth-lined colander, allowing the whey to drain away.
Step 4: Drain and Press the Paneer
Gather the edges of the cheesecloth to form a pouch around the curds. Gently squeeze out any excess whey. Place the wrapped curds back into the colander, flatten them slightly, and place a heavy object (like a cast-iron pan or a few cans) on top to press out more liquid. Let it press for until the paneer is firm.
Step 5: Cut the Paneer
Once the paneer is firm and has cooled, unwrap it from the cheesecloth. Place it on a cutting board and cut it into desired shapes, such as cubes or triangles, as shown.
Pro Tips
• Use full-fat milk for the best yield and softest paneer.
• Do not overcook the curds after separation, as it can make the paneer hard and rubbery.
• The whey can be used in soups, kneading dough, or as a nutritious drink.
Variations
• Add a pinch of salt or herbs like mint or cilantro to the milk before curdling for flavored paneer.
• For a softer paneer, press for a shorter duration or with less weight.
Your Notes
Jot down your tweaks — swaps you tried, cook-time adjustments, family reactions. Saved on this device only, and printed with the recipe.
You might also like
Other recipes in the same cuisine, meal type, or style — ready to cook whenever you are.
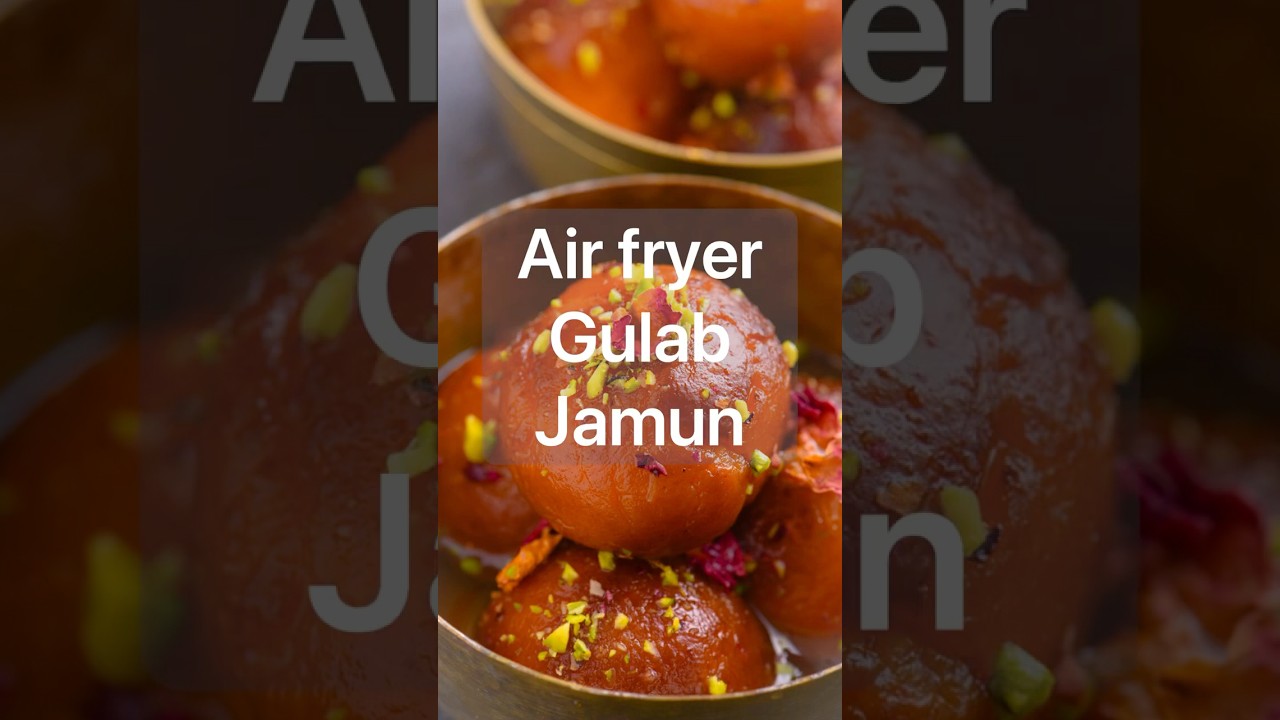
Air Fryer Gulab Jamun
Cuisine
Indian · Indian Dessert
Prep + Cook Time
30 Minutes
Difficulty Level
Medium
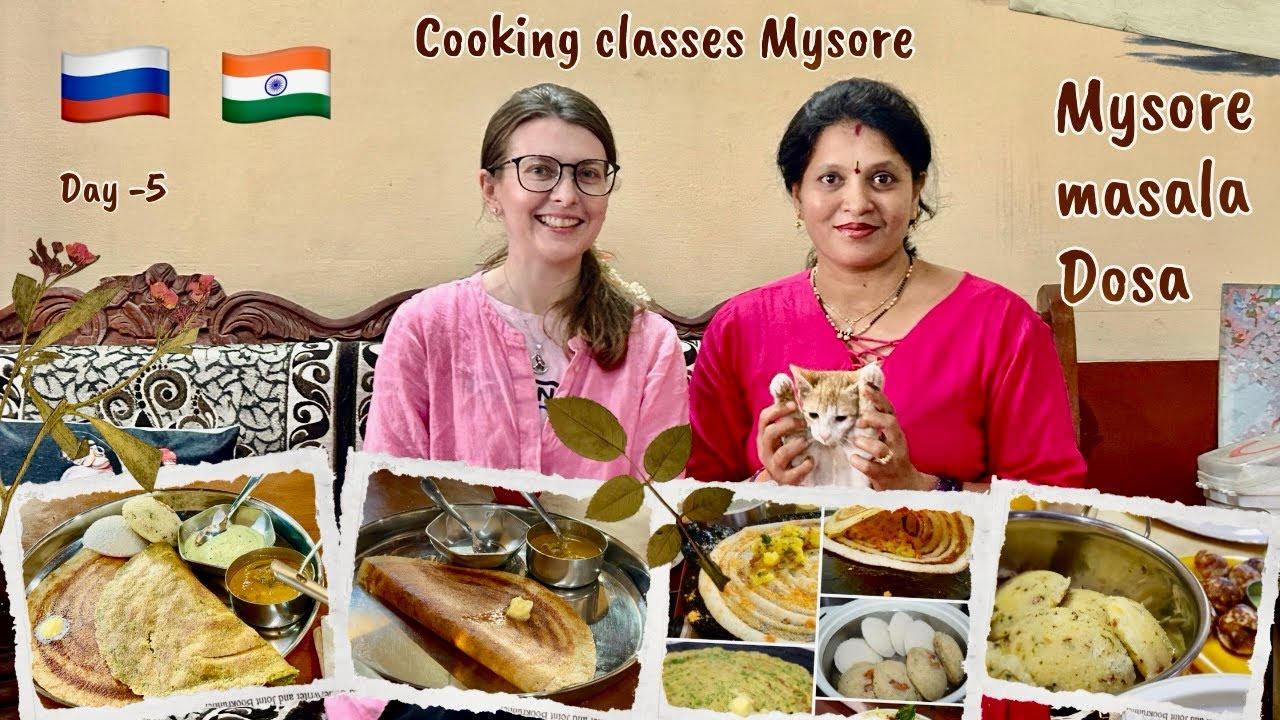
South Indian Breakfast Platter: Masala Dosa, Green Dosa & Rava Idli
Cuisine
Indian · South Indian
Prep + Cook Time
1 hr 15 min
Difficulty Level
Medium

Crispy Dosa and Uttapam with Two Chutneys
Cuisine
Indian · South Indian
Prep + Cook Time
1 hr
Difficulty Level
Medium
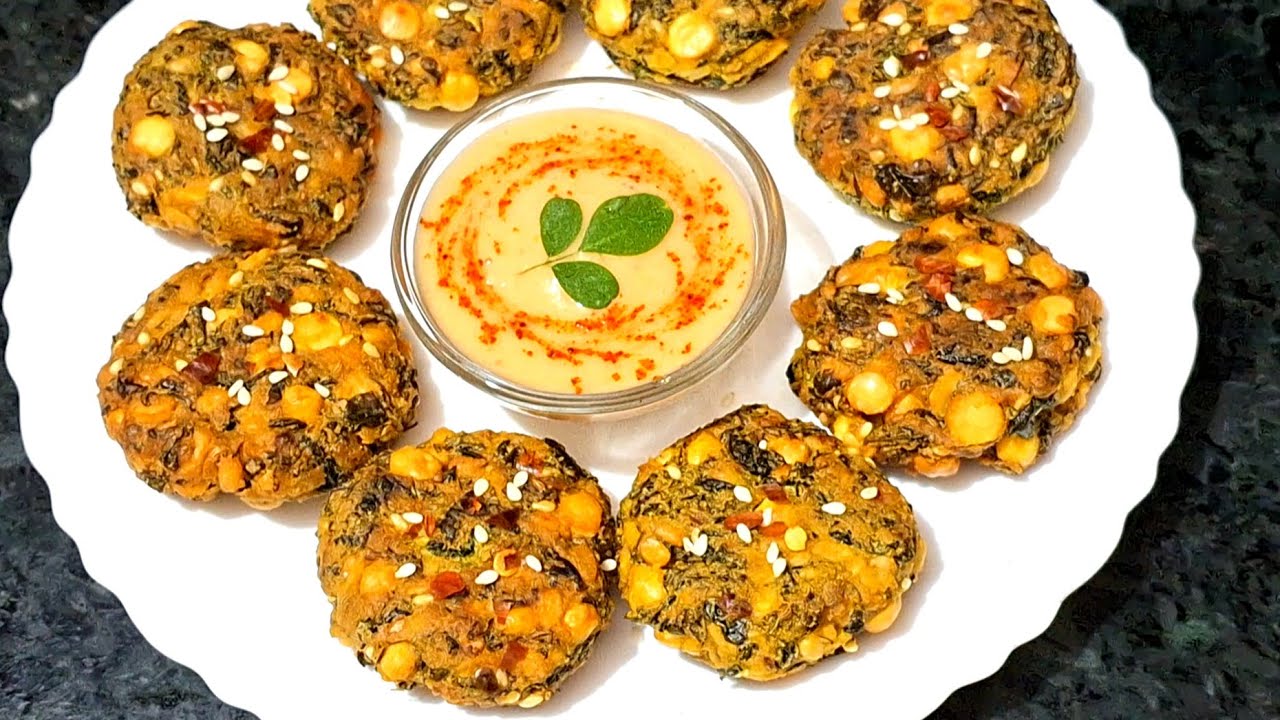
Moringa Vada / Drumstick Leaves Fritters
Cuisine
Indian · South Indian
Prep + Cook Time
30 Minutes
Difficulty Level
Easy
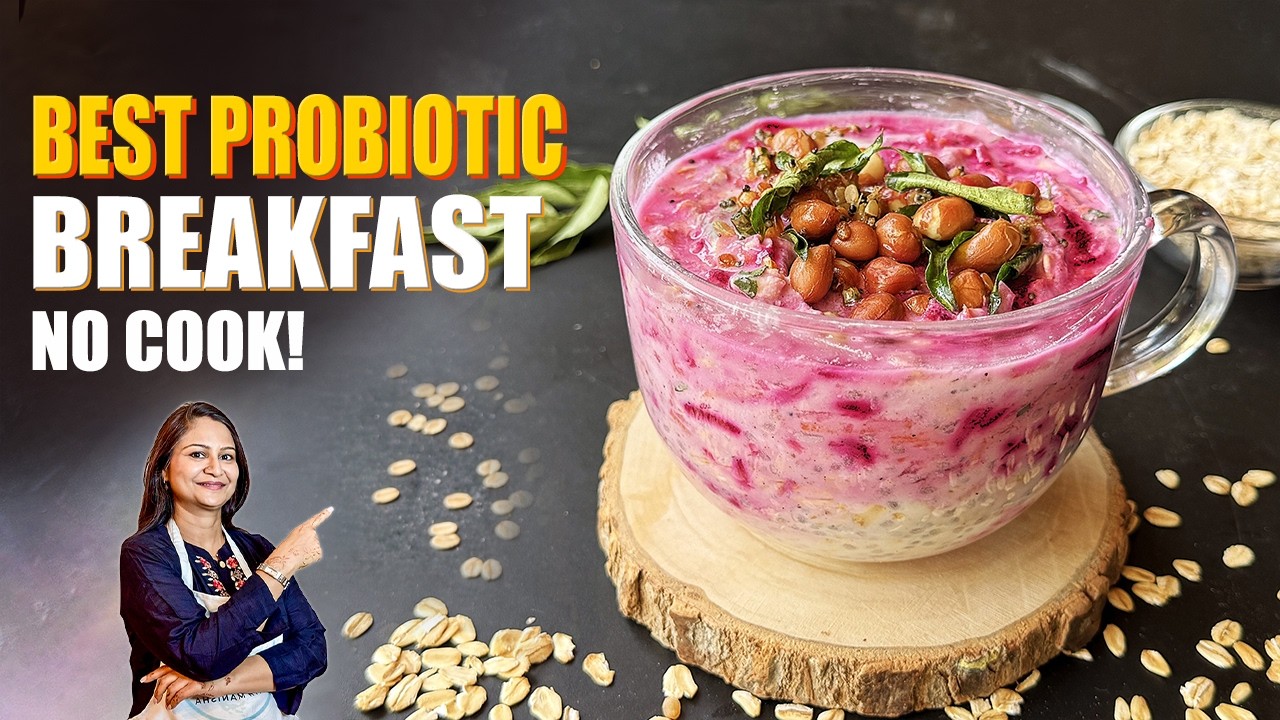
Savory Overnight Oats (Indian Style)
Cuisine
Indian · South Indian
Prep + Cook Time
20 Minutes
Difficulty Level
Easy
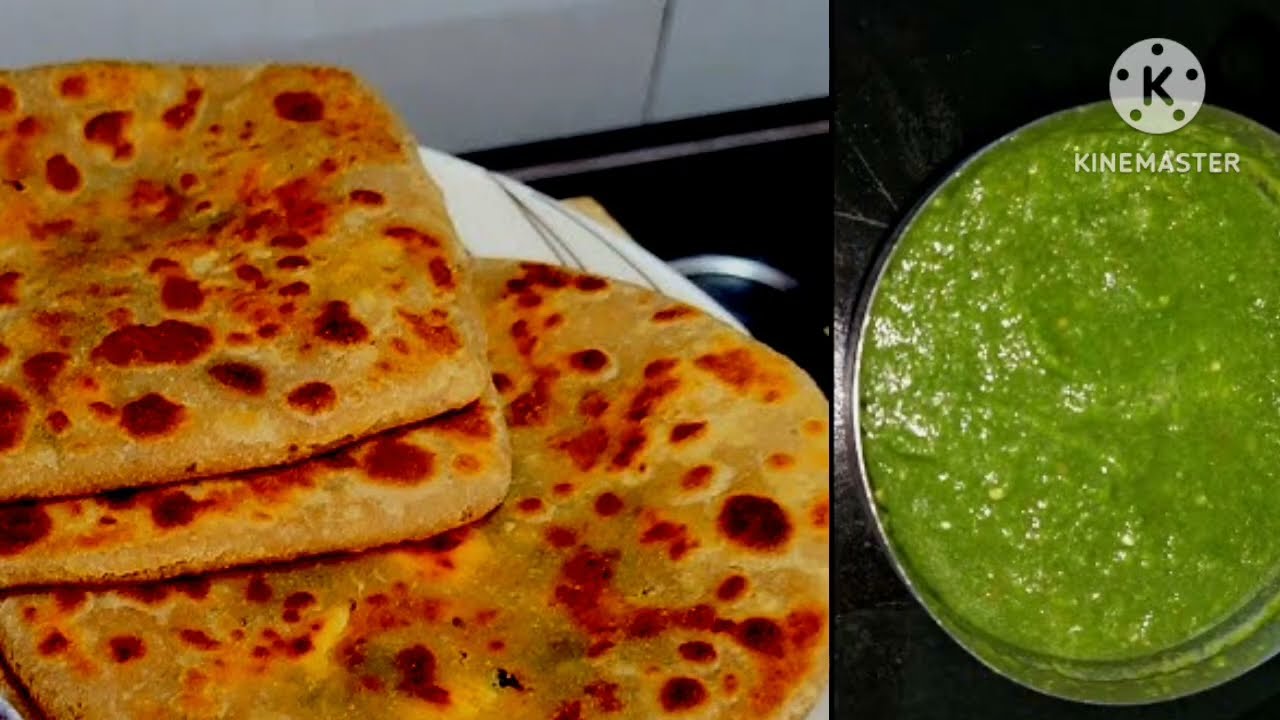
Paneer Paratha with Green Chutney
Cuisine
Indian · North Indian
Prep + Cook Time
40 Minutes
Difficulty Level
Comments
Sign in to leave a comment on this recipe.
Loading comments...