Ready in

45 mins

Cuisine

Indian · South Indian

Prep Time

15 min

Cook Time

30 min

Serving

Approx. 500g Ghee

Difficulty

Easy

Calories / Serving

~900 kcal
Recipe by Indian Recipes Tamil on YouTube
Adjust Servings
Measurements
Tap an ingredient to mark it ready0 of 3 ready
All Ingredients

Main Ingredients

Step-by-Step Instructions

Follow each step to make the recipe successfully.

  1. Collect Malai (Milk Cream)

    Boil 1 liter of milk daily. Once the milk has cooled completely, refrigerate it for at least . This helps a thick layer of malai to form on top. Carefully collect this malai using a slotted spoon and store it in a freezer-safe container in the freezer. Continue this process daily until you have accumulated enough malai (e.g., 15 days worth).

  2. Prepare Malai for Churning

    The night before you plan to make ghee, transfer the frozen malai container from the freezer to the normal fridge shelf to allow it to soften slightly. This will make it easier to churn.

  3. Churn Malai into Butter

    Transfer all the softened malai into a large mixer grinder jar. Add 2 cups of chilled water to the malai. Blend the malai on high speed for a few minutes. Initially, the butter will start to separate and look crumbly. Continue blending until the butter fully separates from the buttermilk and forms a solid mass.

  4. Wash the Butter

    Carefully collect the separated butter from the mixer jar, squeezing out as much buttermilk as possible. Place the butter into a bowl of fresh chilled water. Wash the butter by gently and squeezing it in the chilled water 2-3 times, changing the water each time, until the water runs clear. This removes any remaining buttermilk, which helps prevent the ghee from spoiling quickly.

  5. Prepare Butter for Ghee

    After washing, squeeze out all excess water from the butter and form it into a compact ball. Discard the buttermilk from the mixer jar.

  6. Simmer Butter to Make Ghee

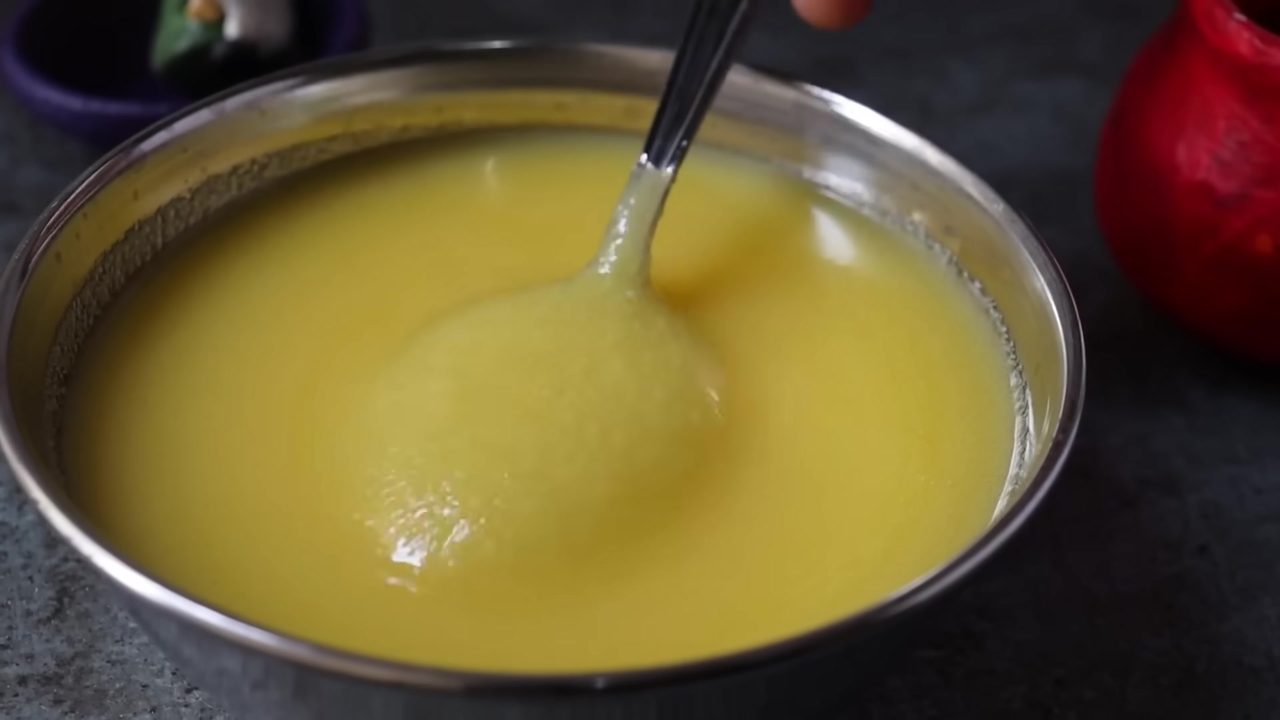
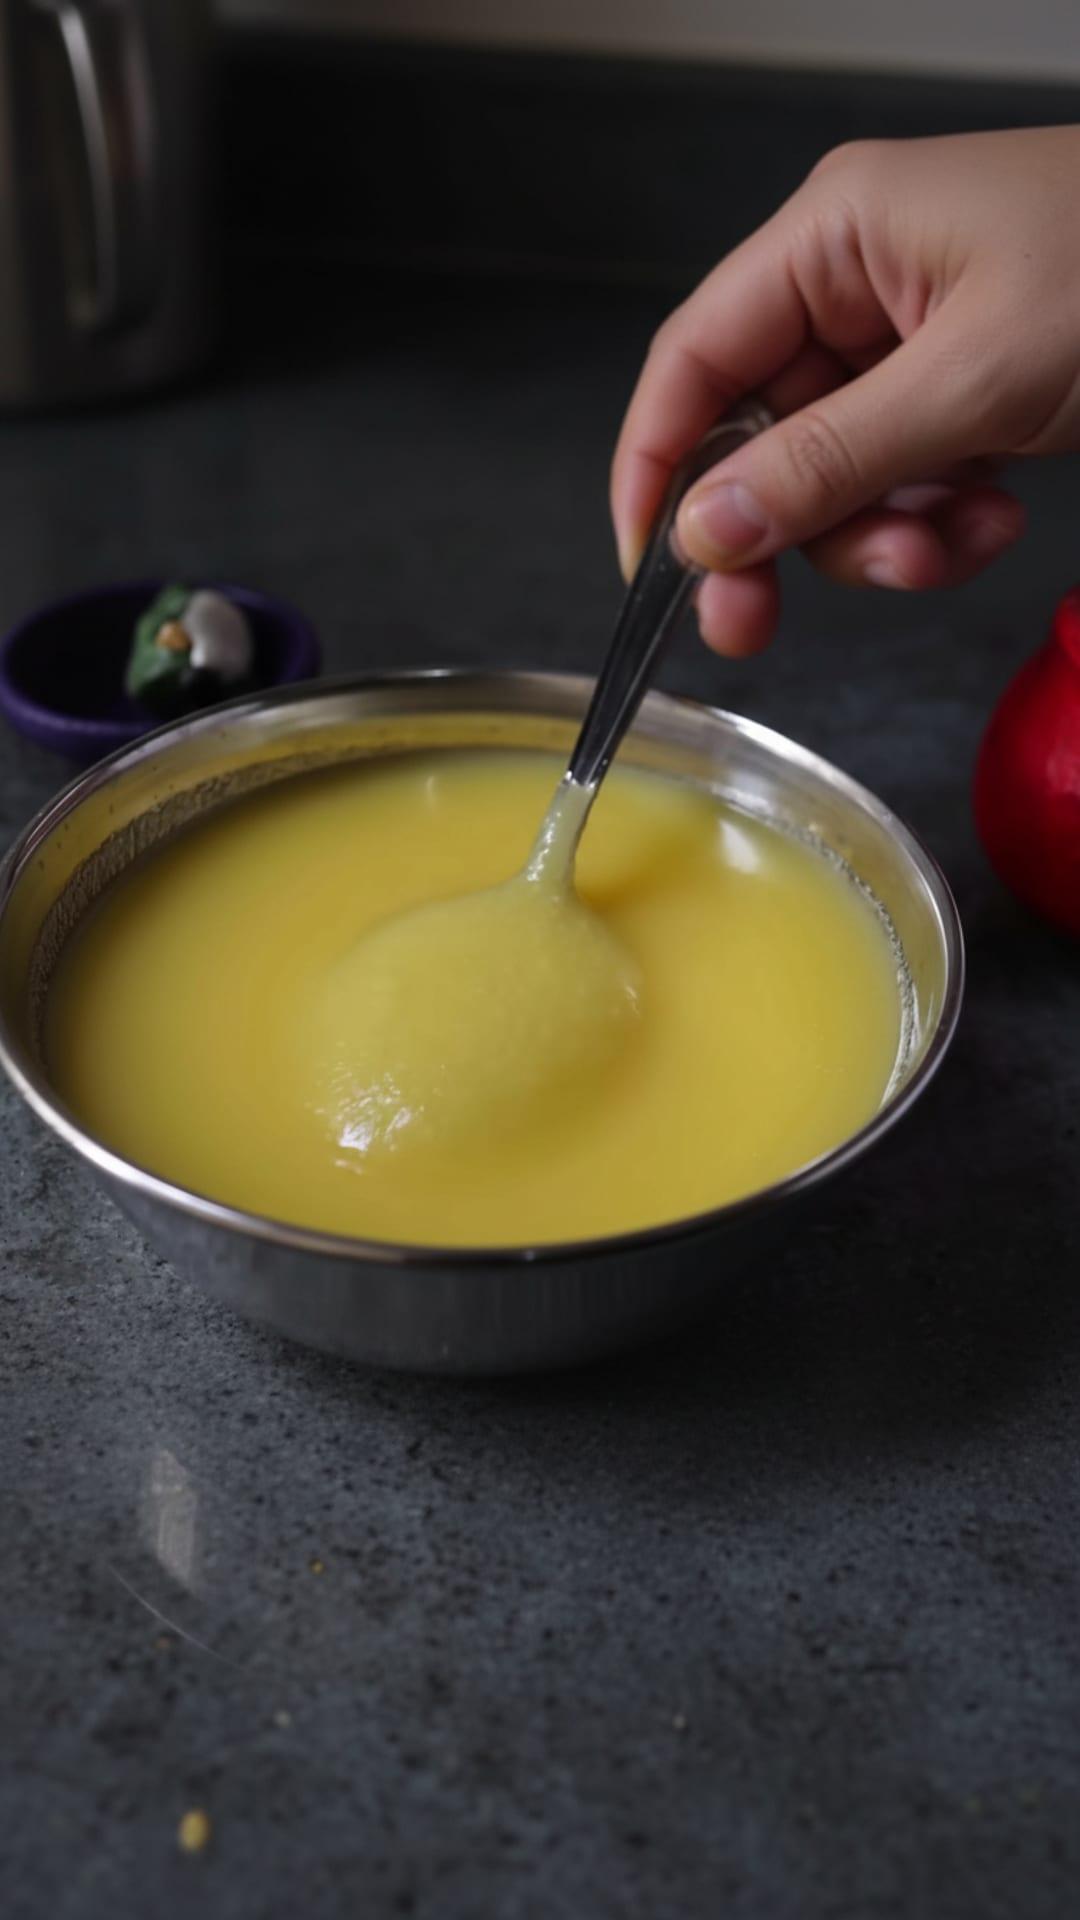
    Heat a wide kadai (wok) on a low flame. Place the butter ball into the kadai. Allow the butter to melt completely on low heat, stirring occasionally. As it melts, it will start to foam. Continue and stirring. The foam will gradually subside, and the ghee will begin to separate and turn a clear yellow color, with milk solids settling at the bottom.

  7. Add Flavoring and Cool

    Once the ghee is clear and the milk solids at the bottom turn a light brown color, add a sprig of curry leaves for aroma. Let the curry leaves crackle for a few seconds. Turn off the flame and allow the ghee to cool down slightly.

  8. Strain and Store Ghee

    Once the ghee has cooled to a manageable temperature, strain it through a fine-mesh sieve into a clean, dry, airtight container. This removes the fried curry leaves and any remaining milk solids. Let the ghee cool completely at room temperature for a day until it solidifies and becomes grainy. Store in a cool, dry place.

  9. Utilize Leftover Solids (Mava)

    Do not discard the leftover milk solids (mava) collected in the sieve. These solids are flavorful and can be used in various sweets, such as laddus, or mixed with rice for a healthy and tasty meal, especially for children or those looking to gain weight.
Before You Cook

Helpful details before you start
Ingredient SubstitutionsMissing something? View suitable alternatives.
View 2 swaps
  • No Milk?

    • Unsweetened almond / soy / oat milk (1:1)
    • 1/2 cup evaporated milk + 1/2 cup water (per 1 cup)
  • No Curry leaves?

    • 1 bay leaf + a pinch of lemon zest — Aroma only — flavor is unique.
AllergensThis recipe contains dairy.
Dairy

Plan Ahead

Complete this step earlier to save time later.

  • Collect Malai (Milk Cream)30 minutes

    Boil 1 liter of milk daily. Once the milk has cooled completely, refrigerate it for at least 30 minutes. This helps a thick layer of malai to form on top. Carefully collect this malai using a slotted spoon and store it in a freezer-safe container in the freezer. Continue this process daily until you have accumulated enough malai (e.g., 15 days worth).

    View Step 1
  • Prepare Malai for Churning

    The night before you plan to make ghee, transfer the frozen malai container from the freezer to the normal fridge shelf to allow it to soften slightly. This will make it easier to churn.

    View Step 2

Storage & Leftovers

Keep your leftovers fresh and ready to enjoy.

  • Freeze

    Store collected malai in the freezer to prevent spoilage.

  • Freeze

    Carefully collect this malai using a slotted spoon and store it in a freezer-safe container in the freezer.

  • Room Temperature

    Store in a cool, dry place.

  • Store

    The leftover solids (mava) from ghee making can be used in sweets or protein laddus.

  • Store

    Once the ghee has cooled to a manageable temperature, strain it through a fine-mesh sieve into a clean, dry, airtight container.

  • Store

    Utilize Leftover Solids (Mava)

  • Store

    Do not discard the leftover milk solids (mava) collected in the sieve.

Variations

Simple ways to adapt this recipe.

  • Use buffalo milk to get white

    Colored ghee.

  • Add a pinch of rockCustomise

    Add a pinch of rock salt or a few drumstick leaves for different aromas.

Helpful Tips

Small details that can improve the final result.

  • Cooking tipTo Collect More Malai

    Cool boiled milk completely before refrigerating it for at least 30 minutes.

  • TipStore Collected Malai in the

    Store collected malai in the freezer to prevent spoilage.

  • TipThe Night Before Making Ghee

    Transfer the frozen malai from the freezer to the fridge shelf to soften.

  • PreparationUse Chilled Water When Churning

    Use chilled water when churning malai in the mixer to help butter separate easily.

  • Cooking tipUse a Wide Kadai (wok)

    Use a wide kadai (wok) to simmer the butter to prevent overflow as it foams up.

  • Nutrition noteThe Leftover Solids (mava) from

    The leftover solids (mava) from ghee making can be used in sweets or protein laddus.

  • Ingredient noteFor Aroma

    You can add a pinch of rock salt or a few drumstick leaves instead of curry leaves.

Was this recipe helpful?

Comments (0)

Sign in to leave a comment on this recipe.

Loading comments...