Homemade English Muffins – Classic Breakfast
Main Ingredients
Step-by-Step Instructions
Follow each step to make the recipe successfully.
Proof the Yeast
In a stand mixer bowl, combine 2 1/4 teaspoons of active dry yeast, 1 1/4 cups of lukewarm milk (between 105-110°F (approximately 40°C) / 40-43°C (approximately 105°F)), and 1 tablespoon of honey. Stir to mix and let it prove for until foamy, indicating the yeast is active.
Combine Wet Ingredients
Once the yeast mixture is foamy, add 1/4 cup of melted butter and 1 large egg, both at room temperature. Using the paddle attachment, process on medium speed until well combined, about .
Mix the Dough
Add 3 1/2 cups of all-purpose flour and 1 teaspoon of salt to the mixture. Process on low speed until just combined, then increase to medium speed. Mix for , scraping the sides and bottom of the bowl as needed to ensure all ingredients are incorporated. The dough will be very sticky.
First Rise
Transfer the sticky dough to a large bowl that has been generously oiled with canola or grapeseed oil. Cover the bowl with a clean dish towel and transfer it to a draft-free area, such as an oven with no heat on. Let the dough rise for , or until it doubles in size.
Refrigerate Overnight
After the first rise, cover the bowl with plastic wrap and transfer it to the refrigerator for at least , or preferably overnight. This slow fermentation develops flavor.
Prepare for Shaping
The next day, line a large baking sheet with either a silicone mat or parchment paper. Evenly sprinkle the lined sheet with cornmeal or semolina, then set it aside.
Shape the Muffins
On a well-floured work surface, gently drop the dough and form it into a ball by pulling the edges under. Flour the top of the dough and your hands. Gently spread the dough out to about 1/2 inch (1.25 cm) thickness. Be careful not to knock out the air. If the dough starts to retract, let the gluten relax for a minute or two before continuing.
Cut and Arrange
Using a 3-inch (or 3 1/2-inch) cookie cutter, dip it in flour each time before cutting rounds from the dough. Transfer the cut rounds to the prepared baking sheet. Gather any dough scraps, gently fold them under to form a new ball, flour the work surface, stretch the dough again to 1/2 inch thick, and cut more rounds. Repeat this process until all the dough is used.
Second Rise
Once all the muffins are cut and on the baking sheet, sprinkle more cornmeal on top of each muffin. Cover the baking sheet with a clean dish towel and let the muffins prove for .
Preheat and Cook
While the muffins are proving, heat a cast iron pan on medium heat until it's very hot. Once the proving time is over, the heat to medium-low. Lightly sprinkle the pan with more cornmeal. Working in batches, place about 3 to 4 muffins in the pan, leaving 2 inches (5 cm) in between them as they will expand. Place a lid on the pan and cook for , or until golden brown on the bottom.
Flip and Finish Cooking
Flip the muffins to cook the other side. Place the lid back on and cook for a little less time, about , or until the second side is golden brown and the internal temperature reaches 200°F (approximately 95°C) (93°C (approximately 200°F)). Transfer the cooked muffins to a wire rack to cool. Before starting the next batch, you can push any remaining cornmeal to the side or remove it if it's burning. Lightly sprinkle fresh cornmeal for each new batch.
Serve and Enjoy
Once cooled, slice the English muffins with a serrated knife. Serve them with butter, jam, or use them as a base for Eggs Benedict. Enjoy your incredibly light, soft, and fluffy homemade English muffins!
Before You Cook
Helpful details before you startIngredient SubstitutionsMissing something? View suitable alternatives.View 5 swaps
No Milk?
- Unsweetened almond / soy / oat milk (1:1)
- 1/2 cup evaporated milk + 1/2 cup water (per 1 cup)
No Honey?
- Maple syrup (1:1)
- 1 1/4 cup sugar + 1/4 cup water (per 1 cup honey)
No Butter?
- 3/4 the amount of olive oil (for cooking, not baking)
- Equal parts ghee — Slightly nuttier flavor.
- Equal parts coconut oil (in baking)
No Egg?
- 1 tbsp ground flax + 3 tbsp water (rest 5 min) — Per egg, best in baking.
- 1/4 cup unsweetened applesauce — Per egg, in sweet baked goods.
- 1/4 cup silken tofu, blended — Per egg.
No All-purpose flour?
- White whole wheat flour (1:1)
- 1 cup minus 2 tbsp + 2 tbsp cornstarch (cake flour swap)
Plan Ahead
Complete this step earlier to save time later.
- View Step 4First Rise2 hours
Transfer the sticky dough to a large bowl that has been generously oiled with canola or grapeseed oil. Cover the bowl with a clean dish towel and transfer it to a draft-free area, such as an oven with no heat on. Let the dough rise for 2 hours, or until it doubles in size.
- View Step 5Refrigerate OvernightOvernight
After the first rise, cover the bowl with plastic wrap and transfer it to the refrigerator for at least 8 hours, or preferably overnight. This slow fermentation develops flavor.
Storage & Leftovers
Keep your leftovers fresh and ready to enjoy.
- RefrigerateAt least 8 hours
After the first rise, cover the bowl with plastic wrap and transfer it to the refrigerator for at least 8 hours, or preferably overnight.
Variations
Simple ways to adapt this recipe.
- Use semolina instead of cornmeal for dustingIngredient swap
- Cook muffins inside metal cutters
Cook muffins inside metal cutters for perfectly round edges (though they may be puffier).
Helpful Tips
Small details that can improve the final result.
Your Notes
Save your personal tweaks, substitutions and cooking adjustments.
Saved only on this device.Example: Used less salt, cooked 5 minutes longer, added extra coriander.
Included when you print this recipe.
More from Club Foody
Other recipes converted from Club Foody's cooking videos.

West African Peanut Stew (Maffé) – Club Foody Style
Cuisine
West African
Prep + Cook Time
55 Minutes
Difficulty Level
Medium

Fish Stew – Clubfoody Style
Cuisine
Mediterranean
Prep + Cook Time
47 Minutes
Difficulty Level
Easy

Cauliflower Fried Rice – Low Carb
Cuisine
Asian · Chinese
Prep + Cook Time
21 Minutes
Difficulty Level
Easy
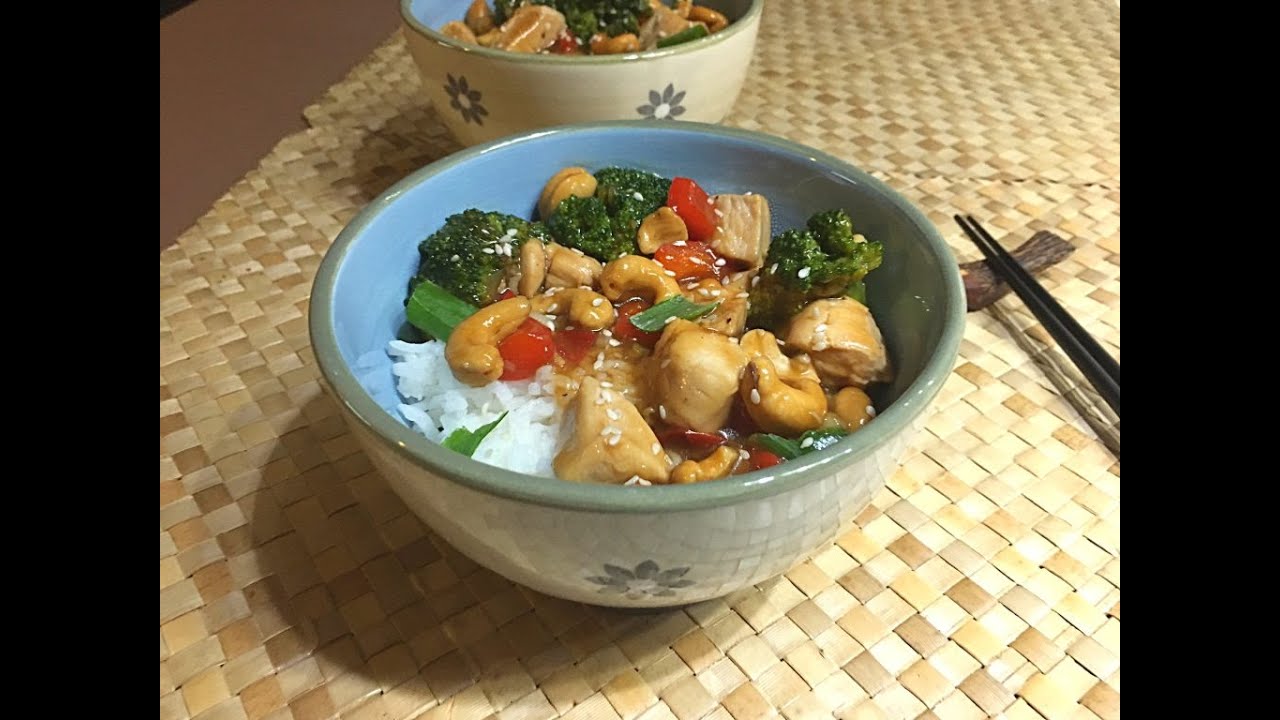
Cashew Chicken – Asian
Cuisine
Asian · Chinese-American
Prep + Cook Time
30 Minutes
Difficulty Level
Easy

Lasagna Roll-Ups – Italian
Cuisine
Italian
Prep + Cook Time
1 hr 20 min
Difficulty Level
Medium
You might also like
Other recipes in the same cuisine, meal type, or style — ready to cook whenever you are.

Homemade Berry Chia Seed Jam
Cuisine
American · Breakfast
Prep + Cook Time
20 Minutes
Difficulty Level
Easy
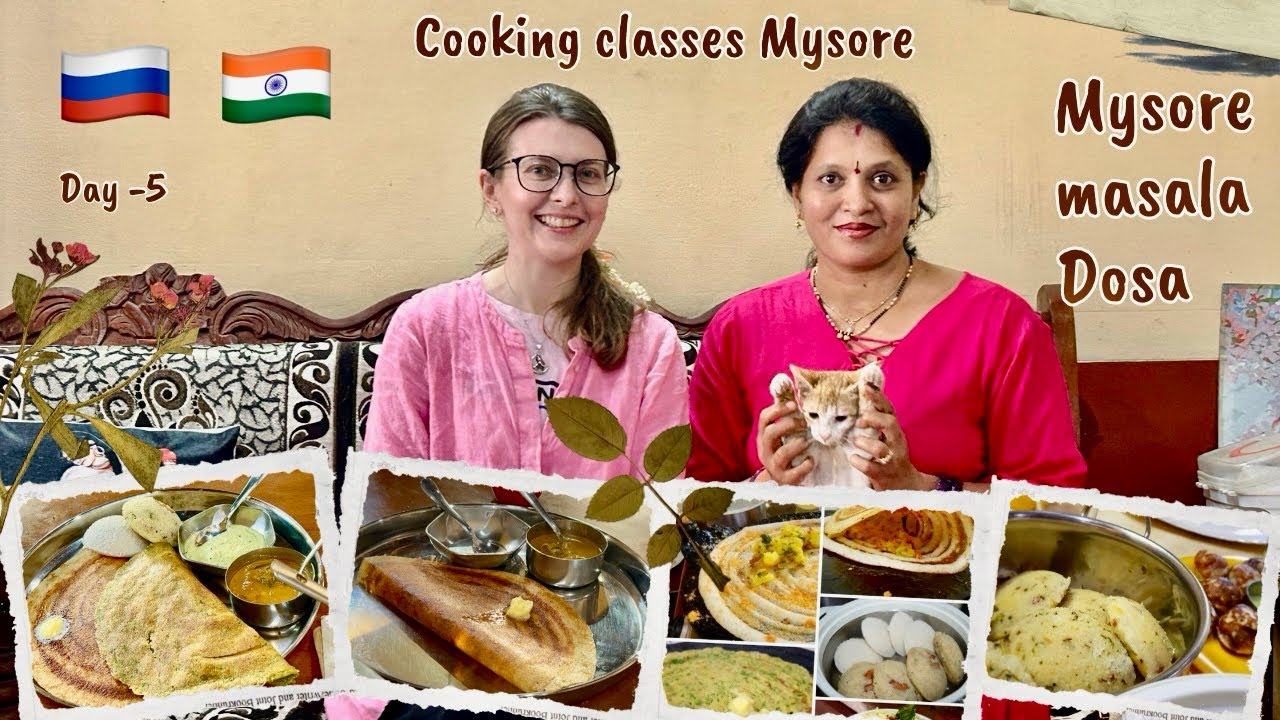
South Indian Breakfast Platter: Masala Dosa, Green Dosa & Rava Idli
Cuisine
Indian · South Indian
Prep + Cook Time
1 hr 15 min
Difficulty Level
Medium

Cheesy Garlic Rolls
Cuisine
American
Prep + Cook Time
3 hr 5 min
Difficulty Level
Medium
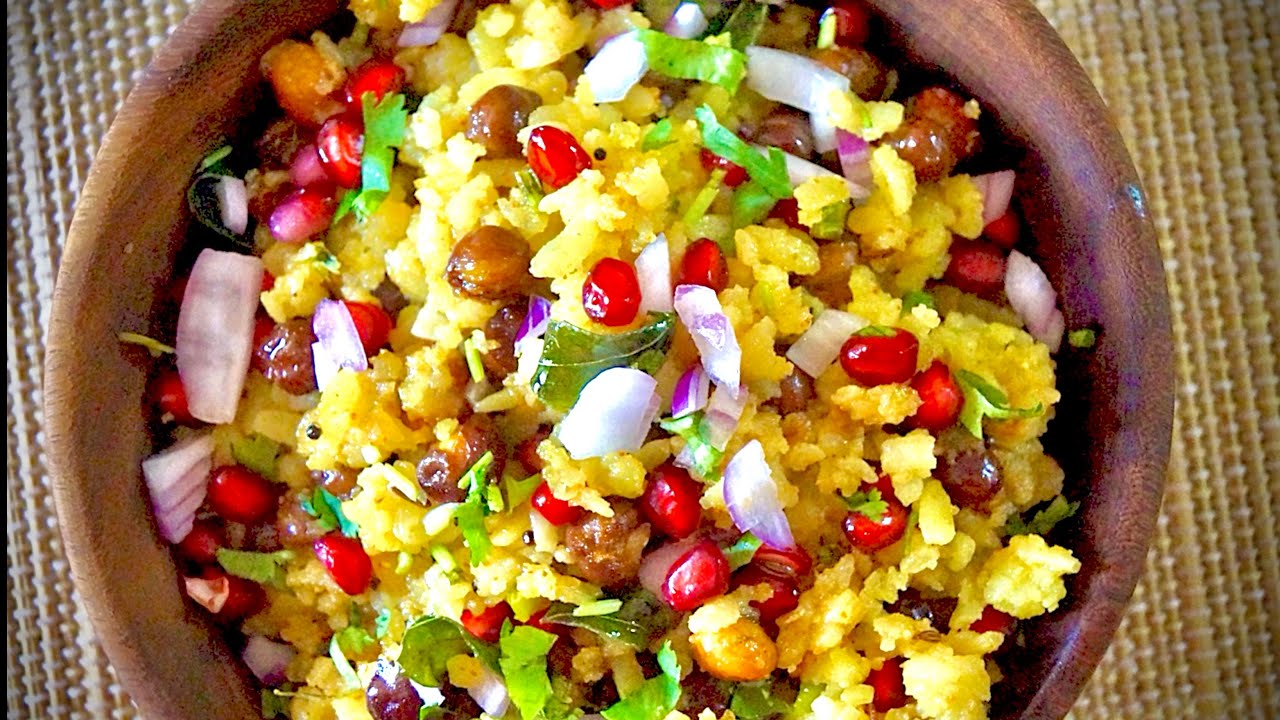
Chana Poha Chaat
Cuisine
Indian
Prep + Cook Time
55 Minutes
Difficulty Level
Easy

Semolina Veggie Bun Toast
Cuisine
Indian · Snack
Prep + Cook Time
25 Minutes
Difficulty Level
Easy
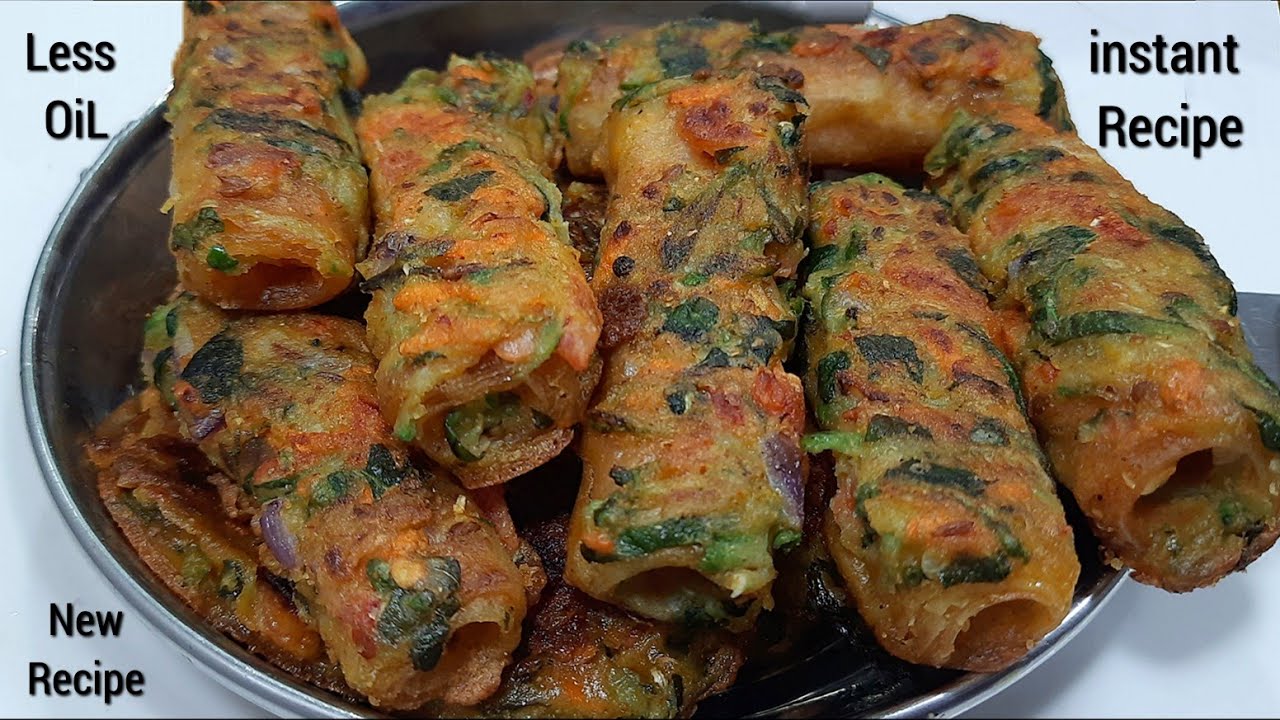
Vegetable Savory Pancakes (Cheela) - Quick & Healthy
Cuisine
Indian · North Indian
Prep + Cook Time
25 Minutes
Difficulty Level
Comments (0)
Sign in to leave a comment on this recipe.
Loading comments...