Garlic Bread Lollipops – Quick Snack
For Garlic Butter
Main Ingredients
Step-by-Step Instructions
Follow each step to make the recipe successfully.
Prepare Garlic Butter
Grate 5 garlic cloves using the fine side of a grater. In a bowl, combine 2 tablespoons of butter with the grated garlic and 1/4 teaspoon of powdered sugar. Mix well until thoroughly combined.
Soften Bread Corners
Place the 3 bread corners (leftovers from other recipes) in a bowl. Cover the bowl with saran wrap or food wrap and heat in the microwave for . This will soften the bread, making it pliable for rolling. Alternatively, you can heat a pan, turn off the stove, place the bread corners on it, immediately flip them, and then remove them.
Roll Bread Lollipops
Take one softened bread corner. Gently break it from one side and slowly roll it into a spiral shape. Once rolled, carefully insert a skewer through the center of the spiral to secure its shape, creating a lollipop. Repeat this process for the remaining bread corners.
Cook Lollipops on Pan
Heat a pan on low flame. Spread a portion of the prepared garlic butter onto the pan. Place the bread lollipops on the buttered pan. Brush more garlic butter on the top side of the lollipops. Cook on low flame, flipping occasionally, until both sides are golden brown and crispy. If using a microwave, grill for , or in a conventional oven, bake at 180°C (approximately 355°F) for .
Serve
Once cooked to a golden crisp, remove the garlic bread lollipops from the pan and serve immediately. Enjoy this tasty and easy snack!
Before You Cook
Helpful details before you startIngredient SubstitutionsMissing something? View suitable alternatives.View 2 swaps
No Garlic (fresh)?
- 1/4 tsp garlic powder (per clove)
- 1/2 tsp garlic granules (per clove)
No Butter?
- 3/4 the amount of olive oil (for cooking, not baking)
- Equal parts ghee — Slightly nuttier flavor.
- Equal parts coconut oil (in baking)
Storage & Leftovers
Keep your leftovers fresh and ready to enjoy.
- Store
This recipe transforms leftover bread corners into delicious garlic bread lollipops.
- Store
Place the 3 bread corners (leftovers from other recipes) in a bowl.
Variations
Simple ways to adapt this recipe.
- Add finely chopped fresh corianderCustomise
Add finely chopped fresh coriander or parsley to the garlic butter for extra flavor.
- Sprinkle some chili flakes orCustomise
Sprinkle some chili flakes or oregano on the garlic butter for a spicy or herby twist.
- For a cheesy versionCustomise
Add a thin layer of grated cheese before rolling the bread corners.
Helpful Tips
Small details that can improve the final result.
Your Notes
Save your personal tweaks, substitutions and cooking adjustments.
Saved only on this device.Example: Used less salt, cooked 5 minutes longer, added extra coriander.
Included when you print this recipe.
More from Sunny Ka Zayka
Other recipes converted from Sunny Ka Zayka's cooking videos.

Chana Dal Chutney – South Indian Style
Cuisine
Indian · South Indian
Prep + Cook Time
20 Minutes
Difficulty Level
Easy
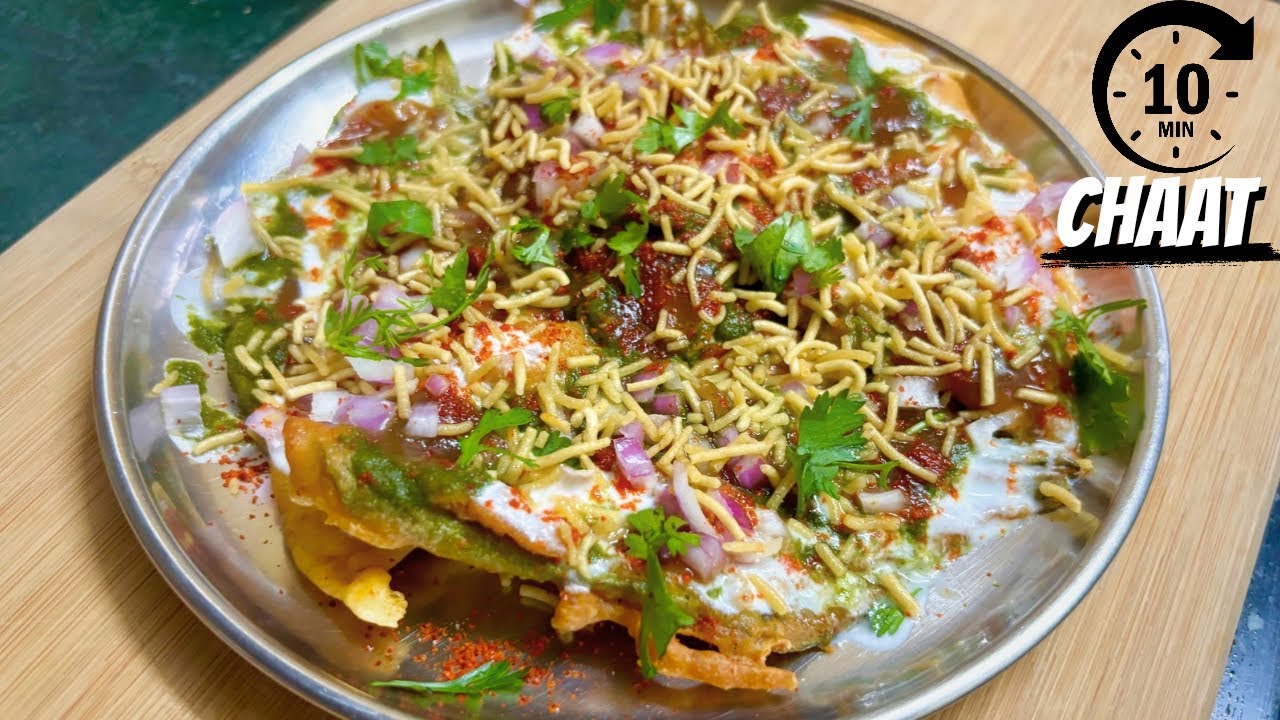
Palak Patta Chaat Recipe – Crispy Spinach Chaat
Cuisine
Indian · North Indian
Prep + Cook Time
30 Minutes
Difficulty Level
Easy

Palak Uttapam Sandwich – Healthy Breakfast
Cuisine
Indian · South Indian
Prep + Cook Time
33 Minutes
Difficulty Level
Easy
You might also like
Other recipes in the same cuisine, meal type, or style — ready to cook whenever you are.
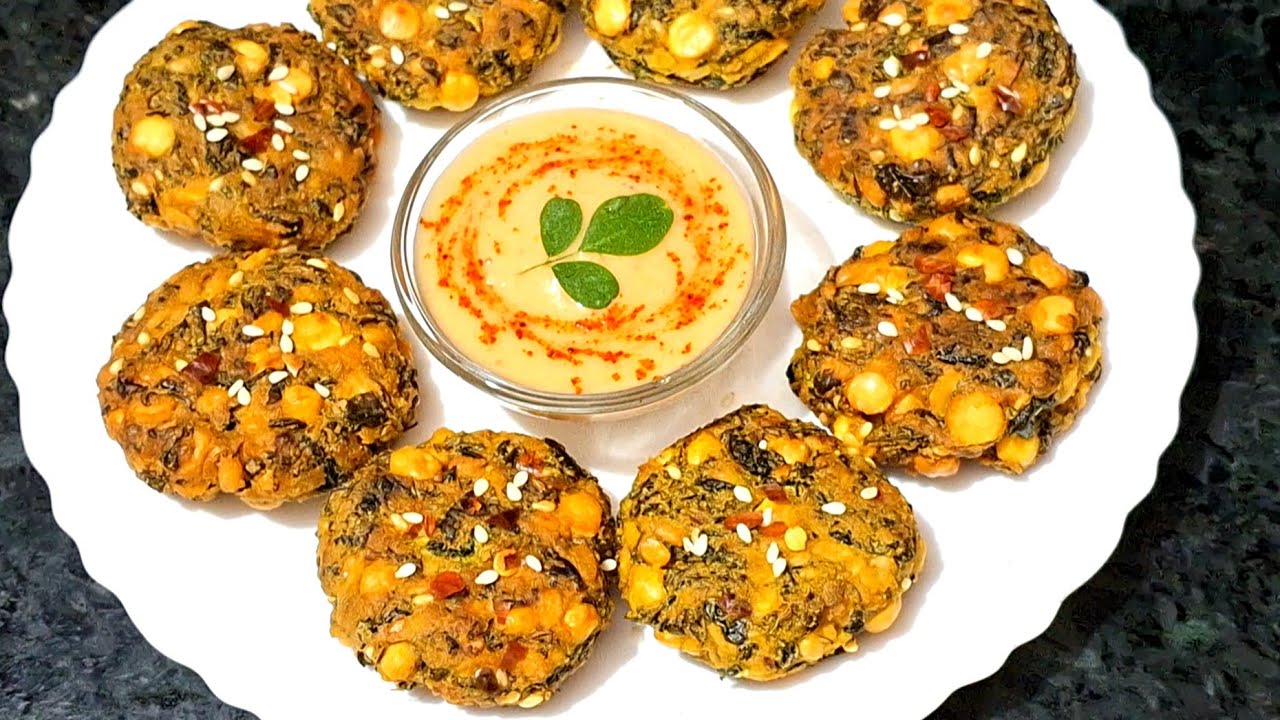
Moringa Vada / Drumstick Leaves Fritters
Cuisine
Indian · South Indian
Prep + Cook Time
30 Minutes
Difficulty Level
Easy

Bread Pakoda – Spicy Potato Filling
Cuisine
Indian · North Indian
Prep + Cook Time
30 Minutes
Difficulty Level
Medium

Veggie Cheese Balls – Air Fryer
Cuisine
Indian · Snack
Prep + Cook Time
35 Minutes
Difficulty Level
Easy
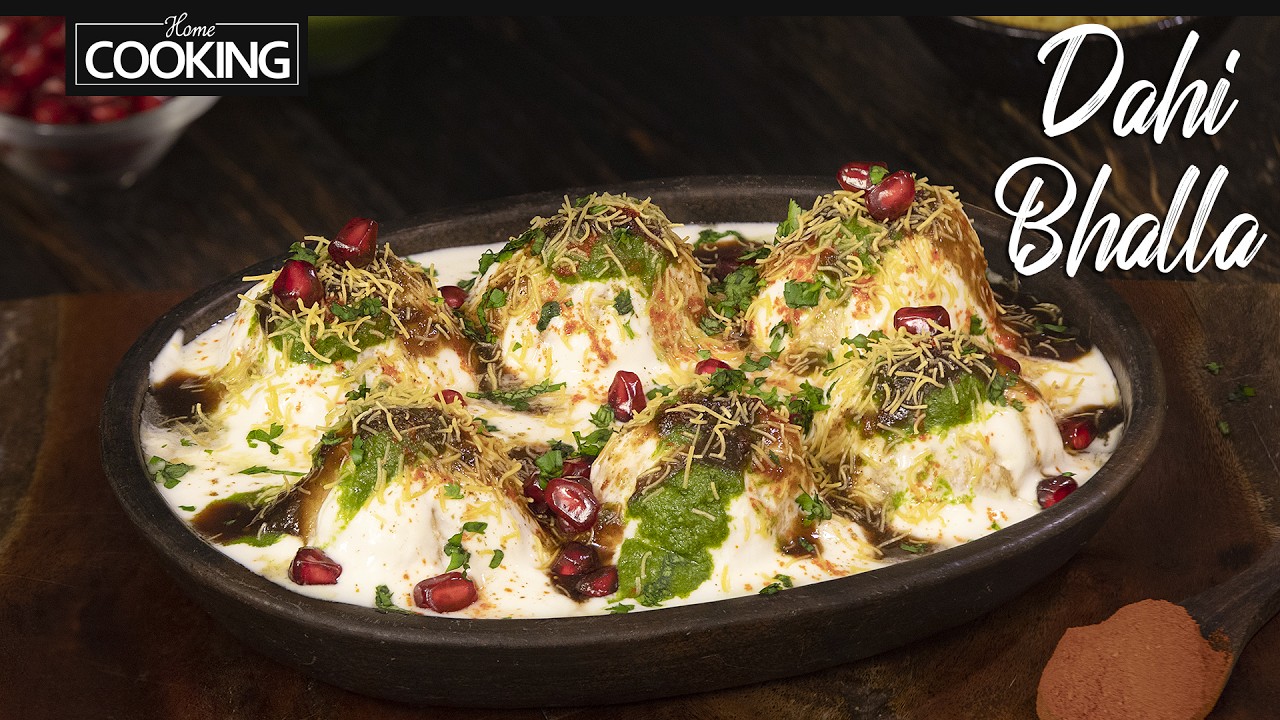
Dahi Bhalla – Indian Street Food
Cuisine
Indian · North Indian
Prep + Cook Time
4 hr 30 min
Difficulty Level
Medium

Chicken Boneless Strips – Crispy & Juicy
Cuisine
Indian · Fusion
Prep + Cook Time
55 Minutes
Difficulty Level
Easy

Chicken Cutlet (Kebab) – Bengali Style
Cuisine
Indian · Bengali
Prep + Cook Time
35 Minutes
Difficulty Level
Comments (0)
Sign in to leave a comment on this recipe.
Loading comments...