Fullmeals
HomeExploreCreatorsPantry MatchSurprise Me
HomeExploreCreatorsPantry MatchSurprise MeShopping ListMy Favorites
Fullmeals

Fullmeals helps you cook without watching by converting cooking videos into simple, step-by-step recipes designed for real kitchens.

cook@fullmeals.com

Quick Links

  • How it Works
  • Categories
  • Explore Recipes
  • RSS Feed

Legal

  • Terms of Use
  • Privacy Policy

© 2026 Fullmeals. All rights reserved.

Fullmeals

Easy No-Knead Oat Bread
Recipe by Food Language

  • Ready in255 min
  • Prep15 min
  • Cook30 min
  • CuisineEuropean
  • Serves2 loaves
  • Calories~250 kcal
Easy No-Knead Oat Bread

Ingredients

Main Ingredients

  • 1 cup (220 ml)Water
  • ¾ tsp (3 g)Fresh yeast
  • ½ tsp (2 g)Dry yeast
  • 2 ½ cups (320 g)Bread flour
  • 1 tsp (6 g)Salt
  • as neededRolled oats

Step-by-Step Instructions

  1. 1.Mix water and yeast

    Add 1 cup (220 ml) of water to a bowl. Crumble ¾ tsp (3 g) of fresh yeast (or add ½ tsp (2 g) of dry yeast) into the water. Mix with a wooden spoon until the yeast is dissolved.

  2. 2.Add flour and salt

    Pour 2 ½ cups (320 g) of bread flour into the bowl with the yeast mixture. Add 1 tsp (6 g) of salt. Mix with the wooden spoon until there is no more dry flour, forming a shaggy dough. No kneading is required at this stage.

  3. 3.Scrape down the bowl

    Use a spatula to scrape any remaining dough from the spoon and the sides of the bowl, ensuring all ingredients are incorporated into the main dough.

  4. 4.First rest

    Cover the bowl with a lid and let the dough rest for 30 minutes.

  5. 5.First stretch and fold

    Wet your hand. Gently stretch one side of the dough upwards and fold it towards the center. Repeat this process for all four sides of the dough. This technique is called 'lift and slap' and helps develop gluten.

  6. 6.Second rest

    Cover the bowl again and let the dough rest for another 30 minutes.

  7. 7.Second stretch and fold

    Repeat the stretch and fold process from step 5. You will notice the dough is now much more elastic.

  8. 8.Final rise

    Cover the bowl and let the dough rise until it doubles in size. This usually takes about 2 hours.

  9. 9.Prepare work surface and transfer dough

    Sprinkle flour generously on a clean work surface. Gently scrape the risen dough from the bowl onto the floured surface, trying not to disturb it too much to retain the air bubbles.

  10. 10.Divide and shape dough

    Fold the dough in half to make it easier to cut. Cut the dough in half using a dough scraper or knife. Brush off any excess flour from the dough. Gently flatten one half of the dough. Stretch the edges of the dough and fold them inwards towards the center to form a tight ball. Pinch the seams together to seal the ball. Rub the dough ball against the work surface in a circular motion to further tighten and seal it. Set aside. Repeat the shaping process for the second half of the dough.

  11. 11.Uncovered rest

    Let the shaped dough balls rest for 10 minutes uncovered on the work surface.

  12. 12.Coat with oats

    Brush the top surface of one dough ball with water. Generously coat the top and sides of the dough ball with rolled oats. Place the coated dough ball on a baking tray lined with parchment paper. Repeat for the second dough ball.

  13. 13.Final proofing

    Cover the baking tray with a clean towel and let the bread rise for 30 minutes.

  14. 14.Score the bread

    Using a sharp blade or knife, score the top of each bread loaf. The oats might make the cut a little tricky, but it doesn't have to be perfect.

  15. 15.Add steam and initial bake

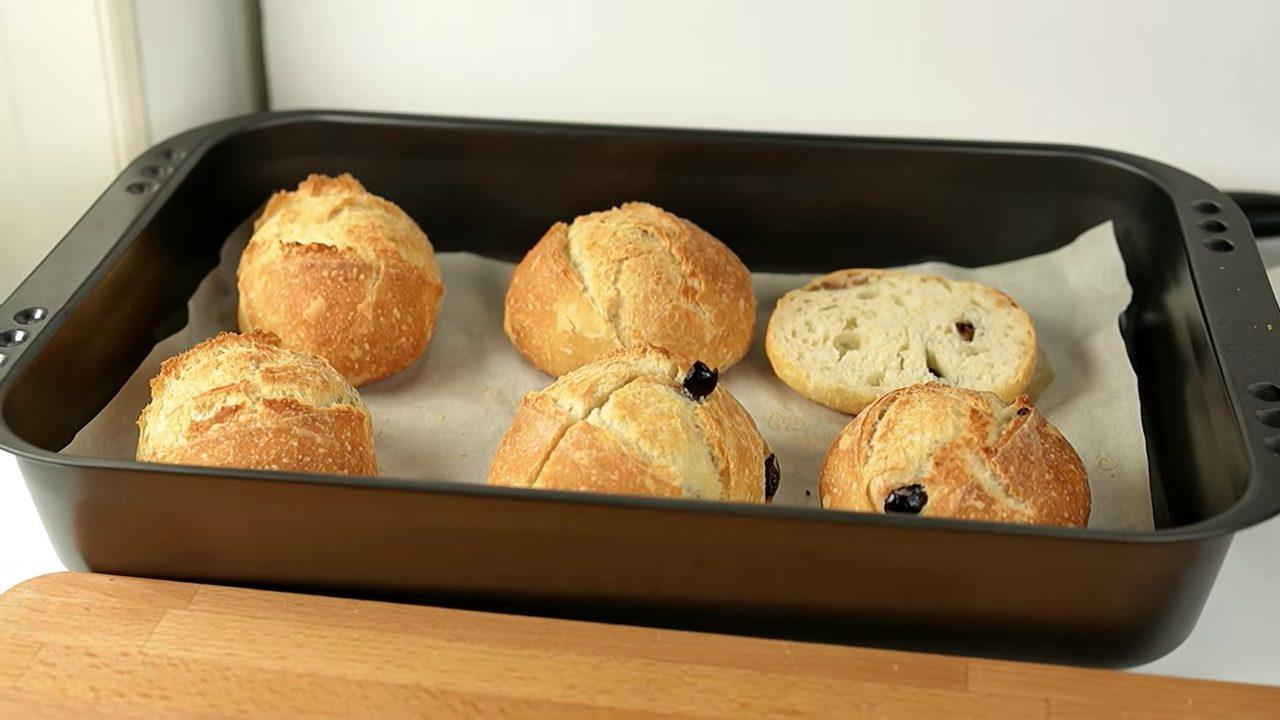
    Sprinkle a little water around the bread on the tray to create steam during baking. Cover the baking tray with another tray of the same size. Bake in a preheated oven at 430°F (220°C) for 20 minutes.

  16. 16.Continue baking uncovered

    Carefully remove the top tray from the oven. Continue to bake the bread for 10 more minutes, or until the crust is golden brown and crispy.

  17. 17.Cool and serve

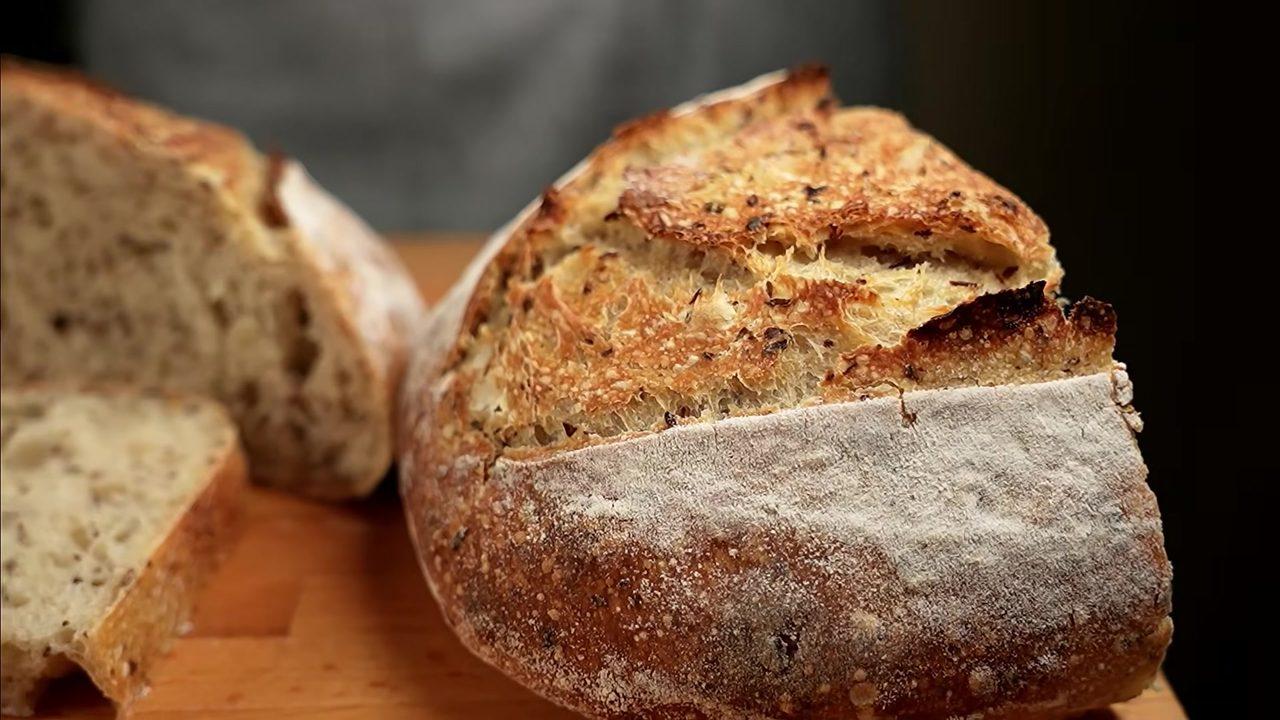
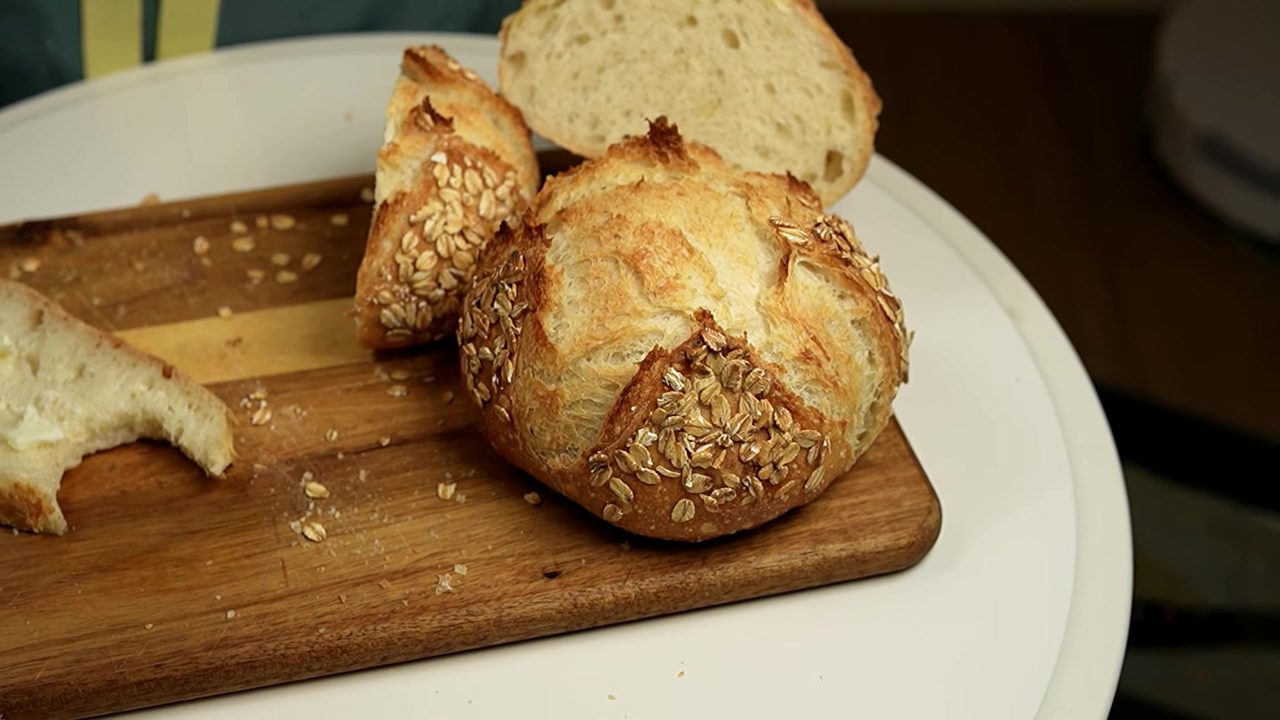
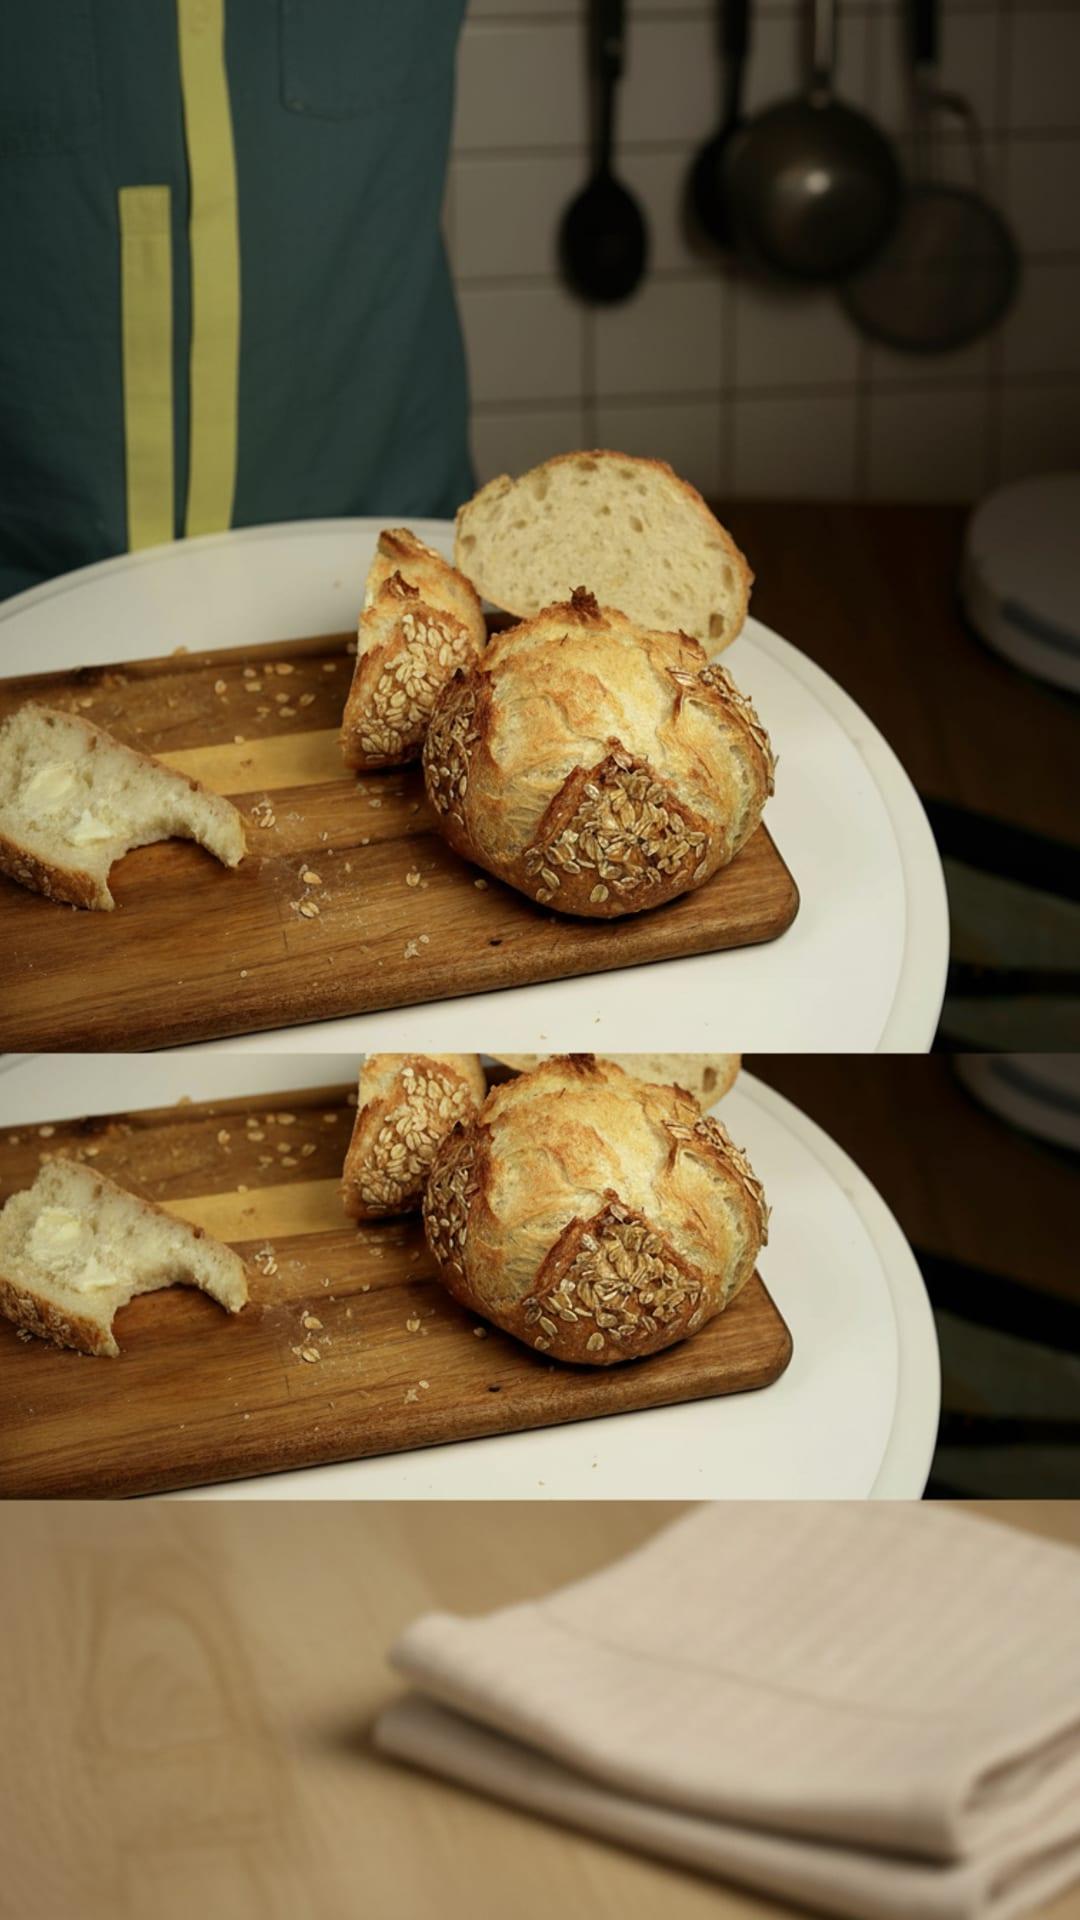
    Remove the baked bread from the oven. Listen for the 'singing' sound as small cracks form in the crust, indicating it's perfectly baked. Tap the bottom of the loaf; a hollow sound means it's done. Slice the bread and serve with a little butter.

Printed from Fullmeals.com — turn any cooking video into a recipe.

Easy No-Knead Oat Bread

Ready in

255 mins

Cuisine

European

Prep Time

15 min

Cook Time

30 min

Serving

2 loaves

Calories / Serving

~250 kcal
Recipe by Food Language on YouTube
Adjust Servings
Measurements
Tap an ingredient to mark it ready0 of 6 ready
All Ingredients

Main Ingredients

Step-by-Step Instructions

Follow each step to make the recipe successfully.

  1. 1

    Mix water and yeast

    Add 1 cup (220 ml) of water to a bowl. Crumble ¾ tsp (3 g) of fresh yeast (or add ½ tsp (2 g) of dry yeast) into the water. Mix with a wooden spoon until the yeast is dissolved.

  2. 2

    Add flour and salt

    Pour 2 ½ cups (320 g) of bread flour into the bowl with the yeast mixture. Add 1 tsp (6 g) of salt. Mix with the wooden spoon until there is no more dry flour, forming a shaggy dough. No is required at this stage.

  3. 3

    Scrape down the bowl

    Use a spatula to scrape any remaining dough from the spoon and the sides of the bowl, ensuring all ingredients are incorporated into the main dough.

  4. 4

    First rest

    Cover the bowl with a lid and let the dough rest for .

  5. 5

    First stretch and fold

    Wet your hand. Gently stretch one side of the dough upwards and fold it towards the center. Repeat this process for all four sides of the dough. This technique is called 'lift and slap' and helps develop gluten.

  6. 6

    Second rest

    Cover the bowl again and let the dough rest for another .

  7. 7

    Second stretch and fold

    Repeat the stretch and fold process from step 5. You will notice the dough is now much more elastic.

  8. 8

    Final rise

    Cover the bowl and let the dough rise until it doubles in size. This usually takes about .

  9. 9

    Prepare work surface and transfer dough

    Sprinkle flour generously on a clean work surface. Gently scrape the risen dough from the bowl onto the floured surface, trying not to disturb it too much to retain the air bubbles.

  10. 10

    Divide and shape dough

    Fold the dough in half to make it easier to cut. Cut the dough in half using a dough scraper or knife. Brush off any excess flour from the dough. Gently flatten one half of the dough. Stretch the edges of the dough and fold them inwards towards the center to form a tight ball. Pinch the seams together to seal the ball. Rub the dough ball against the work surface in a circular motion to further tighten and seal it. Set aside. Repeat the shaping process for the second half of the dough.

  11. 11

    Uncovered rest

    Let the shaped dough balls rest for uncovered on the work surface.

  12. 12

    Coat with oats

    Brush the top surface of one dough ball with water. Generously coat the top and sides of the dough ball with rolled oats. Place the coated dough ball on a baking tray lined with parchment paper. Repeat for the second dough ball.

  13. 13

    Final proofing

    Cover the baking tray with a clean towel and let the bread rise for .

  14. 14

    Score the bread

    Using a sharp blade or knife, top of each bread loaf. The oats might make the cut a little tricky, but it doesn't have to be perfect.

  15. 15

    Add steam and initial bake

    Sprinkle a little water around the bread on the tray to create during baking. Cover the baking tray with another tray of the same size. Bake in a preheated oven at 430°F (≈220°C) (approximately 220°C) (220°C (≈430°F) (approximately 430°F)) for .

  16. 16

    Continue baking uncovered

    Carefully remove the top tray from the oven. Continue to bake the bread for 10 more minutes, or until the crust is golden brown and crispy.

  17. 17

    Cool and serve

    Remove the baked bread from the oven. Listen for the 'singing' sound as small cracks form in the crust, indicating it's perfectly baked. Tap the bottom of the loaf; a hollow sound means it's done. Slice the bread and serve with a little butter.

Before You Cook

Helpful details before you start
AllergensThis recipe contains gluten.
gluten

Plan Ahead

Complete this step earlier to save time later.

  • Step4
    First rest30 minutes

    Cover the bowl with a lid and let the dough rest for 30 minutes.

    View Step 4
  • Step6
    Second rest30 minutes

    Cover the bowl again and let the dough rest for another 30 minutes.

    View Step 6
  • Step8
    Final rise2 hours

    Cover the bowl and let the dough rise until it doubles in size. This usually takes about 2 hours.

    View Step 8
  • Step13
    Final proofing30 minutes

    Cover the baking tray with a clean towel and let the bread rise for 30 minutes.

    View Step 13

Helpful Tips

Small details that can improve the final result.
  • 1
    Cooking tipUse the 'lift and Slap'

    Use the 'lift and slap' technique during stretching and folding to develop gluten without kneading.

  • 2
    TipListen for the 'singing' Sound

    Listen for the 'singing' sound of the bread as it cools; this indicates a perfectly crispy crust.

  • 3
    TipTap the Bottom of the Baked Bread

    A hollow sound means it's fully cooked.

Was this recipe helpful?

Comments (0)

Sign in to leave a comment on this recipe.

Loading comments...

More from Food Language

Other recipes converted from Food Language's cooking videos.

Easy Pretzel Rolls

Easy Pretzel Rolls

Cuisine

German

Prep + Cook Time

4 hr 20 min

Difficulty Level

Easy

You might also like

Other recipes in the same cuisine, meal type, or style — ready to cook whenever you are.

Potato and Semolina Fried Snack (Aloo Suji Puri)

Potato and Semolina Fried Snack (Aloo Suji Puri)

Cuisine

Indian · North Indian

Prep + Cook Time

30 Minutes

Difficulty Level

Easy

Mysore Bonda with Special Kara Chutney

Mysore Bonda with Special Kara Chutney

Cuisine

Indian · South Indian

Prep + Cook Time

45 Minutes

Difficulty Level

Medium

Mysore Bonda with Special Kara Chutney – South Indian Snack

Mysore Bonda with Special Kara Chutney – South Indian Snack

Cuisine

Indian · South Indian

Prep + Cook Time

45 Minutes

Difficulty Level

Medium

Mysore Bonda with Spicy Kharra Chutney

Mysore Bonda with Spicy Kharra Chutney

Cuisine

Indian · South Indian

Prep + Cook Time

50 Minutes

Difficulty Level

Medium

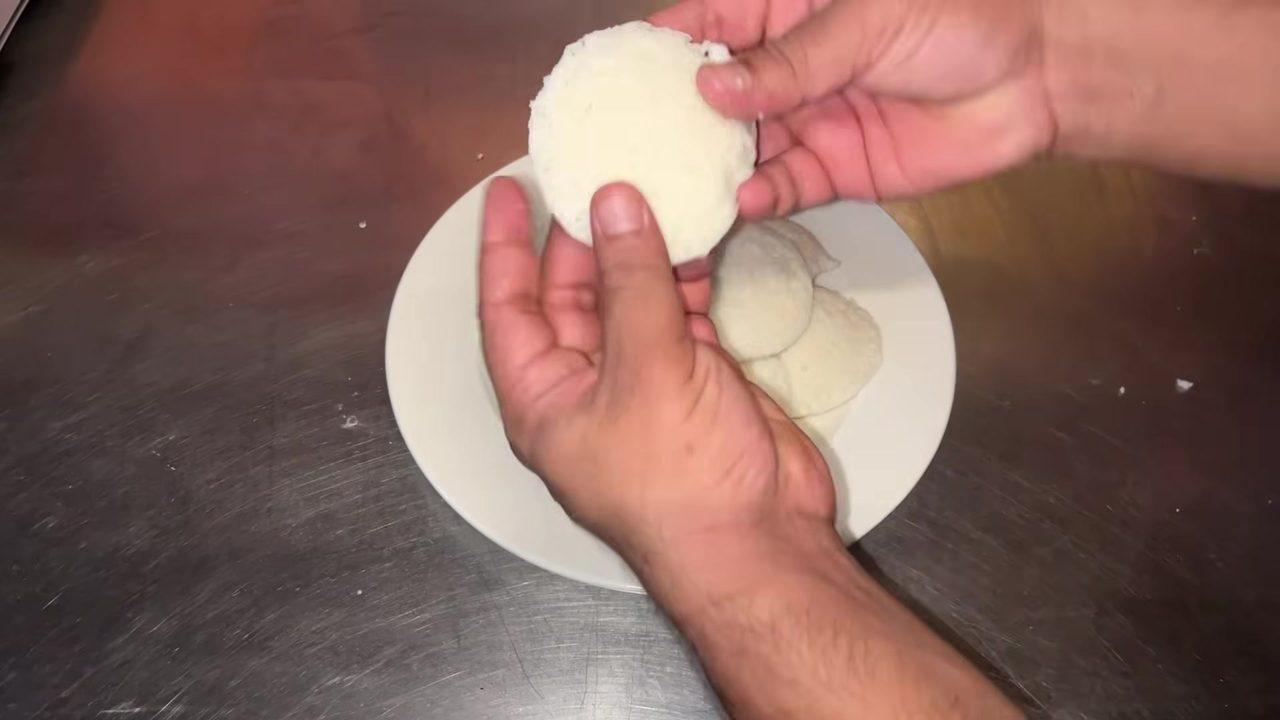
Protein Idli – South Indian Style

Protein Idli – South Indian Style

Cuisine

Indian · South Indian

Prep + Cook Time

35 Minutes

Difficulty Level

Easy

Bhutte Ki Kees

Bhutte Ki Kees

Cuisine

Indian · North Indian

Prep + Cook Time

25 Minutes

Difficulty Level

Easy