
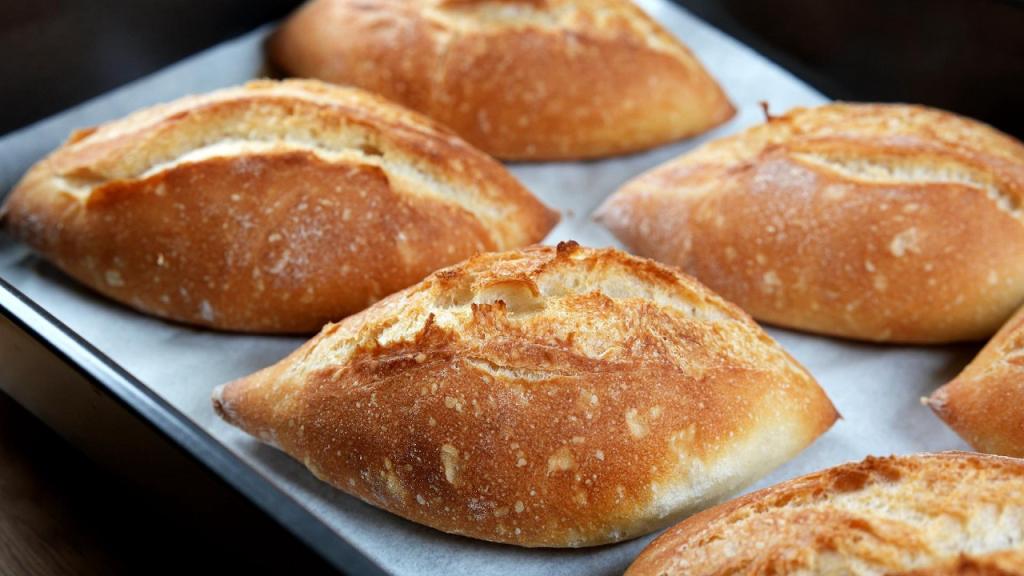
Crispy and Airy Bread Rolls
Main Ingredients
Step-by-Step Instructions
Follow each step to make the recipe successfully.
Prepare the Yeast Mixture
Pour 1 cup (220 ml) of water into a large bowl. Crumble ¾ tsp (3 g) of fresh yeast (or ½ tsp (2 g) dry yeast) into the water. Mix well with a wooden spoon until the yeast is dissolved.
Combine Ingredients
Add 2 ½ cups (320 g) of bread flour and 1 tsp (6 g) of salt to the yeast mixture. Mix with a wooden spoon until there is no more dry flour, forming a shaggy dough. Do not .
First Rest
Cover the bowl with a lid and let the dough rest for .
First Stretch and Fold
After , wet your hand. Stretch each of the four sides of the dough upwards and fold it towards the center. Repeat this 'lift and slap' technique several times until the dough forms a smoother ball.
Second Rest
Cover the bowl again and let the dough rest for another .
Second Stretch and Fold
Repeat the stretch and fold process from Step 4. The dough should now be much more elastic. Continue the 'lift and slap' technique until the dough is smooth and elastic. The dough is now ready for its final rise.
Final Rise
Cover the bowl and let the dough rise until it doubles in size. This usually takes about , depending on the room temperature.
Prepare for Shaping
Once the dough has doubled, sprinkle flour generously on your work surface. Gently scrape the dough out of the bowl onto the floured surface. Fold the dough in half to make it easier to cut. Observe the bubbles in the dough, which indicate good fermentation.
Divide and Shape the Dough
Using a dough scraper or knife, divide the dough into 6 equal parts. Take one piece, gently flatten it, then roll it tightly into a spiral. Fold the rolled dough into a ball, pinching the edges to seal it. Rub the ball against the work surface to ensure a tight seal. Set aside and repeat for the remaining pieces, except for the two end pieces.
Shape End Pieces
For the two end pieces, gently flatten each, roll tightly, then roll into a ball, and seal as before. You should now have 6 dough balls.
Initial Rest for Shaped Dough
Let the shaped dough balls rest uncovered on the work surface for .
Form Wheat Grain Shape
Sprinkle a little flour on one dough ball to prevent sticking. Gently flatten it. Press the dough with the heel of your hand to create an indentation in the center. Fold the first half of the dough over the indentation. Start rolling the dough, applying more pressure on the ends as you roll to create a pointed, wheat grain-like shape. Place the shaped dough, seam down, on a clean towel.
Second Rise for Shaped Dough
Repeat the shaping process for all dough pieces. Cover the shaped dough with a towel and let it rise for .
Prepare for Baking
Preheat your oven to 430°F (approximately 220°C) (220°C (approximately 430°F)). Line a baking tray with parchment paper. Carefully transfer the risen dough pieces to the baking tray, ensuring the seam is facing up.
Score and Add Steam
top of each bread roll with a sharp blade or knife along the seam. This helps the bread open up during baking. Sprinkle a few drops of water around the bread on the tray to create in the oven.
First Bake
Cover the baking tray with another tray of the same size to trap . Bake in the preheated oven at 430°F (approximately 220°C) (220°C (approximately 430°F)) for .
Second Bake
After , carefully remove the top tray. Continue baking for another , or until the bread rolls are golden brown and crispy.
Cool and Serve
Remove the baked bread rolls from the oven. They should make a hollow sound when tapped, indicating they are perfectly baked and crispy. Let them cool slightly. Slice one in half and spread with butter for a delicious treat.
Before You Cook
Helpful details before you startPlan Ahead
Complete this step earlier to save time later.
- View Step 3First Rest30 minutes
Cover the bowl with a lid and let the dough rest for 30 minutes.
- View Step 5Second Rest30 minutes
Cover the bowl again and let the dough rest for another 30 minutes.
- View Step 7Final Rise2 hours
Cover the bowl and let the dough rise until it doubles in size. This usually takes about 2 hours, depending on the room temperature.
- View Step 8Prepare for Shaping
Once the dough has doubled, sprinkle flour generously on your work surface. Gently scrape the dough out of the bowl onto the floured surface. Fold the dough in half to make it easier to cut. Observe the bubbles in the dough, which indicate good fermentation.
- View Step 13Second Rise for Shaped Dough30 minutes
Repeat the shaping process for all dough pieces. Cover the shaped dough with a towel and let it rise for 30 minutes.
Helpful Tips
Small details that can improve the final result.
You might also like
Other recipes in the same cuisine, meal type, or style — ready to cook whenever you are.

Tricolour Veg Idli – Indian Breakfast
Cuisine
Indian · South Indian
Prep + Cook Time
35 Minutes
Difficulty Level
Easy
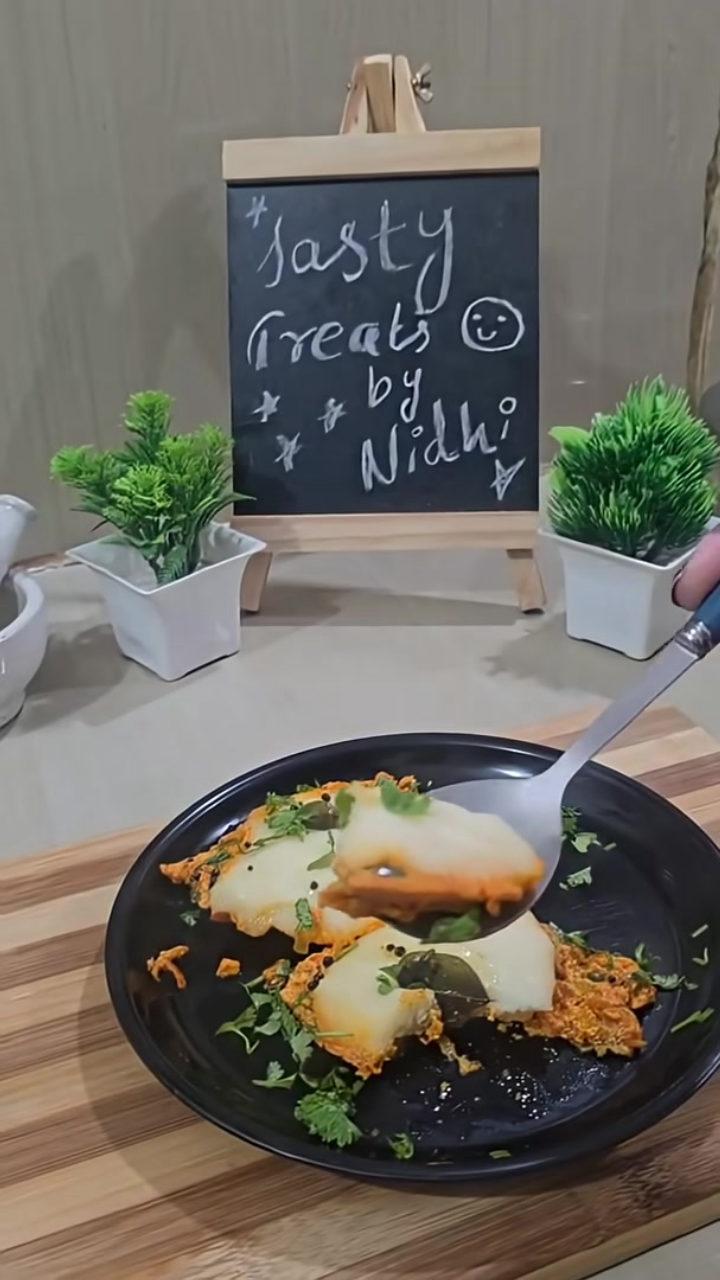
Suji Paneer Delight - Healthy & Tasty Breakfast
Cuisine
Indian · Fusion
Prep + Cook Time
35 Minutes
Difficulty Level
Easy

Soya Fry – Home Cooking Style
Cuisine
Indian · South Indian
Prep + Cook Time
40 Minutes
Difficulty Level
Easy

Sooji Poha Pancake
Cuisine
Indian · South Indian
Prep + Cook Time
25 Minutes
Difficulty Level
Easy
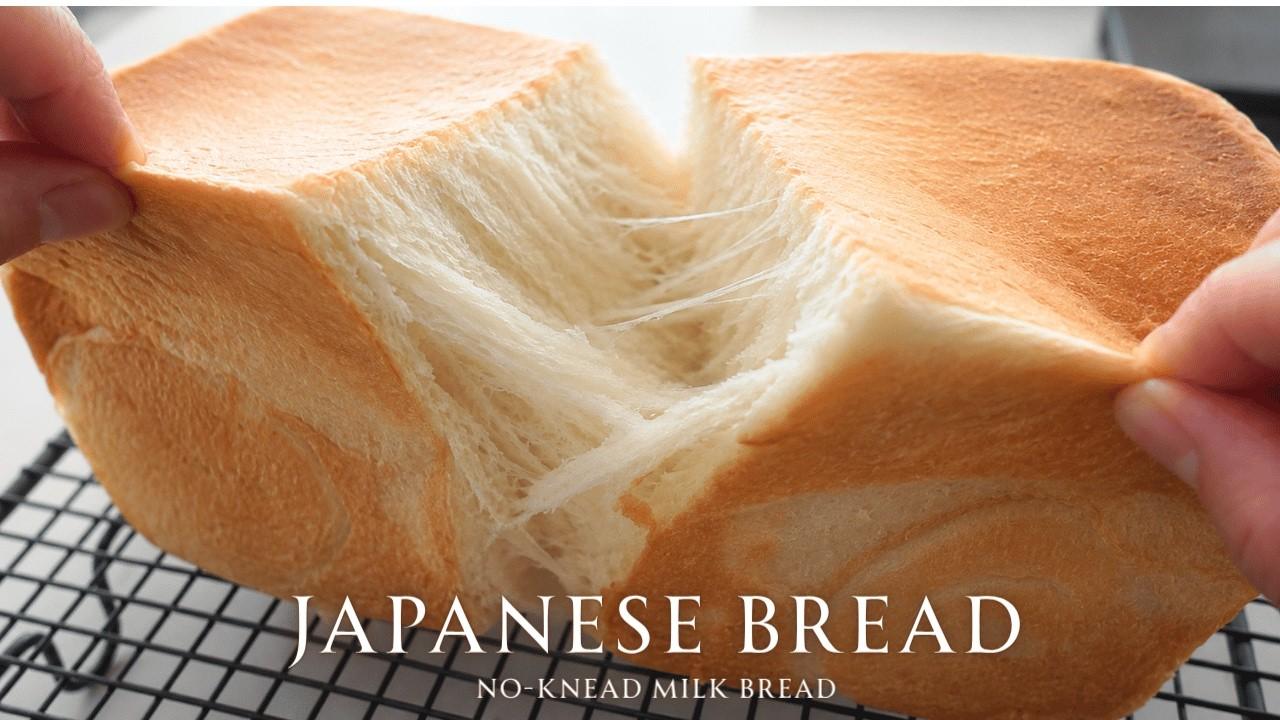
Soft Milk Bread Loaf
Cuisine
Asian · Japanese
Prep + Cook Time
4 hr 10 min
Difficulty Level
Medium
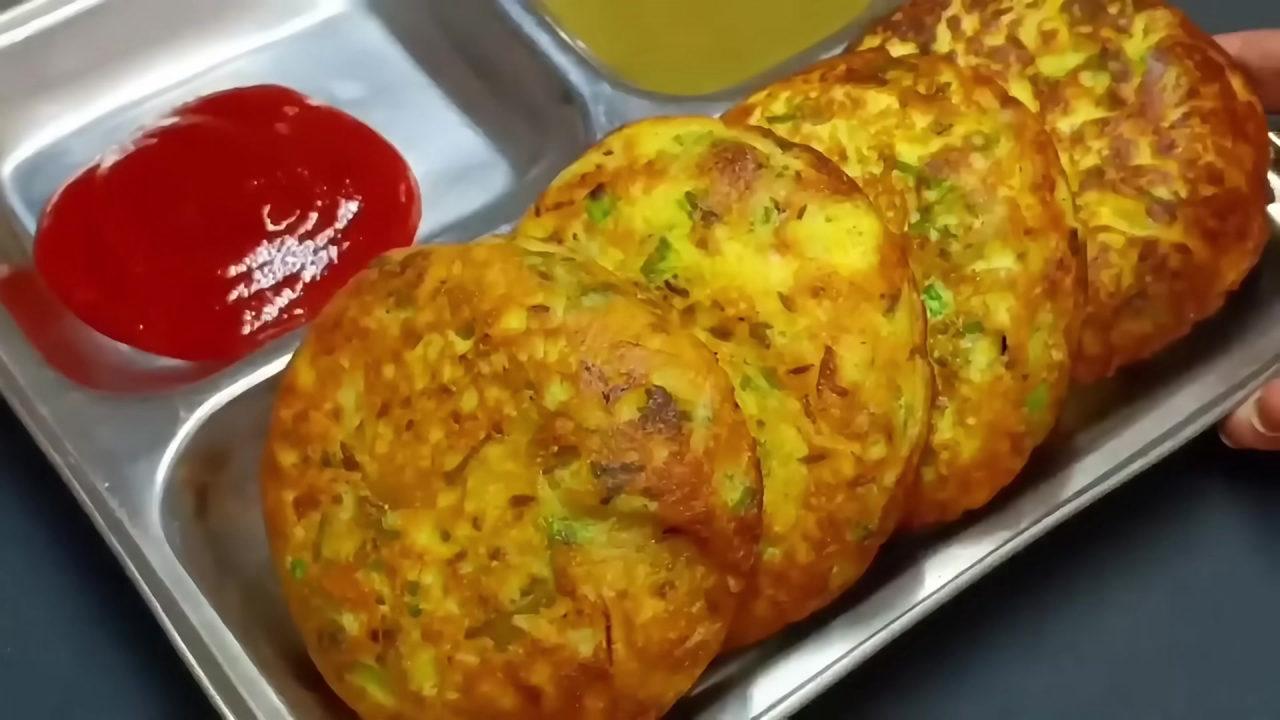
Instant Besan Rice Flour Savory Pancakes
Cuisine
Indian · North Indian
Prep + Cook Time
25 Minutes
Difficulty Level
Comments (0)
Sign in to leave a comment on this recipe.
Loading comments...