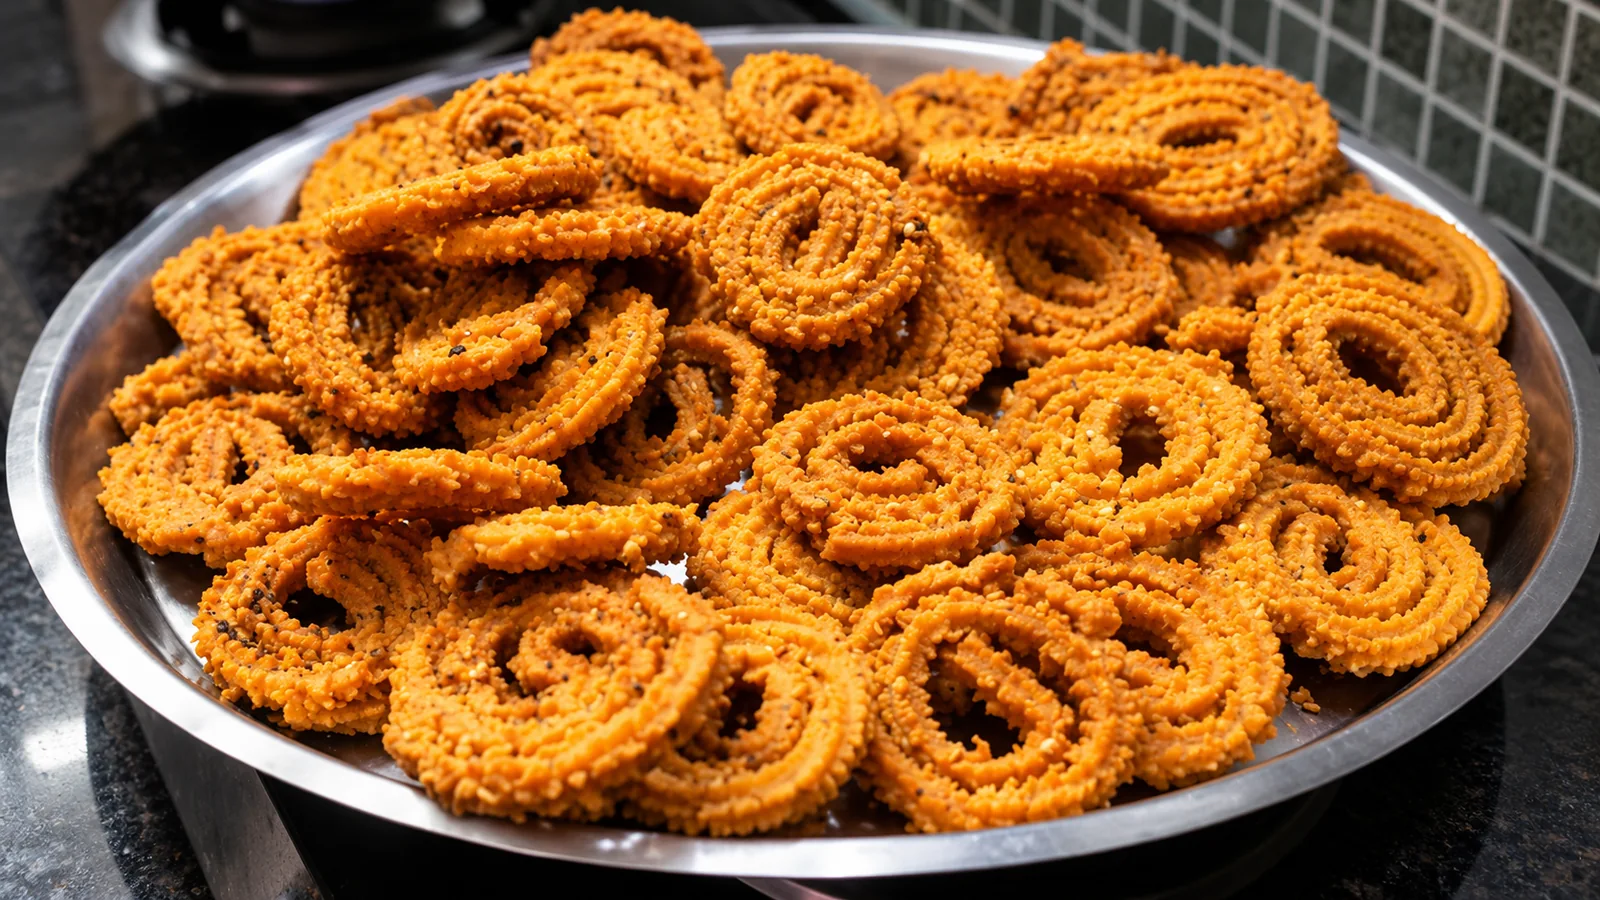
Murukku turning too hard, soaking up oil or breaking while pressing? Learn what goes wrong and how to make beautifully crispy homemade murukku.
Homemade murukku should have a clean, satisfying snap. A batch can turn dense, greasy or break apart when the dough, pressing and frying do not suit the particular recipe. Start by noticing when the problem appears; each symptom points to a different part of the process.
Rice-flour spirals, thenkuzhal, butter murukku and mullu murukku use different flour blends, fats and pressing plates. Follow one recipe all the way through and use its ingredient ratios as your baseline.
What makes murukku crispy?
Flour blend and any added fat shape the crumb; the water you add makes the dough pressable; and steady frying drives off moisture so the finished strands set crisp. Thickness and the recipe’s intended texture matter too. A delicate thenkuzhal and a ridged mullu murukku need not feel identical. Pleasantly crisp means the snack snaps without feeling solid or dense.
What’s going wrong with your murukku?
- Too hard: check the recipe’s flour balance, dough stiffness, strand thickness and frying time.
- Oily or greasy: check heat stability, batch size, dough moisture and whether the pieces cooked through.
- Breaking: if it cracks in the press, check dough cohesion; if it breaks in oil, check shaping and handling.
The dough: where crispy murukku begins
Rice flour is the base in many styles, while urad dal flour, roasted gram flour or another flour may be included in a particular recipe. Butter or oil may tenderize some doughs, but the amount is not interchangeable between styles. Salt and seasonings such as cumin, sesame or asafoetida are also recipe-dependent. Measure the dry ingredients carefully and distribute them evenly before adding water.
For an extruded spiral, the mixed dough generally needs to be cohesive, pliable and moist enough to pass through its chosen disc without crumbling. It should hold together when pinched, yet not feel wet or sticky. Add water gradually: different flour brands absorb different amounts, so a fixed quantity cannot suit every batch. If a small test piece cracks at the press, knead in a little water and test again. If the dough smears or will not hold its shape, pause before adding more liquid and compare it with the recipe’s cues.
Pressing and frying for an even crunch
Use the disc specified for your murukku style. Fill the press without trapping large air pockets, then press a small test spiral with steady pressure. If it takes excessive force or the strand keeps snapping, recheck the dough before filling the rest of the press. Shape spirals with joined strands and a consistent thickness; very thin or loose sections can cook and break differently from the rest.
Shape on a clean, dry plate or other support if that is how your recipe works, then slide the piece carefully into the oil with a suitable utensil. Some recipes press directly over the kadai; keep the press close to the oil without touching it, keep your hands away from splashes, and never add water near hot oil. Lower each piece gently and avoid crowding the pan.
Keep the heat steady and use the temperature stated by your chosen recipe when one is given. Without a thermometer, test with a small piece of dough: the oil should bubble steadily, not make it darken immediately or leave it sitting without activity. Let the oil recover between batches. Bubbles easing, an even golden colour and the recipe’s doneness cue can help together; bubbling alone does not prove the centre is cooked. Drain with a slotted spoon onto a rack or paper and let the murukku cool completely before packing.
1. Why does murukku become hard instead of crispy?
A stiff dough, an unsuitable flour balance, strands pressed too thick, or frying longer than the recipe calls for can produce a dense, hard result. A recipe with too little of its specified tenderizing fat can also feel tougher, but adding butter by guesswork may unbalance the dough or make it difficult to press. Compare the batch with the exact style you intended to make, then adjust one thing at a time next time.
Measure the flours, follow the recipe’s fat quantity, and add water only until the dough reaches its stated feel. Check that the disc and strand size match that style. Fry a test piece and follow its colour and doneness cues rather than leaving every batch in until it becomes deeply brown. Hardness is not the same as crispness: aim for a cooked, brittle snap, not a dense bite.

Cook with the app
Cook along with Sweet'n'Spicy
Make cooking easier with recipes right on your phone. Get the Sweet'n'Spicy app for iPhone and Android.
2. Why does murukku absorb too much oil?
Oil that cools too far between batches can leave fried snacks greasy, but it is not the only possibility. A crowded pan, fluctuating heat, excess dough moisture, a recipe imbalance or removing pieces before they are properly cooked can contribute too. Use manageable batches and allow the oil to return to the recipe’s working heat. Keep the dough’s moisture and added fat within that recipe’s proportions, and drain each piece well without over-frying it to chase a dry surface.
3. Why does murukku break while pressing or frying?
When it breaks in the press
Cracks or short, crumbly strands usually mean the dough is not cohesive enough for that disc: it may be too dry, mixed unevenly or simply too stiff for the chosen style. Cover dough that is waiting so its surface does not dry out. Knead a small portion until even, then add water in tiny increments only if it still fractures. Also check that the disc openings suit the recipe and are clear of stuck dough.
When it breaks in the oil
A loose spiral, thin weak joins, rough transfer or moving the piece too soon can make it fall apart. Form compact shapes of even thickness and lower them gently. Let the underside set before turning or shifting the murukku, and use a slotted spoon rather than gripping it. If the dough presses cleanly but still breaks, revisit that recipe’s flour blend and frying cues; adding water alone may not solve it.
Why does murukku become soft after cooling?
A piece that softens after cooling may still hold residual moisture because it was under-fried or packed while warm. Steam trapped in a container can condense, and humid air can soften an exposed snack. Let the murukku cool in a single layer until no warmth or steam remains. If a fully cooled batch is still soft, check the recipe’s frying cues next time instead of assuming it needs a longer, darker fry.
Making murukku ahead for Diwali
Set out a clean press, suitable discs, measured ingredients and a dry cooling area before you begin. Fry in manageable batches, let each finish cooling, then store it in a clean, completely dry airtight container away from steam, heat and moisture. Don’t seal warm snacks or keep raw wet dough for an extended time unless your specific recipe gives safe storage directions.
Frequently asked questions
How do I know if murukku dough has the right consistency?
It should hold together and press through the correct disc without crumbling, while remaining firm enough to hold its shape. Follow the recipe’s cues and add water gradually.
Why does murukku absorb too much oil?
Low or falling oil heat can contribute, as can crowded batches, excess moisture or a dough that has not cooked through. Check all of these rather than changing only the flame.
Can I use the same dough ratio for thenkuzhal and butter murukku?
No single ratio applies to every style. Use the flour blend and fat amount specified for the version you are making.
How can I keep murukku crispy after frying?
Drain it, cool it completely in a dry place and then store it in a clean, dry airtight container. Keep moisture and steam away.
Can I make murukku before Diwali?
You can plan and fry ahead, but storage time depends on the recipe and conditions. Use the recipe’s storage advice, cool pieces fully and avoid promising a fixed shelf life.
For the next batch, keep the recipe consistent, test the dough before filling the press, and watch the oil between batches. A small test spiral makes it easier to correct texture and heat before frying the rest.