Veg Khichdi & Tomato Chutney – Healthy Dinner Combo
Recipe by GitasKitchen
Ingredients
For Veg Khichdi
- 1/2 cupDalia / Broken Wheat
- 1.5 cups, choppedMixed Vegetables (Bottle Gourd, Capsicum, Carrot)
- 1/4 cupPeanuts
- 1.5 tbspGhee
- 1 tspJeera / Cumin Seeds
- 1Dry Red Chilli
- 2-3Cloves
- 1 small pieceCinnamon
- 1Cardamom
- 1/4 tspHaldi / Turmeric Powder
- 3.5 cupsWater
- to tasteSalt
- for garnishCoriander Leaves
For Tomato Chutney
- 3 tsp + 2 tbsp for temperingOil
- 6, halvedTomatoes
- 4-5 cloves (optional)Garlic
- 2Green Chillies
- 1 tspKashmiri Chilli Powder
- to tasteSalt
- a pinchHing / Asafoetida
- 1/2 tspMustard Seeds
- 1/4 tspJeera / Cumin Seeds
- for garnishCoriander Leaves
Step-by-Step Instructions
- 1.Prepare the Khichdi Ingredients
Wash 1/2 cup of broken wheat (dalia) and set aside. Chop your choice of vegetables like bottle gourd, capsicum, and carrot.
- 2.Sauté Spices for Khichdi
Heat 1.5 tbsp of ghee in a pressure cooker. Once hot, add cumin seeds, 1 dry red chilli, a few cloves, a small piece of cinnamon, and 1 cardamom. Let them splutter.
- 3.Roast Peanuts and Dalia
Add 1/4 cup of peanuts and sauté for a minute. Then, add the washed dalia and mix well.
- 4.Add Vegetables and Spices
Add the chopped mixed vegetables and mix everything together. Add turmeric powder, salt to taste, and 3.5 cups of water. Stir and bring the mixture to a rolling boil.
- 5.Pressure Cook the Khichdi
Close the pressure cooker lid, put on the weight, and cook for 1 whistle. After the whistle, switch off the flame and allow the pressure to release naturally.
- 6.Roast Ingredients for Chutney
While the khichdi cooks, heat 3 tsp of oil in a pan. Place 6 halved tomatoes (cut side down), optional garlic cloves, and 2 green chillies in the pan. Cover and cook for a few minutes.
- 7.Continue Roasting and Peel Tomatoes
After a few minutes, turn the tomatoes over and cook the other side until the skin becomes soft and starts to peel off easily. Switch off the heat, let it cool slightly, and then peel the skin off the tomatoes.
- 8.Blend the Chutney
Transfer the roasted tomatoes, garlic, and green chillies to a blender jar. Add Kashmiri chilli powder, salt, and a pinch of asafoetida. Use the pulse mode to grind it into a coarse, chunky paste.
- 9.Temper and Cook the Chutney
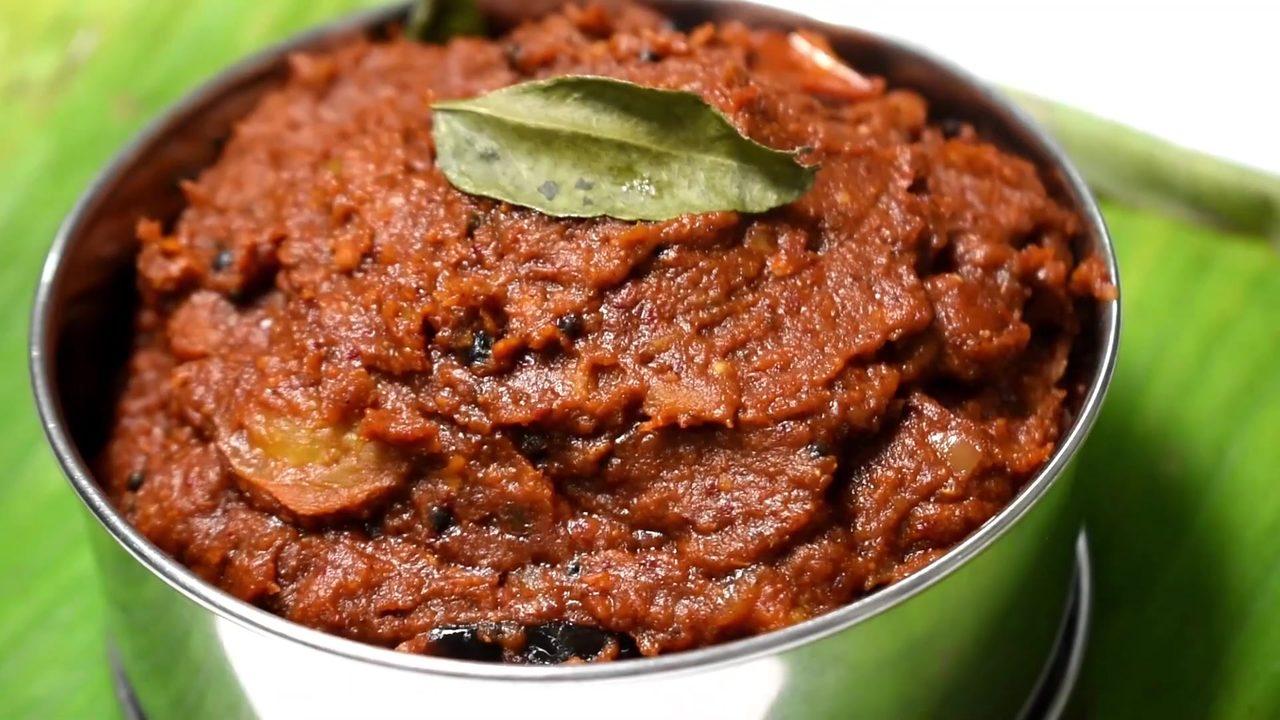
Heat 1-2 tbsp of oil in the same pan. Add mustard seeds and cumin seeds. Once they splutter, pour in the crushed tomato mixture. Mix well and let it boil for 3-4 minutes until it thickens.
- 10.Garnish the Chutney
Once the chutney reaches the desired consistency, switch off the heat and garnish with fresh coriander leaves.
- 11.Finish and Serve
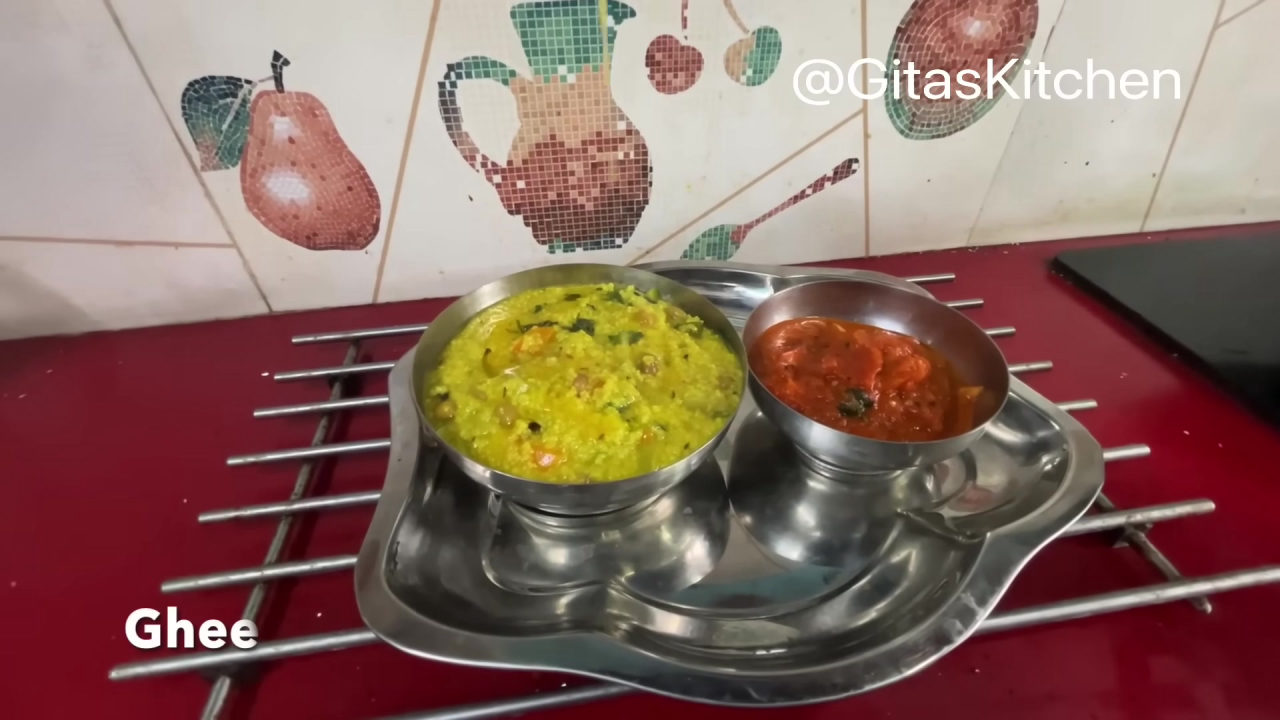
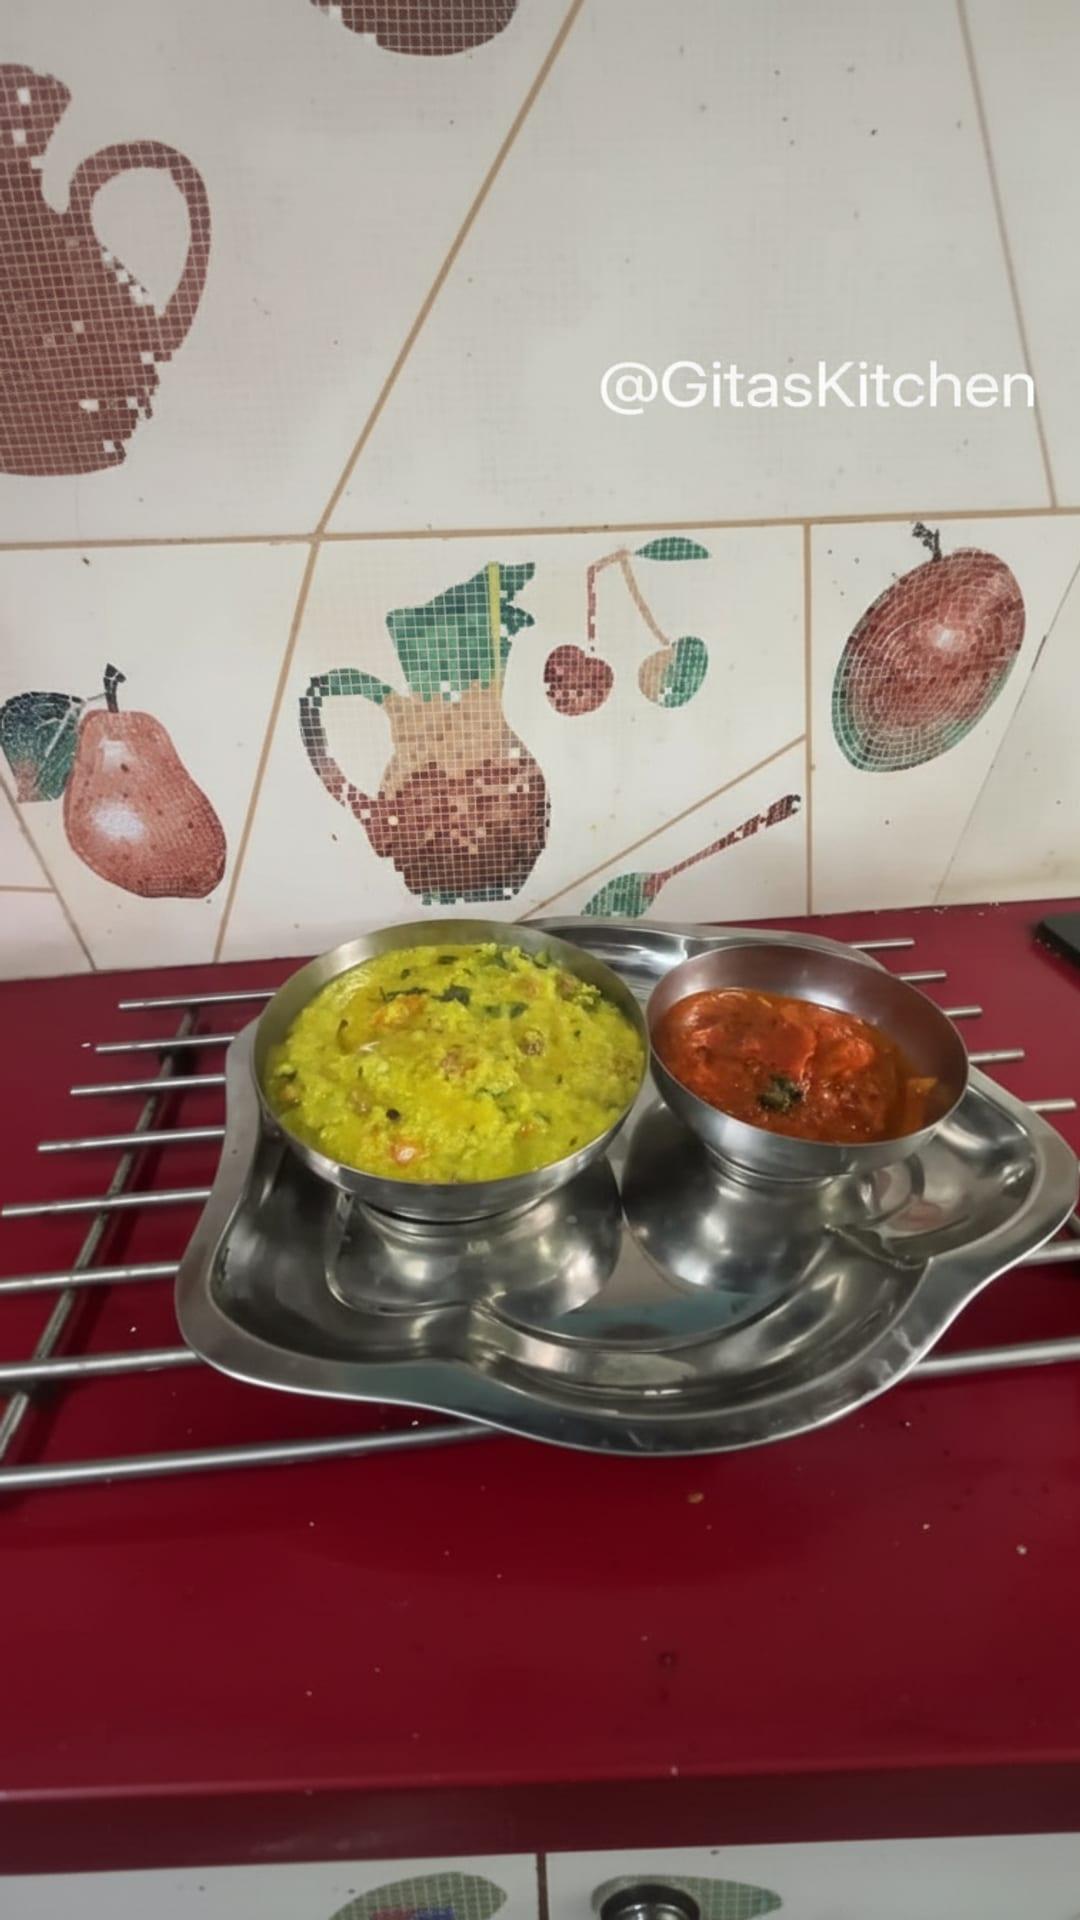
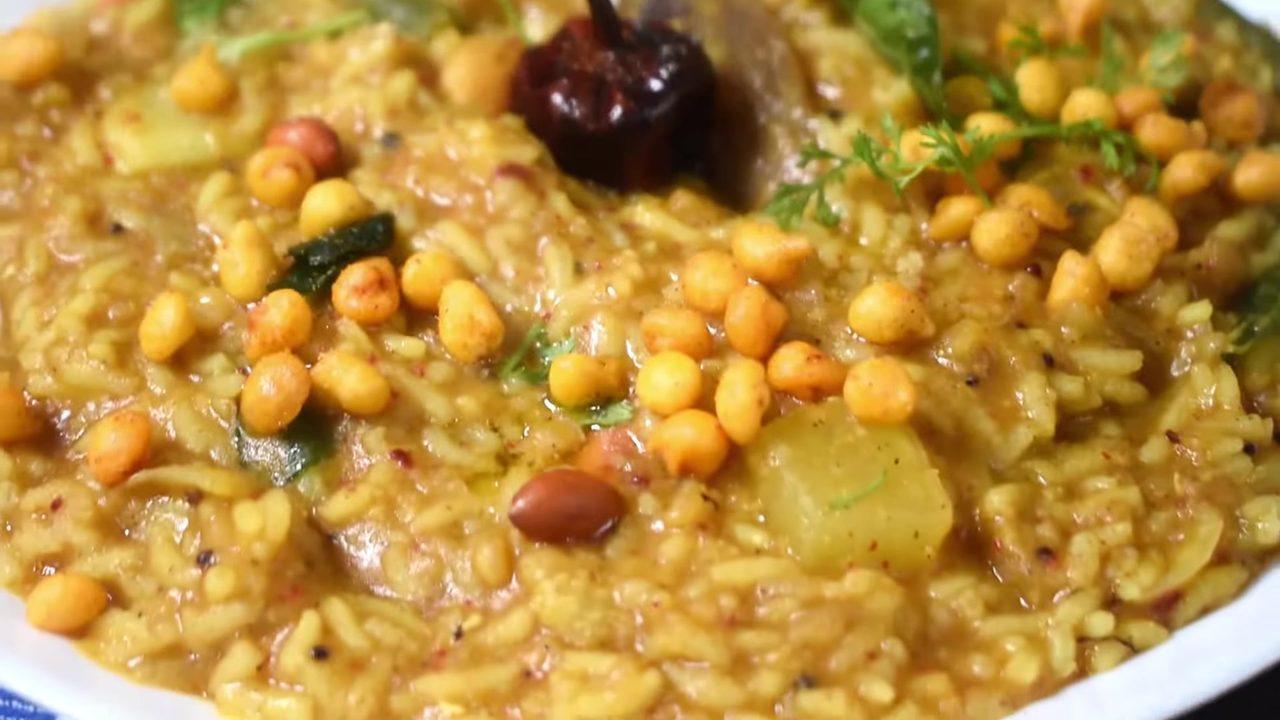
Open the pressure cooker once the pressure has released. The khichdi should have a perfect, slightly flowing consistency. Garnish with fresh coriander leaves. Serve the hot Veg Khichdi with the Tomato Chutney, and drizzle some extra ghee on top before eating.


Comments (0)
Sign in to leave a comment on this recipe.
Loading comments...