Soft Roti / Phulka Recipe
Summary
- This video demonstrates how to make soft and fluffy rotis (phulkas) using whole wheat flour, salt, and water. The process includes kneading the dough, resting it, rolling it thin, and cooking it on a tawa and direct flame to achieve a perfectly puffed and soft result.
All Ingredients - Main Ingredients
- Whole Wheat Flour (Chakki Atta) 2.5 cups
- Salt 1/2 teaspoon (to taste)
- Water 1.25 cups
- Oil 1 teaspoon (for greasing dough)
Tools You'll Need
- Tawa
- Griddle
- Mixing bowl
- Bowl
- Rolling pin
- Tongs
⚠ Contains Allergens
Step-by-Step Instructions
Step 1: Combine Dry Ingredients
In a large bowl, add 2.5 cups of whole wheat flour and salt to taste (approximately 1/2 teaspoon).
Step 2: Add Water and Mix
Gradually add 1.25 cups of water to the flour, mixing with your hands until a rough dough forms.
Step 3: Knead the Dough
the dough for several minutes until it comes together and is relatively smooth.
Step 4: Add Oil and Continue Kneading
Drizzle 1 teaspoon of oil over the dough and continue for another until the dough is smooth and pliable. Ensure the dough is neither too soft nor too hard.
Step 5: Rest the Dough
Cover the bowl with a clean cloth and let the dough rest for . This allows the gluten to relax, making the dough easier to roll and resulting in softer rotis.
Step 6: Prepare Dough Balls (Pedas)
After resting, take a small portion of the dough and roll it into a smooth, small ball (peda) between your palms.
Step 7: Dust and Roll Roti
Lightly dust the dough ball with dry flour and roll it out into a thin, round disc using a rolling pin. Aim for an even thickness.
Step 8: Preheat Tawa
Heat a tawa (griddle) over a medium flame until it is hot.
Step 9: Cook Roti on Tawa
Place the rolled roti on the hot tawa. Cook for about until small bubbles appear on the surface, then flip it to the other side.
Step 10: Puff the Roti
Cook the second side for about . Then, increase the flame to high and carefully place the partially cooked roti directly over the flame, flipping it with tongs until it puffs up completely and gets light brown spots on both sides. This ensures it cooks through and becomes fluffy.
Step 11: Serve
Remove the puffed roti from the flame and serve immediately, or keep it wrapped in a clean cloth to maintain its softness until serving.
Pro Tips
• Ensure the dough is neither too soft nor too hard for best results.
• Resting the dough for at least 10 minutes helps in achieving softer rotis.
• If the quality of whole wheat flour is not good, you can mix a small amount of all-purpose flour (maida) to improve elasticity.
• Cook the roti on medium heat initially on the tawa, then switch to high heat when placing it directly over the flame to help it puff up.
You might also like
Other recipes in the same cuisine, meal type, or style — ready to cook whenever you are.

Paneer Suji Snack / Paneer Starter
Cuisine
Indian · North Indian
Prep + Cook Time
20 Minutes
Difficulty Level
Easy

Egg Paneer Bhurji – High Protein
Cuisine
Indian
Prep + Cook Time
25 Minutes
Difficulty Level
Easy

Cheesy Paneer Masala
Cuisine
Indian · North Indian
Prep + Cook Time
35 Minutes
Difficulty Level
Medium
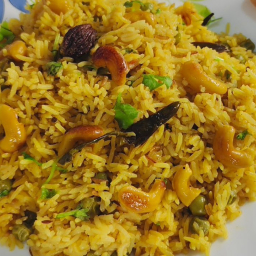
Matar Pulao (Pea Pulao)
Cuisine
Indian · North Indian
Prep + Cook Time
35 Minutes
Difficulty Level
Easy

Special Chole - Restaurant Style
Cuisine
Indian · North Indian
Prep + Cook Time
30 Minutes
Difficulty Level
Easy
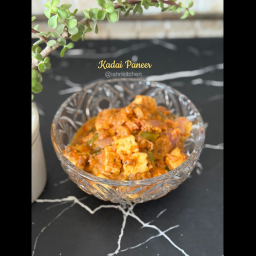
Kadai Paneer – Easy & Scrumptious
Cuisine
Indian · North Indian
Prep + Cook Time
45 Minutes
Difficulty Level
Comments
Sign in to leave a comment on this recipe.
Loading comments...