
Roti Bread – Flaky & Crispy
Roti Dough
Step-by-Step Instructions
Follow each step to make the recipe successfully.
Prepare the Dough
Add 500g of '00' pasta flour (or plain flour), 1 cup of water, 1 egg, and a pinch of salt to a food processor. Attach the blade and the dough for a couple of minutes until it forms a soft, elastic consistency. If the dough appears too dry, add a small splash of water.
Form Dough Balls
Remove the dough from the food processor. Divide the dough into small, equal-sized balls. Briefly each ball by hand to bring it back together and ensure a smooth surface.
Soak in Oil
Place the dough balls into a wide, clear bowl. Pour enough vegetable oil over the dough balls to completely submerge them. Let the dough balls rest and soak in the oil for a good few hours. This step is essential for developing the flaky texture and making the dough pliable for rolling.
Roll and Fold the Roti
Take one dough ball from the oil, ensuring your hands are coated with oil. On an oiled surface (like a wooden board), gently press and stretch the dough outwards until it becomes very thin and almost translucent, resembling glass. Don't worry about small holes. Once stretched, fold the thin dough onto itself to create a rectangle shape, forming multiple layers.
Heat the Pan
Place a pancake pan or a flat pan over medium-high heat. Add a spoonful of vegetable oil to the hot pan.
Cook the Roti
Carefully place the folded roti onto the hot, oiled pan. Cook for a few minutes until the edges begin to shallow-fry and turn golden brown and crispy. The roti will puff up as it cooks.
Flip and Finish Cooking
Using tongs, flip the roti over to cook the other side. Continue cooking until both sides are golden brown and crispy. Remove the cooked roti from the pan.
Season and Serve
Place the hot roti on a paper towel to absorb any excess oil. Immediately sprinkle plenty of crunchy salt flakes over the hot roti. Using a knife, chop the Roti into triangles or your preferred serving shapes. Serve warm and enjoy the chewy and crispy layers.
Before You Cook
Helpful details before you startIngredient SubstitutionsMissing something? View suitable alternatives.View 2 swaps
No All-purpose flour?
- White whole wheat flour (1:1)
- 1 cup minus 2 tbsp + 2 tbsp cornstarch (cake flour swap)
No Egg?
- 1 tbsp ground flax + 3 tbsp water (rest 5 min) — Per egg, best in baking.
- 1/4 cup unsweetened applesauce — Per egg, in sweet baked goods.
- 1/4 cup silken tofu, blended — Per egg.
Variations
Simple ways to adapt this recipe.
- Add sweet or savory fillings (eCustomise
G., cheese, minced meat, banana) before folding the dough into a rectangle for a stuffed Roti.
Helpful Tips
Small details that can improve the final result.
You might also like
Other recipes in the same cuisine, meal type, or style — ready to cook whenever you are.

Crispy Kurkuri Bhindi
Cuisine
Indian · North Indian
Prep + Cook Time
25 Minutes
Difficulty Level
Easy

Hash Browns
Cuisine
American
Prep + Cook Time
1 hr 50 min
Difficulty Level
Easy
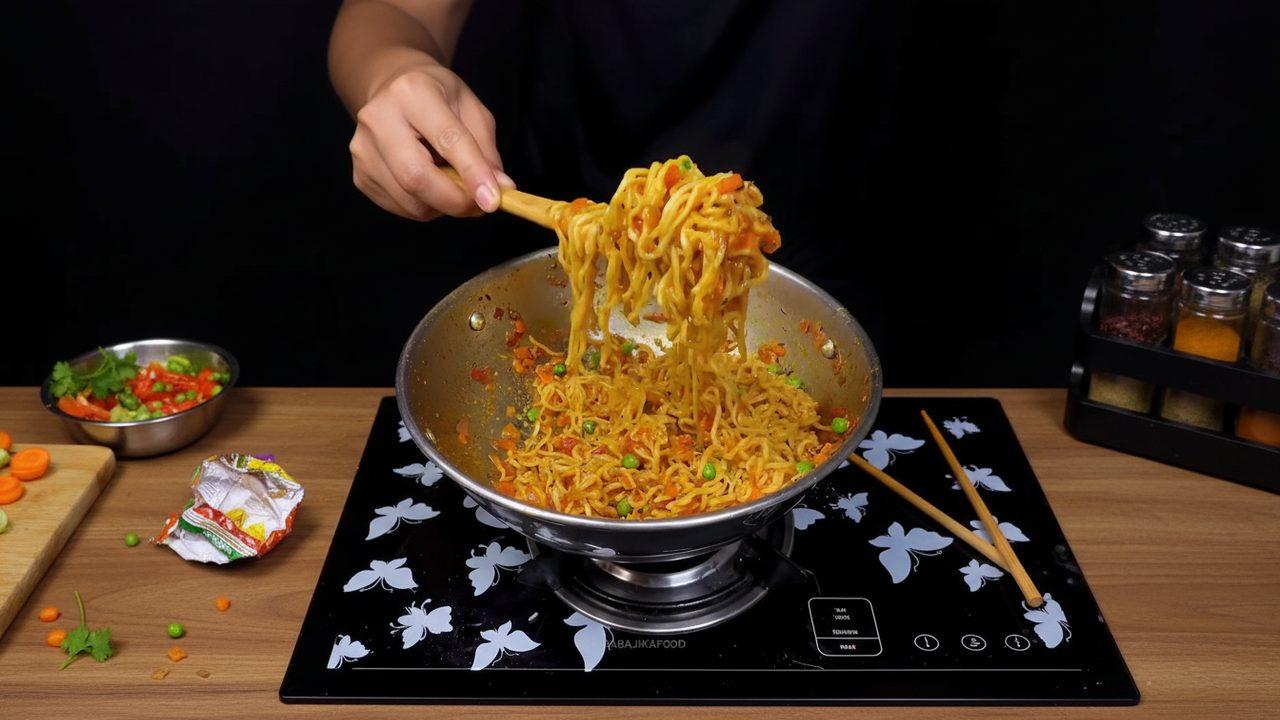
Vegetable Maggi Noodles - Indian Style
Cuisine
Indian · Street Food
Prep + Cook Time
20 Minutes
Difficulty Level
Easy
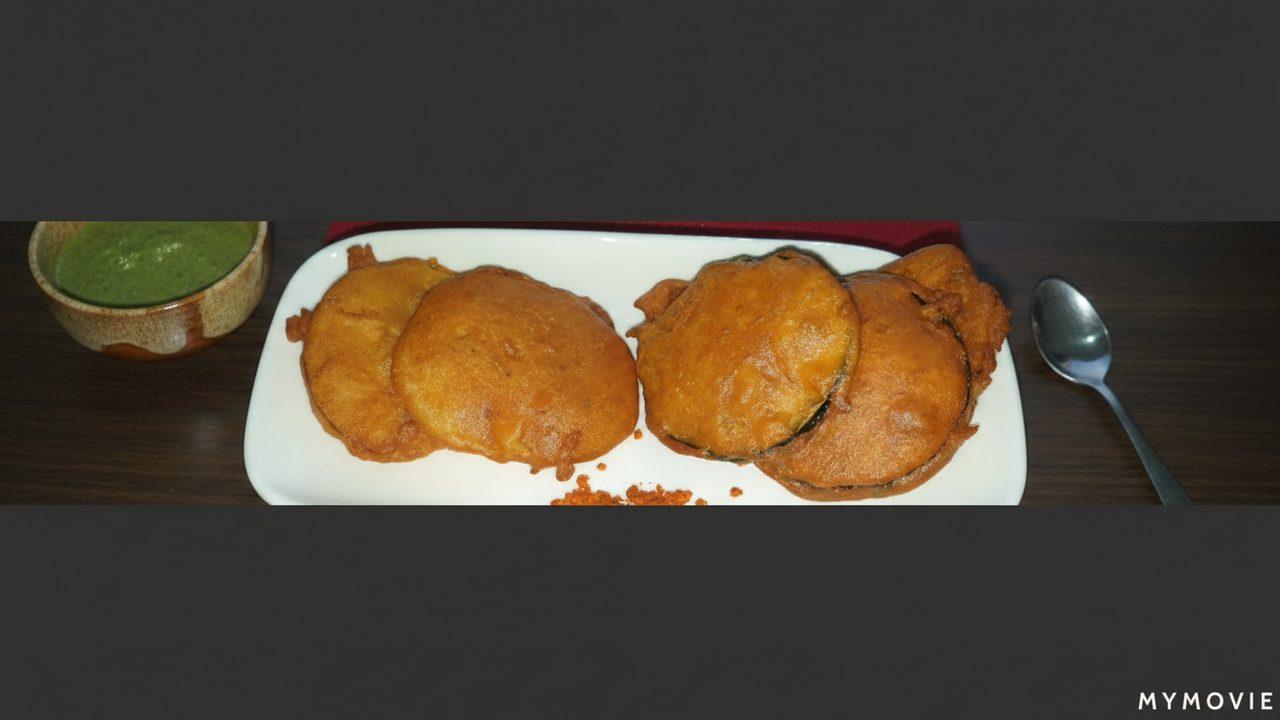
Pakora – Indian Fritters
Cuisine
Indian
Prep + Cook Time
35 Minutes
Difficulty Level
Easy
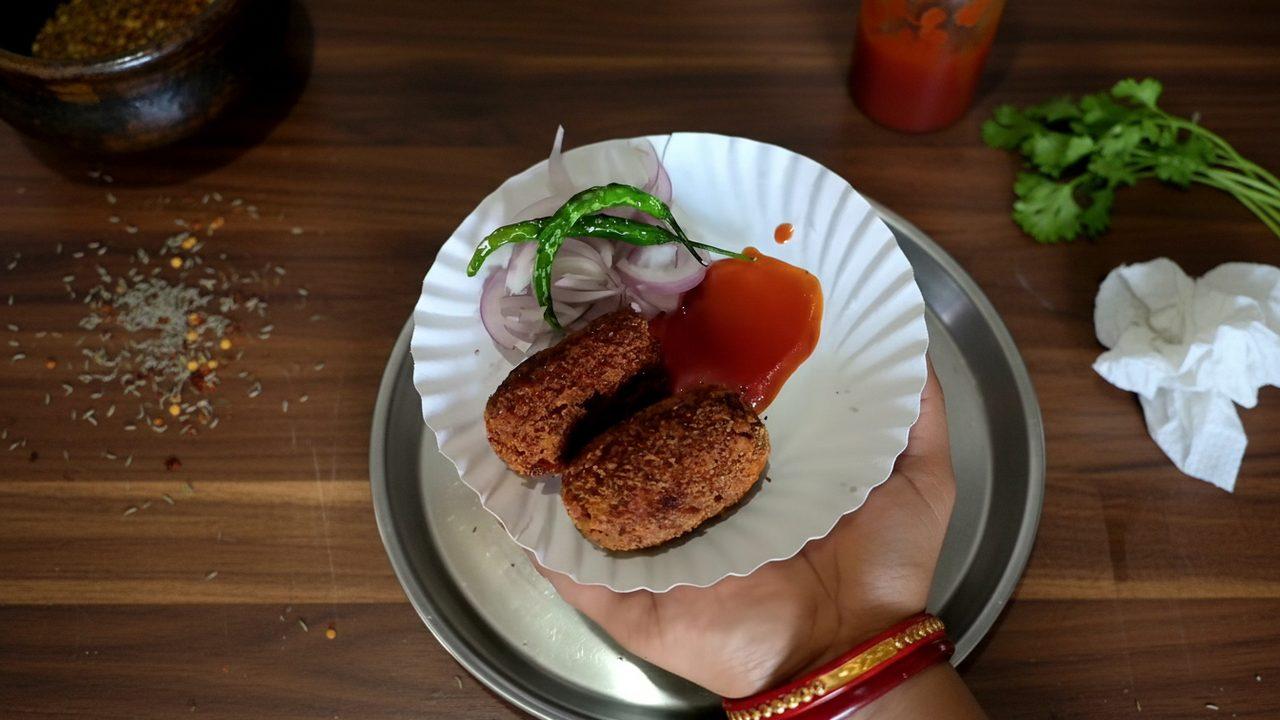
Vegetable Chop Kolkata Style
Cuisine
Indian · Bengali
Prep + Cook Time
35 Minutes
Difficulty Level
Medium
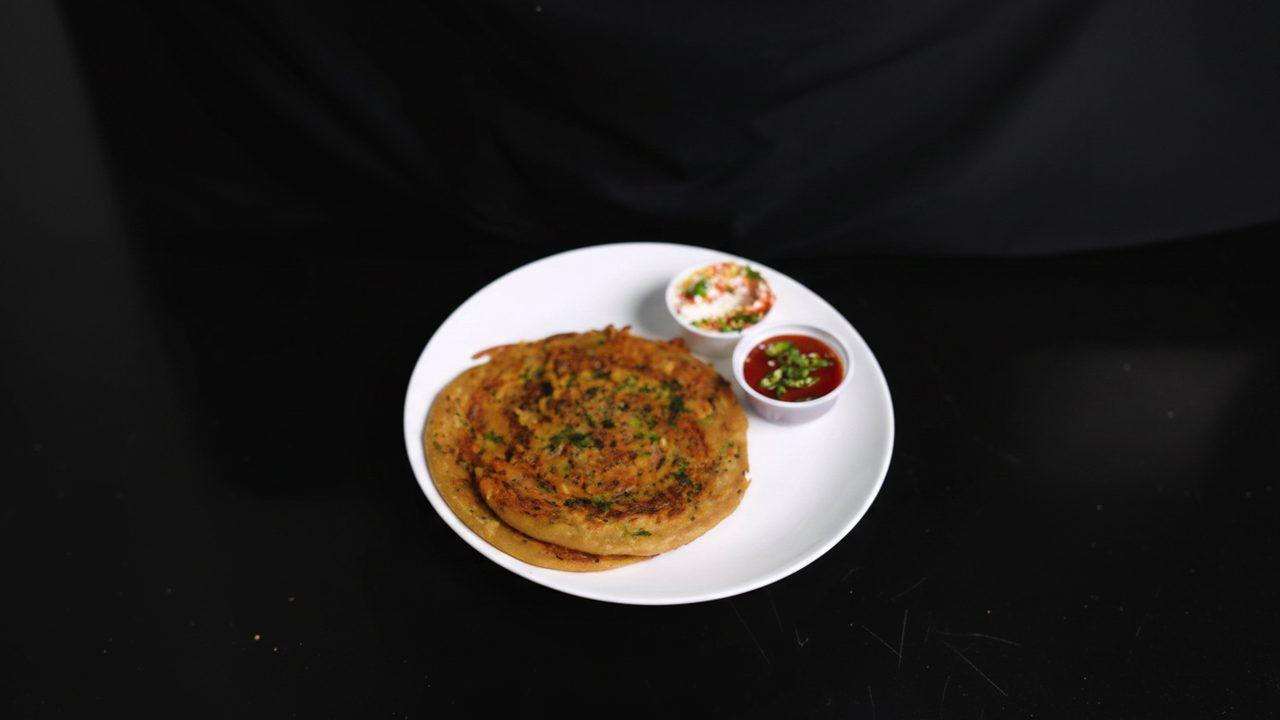
Onion Laccha Paratha - Indian Style
Cuisine
Indian · North Indian
Prep + Cook Time
35 Minutes
Difficulty Level
Comments (0)
Sign in to leave a comment on this recipe.
Loading comments...