Ready in

140 mins

Cuisine

Brazilian · Dessert

Prep Time

15 min

Cook Time

70 min

Serving

8 servings

Difficulty

Easy

Calories / Serving

~320 kcal
Recipe by NanduAndrade on YouTube
Adjust Servings
Measurements
Tap an ingredient to mark it ready0 of 5 ready
All Ingredients

Pudding Mixture

All Ingredients

Caramel

Step-by-Step Instructions

Follow each step to make the recipe successfully.

  1. Prepare Pudding Mixture

    In a blender, combine 3 eggs, 1 can (395g) of condensed milk, and 1 1/2 cups of milk (using the same measure as the condensed milk can). Blend lightly until well mixed.

  2. Make the Caramel

    In a saucepan, add 1 cup of sugar. Turn the stove to medium heat. Stir occasionally until the sugar completely and melts. Once melted, carefully add 1/2 cup of hot water, being cautious of the . Continue stirring until any hardened sugar melts completely again. Once smooth, turn off the heat.

  3. Coat the Mold with Caramel

    Pour the hot caramel into a pudding mold (ring mold). Carefully tilt and rotate the mold to spread the caramel evenly across the bottom and sides. Let it sit for about to cool slightly and thicken the caramel layer.

  4. Pour Pudding Mixture into Mold

    Pour the blended pudding mixture from the blender into the caramel-coated mold.

  5. Prepare for Bain-Marie

    Cover the pudding mold tightly with aluminum foil, ensuring the shiny side faces inwards. Crimp the edges securely to prevent any water from entering the mold during baking. Place the covered pudding mold into a larger baking pan.

  6. Bake in Bain-Marie

    Preheat your oven to 180°C (approximately 355°F) (350°F (approximately 175°C)). Once the oven is preheated, carefully pour hot water into the larger baking pan, around the pudding mold, to create a bain-marie. Bake for .

  7. Cool and Unmold

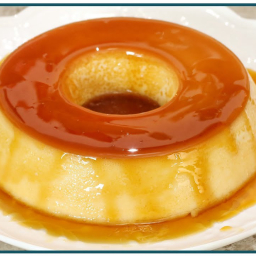
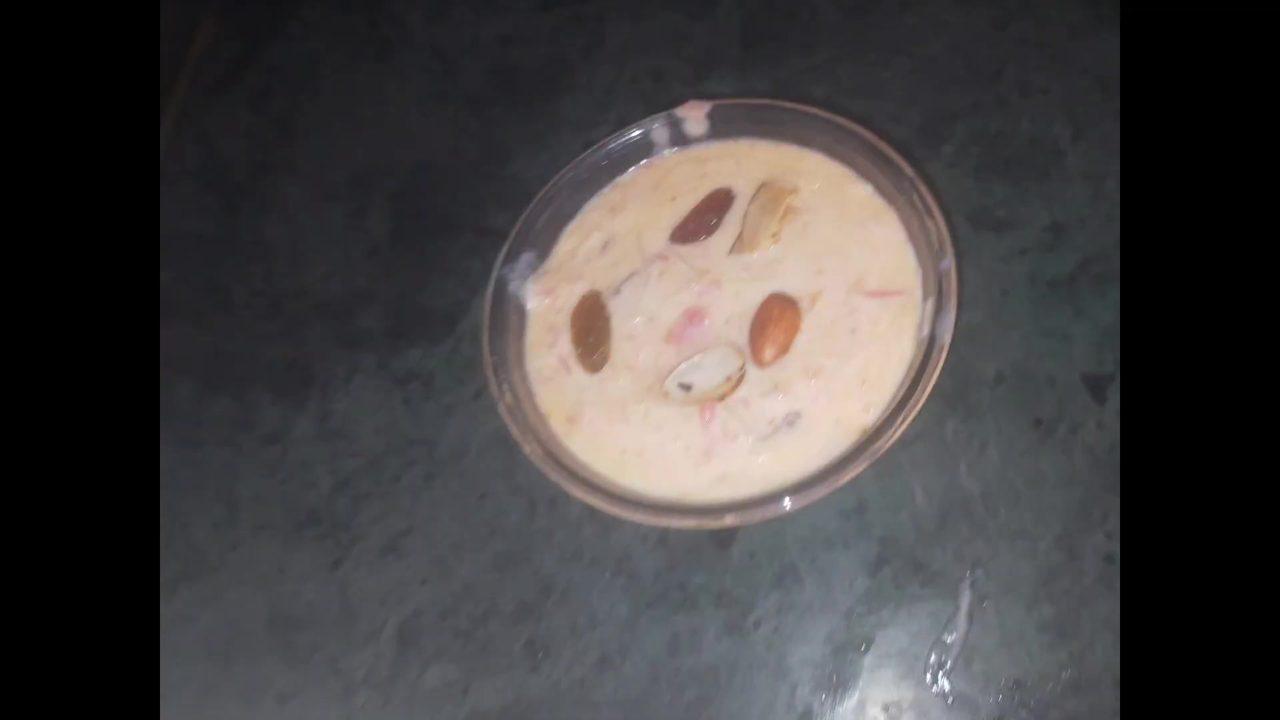
    After baking, remove the pudding from the oven and let it cool completely to room temperature. For best results, chill it in the refrigerator for several hours or overnight. Once chilled, use a knife to carefully loosen the edges of the pudding from the mold. Place a serving plate over the mold and invert it to unmold the pudding.
Before You Cook

Helpful details before you start
Ingredient SubstitutionsMissing something? View suitable alternatives.
View 2 swaps
  • No Egg?

    • 1 tbsp ground flax + 3 tbsp water (rest 5 min) — Per egg, best in baking.
    • 1/4 cup unsweetened applesauce — Per egg, in sweet baked goods.
    • 1/4 cup silken tofu, blended — Per egg.
  • No Milk?

    • Unsweetened almond / soy / oat milk (1:1)
    • 1/2 cup evaporated milk + 1/2 cup water (per 1 cup)
AllergensThis recipe contains dairy and eggs.
dairyeggs

Plan Ahead

Complete this step earlier to save time later.

  • Cool and UnmoldOvernight

    After baking, remove the pudding from the oven and let it cool completely to room temperature. For best results, chill it in the refrigerator for several hours or overnight. Once chilled, use a knife to carefully loosen the edges of the pudding from the mold. Place a serving plate over the mold and invert it to unmold the pudding.
    View Step 7

Storage & Leftovers

Keep your leftovers fresh and ready to enjoy.

  • Refrigerate

    For best results, chill it in the refrigerator for several hours or overnight.

Variations

Simple ways to adapt this recipe.

  • For a quicker puddingPreparation tip

    Refer to the channel's 15-minute stovetop pudding recipe.

Helpful Tips

Small details that can improve the final result.

  • PreparationAllow the Pudding Mixture to

    Allow the pudding mixture to rest briefly after blending to let the foam dissipate.

  • TipWhen Adding Hot Water to the Caramel

    Be careful of the steam.

  • TipEnsure the Aluminum Foil Is

    Ensure the aluminum foil is tightly sealed around the mold to prevent water from entering during bain-marie.

  • PreparationFor Best Results

    Let the pudding cool completely to room temperature or chill in the refrigerator before unmolding.

Was this recipe helpful?

Comments (0)

Sign in to leave a comment on this recipe.

Loading comments...