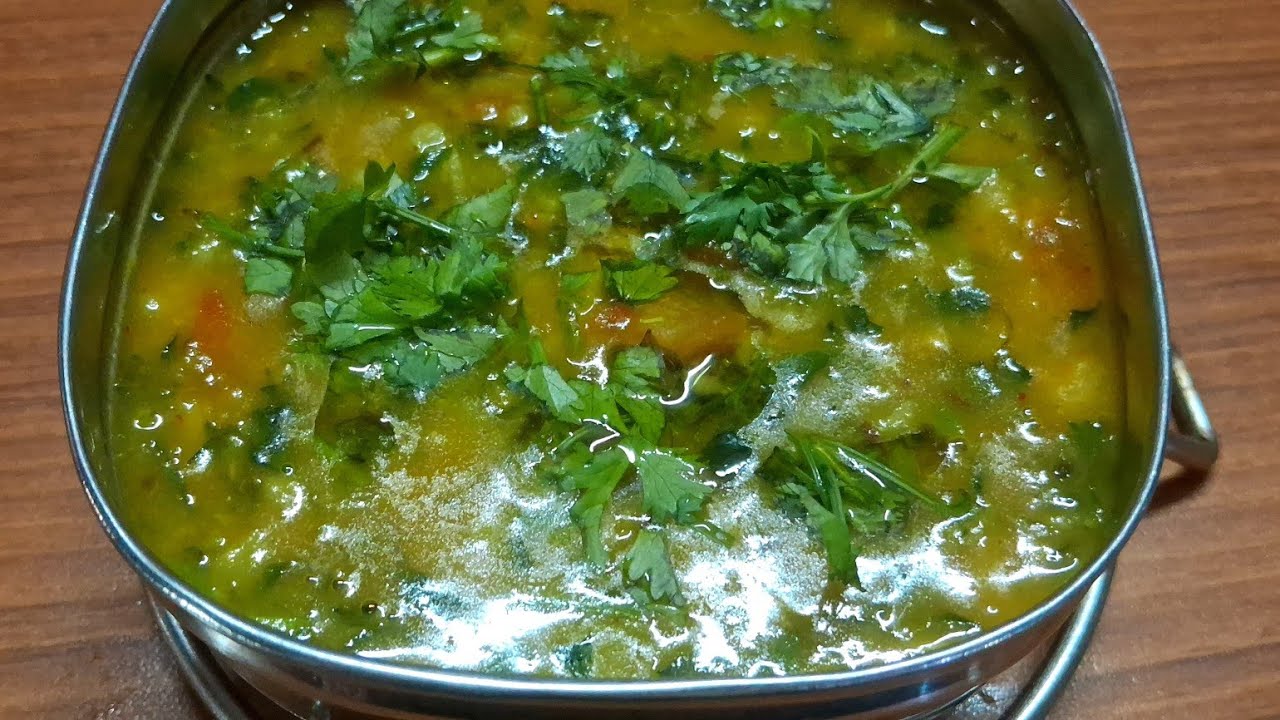
Methi Dal – Indian Style
All Ingredients - Main Ingredients
- Toor Dal 1/4 cup
- Moong Dal 1/4 cup
- Chopped Methi Leaves 2 cups
- Chopped Onions 1 medium bowl
- Chopped Green Chillies 10-15
- Chopped Tomato 1 medium bowl
- Turmeric Powder 1 tsp
- Hing (Asafoetida) 1/4 tsp
- Chopped Garlic Pieces 1/4 bowl
- Chopped Ginger Pieces 1/4 bowl
- Chopped Coriander Leaves 1/2 cup
- Jeera (Cumin Seeds) 1/2 tsp
- Oil/Ghee 2-3 tbsp
- Red Chilli Powder 1/2 tsp (optional)
- Kasuri Methi 1 tsp (optional)
- Sugar 1/2 tsp (optional)
- Salt to taste
- Water as needed
Don't have an ingredient? Try these swaps
No Onion?
- 1 tbsp onion powder (per medium onion)
- 3 tbsp dried minced onion
- Shallots or leeks (1:1)
No Asafoetida (hing)?
- 1/4 tsp garlic powder + 1/4 tsp onion powder
No Garlic (fresh)?
- 1/4 tsp garlic powder (per clove)
- 1/2 tsp garlic granules (per clove)
No Cilantro?
- Flat-leaf parsley (1:1, milder)
- Fresh mint (in chutneys, salads)
No Ghee?
- Unsalted butter (1:1)
- Neutral oil (1:1, lacks the toasted note)
⚠ Contains Allergens
Step-by-Step Instructions
Step 1: Boil and Mash Dal
Boil 1/4 cup Toor Dal and 1/4 cup Moong Dal with a little oil/ghee until very soft. Mash the boiled dal well and set aside.
Step 2: Prepare Tempering Base
Heat 2-3 tablespoons of oil/ghee in a kadai (wok) over high flame. Add 1/2 tsp Jeera and let it splutter. Then add 1/4 bowl chopped garlic pieces, 1/4 bowl chopped ginger pieces, 10-15 chopped green chilies, and 1 bowl chopped onions. Fry these ingredients well until the onions turn light golden brown.
Step 3: Add Spices and Methi
Add 1/4 tsp Hing to the frying mixture. If desired, add 1/2 tsp red chili powder for extra spice and color. Immediately add 2 cups chopped methi leaves and fry well until the leaves soften and most of their moisture evaporates. Optionally, add 1 tsp smashed Kasuri Methi for enhanced flavor.
Step 4: Add Tomatoes and Turmeric
Add 1 bowl chopped tomato to the mixture and continue frying until the tomatoes soften. Optionally, add 1/2 tsp sugar to balance the flavors. Add 1 tsp turmeric powder and mix well, frying for another minute until the raw smell of turmeric disappears.
Step 5: Combine with Dal
Add about 1/4 cup of chopped coriander leaves to the mixture, reserving some for garnish. Pour the boiled and mashed dal into the kadai. Add salt to taste. If the dal appears too thick, add water to achieve your desired consistency. Add a little more turmeric powder if you prefer a brighter yellow color.
Step 6: Simmer and Serve
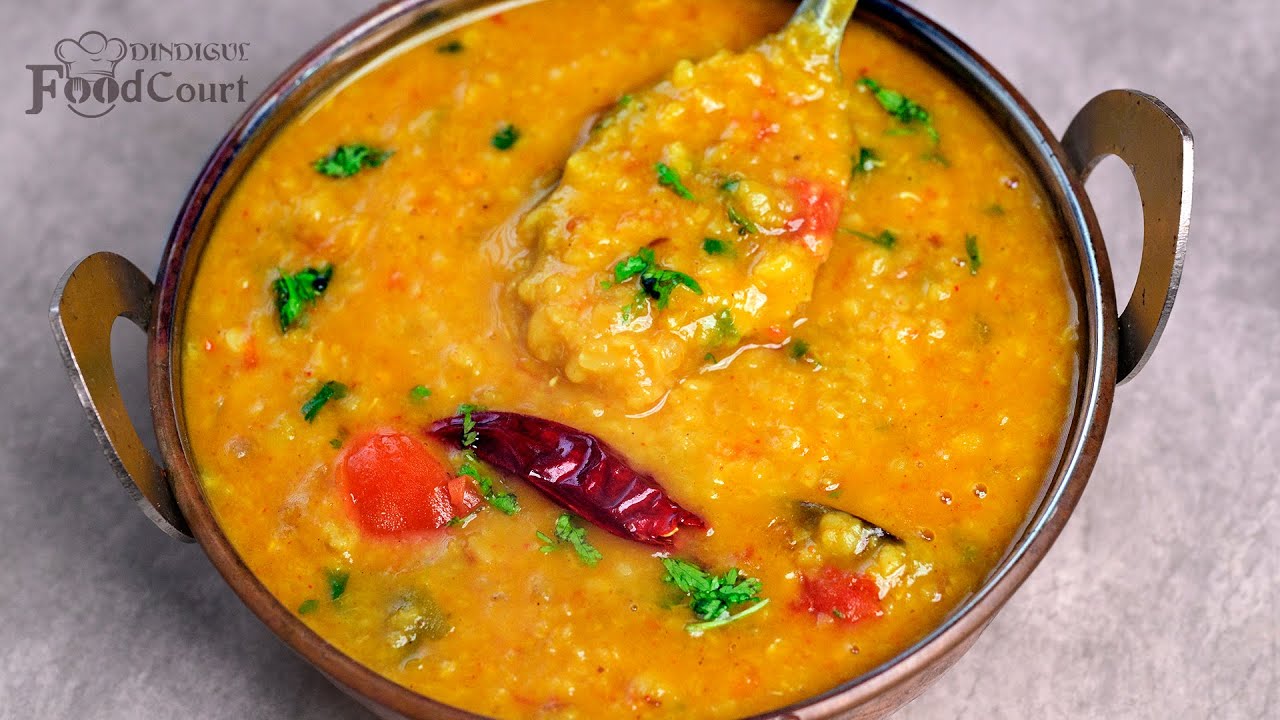
Stir everything well. Cover the kadai and let the dal on high flame for , allowing all the flavors to meld together. Once cooked, transfer the Methi Dal to a serving bowl. Garnish with the remaining fresh chopped coriander leaves and a drizzle of ghee, if desired. Serve hot with phulka, chapati, or rice.
Pro Tips
• Adjust green chilies and red chili powder to your spice preference.
• For best flavor, use fresh methi leaves.
• You can use only toor dal or moong dal if preferred.
• Add a pinch of sugar to balance the bitterness of methi, if desired.
Variations
• Add a pinch of garam masala for extra flavor.
• Substitute ghee with oil for a vegan option.
Your Notes
Jot down your tweaks — swaps you tried, cook-time adjustments, family reactions. Saved on this device only, and printed with the recipe.
More from Kamaths Veg & Non-Veg
Other recipes converted from Kamaths Veg & Non-Veg's cooking videos.
Methi Dal - Healthy & Tasty
Cuisine
Indian · North Indian
Prep + Cook Time
35 Minutes
Difficulty Level
Easy
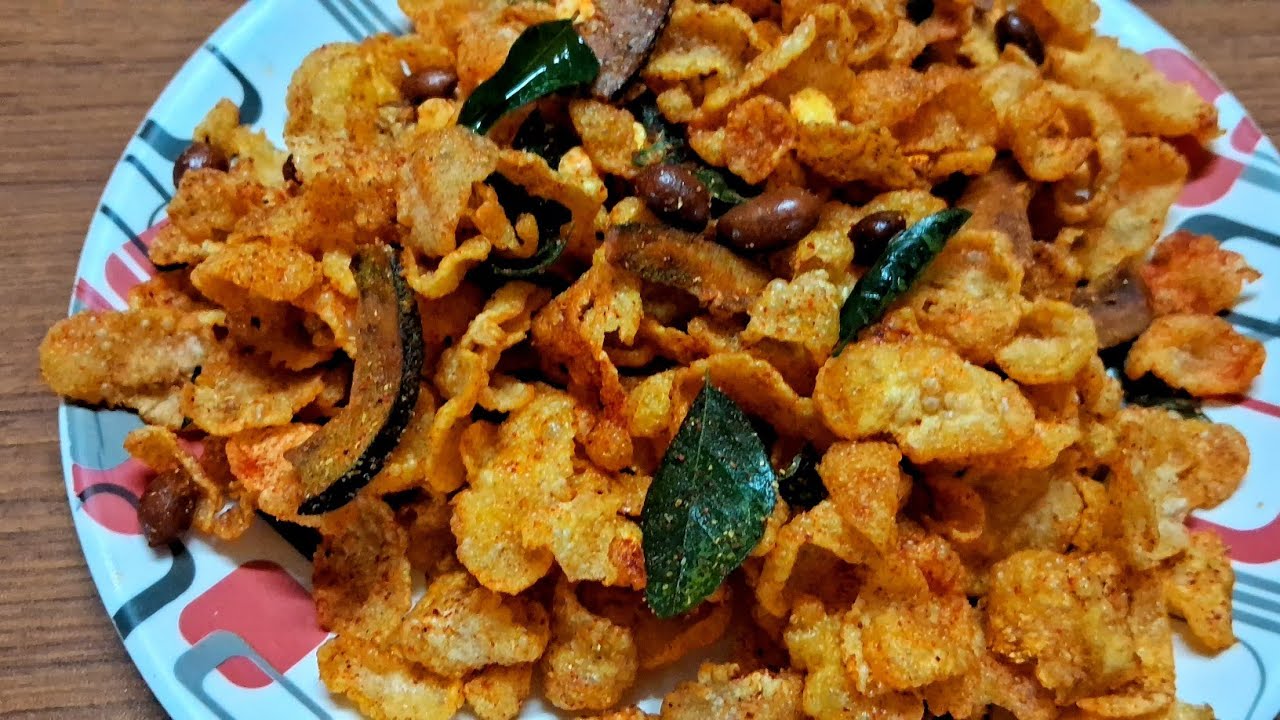
Corn Chivda (Indian Snacks)
Cuisine
Indian · Snacks
Prep + Cook Time
30 Minutes
Difficulty Level
Easy

Homemade Sambar - South Indian Style
Cuisine
Indian · South Indian
Prep + Cook Time
40 Minutes
Difficulty Level
Medium
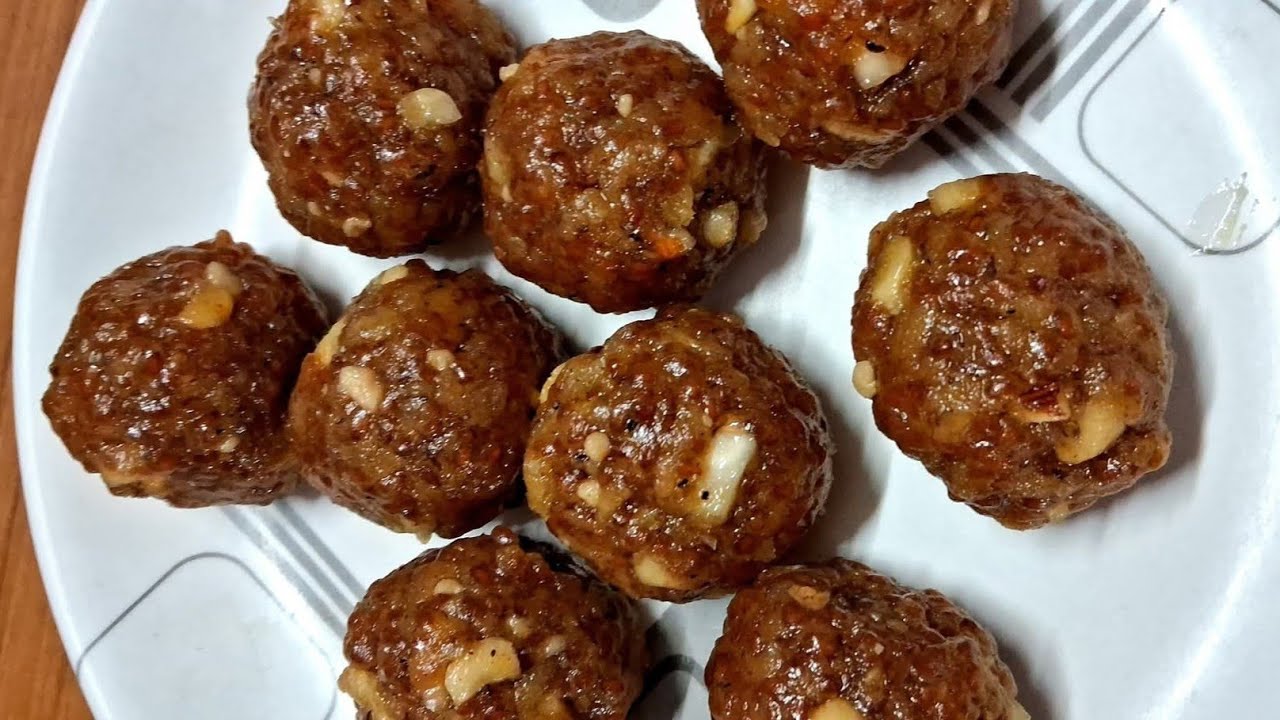
Halim / Aliv Laddoo - Indian
Cuisine
Indian
Prep + Cook Time
3 hr
Difficulty Level
Easy

Sabudhana Khichdi (Upma)
Cuisine
Indian · Maharashtrian
Prep + Cook Time
17 Minutes
Difficulty Level
Easy
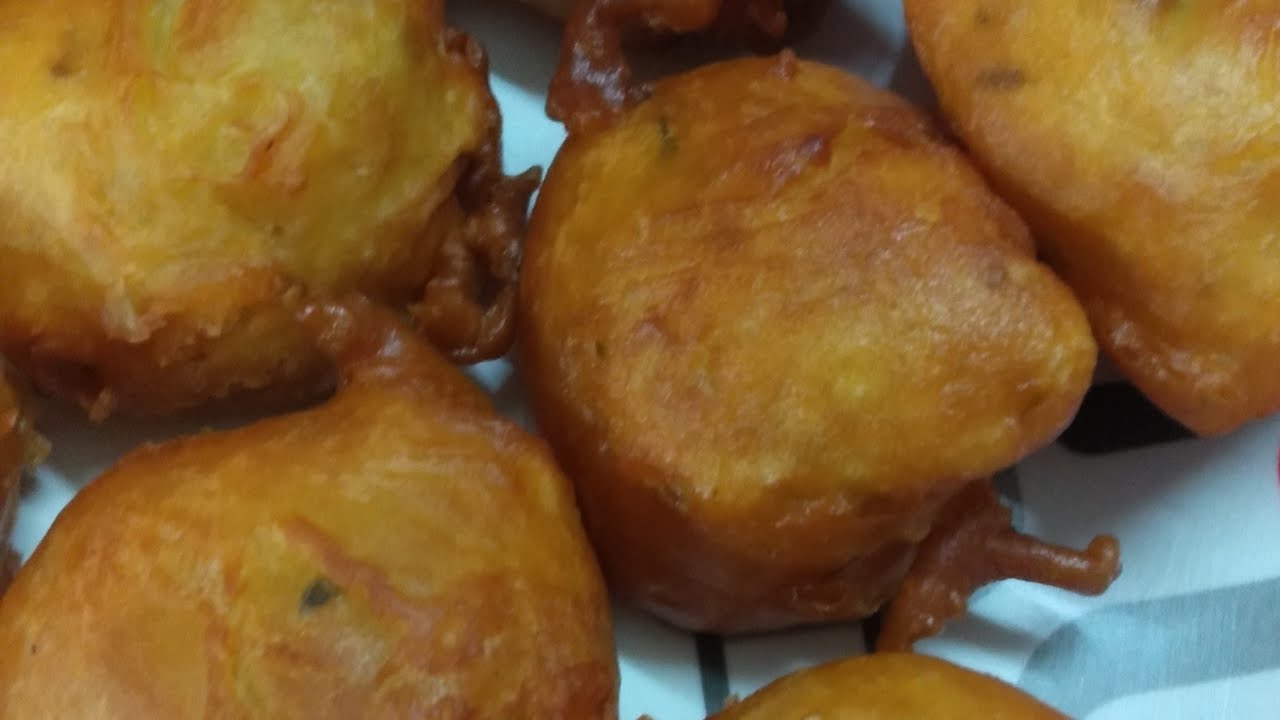
Goli Baje (Mysore Bhajji) – South Indian Snack
Cuisine
Indian · South Indian
Prep + Cook Time
35 Minutes
Difficulty Level
Easy
You might also like
Other recipes in the same cuisine, meal type, or style — ready to cook whenever you are.
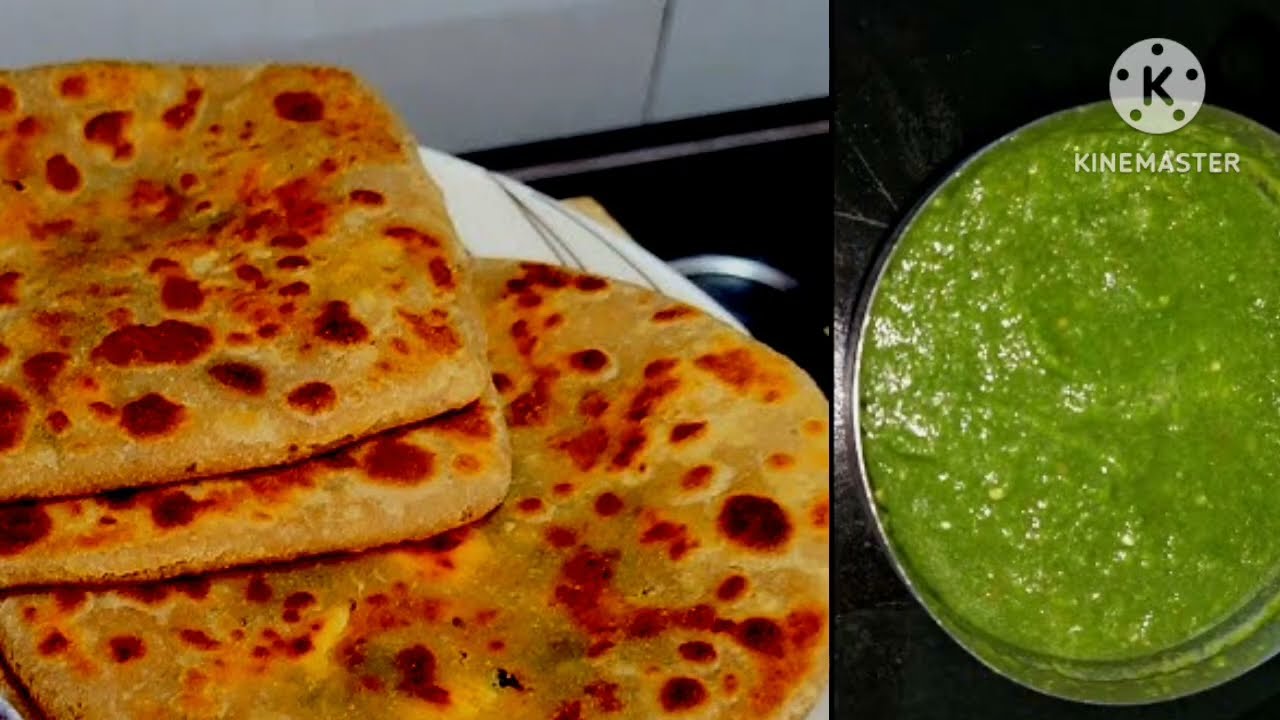
Paneer Paratha with Green Chutney
Cuisine
Indian · North Indian
Prep + Cook Time
40 Minutes
Difficulty Level
Medium
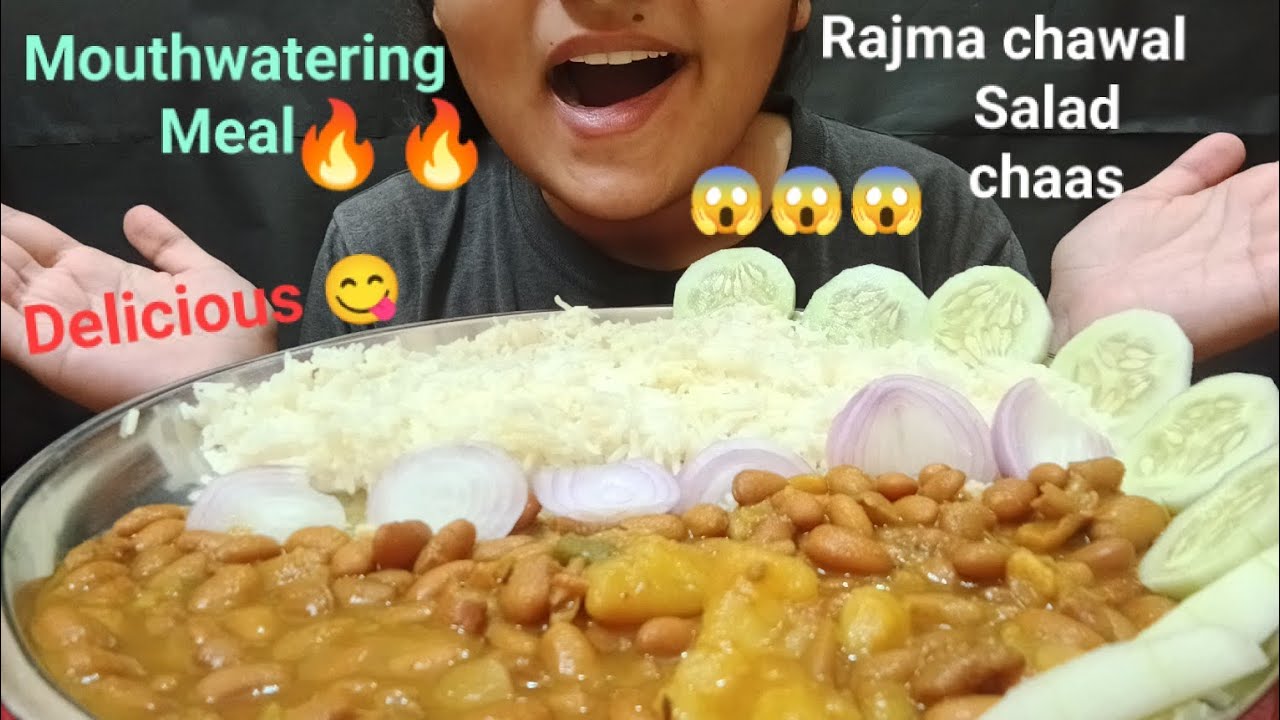
Rajma Chawal (Kidney Beans and Rice) Eating Show
Cuisine
Indian · North Indian
Prep + Cook Time
—
Difficulty Level
Not Applicable (Eating Show)
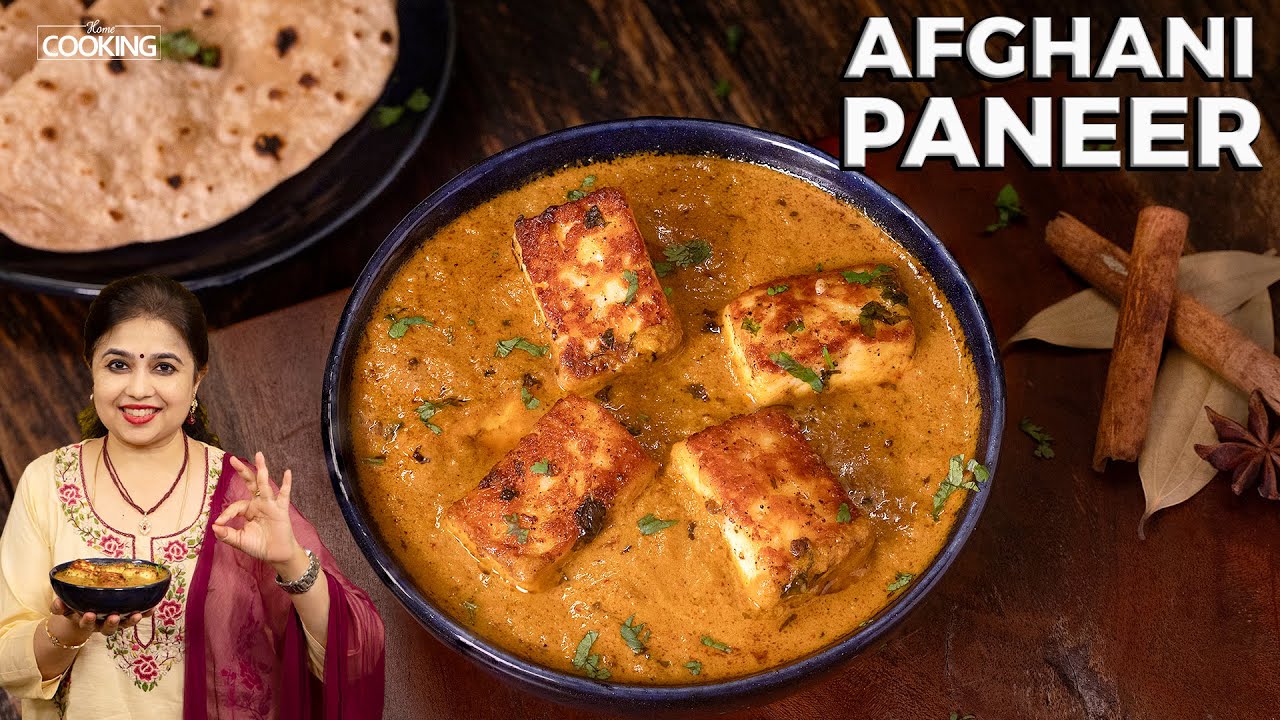
Afghani Paneer – Restaurant Style
Cuisine
Indian · North Indian
Prep + Cook Time
45 Minutes
Difficulty Level
Medium
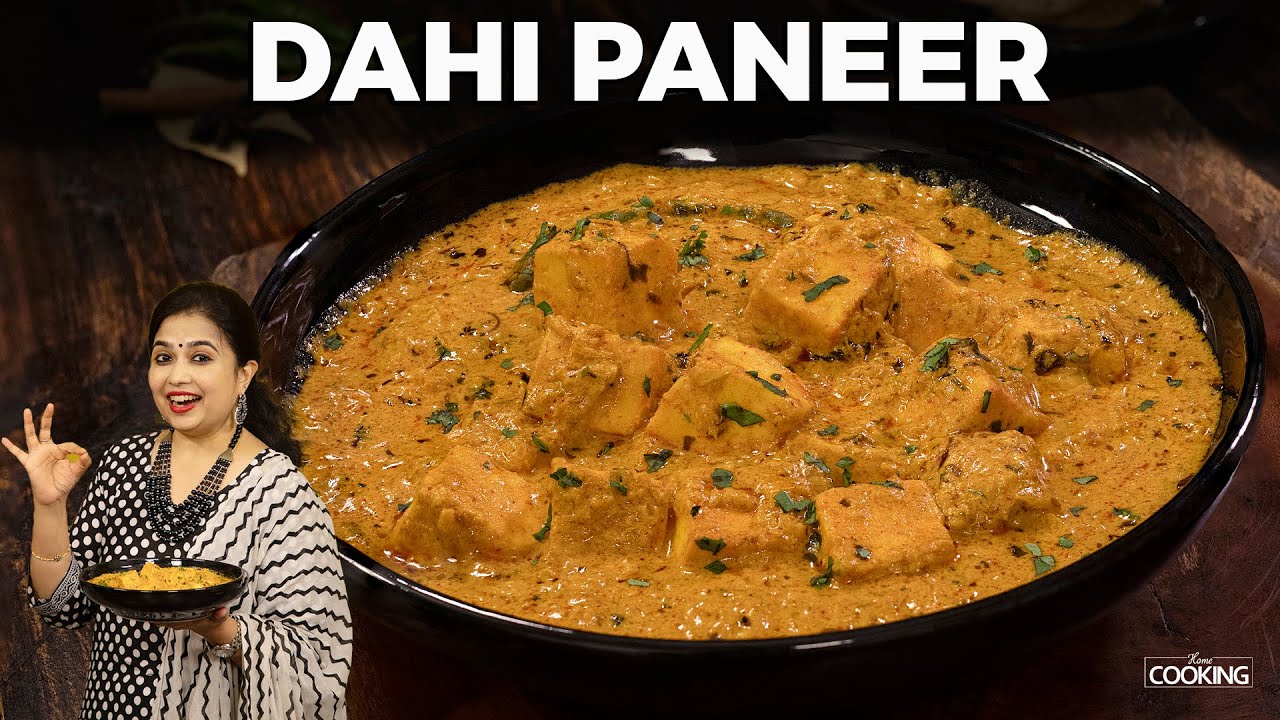
Dahi Paneer – Home Cooking
Cuisine
Indian · North Indian
Prep + Cook Time
40 Minutes
Difficulty Level
Medium
Paneer Kathi Rolls – Indian Street Food
Cuisine
Indian · Punjabi
Prep + Cook Time
1 hr 30 min
Difficulty Level
Medium
One Pot Dal - Indian Style
Cuisine
Indian · North Indian
Prep + Cook Time
35 Minutes
Difficulty Level
Comments
Sign in to leave a comment on this recipe.
Loading comments...