How to make the softest roti that puffs up perfectly | Salan Roti
Main Ingredients
Step-by-Step Instructions
Follow each step to make the recipe successfully.
Prepare the Flour Mixture
Combine your chosen flours (e.g., medium chapati flour and organic white bread flour) in a large bowl. Add about a tablespoon of butter to the flour. Rub the butter into the flour with your hands until it's well distributed and the mixture resembles coarse crumbs. This step helps coat the gluten proteins, aiding in the roti's puff.
Add Boiling Water and Mix
Pour boiling water into the flour and butter mixture. Use a spoon to mix the hot water into the dough until it starts to come together. The boiling water gets absorbed by the starch and denatures the gluten protein, making the dough softer and less elastic.
Rest and Knead the Dough
Once the dough is combined with the hot water, cover the bowl with a plate and until it's cool enough to handle (approximately ). After resting, the dough by hand until all the moisture is combined and it forms a nice, smooth ball. If the dough is too soft, sprinkle in more dry flour as you . Ensure it's not too hard or too soft, but easy to handle.
Form Dough Balls
Roll the dough into a log shape. Using a dough scraper or knife, divide the dough into equal portions. For beginners, aim for dough balls that are about 70 grams each, as smaller balls are easier to handle. Roll each portion into a smooth, round dough ball.
Roll Out the Roti
Preheat your tawa or skillet over medium heat. Take a dough ball, flatten it slightly with your hands, and dust it with extra flour. Using a rolling pin, gently roll out the roti. Do not press too hard as the dough is already soft. The main goal is to achieve an even thickness of about 1-2mm all the way around. Don't worry about the shape; focus on evenness.
Cook the Roti on Tawa
Place the rolled-out roti onto the preheated tawa. Wait for the color to slightly change and small bubbles to start forming on the bottom side (approximately ). Quickly flip the roti over to cook the other side. For electric hobs, maintain a medium to low heat. For gas hobs, you can proceed to puff over an open flame.
Puff the Roti (Gas Hob Method)
Once dark spots start to form on the roti while cooking on the tawa, transfer it directly over an open flame on a gas hob using a roti tong or rack. Keep the roti gently moving over the high heat. The butter added earlier helps create lamination, and the trapped inside will cause the roti to puff up perfectly. Once puffed, remove and place on a clean cloth.
Puff the Roti (Electric Hob Method)
If using an electric hob, after flipping the roti on the tawa and seeing bubbles form, gently press the roti with a clean tea towel. This will help trap the and encourage the roti to puff up on its own. Be careful as the is very hot. Once puffed, remove and place on a clean cloth.
Serve the Roti
Once cooked, you can optionally butter the roti while it's still warm. Stack the rotis in a basket lined with a clean cloth to keep them warm and soft. Serve immediately with your favorite curry, dal, or vegetable salan.
Before You Cook
Helpful details before you startIngredient SubstitutionsMissing something? View suitable alternatives.View 1 swap
No Butter?
- 3/4 the amount of olive oil (for cooking, not baking)
- Equal parts ghee — Slightly nuttier flavor.
- Equal parts coconut oil (in baking)
Variations
Simple ways to adapt this recipe.
- You can use any combination of flours (brown
Medium, white) for the dough, adjusting water as needed.
- Butter the cooked roti for
Butter the cooked roti for added flavor and softness.
Helpful Tips
Small details that can improve the final result.
Your Notes
Save your personal tweaks, substitutions and cooking adjustments.
Saved only on this device.Example: Used less salt, cooked 5 minutes longer, added extra coriander.
Included when you print this recipe.
More from Salan Roti
Other recipes converted from Salan Roti's cooking videos.

Soft and Fluffy Roti/Chapati
Cuisine
South Asian · Indian
Prep + Cook Time
46 Minutes
Difficulty Level
Medium
Foolproof Soft & Puffy Roti (Chapati) Recipe
Cuisine
South Asian
Prep + Cook Time
40 Minutes
Difficulty Level
Medium

Bombay Aloo – Bold and Layered
Cuisine
Indian · North Indian
Prep + Cook Time
50 Minutes
Difficulty Level
Medium
You might also like
Other recipes in the same cuisine, meal type, or style — ready to cook whenever you are.

Quick Pressure Cooker Lemon Pickle (Narangaya Achar)
Cuisine
Indian · Kerala
Prep + Cook Time
25 Minutes
Difficulty Level
Easy
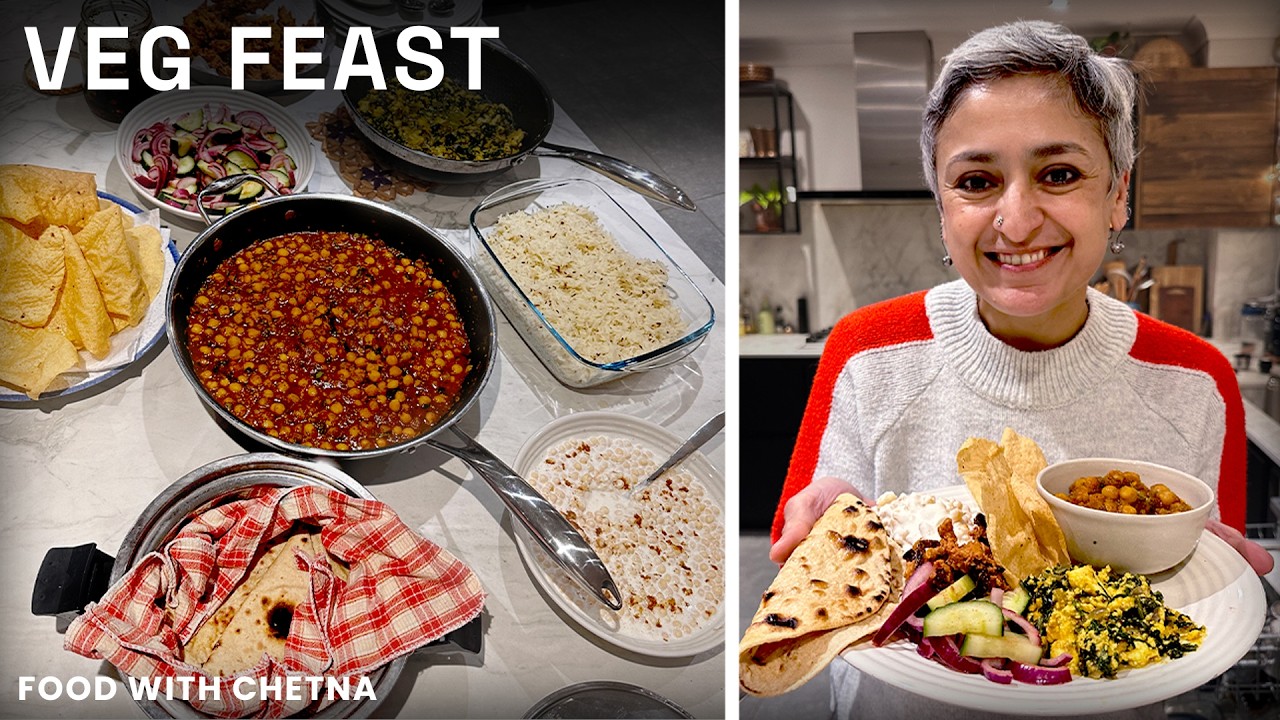
Vegetarian Indian Feast: Chole, Paneer, Pakora, Roti & More
Cuisine
Indian · North Indian
Prep + Cook Time
4 hr
Difficulty Level
Medium

Drumstick Soup
Cuisine
Indian · South Indian
Prep + Cook Time
30 Minutes
Difficulty Level
Easy

Paneer Masala - Restaurant/Dhaba Style
Cuisine
Indian · North Indian
Prep + Cook Time
55 Minutes
Difficulty Level
Medium

Chole Masala - Quick & Easy Chickpea Curry
Cuisine
Indian · North Indian
Prep + Cook Time
45 Minutes
Difficulty Level
Easy
Crispy Spicy Onion Paratha
Cuisine
Indian · North Indian
Prep + Cook Time
45 Minutes
Difficulty Level
Comments (0)
Sign in to leave a comment on this recipe.
Loading comments...