Fullmeals
HomeExploreCreatorsPantry MatchSurprise Me
HomeExploreCreatorsPantry MatchSurprise MeShopping ListMy Favorites
Fullmeals

Fullmeals helps you cook without watching by converting cooking videos into simple, step-by-step recipes designed for real kitchens.

cook@fullmeals.com

Quick Links

  • How it Works
  • Categories
  • Explore Recipes
  • RSS Feed

Legal

  • Terms of Use
  • Privacy Policy

© 2026 Fullmeals. All rights reserved.

Fullmeals

Foolproof Soft & Puffy Roti (Chapati) Recipe
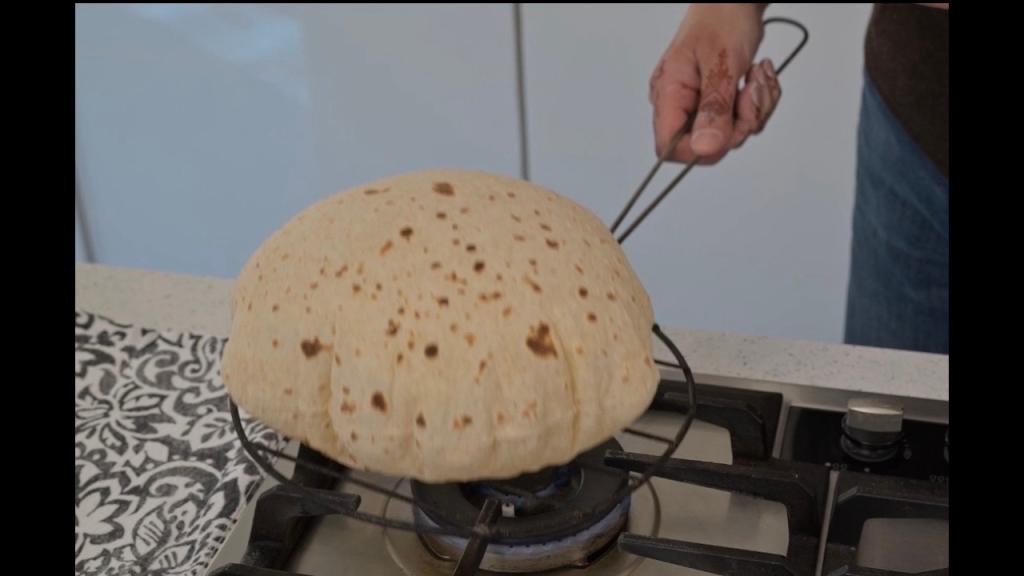
Recipe by Salan Roti

  • Ready in40 min
  • Prep20 min
  • Cook20 min
  • CuisineSouth Asian
  • Serves8 Rotis
  • Calories~165 kcal
Foolproof Soft & Puffy Roti (Chapati) Recipe

Ingredients

Main Ingredients

  • 2 cupsMedium Chapati Flour
  • 1 cupOrganic White Bread Flour
  • 1 tablespoonButter
  • 1 cupBoiling Water
  • as neededExtra Dry Flour

Step-by-Step Instructions

  1. 1.Prepare the Flour Mixture

    Combine 2 cups of medium chapati flour and 1 cup of organic white bread flour in a large mixing bowl.

  2. 2.Add Butter

    Add about 1 tablespoon of butter to the flour mixture. This will help coat the gluten proteins in the flour.

  3. 3.Rub Butter into Flour

    Rub the butter into the flour by hand until the mixture resembles fine breadcrumbs. This step helps distribute the butter evenly and prepares the flour for better absorption.

  4. 4.Add Boiling Water

    Carefully pour 1 cup of boiling water into the flour and butter mixture. The hot water helps absorb into the starch and denatures the gluten, making the dough softer and less elastic.

  5. 5.Mix the Dough

    Mix the hot water into the flour using a spoon until it forms a shaggy dough. It will be too hot to handle at this stage.

  6. 6.Rest the Dough

    Cover the bowl with a plate and let the dough rest until it is cool enough to handle, allowing the moisture to fully absorb.

  7. 7.Knead the Dough

    Once cooled, knead the dough by hand until all the moisture is combined and it forms a nice, smooth ball. If the dough feels too wet, sprinkle in more dry flour as you knead until you reach the desired consistency. Avoid making it too hard, as this will make it difficult to roll.

  8. 8.Form Dough Balls

    Roll the kneaded dough into a log shape and use a dough scraper or knife to cut it into equal portions. For beginners, approximately 70 grams per dough ball is a good size. Roll each portion into a smooth, round ball.

  9. 9.Preheat Tawa/Skillet

    Before you start rolling, preheat your tawa or skillet over a medium heat. You want it warm, but not too hot or too cold, to prevent the roti from drying out.

  10. 10.Flatten and Dust Dough Balls

    Take the first dough ball you made, flatten it slightly with your hands, and dust it generously with extra dry flour. This makes it easier to roll.

  11. 11.Roll Out the Roti

    Using a rolling pin, gently roll out the dough to an even thickness of about 1-2 millimeters. Do not press too hard. The main goal is to ensure all edges are of uniform thickness; don't worry if it's not perfectly round. Dust with extra flour as needed to prevent sticking.

  12. 12.Cook Roti on Tawa (First Side)

    Carefully place the rolled-out roti onto the warm tawa. Cook until you see the color slightly change and small bubbles begin to form on the surface, which usually takes about 30-40 seconds.

  13. 13.Flip and Cook (Second Side)

    Quickly flip the roti over to the other side. Continue cooking until more bubbles really start to form on the top surface. Ensure your heat is on a medium to low setting.

  14. 14.Puff Roti (Gas Hob Method)

    If you have a gas hob, transfer the partially cooked roti to a roti rack and hold it over a high open flame. Gently keep the roti moving over the flame. The butter in the dough helps create lamination, which assists in the roti puffing up perfectly.

  15. 15.Puff Roti (Electric Hob Method)

    If using an electric hob, keep the roti on the tawa. Gently press the roti with a clean tea towel or your hands to encourage it to puff up on its own. Be very careful as the steam released is extremely hot.

  16. 16.Butter the Roti (Optional)

    Once the roti is cooked and puffed, you can optionally spread a little butter on it while it's still warm. This enhances the flavor and softness.

Printed from Fullmeals.com — turn any cooking video into a recipe.

Foolproof Soft & Puffy Roti (Chapati) Recipe

Ready in

40 mins

Cuisine

South Asian

Prep Time

20 min

Cook Time

20 min

Serving

8 Rotis

Calories / Serving

~165 kcal
Recipe by Salan Roti on YouTube
Foolproof Soft & Puffy Roti (Chapati) Recipe
Adjust Servings
Measurements
Tap an ingredient to mark it ready0 of 5 ready
All Ingredients

Main Ingredients

Step-by-Step Instructions

Follow each step to make the recipe successfully.

  1. 1

    Prepare the Flour Mixture

    Combine 2 cups of medium chapati flour and 1 cup of organic white bread flour in a large mixing bowl.

  2. 2

    Add Butter

    Add about 1 tablespoon of butter to the flour mixture. This will help coat the gluten proteins in the flour.

  3. 3

    Rub Butter into Flour

    Rub the butter into the flour by hand until the mixture resembles fine breadcrumbs. This step helps distribute the butter evenly and prepares the flour for better absorption.

  4. 4

    Add Boiling Water

    Carefully pour 1 cup of boiling water into the flour and butter mixture. The hot water helps absorb into the starch and denatures the gluten, making the dough softer and less elastic.

  5. 5

    Mix the Dough

    Mix the hot water into the flour using a spoon until it forms a shaggy dough. It will be too hot to handle at this stage.

  6. 6

    Rest the Dough

    Cover the bowl with a plate and let the dough rest until it is cool enough to handle, allowing the moisture to fully absorb.

  7. 7

    Knead the Dough

    Once cooled, the dough by hand until all the moisture is combined and it forms a nice, smooth ball. If the dough feels too wet, sprinkle in more dry flour as you until you reach the desired consistency. Avoid making it too hard, as this will make it difficult to roll.

  8. 8

    Form Dough Balls

    Roll the dough into a log shape and use a dough scraper or knife to cut it into equal portions. For beginners, approximately 70 grams per dough ball is a good size. Roll each portion into a smooth, round ball.

  9. 9

    Preheat Tawa/Skillet

    Before you start rolling, preheat your tawa or skillet over a medium heat. You want it warm, but not too hot or too cold, to prevent the roti from drying out.

  10. 10

    Flatten and Dust Dough Balls

    Take the first dough ball you made, flatten it slightly with your hands, and dust it generously with extra dry flour. This makes it easier to roll.

  11. 11

    Roll Out the Roti

    Using a rolling pin, gently roll out the dough to an even thickness of about 1-2 millimeters. Do not press too hard. The main goal is to ensure all edges are of uniform thickness; don't worry if it's not perfectly round. Dust with extra flour as needed to prevent sticking.

  12. 12

    Cook Roti on Tawa (First Side)

    Carefully place the rolled-out roti onto the warm tawa. Cook until you see the color slightly change and small bubbles begin to form on the surface, which usually takes about .

  13. 13

    Flip and Cook (Second Side)

    Quickly flip the roti over to the other side. Continue cooking until more bubbles really start to form on the top surface. Ensure your heat is on a medium to low setting.

  14. 14

    Puff Roti (Gas Hob Method)

    If you have a gas hob, transfer the partially cooked roti to a roti rack and hold it over a high open flame. Gently keep the roti moving over the flame. The butter in the dough helps create lamination, which assists in the roti puffing up perfectly.

  15. 15

    Puff Roti (Electric Hob Method)

    If using an electric hob, keep the roti on the tawa. Gently press the roti with a clean tea towel or your hands to encourage it to puff up on its own. Be very careful as the released is extremely hot.

  16. 16

    Butter the Roti (Optional)

    Once the roti is cooked and puffed, you can optionally spread a little butter on it while it's still warm. This enhances the flavor and softness.

Before You Cook

Helpful details before you start
Ingredient SubstitutionsMissing something? View suitable alternatives.
View 1 swap
  • No Butter?

    • 3/4 the amount of olive oil (for cooking, not baking)
    • Equal parts ghee — Slightly nuttier flavor.
    • Equal parts coconut oil (in baking)
Ingredient Substitutions
  • No Butter?

    • 3/4 the amount of olive oil (for cooking, not baking)
    • Equal parts ghee — Slightly nuttier flavor.
    • Equal parts coconut oil (in baking)
AllergensThis recipe contains gluten and dairy.
glutendairy

Variations

Simple ways to adapt this recipe.

  • 1
    Use any combination of flours (brown

    Medium, or white) you prefer.

  • 2
    Butter the cooked roti for extra flavorCustomise

    Especially good with vegetable salan or dal.

Helpful Tips

Small details that can improve the final result.

  • 1
    Ingredient noteAdjust the Amount of Water

    Adjust the amount of water based on the type of flour you are using.

  • 2
    TipEnsure the Roti Is Rolled

    Ensure the roti is rolled to an even thickness (1-2mm) for proper cooking and puffing.

  • 3
    Cooking tipPreheat Your Tawa/skillet to a Medium Heat

    Avoid putting roti on a cold tawa as it will dry out.

  • 4
    TipWhen Puffing on an Electric Hob

    Use a tea towel or your hands to gently press the roti, but be cautious of the hot steam.

Was this recipe helpful?

Comments (0)

Sign in to leave a comment on this recipe.

Loading comments...

More from Salan Roti

Other recipes converted from Salan Roti's cooking videos.
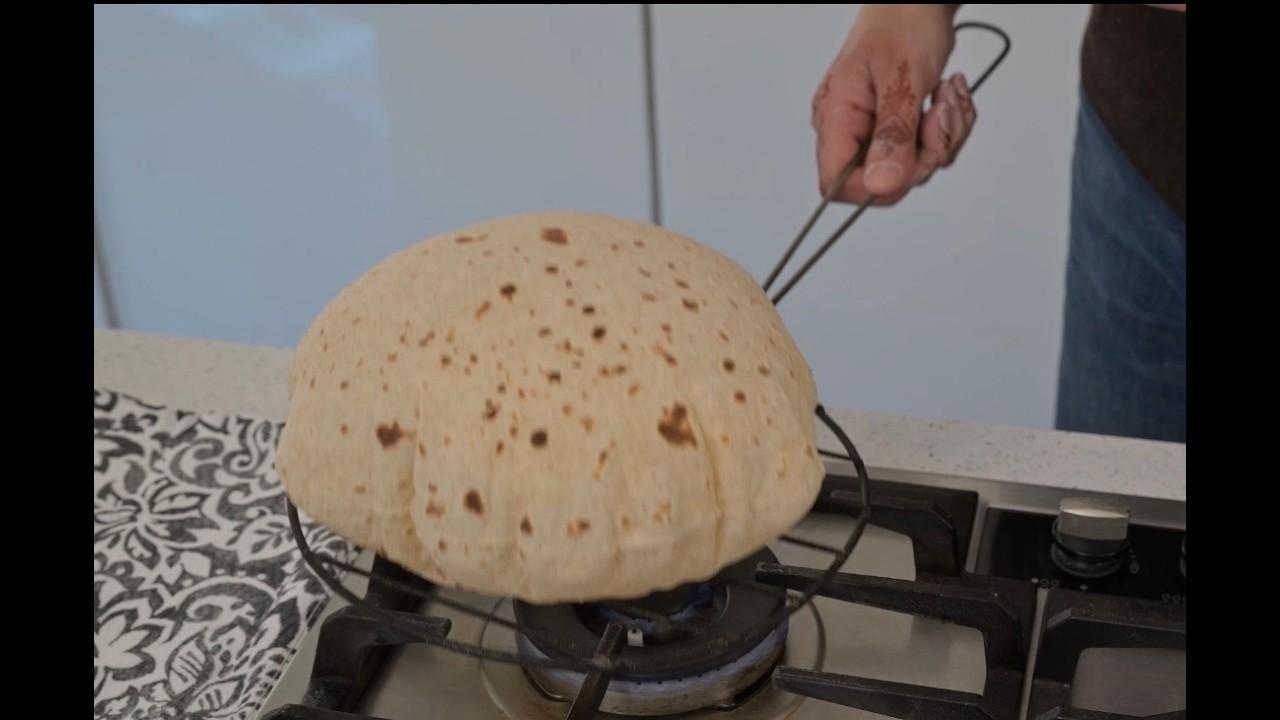
Soft and Fluffy Roti/Chapati

Soft and Fluffy Roti/Chapati

Cuisine

South Asian · Indian

Prep + Cook Time

46 Minutes

Difficulty Level

Medium

How to make the softest roti that puffs up perfectly | Salan Roti

How to make the softest roti that puffs up perfectly | Salan Roti

Cuisine

South Asian · Indian

Prep + Cook Time

40 Minutes

Difficulty Level

Medium

Bombay Aloo – Bold and Layered

Bombay Aloo – Bold and Layered

Cuisine

Indian · North Indian

Prep + Cook Time

50 Minutes

Difficulty Level

Medium

You might also like

Other recipes in the same cuisine, meal type, or style — ready to cook whenever you are.

White Sauce Pasta – Indianized Italian Style

White Sauce Pasta – Indianized Italian Style

Cuisine

Italian · Indianized

Prep + Cook Time

30 Minutes

Difficulty Level

Easy
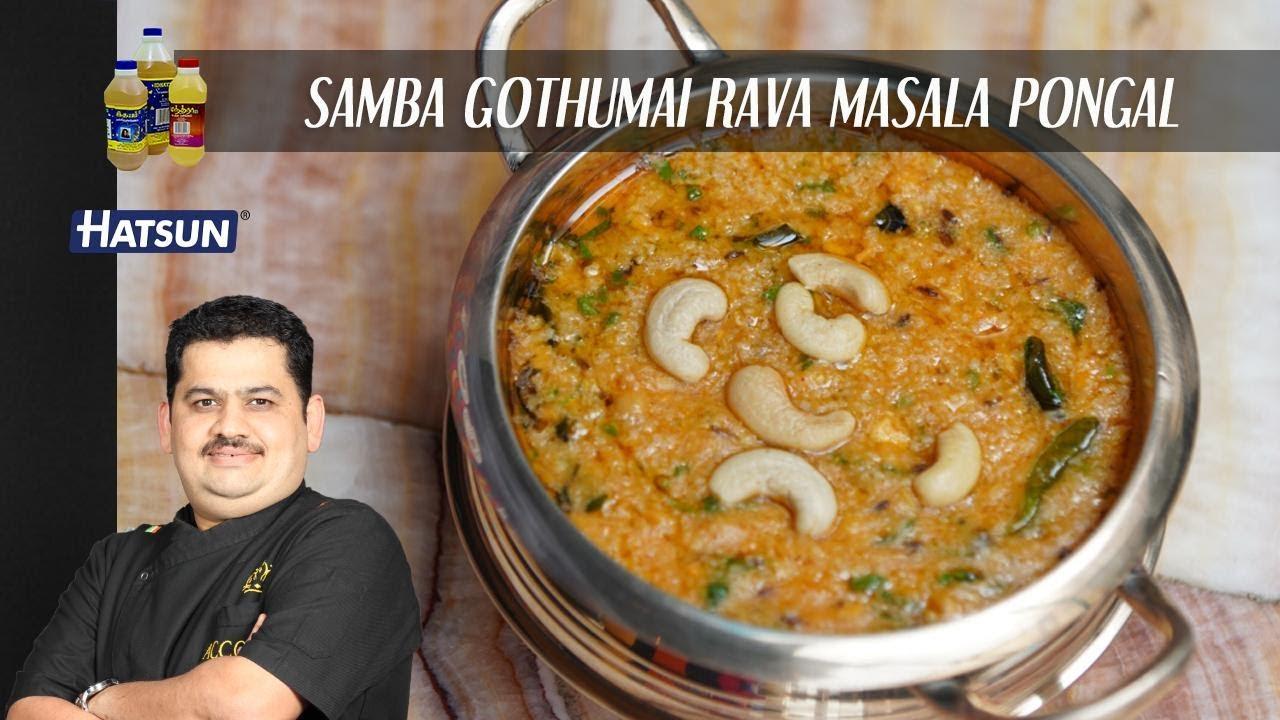
Samba Gothumai Rava Masala Pongal

Samba Gothumai Rava Masala Pongal

Cuisine

Indian · South Indian

Prep + Cook Time

30 Minutes

Difficulty Level

Easy

Paneer Nawabi Curry

Paneer Nawabi Curry

Cuisine

Indian · North Indian

Prep + Cook Time

50 Minutes

Difficulty Level

Medium

White Sauce Pasta – Indianized Style

White Sauce Pasta – Indianized Style

Cuisine

Italian · Indianized

Prep + Cook Time

30 Minutes

Difficulty Level

Easy

Thakkali Dosai & Kara Chutney

Thakkali Dosai & Kara Chutney

Cuisine

Indian · South Indian

Prep + Cook Time

45 Minutes

Difficulty Level

Easy

Red Lentil Curry (Masoor Dal Tarka)

Red Lentil Curry (Masoor Dal Tarka)

Cuisine

Indian · North Indian

Prep + Cook Time

45 Minutes

Difficulty Level

Easy