Homemade Paneer – Indian Style
Main Ingredients
Step-by-Step Instructions
Follow each step to make the recipe successfully.
Prepare Lemon Water Mixture
Combine 100ml of water with 4 tablespoons of lemon juice in a measuring cup and stir well. Set aside.
Boil Milk
Pour 4 litres of whole milk into a large pot. Bring the milk to a boil, stirring continuously with a wooden spoon to prevent it from sticking to the bottom of the pan.
Curdle the Milk
Once the milk has boiled, turn off the heat. Gradually add the lemon and water mixture to the hot milk, stirring gently. Continue stirring until the milk completely curdles and the whey separates, turning yellowish-green.
Drain the Paneer
Place a kitchen cloth or cheesecloth over a sieve, which is placed over a bowl. Pour the curdled milk mixture into the cloth to separate the paneer (solids) from the whey (liquid).
Rinse and Squeeze
Gather the edges of the cloth and gently squeeze out the excess whey. You can pour fresh water over the paneer while still in the cloth to rinse away any citric taste from the lemon juice, then squeeze again to remove the water.
Press the Paneer
Place the paneer (still in the cloth) on a flat surface, such as a cutting board. Place a heavy weight on top of the paneer (ideally, a weight equivalent to the amount of milk used, e.g., 4 kg) to press out any remaining moisture. Leave it to press for .
Cut and Serve
After pressing, unwrap the paneer. It should be firm and hold its shape. Cut the paneer into desired shapes and sizes, such as cubes, and it's ready to be used in your favorite recipes.
Before You Cook
Helpful details before you startIngredient SubstitutionsMissing something? View suitable alternatives.View 2 swaps
No Lemon juice?
- Lime juice (1:1)
- 1/2 the amount white vinegar — In dressings, savory dishes.
No Milk?
- Unsweetened almond / soy / oat milk (1:1)
- 1/2 cup evaporated milk + 1/2 cup water (per 1 cup)
Variations
Simple ways to adapt this recipe.
- Substitute lemon juice with whiteIngredient swap
Substitute lemon juice with white vinegar or curd for curdling the milk.
- Add finely chopped herbs like cilantro or mintCustomise
Or spices like black pepper, to the paneer before pressing for a flavored paneer.
Helpful Tips
Small details that can improve the final result.
Your Notes
Save your personal tweaks, substitutions and cooking adjustments.
Saved only on this device.Example: Used less salt, cooked 5 minutes longer, added extra coriander.
Included when you print this recipe.
You might also like
Other recipes in the same cuisine, meal type, or style — ready to cook whenever you are.
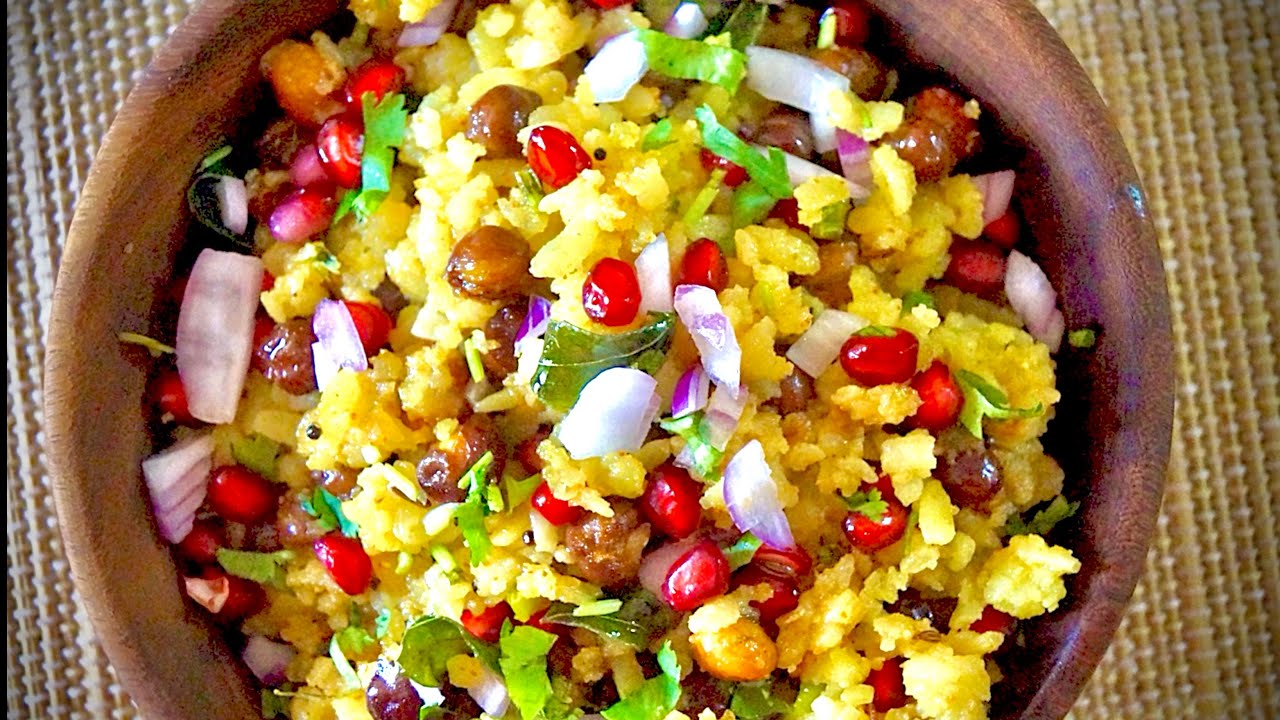
Chana Poha Chaat
Cuisine
Indian
Prep + Cook Time
55 Minutes
Difficulty Level
Easy

Semolina Veggie Bun Toast
Cuisine
Indian · Snack
Prep + Cook Time
25 Minutes
Difficulty Level
Easy
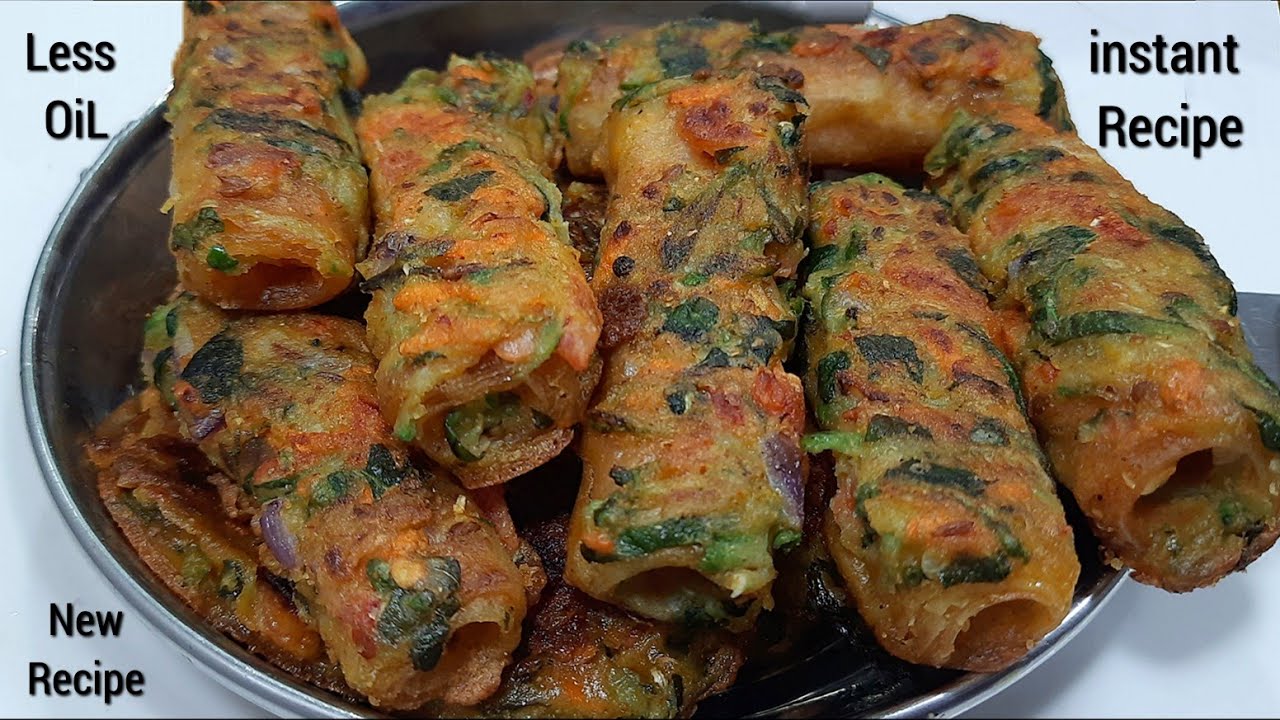
Vegetable Savory Pancakes (Cheela) - Quick & Healthy
Cuisine
Indian · North Indian
Prep + Cook Time
25 Minutes
Difficulty Level
Easy
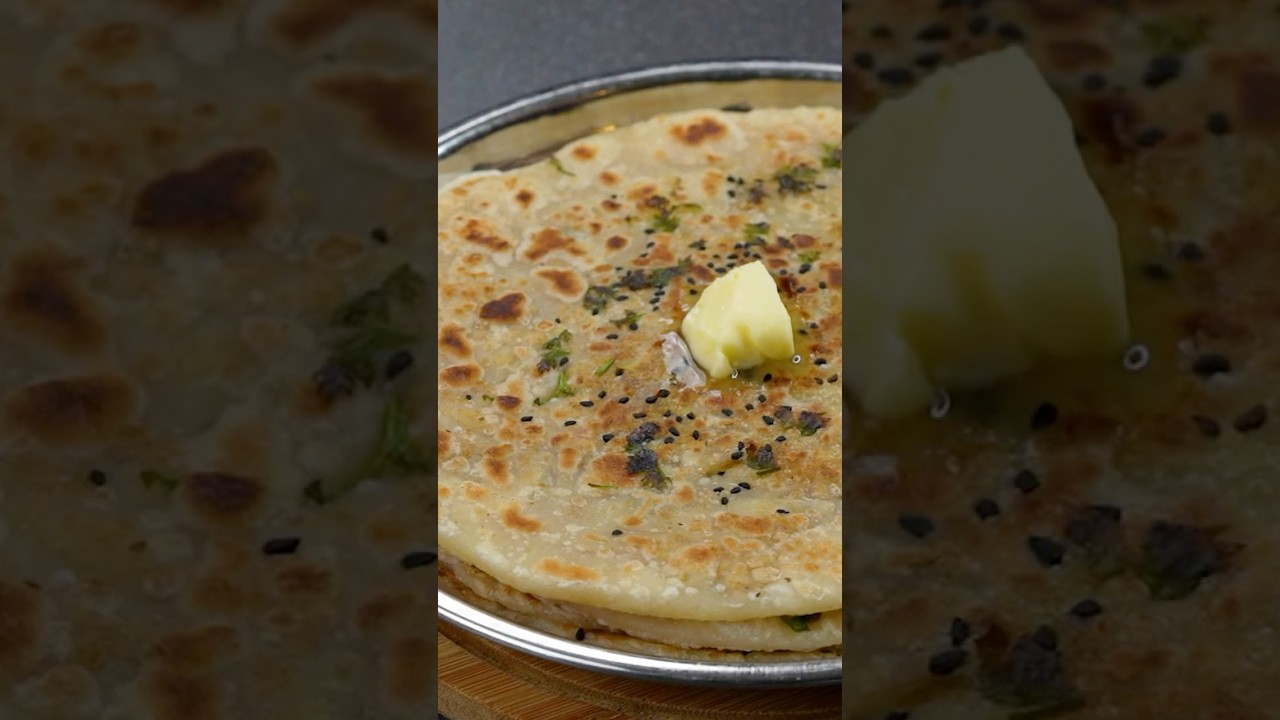
Crispy Spicy Onion Paratha
Cuisine
Indian · North Indian
Prep + Cook Time
45 Minutes
Difficulty Level
Medium

Crispy Dosa and Uttapam with Two Chutneys
Cuisine
Indian · South Indian
Prep + Cook Time
1 hr
Difficulty Level
Medium
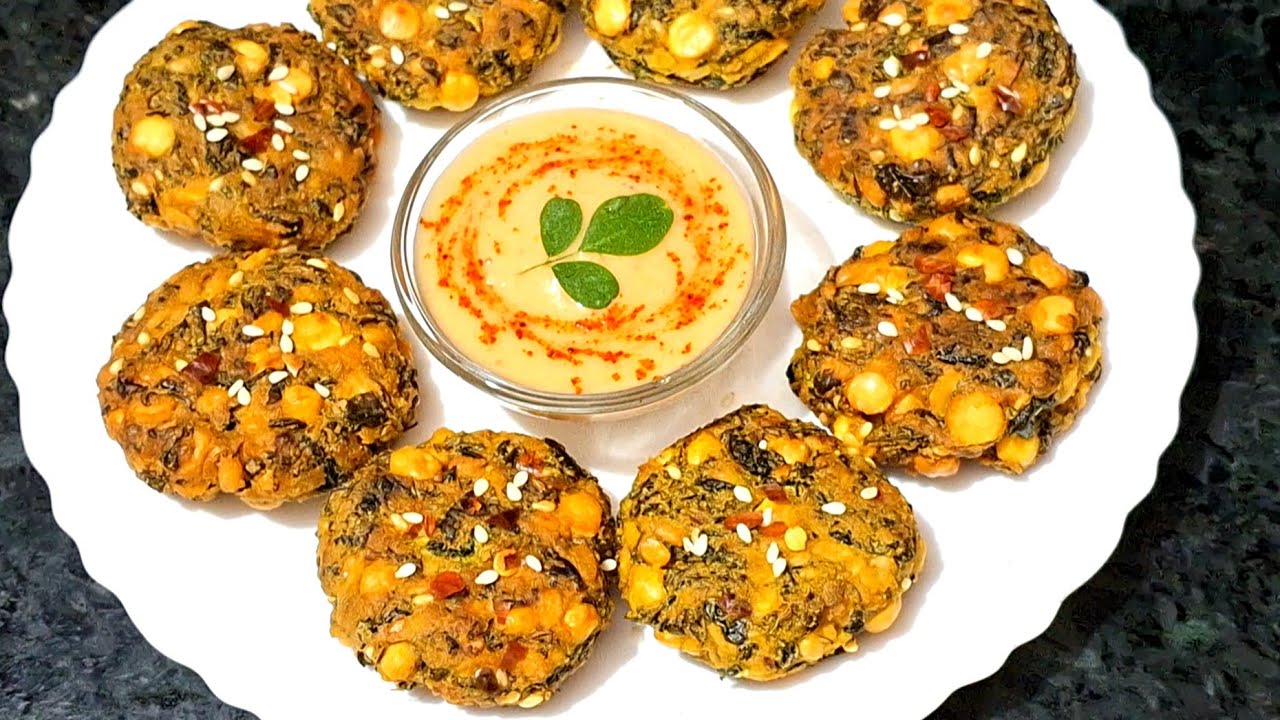
Moringa Vada / Drumstick Leaves Fritters
Cuisine
Indian · South Indian
Prep + Cook Time
30 Minutes
Difficulty Level
Comments (0)
Sign in to leave a comment on this recipe.
Loading comments...