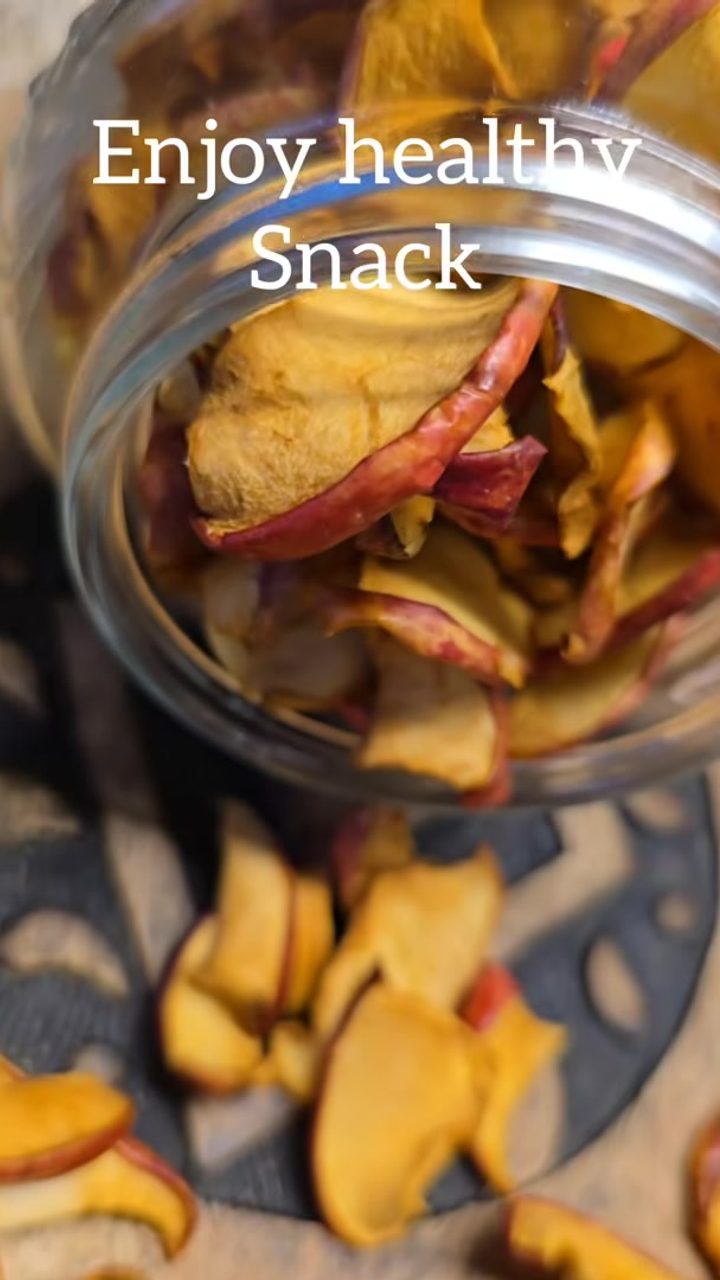
Homemade Dried Apple Slices – Healthy Snack
Main Ingredients
Step-by-Step Instructions
Follow each step to make the recipe successfully.
Prepare Apples
Start with fresh apples. Wash them thoroughly before preparation.
Slice Apples
Cut the apples into thin, small slices. Aim for uniform thickness to ensure even drying. The video shows slices roughly 1/8 to 1/4 inch thick.
Sun Dry Apples
Arrange the apple slices in a single layer on a large tray. Place the tray in direct sunlight during a hot summer day. Allow them to dry for approximately , or until they are sweet and crunchy.
Store Dried Apples
Once completely dried, transfer the apple slices into a clean, airtight glass jar. This will help preserve their freshness and crunch.
Enjoy as a Snack
The homemade dried apple slices are now ready to be enjoyed as a healthy and delicious snack. They can be stored for months.
Storage & Leftovers
Keep your leftovers fresh and ready to enjoy.
- Room Temperature
Store in an airtight container in a cool, dry place to maintain crispness and extend shelf life.
Variations
Simple ways to adapt this recipe.
- Sprinkle with cinnamon or other
Sprinkle with cinnamon or other spices before drying for added flavor.
- Use a food dehydrator or
Use a food dehydrator or oven at a low temperature if sun-drying is not feasible.
Helpful Tips
Small details that can improve the final result.
You might also like
Other recipes in the same cuisine, meal type, or style — ready to cook whenever you are.
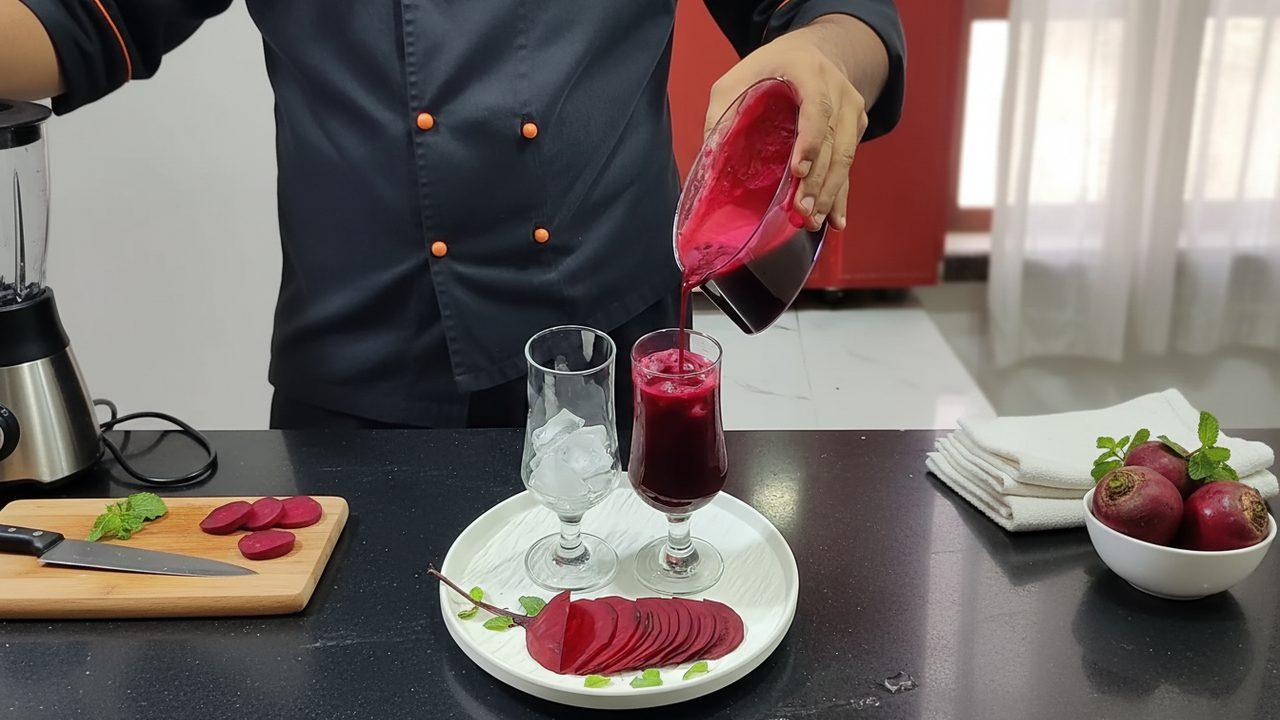
Beetroot Juice – Healthy Drink
Cuisine
Global
Prep + Cook Time
10 Minutes
Difficulty Level
Easy
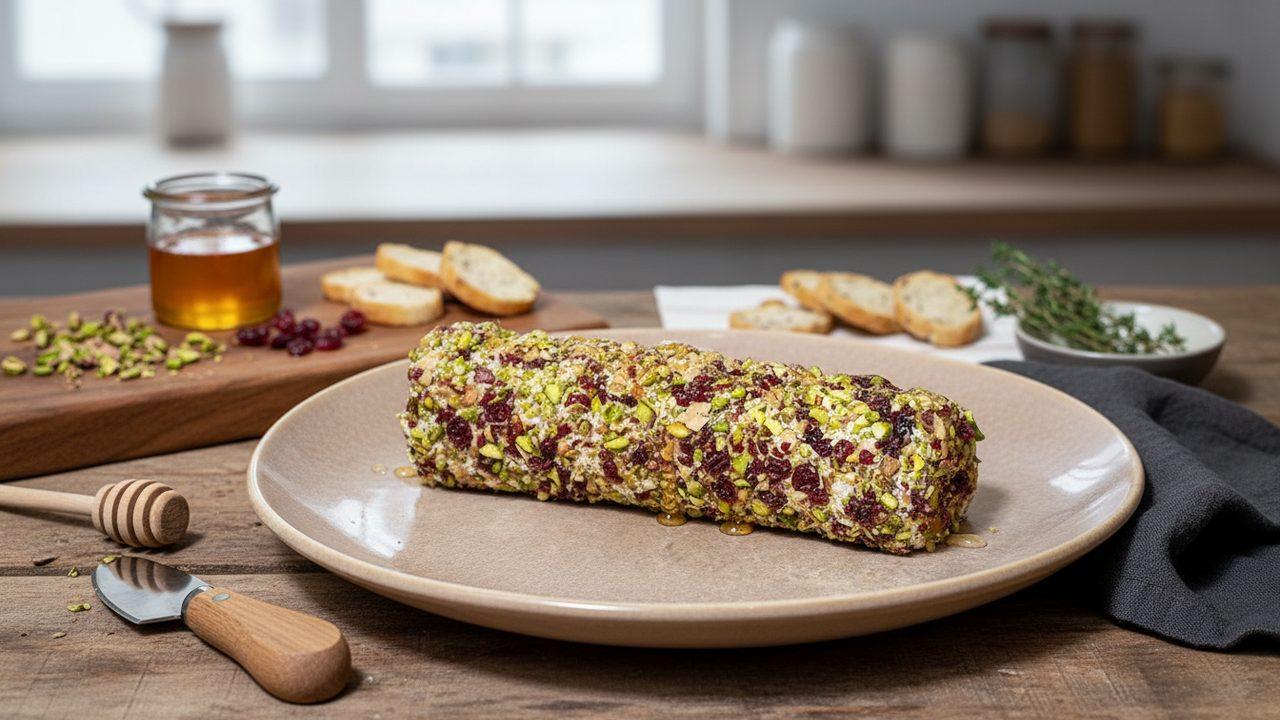
Christmas Cream Cheese and Nut Log Appetizer
Cuisine
European
Prep + Cook Time
1 hr 15 min
Difficulty Level
Easy
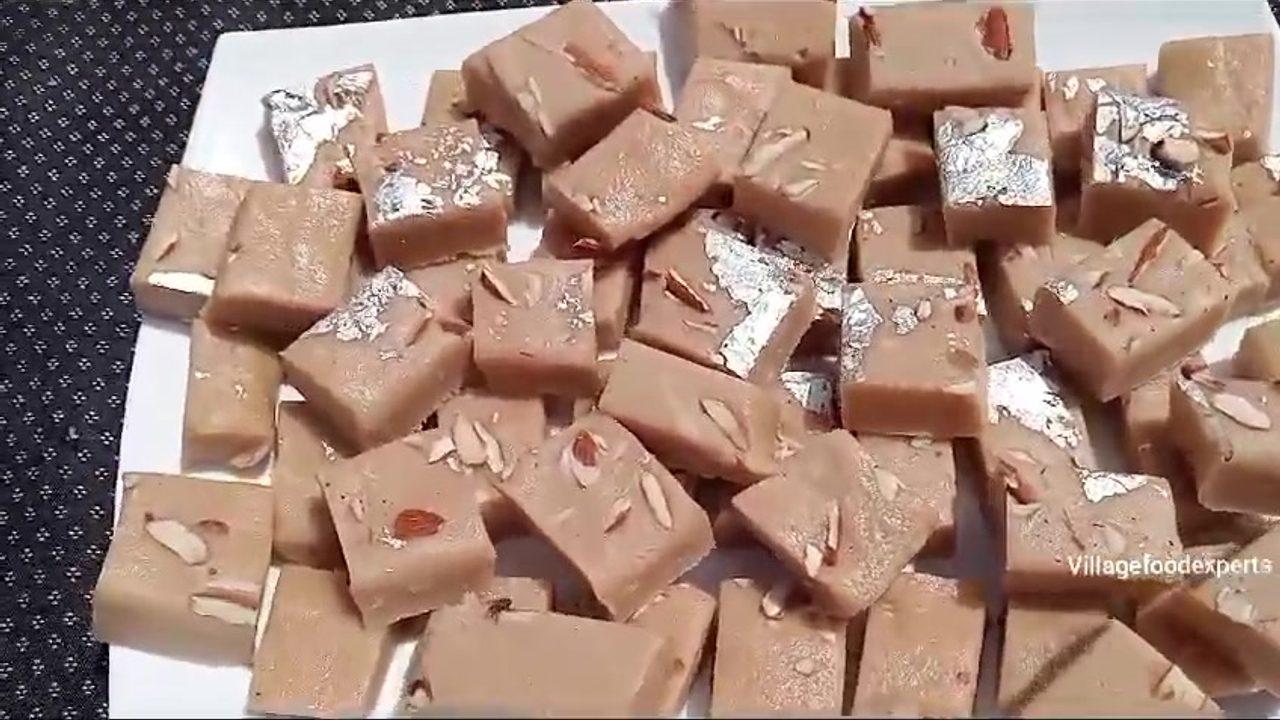
Milk and Maida Burfi – Village Style
Cuisine
Indian · Pakistani
Prep + Cook Time
45 Minutes
Difficulty Level
Medium

Chocolate Buns (Doolwaps) - Soft and Fluffy
Cuisine
Spanish
Prep + Cook Time
3 hr 30 min
Difficulty Level
Medium
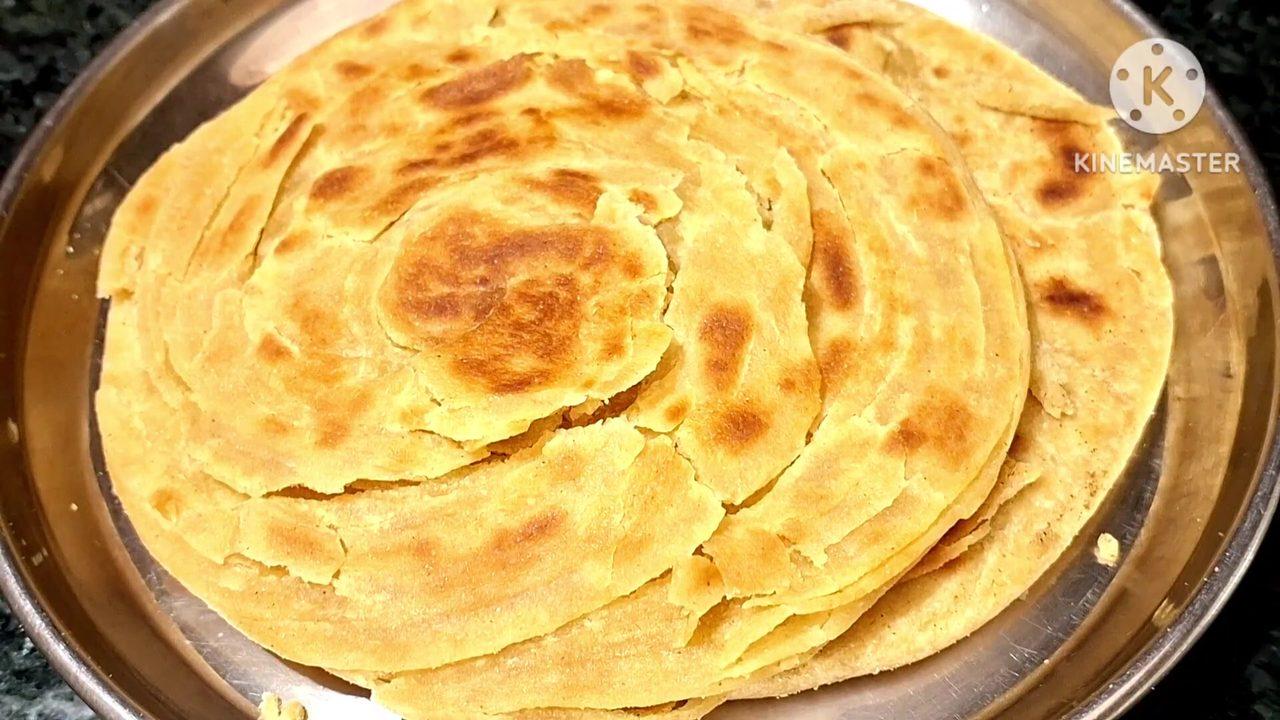
Lachha Paratha – Layered Indian Flatbread
Cuisine
Indian · North Indian
Prep + Cook Time
45 Minutes
Difficulty Level
Medium
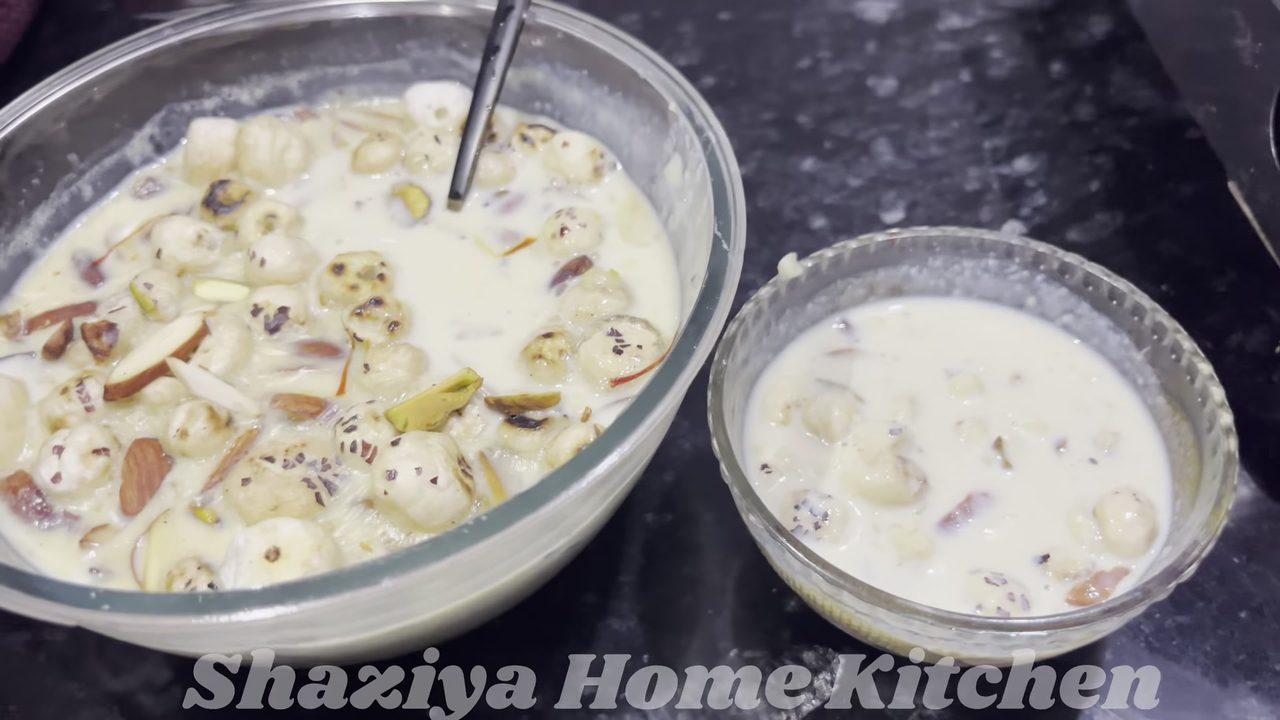
Makhana Kheer – Healthy & Delicious Dessert
Cuisine
Indian · North Indian
Prep + Cook Time
1 hr
Difficulty Level
Comments (0)
Sign in to leave a comment on this recipe.
Loading comments...