High Protein Pita Yogurt Base
Recipe by Exercise4CheatMeals
Ingredients
Main Ingredients
- 195gAll-Purpose Flour
- 78gVital Wheat Gluten
- 3.6gSalt
- 4.5gBaking Powder
- 365g2 Greek Yogurt
For Rolling
- 18gAll-Purpose Flour
Step-by-Step Instructions
- 1.Combine Dry Ingredients
Add 195g all-purpose flour, 78g vital wheat gluten, 3.6g salt, and 4.5g baking powder to a large bowl. Whisk the dry ingredients together until well combined.
- 2.Add Greek Yogurt
Add 365g of 2% Greek yogurt to the dry ingredients in the bowl.
- 3.Mix and Knead Dough
Mix the ingredients with a spoon until it becomes tough to stir. Then, switch to using your hands to press and fold the dry ingredients into the wet chunks until there is no loose flour left and a cohesive dough ball forms.
- 4.Divide and Shape Dough Balls
Split the dough into 6 equal pieces, each weighing approximately 107g. Loosely shape each piece into a smooth ball.
- 5.Prepare for Rolling
Take one dough ball, flatten it into a disk on a clean counter. Lightly dust the top with all-purpose flour, spread it around, then flip the dough and dust the other side as well.
- 6.Roll Out Pita
Using a rolling pin, roll the dough back and forth 2-3 times. Rotate the dough 90 degrees and repeat the rolling motion. Continue this process, changing directions with each roll, until the pita is rolled out into a circle, approximately 7-8 inches in length and 1/8 to 1/4 inch in thickness. If the dough starts to stick, dust with a little more flour.
- 7.Cook First Side
Place the rolled-out pita into a preheated non-stick pan on medium heat. Cook for 1 to 2 minutes, or until you see a nice browning across the entire surface.
- 8.Cook Second Side
Flip the pita to the other side. Cook for approximately 60 to 90 seconds, or until proper browning is achieved and the pita is ready to be removed from the pan.
- 9.Store Cooked Pita
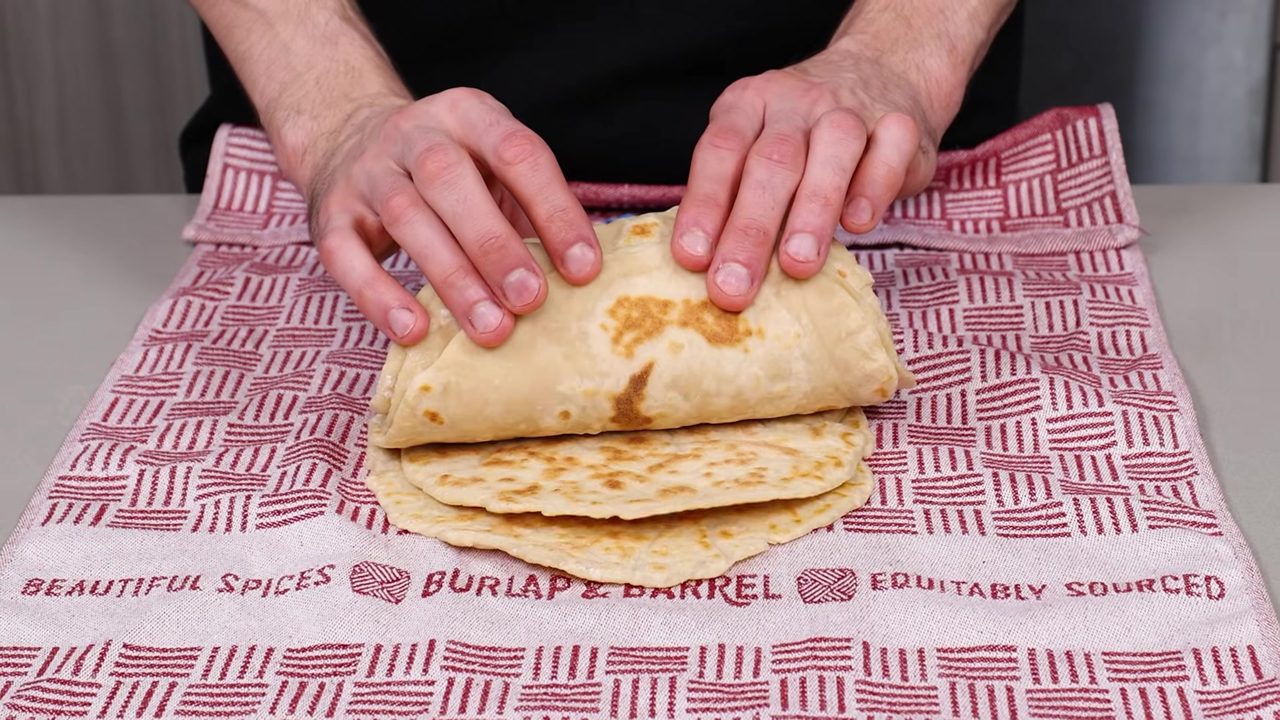
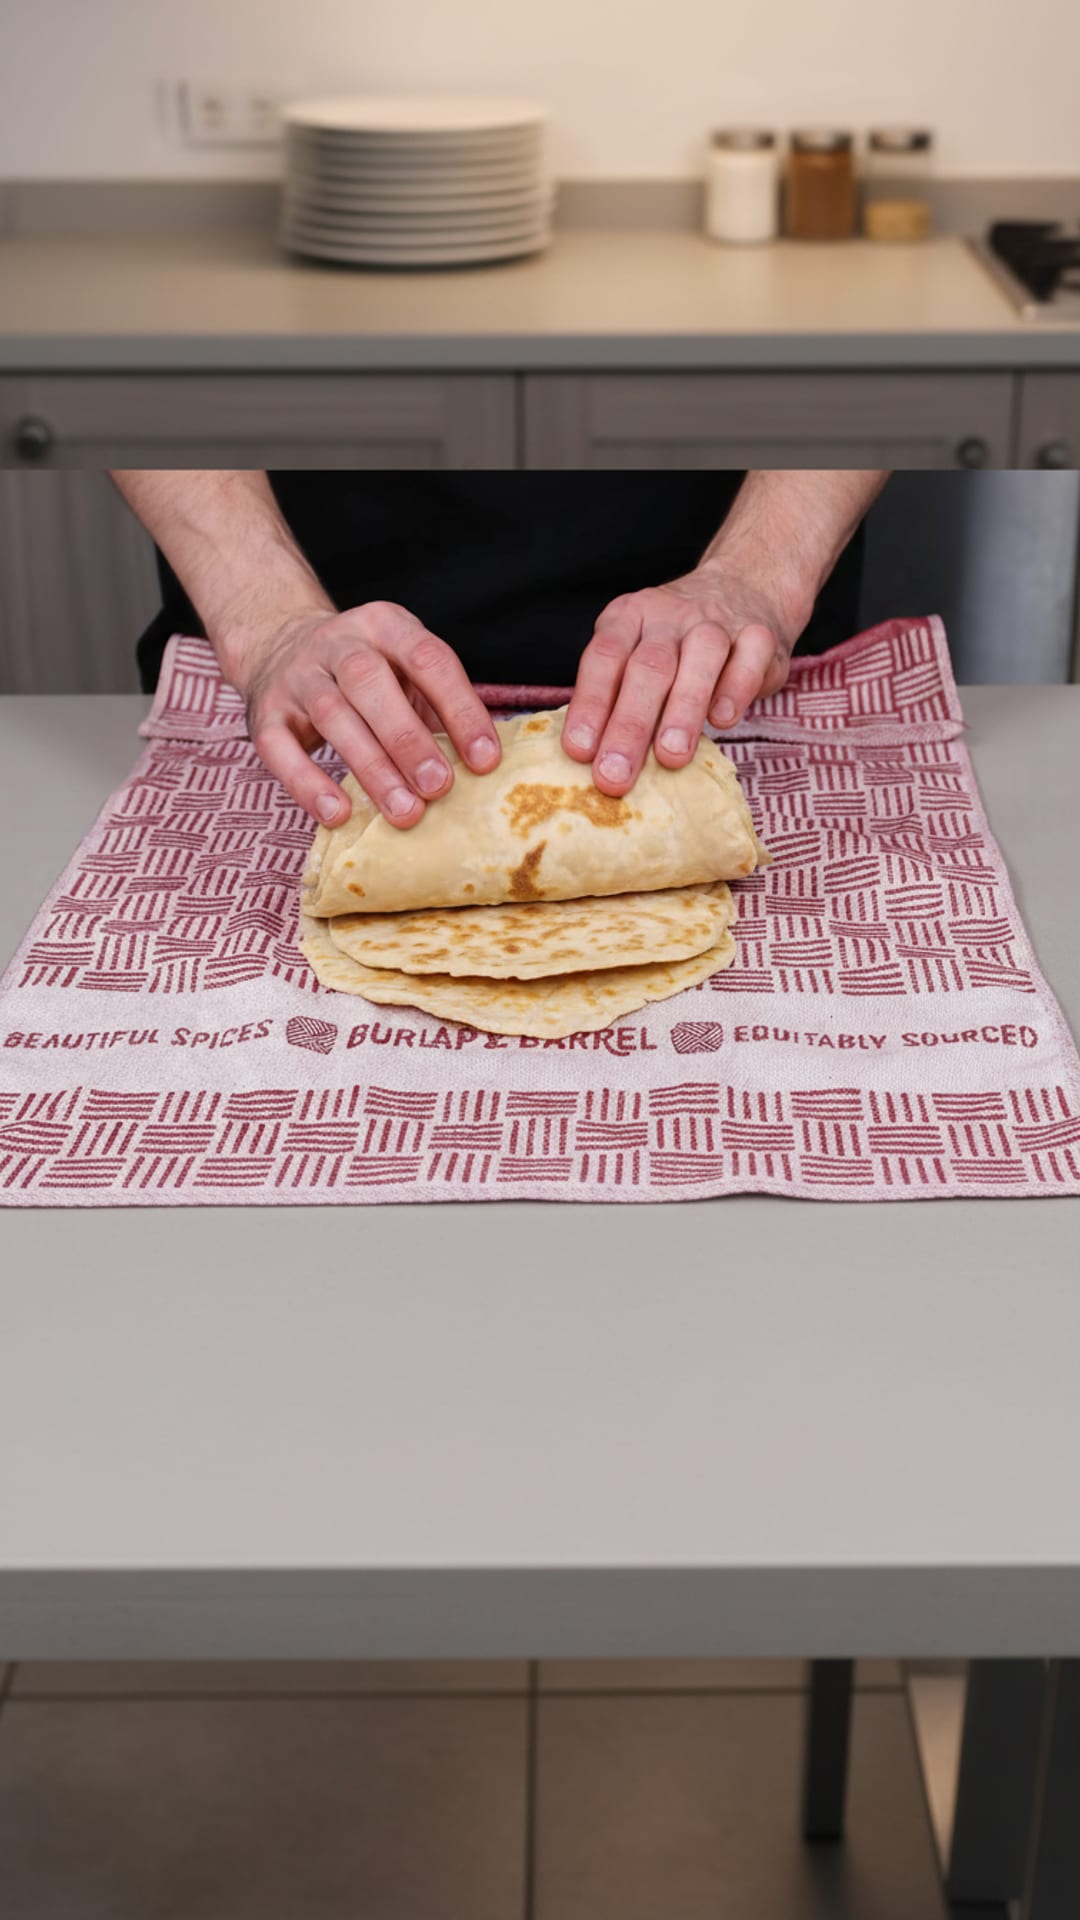
Once cooked, immediately place the pita in a clean tea towel and fold it over to keep it warm and prevent it from drying out.
- 10.Repeat Cooking Process
While one pita is cooking in the pan, begin rolling out the next dough ball. Continue this cycle of rolling and cooking until all 6 pitas are finished.

Comments (0)
Sign in to leave a comment on this recipe.
Loading comments...