Fruit Dessert – Soft and Creamy
Fruits
Milk Mixture
Step-by-Step Instructions
Follow each step to make the recipe successfully.
Prepare the Fruits
Slice some kiwi, orange, and strawberry into decorative pieces for arranging in the mold. the remaining kiwi, orange, peach, and strawberry into small pieces.
Arrange Fruits in Mold
Carefully arrange the fruit slices at the bottom and sides of a baking tray or bowl, ensuring they adhere to the surface.
Prepare Milk Mixture Base
In a pan, pour 350 ml of fresh milk, add 200 g of condensed milk, and 8 g of agar-agar. the ingredients well to combine.
Cook Milk Mixture
Place the pan on medium flame and cook, continuously , until the mixture reaches a boiling point, which takes approximately .
Add Sour Cream and Diced Fruits
Remove the pan from heat. Add 200 g of sour cream to the hot mixture and well until fully incorporated. Then, add the fruit pieces and mix them thoroughly into the creamy base.
Pour into Mold and Chill
Carefully pour the fruit and milk mixture over the arranged fruit slices in the baking tray or bowl. Ensure the mixture is evenly distributed. Refrigerate for at least , or until the dessert is completely set and firm.
Unmold and Serve
Once set, gently unmold the fruit dessert onto a serving plate. It is now ready to be sliced and served.
Before You Cook
Helpful details before you startIngredient SubstitutionsMissing something? View suitable alternatives.View 2 swaps
No Milk?
- Unsweetened almond / soy / oat milk (1:1)
- 1/2 cup evaporated milk + 1/2 cup water (per 1 cup)
No Sour cream?
- Plain Greek yogurt (1:1)
- Crème fraîche (1:1)
Plan Ahead
Complete this step earlier to save time later.
- View Step 6Pour into Mold and Chill2 hours
Carefully pour the fruit and milk mixture over the arranged fruit slices in the baking tray or bowl. Ensure the mixture is evenly distributed. Refrigerate for at least 2 hours, or until the dessert is completely set and firm.
Storage & Leftovers
Keep your leftovers fresh and ready to enjoy.
- RefrigerateAt least 2 hours
Refrigerate for at least 2 hours, or until the dessert is completely set and firm.
Variations
Simple ways to adapt this recipe.
- Substitute fresh milk with coconutDietary option
Substitute fresh milk with coconut milk for a dairy-free option.
- Add a touch of vanillaCustomise
Add a touch of vanilla extract or other flavorings to the milk mixture.
- Layer with a clear fruitCustomise
Layer with a clear fruit jelly on top for an extra visual appeal.
Helpful Tips
Small details that can improve the final result.
Your Notes
Save your personal tweaks, substitutions and cooking adjustments.
Saved only on this device.Example: Used less salt, cooked 5 minutes longer, added extra coriander.
Included when you print this recipe.
You might also like
Other recipes in the same cuisine, meal type, or style — ready to cook whenever you are.

M&M's Slice - Easy Dessert
Cuisine
Dessert · Australian
Prep + Cook Time
45 Minutes
Difficulty Level
Easy

Air Fryer Gulab Jamun
Cuisine
Indian · Indian Dessert
Prep + Cook Time
30 Minutes
Difficulty Level
Medium
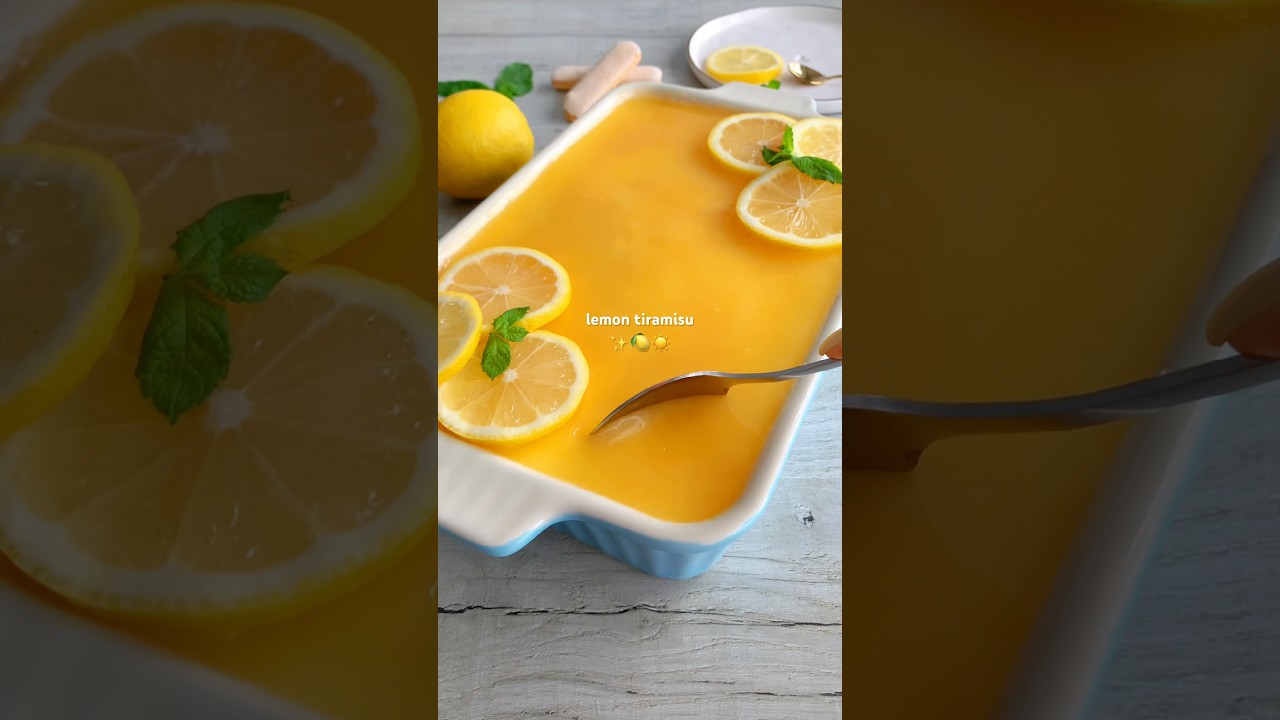
Lemon Tiramisu
Cuisine
Italian · Dessert
Prep + Cook Time
25 Minutes
Difficulty Level
Easy

Soft & Juicy Rasgulla Recipe
Cuisine
Indian · Bengali
Prep + Cook Time
35 Minutes
Difficulty Level
Medium

Pressure Cooker Paal Payasam (Milk Pudding) - Easy Pink Payasam
Cuisine
Indian · South Indian
Prep + Cook Time
1 hr 35 min
Difficulty Level
Easy

Tikkiya Recipe - Pakistani Sweet Cookies
Cuisine
Indian · Pakistani
Prep + Cook Time
45 Minutes
Difficulty Level
Comments (0)
Sign in to leave a comment on this recipe.
Loading comments...