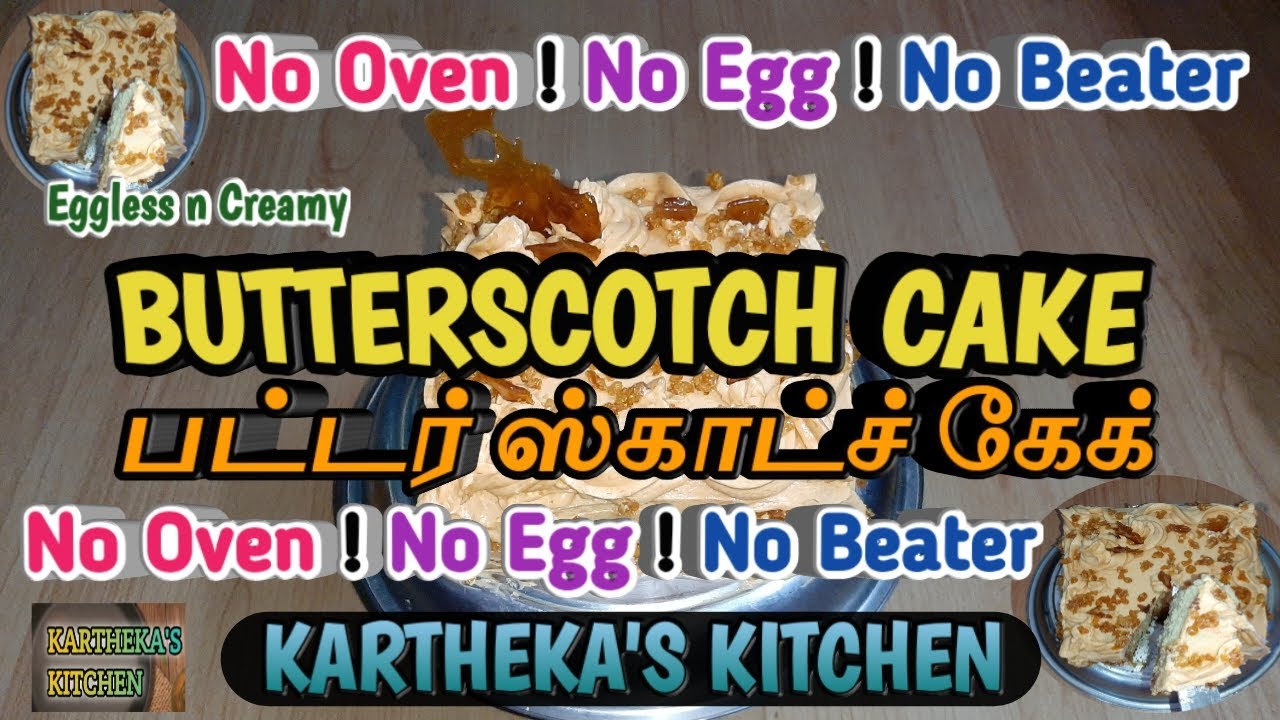
Eggless Creamy Butterscotch Cake Recipe - No Oven, No Egg, No Beater
For Cake Batter
For Butter Cream Frosting
For Caramel Pops
Step-by-Step Instructions
Follow each step to make the recipe successfully.
Prepare the Cake Batter - Wet Ingredients
In a bowl, add 60g unsalted butter (at room temperature) and stir gently until creamy. Add 3 tbsp Milkmaid and mix them well until fully incorporated. Add 50ml refined oil, 1 tbsp baking powder, and 1/2 tbsp baking soda to the mixture and mix well.
Prepare Butterscotch Essence Mixture
In a separate small bowl, add 2 tbsp butterscotch powder. Add a few drops of butterscotch essence and food color (orange/brown) to the butterscotch powder and mix to form a paste.
Combine Wet and Dry Ingredients
Sieve 250-300g maida and 150-200g powdered sugar into the wet mixture. Add the butterscotch essence mixture prepared in the previous step. Mix them gently.
Form the Cake Batter
Gradually add 100ml boiled milk into the mixture, mixing gently at first, then beating well until a smooth, flowing batter is formed. Use a folding spoon to ensure all ingredients are well combined without overmixing.
Bake the Cake Base
Grease a square cake tin with butter and dust it with flour. Pour the cake batter gently into the prepared tin and tap it twice to release any air bubbles. Place a stand in a large vessel for preheating. Place the cake batter in the vessel and bake for on a low flame. Check if the cake is ready by inserting a knife or stick; if it comes out clean, the cake is baked.
Prepare Butter Cream Frosting
In a bowl, add 200g unsalted butter (at room temperature) and mix gently with a until creamy. Add milk paste (as needed, refer to previous videos for preparation) and mix gently. Gradually add 200g powdered sugar and beat them well until light and fluffy. Add butterscotch essence and food color (orange/brown) to achieve a creamy texture and desired color. Mix well and refrigerate for .
Make Caramel Pops
In a pan, add 4-5 tbsp sugar. Stir continuously on a low flame until the sugar and turns into a brown liquid. Do not add water or any other ingredients. Transfer the sugar onto a greased plate or butter paper. Once cooled and hardened, pop it into small, crunchy pieces using a pestle or by crushing it.
Assemble and Frost the Cake
Divide the cooled cake base into two halves. Wet the bottom layer with sugar syrup. Apply a generous layer of the refrigerated butter cream frosting on the bottom cake layer. Place the top layer of the cake over the frosted bottom layer. Apply butter cream frosting evenly on the top layer and all sides of the cake, smoothing it out.
Decorate the Cake
Using a piping bag with a star nozzle, create decorative patterns on the top surface of the cake. Gently press the prepared caramel pops onto the sides of the cake. Sprinkle caramel pops generously over the top layer of the cake. Optionally, create a caramel stick design and place it on top for extra decoration.
Before You Cook
Helpful details before you startIngredient SubstitutionsMissing something? View suitable alternatives.View 4 swaps
No All-purpose flour?
- White whole wheat flour (1:1)
- 1 cup minus 2 tbsp + 2 tbsp cornstarch (cake flour swap)
No Baking powder?
- 1/4 tsp baking soda + 1/2 tsp cream of tartar (per 1 tsp)
- 1/4 tsp baking soda + 1/2 cup buttermilk (replace some liquid)
No Butter?
- 3/4 the amount of olive oil (for cooking, not baking)
- Equal parts ghee — Slightly nuttier flavor.
- Equal parts coconut oil (in baking)
No Milk?
- Unsweetened almond / soy / oat milk (1:1)
- 1/2 cup evaporated milk + 1/2 cup water (per 1 cup)
Plan Ahead
Complete this step earlier to save time later.
- View Step 6Prepare Butter Cream Frosting1 hour
In a bowl, add 200g unsalted butter (at room temperature) and mix gently with a whisk until creamy. Add milk paste (as needed, refer to previous videos for preparation) and mix gently. Gradually add 200g powdered sugar and beat them well until light and fluffy. Add butterscotch essence and food color (orange/brown) to achieve a creamy texture and desired color. Mix well and refrigerate for 1-2 hours.
Storage & Leftovers
Keep your leftovers fresh and ready to enjoy.
- RefrigerateUp to 2 hours
Refrigerate the butter cream frosting for 1-2 hours to firm it up before decorating.
- RefrigerateUp to 2 hours
Mix well and refrigerate for 1-2 hours.
Variations
Simple ways to adapt this recipe.
- Use different essences like vanilla
Use different essences like vanilla or almond for a varied flavor profile.
- Decorate with chopped nuts (almondsIngredient swap
Cashews) instead of or in addition to caramel pops.
- Add chocolate chips or fruitCustomise
Add chocolate chips or fruit pieces to the cake batter for extra flavor and texture.
Helpful Tips
Small details that can improve the final result.
You might also like
Other recipes in the same cuisine, meal type, or style — ready to cook whenever you are.
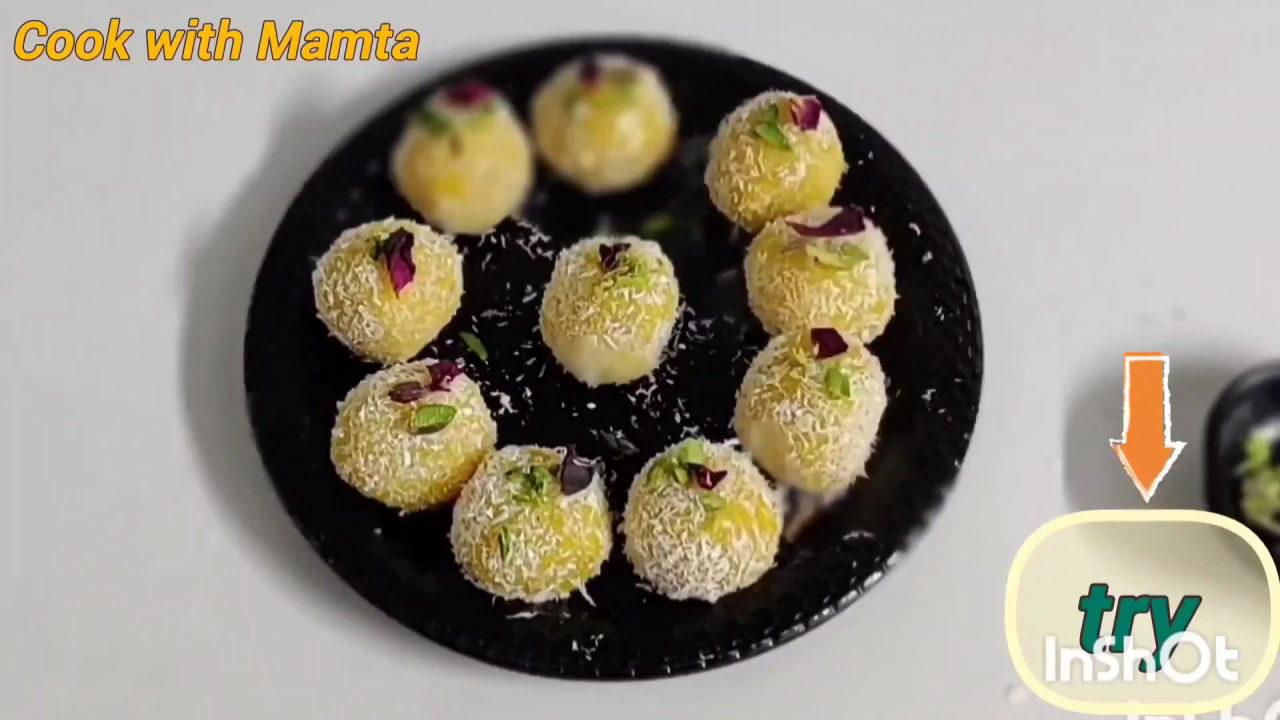
Mango Laddu Recipe - Cook with Mamta
Cuisine
Indian · Dessert
Prep + Cook Time
25 Minutes
Difficulty Level
Easy
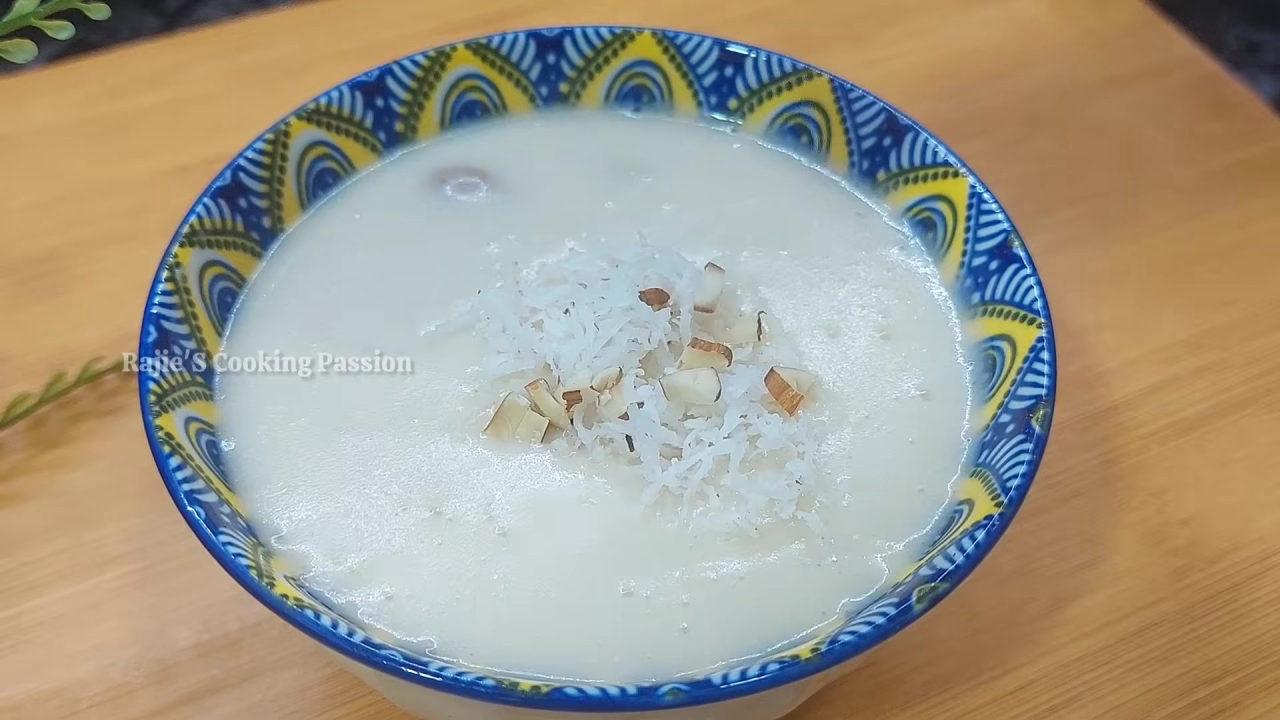
Urad Dal Payasam (Sweet Porridge)
Cuisine
Indian · South Indian
Prep + Cook Time
4 hr 35 min
Difficulty Level
Medium
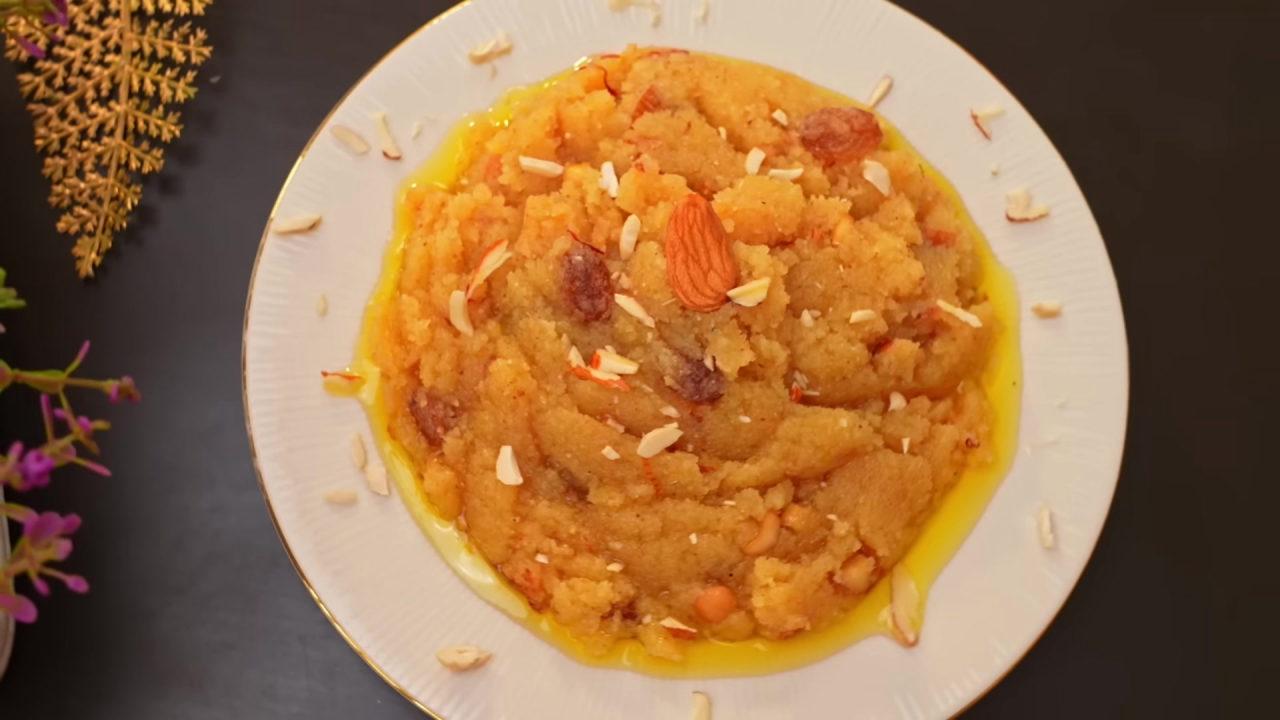
Perfect Sooji Halwa (Semolina Pudding)
Cuisine
Indian · North Indian
Prep + Cook Time
20 Minutes
Difficulty Level
Easy
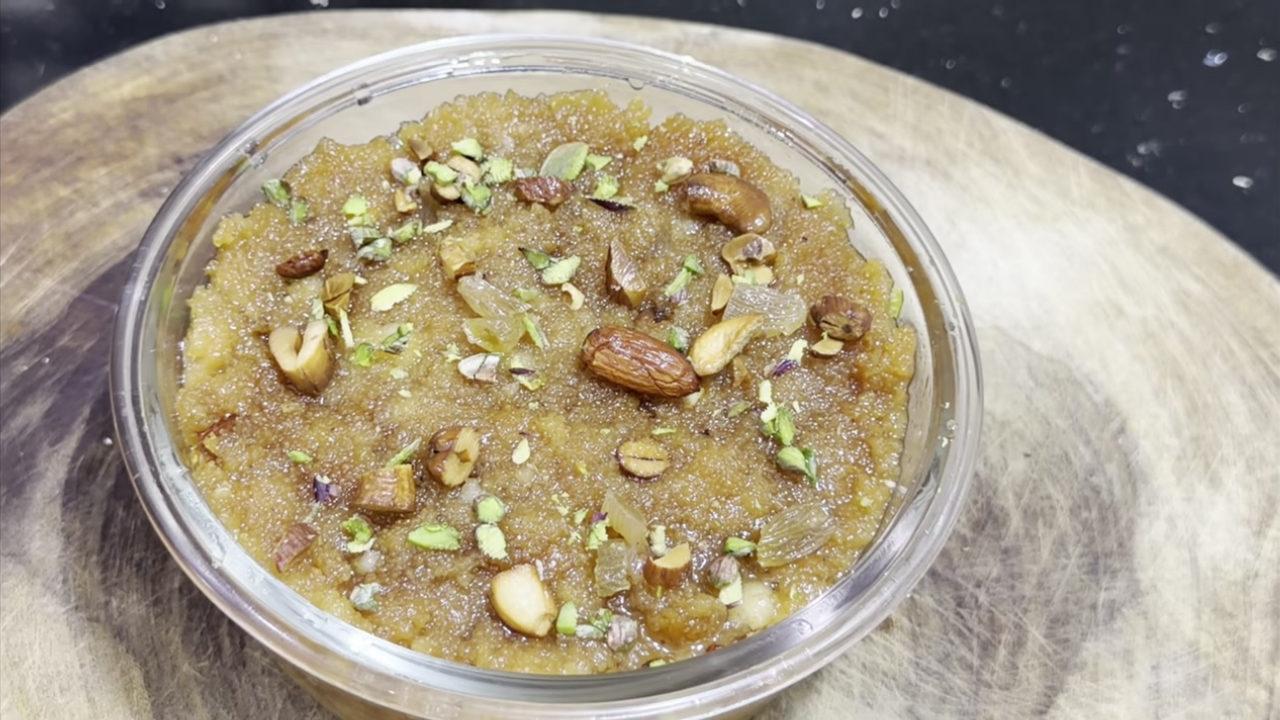
Makhandi Halwa – Delicious Semolina Dessert
Cuisine
Indian · North Indian
Prep + Cook Time
35 Minutes
Difficulty Level
Medium
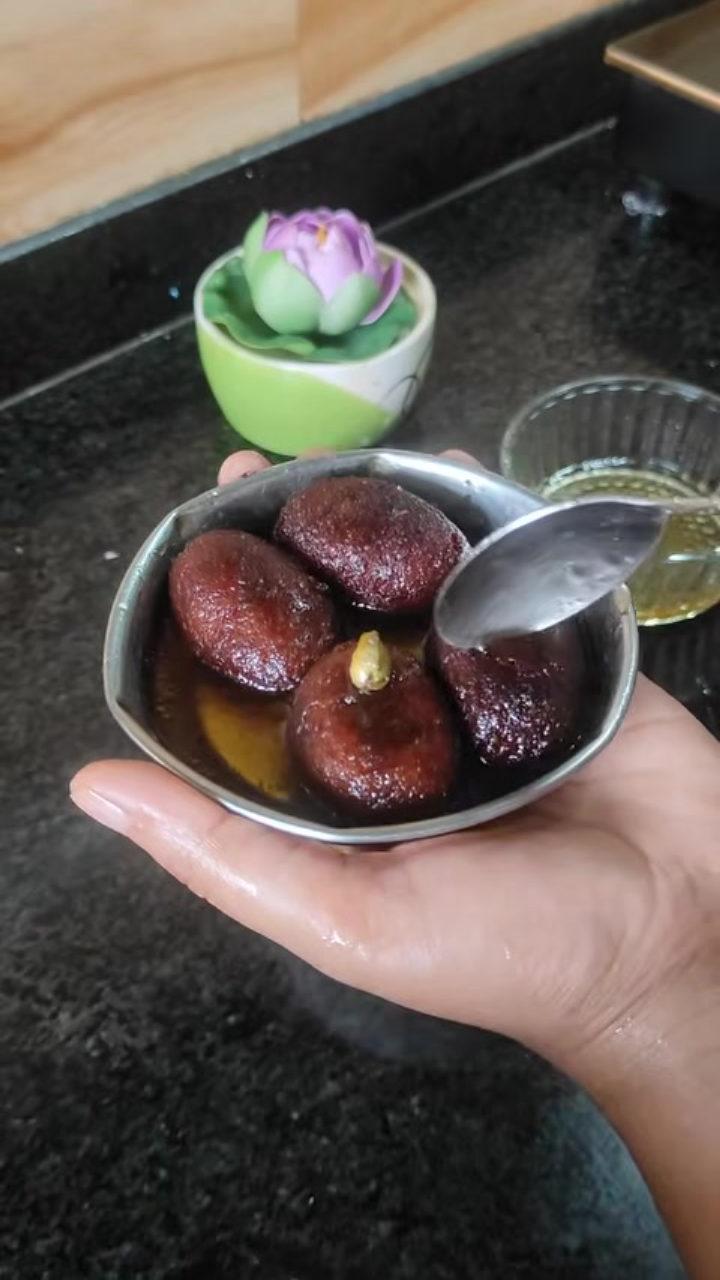
Gulab Jamun - Mawa & Wheat Flour Style
Cuisine
Indian · North Indian
Prep + Cook Time
1 hr 50 min
Difficulty Level
Medium
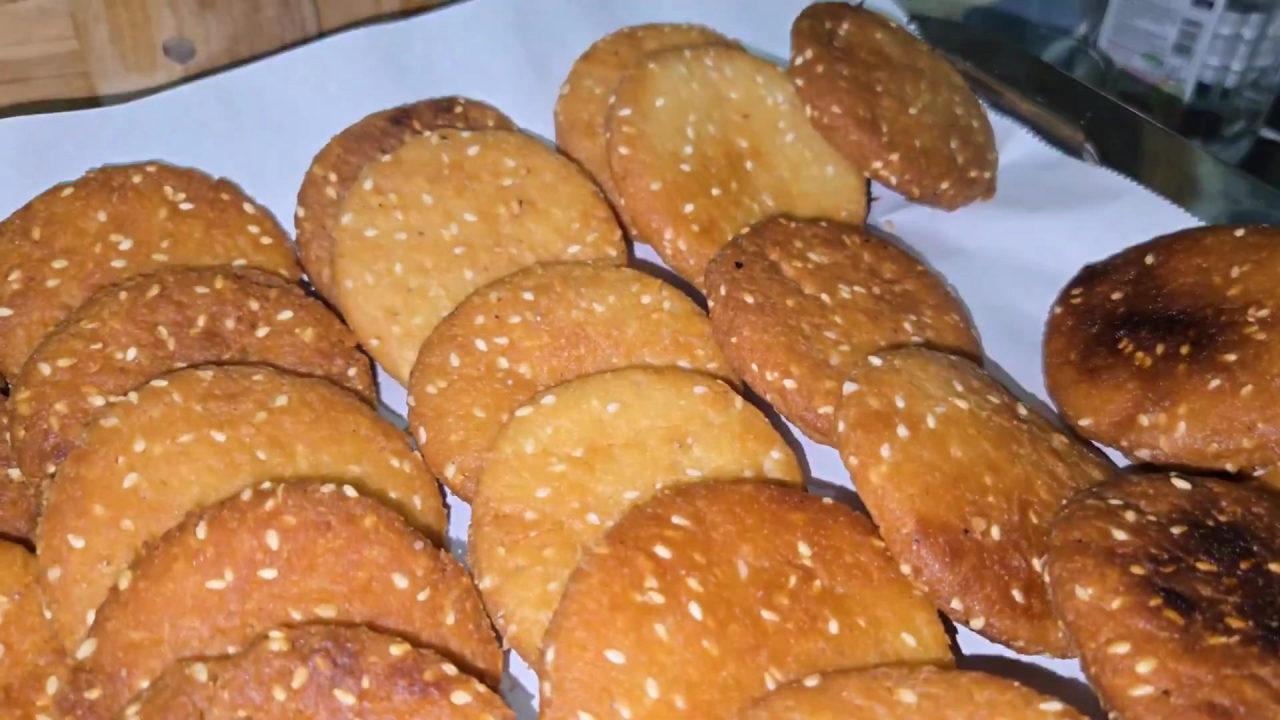
Meethi Tikkiyan Recipe - Indian Sweet Biscuits
Cuisine
Indian · North Indian
Prep + Cook Time
1 hr 25 min
Difficulty Level
Comments (0)
Sign in to leave a comment on this recipe.
Loading comments...