Pressure Cooker Paal Payasam (Milk Pudding) - Easy Pink Payasam
Main Ingredients
Step-by-Step Instructions
Follow each step to make the recipe successfully.
Prepare the Pressure Cooker
Take a clean 5-liter pressure cooker. Ensure it is thoroughly cleaned and dry.
Add Milk and Sugar
Pour 1 liter (4 cups) of full-fat milk into the pressure cooker. Add 1 cup of sugar (or adjust to your preference, e.g., 3/4 cup for less sweetness). Stir well until the sugar completely dissolves in the milk.
Add Rice
Once the milk starts to warm up (it doesn't need to boil yet), add just under 1/2 cup of washed Unakkalari (parboiled rice). Ensure the rice quantity does not exceed 1/2 cup. Stir again to combine.
Pressure Cook
Wait for the milk to come to a boil. Once boiling, close the pressure cooker lid. Place the cooker on the smallest burner of your stove and set the flame to the absolute lowest setting. Allow it to cook undisturbed for . You might hear a slight sound, but a whistle is not expected. If a whistle does occur, briefly turn off the flame and then turn it back on.
Rest and Release Pressure
After of cooking on low flame, turn off the heat. Carefully move the pressure cooker to a corner of the kitchen where it won't be disturbed. Let it sit for approximately , allowing the pressure to release naturally and the payasam to cool down completely. Do not attempt to open it before the pressure is fully released.
Serve the Paal Payasam
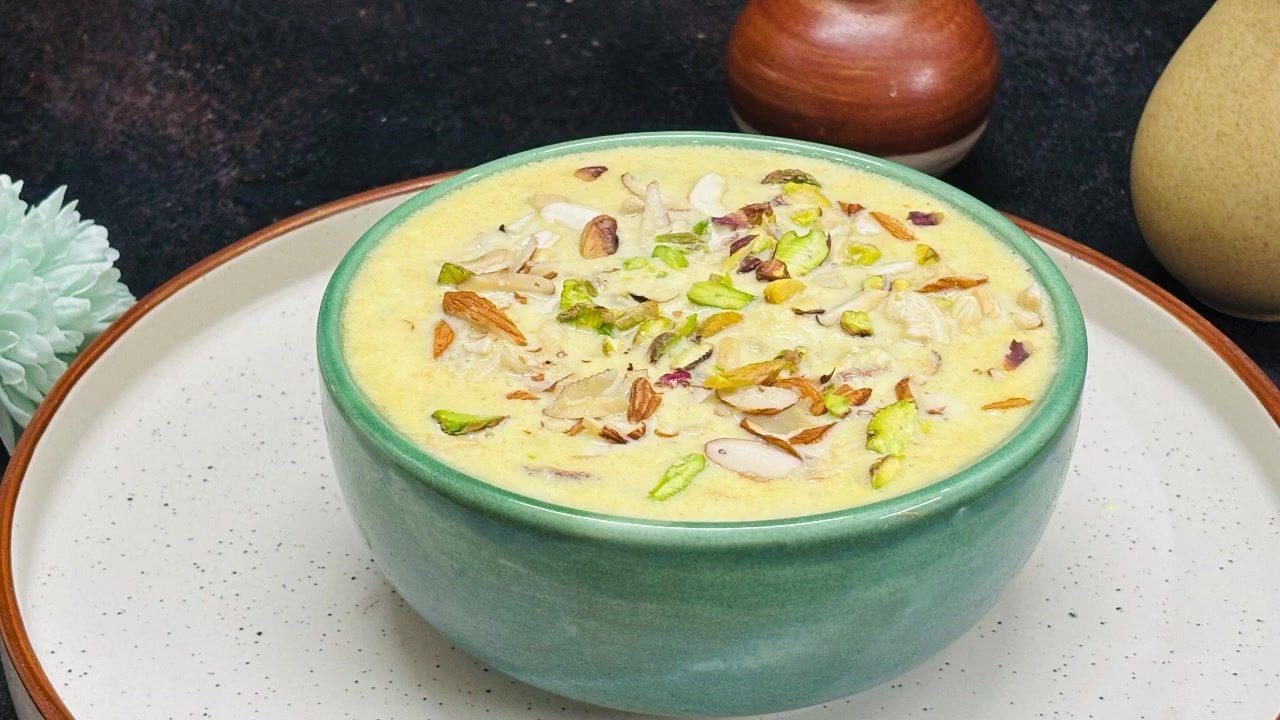
Once the pressure has completely released (after about an hour), open the pressure cooker. You will notice the payasam has developed a beautiful pink color and a thick, creamy consistency. Stir it gently. The Paal Payasam is now ready to be served. Transfer it to a serving dish and enjoy.
Before You Cook
Helpful details before you startIngredient SubstitutionsMissing something? View suitable alternatives.View 1 swap
No Milk?
- Unsweetened almond / soy / oat milk (1:1)
- 1/2 cup evaporated milk + 1/2 cup water (per 1 cup)
Plan Ahead
Complete this step earlier to save time later.
- View Step 5Rest and Release Pressure30 minutes
After 30 minutes of cooking on low flame, turn off the heat. Carefully move the pressure cooker to a corner of the kitchen where it won't be disturbed. Let it sit for approximately 1 hour, allowing the pressure to release naturally and the payasam to cool down completely. Do not attempt to open it before the pressure is fully released.
Variations
Simple ways to adapt this recipe.
- If Unakkalari (parboiled rice) is not available
You can use Pachari (raw rice) instead.
Helpful Tips
Small details that can improve the final result.


Comments (0)
Sign in to leave a comment on this recipe.
Loading comments...