
Perfect Sourdough Bread
Main Dough Ingredients
Step-by-Step Instructions
Follow each step to make the recipe successfully.
Combine Starter and Water
Add 120g (1/2 cup) of active sourdough starter to a large bowl. Pour in 310g (1 1/3 cups) of warm filtered water (around 90°F (approximately 30°C) or 32°C (approximately 90°F)). Stir until the starter is mostly combined with the water.
Add Flour and Salt for Autolyse
Add 500g (4 cups plus 2 tbsp) of bread flour and 16g (2 tsp) of fine sea salt to the bowl. Mix with a spatula or clean hands until the ingredients are just combined into a shaggy mixture, ensuring there are no dry pockets of flour remaining. Do not overmix.
Autolyse
Cover the bowl with a damp kitchen towel. Let the dough rest at room temperature for . This step allows the flour to fully hydrate and gluten to begin developing.
First Set of Stretch and Folds
After , wet your hands in clean water. Reach into the bowl, lift a portion of the dough from one side, and gently stretch it upwards before folding it over itself. Rotate the bowl 90 degrees and repeat this process 3 more times, completing a total of 4 folds. Cover the bowl again with the damp towel and for .
Repeat Stretch and Folds
Repeat the stretch and fold process (4 folds) three more times, ensuring a 20-minute rest period between each set of folds. This helps to further develop the gluten structure of the dough.
Shape the Dough
After the final set of folds and rest, gently release the dough from the bowl using a wet spatula if needed. Lightly flour your work surface. Gently transfer the dough onto the floured surface. Gather the corners of the dough to form a rough ball, pinching the seams together at the bottom.
Tighten the Dough Ball
Using your hands, gently cup the dough ball and scoot it towards you on the floured surface. Rotate the ball slightly with each scoot to create tension on the surface, forming a tight, smooth ball. Repeat this motion until the ball is firm and holds its shape.
Prepare for Final Proof
Line a smaller bowl or colander with a clean, smooth kitchen towel (not terry cloth). Liberally sprinkle the towel with flour, ensuring all surfaces that will touch the dough are well-dusted.
Final Proof (Cold Fermentation)
Gently scoop the shaped dough ball into the floured towel-lined bowl, placing it smooth side down. Cover the bowl with the towel and then seal it tightly with plastic wrap to prevent drying. Refrigerate for (or up to 36 hours) for a slow, cold fermentation, which develops a deeper, more complex sourdough flavor. Alternatively, you can let it rise at room temperature for .
Preheat Oven and Cast Iron Pot
Approximately before baking, place a cast iron pot with its lid into the oven. Preheat the oven to 500°F (approximately 260°C) (260°C (approximately 500°F)). If your dough was refrigerated, take it out to warm up on the counter while the oven preheats.
Score the Dough
Once the oven is preheated and the dough has proofed, place a piece of parchment paper over the dough in the proofing bowl. Carefully flip the dough onto the parchment paper. Gently remove the towel. Using a sharp blade (like a lame or razor), make a light score across the top of the dough, just piercing the skin, to allow for expansion during baking. You can create a simple cross or a decorative design.
Bake Covered
Carefully remove the screaming hot cast iron pot from the oven using oven mitts. Carefully lift the dough by the parchment paper and transfer it into the hot pot. Carefully place the lid back on the pot. Return the pot to the oven and bake for at 500°F (approximately 260°C) (260°C (approximately 500°F)).
Bake Uncovered
After , the oven temperature to 450°F (approximately 230°C) (230°C (approximately 445°F)). Carefully remove the lid from the pot. Continue baking for another , or until the crust is a deep golden brown and sounds hollow when tapped.
Cool and Serve
Carefully remove the bread from the pot using the parchment paper and transfer it to a wire rack. Allow the bread to cool completely on the wire rack before slicing. This is crucial for the internal structure to set. Once cooled, slice and serve with butter and a sprinkle of salt.
Before You Cook
Helpful details before you startPlan Ahead
Complete this step earlier to save time later.
- View Step 3Autolyse1 hour
Cover the bowl with a damp kitchen towel. Let the dough rest at room temperature for 1 hour. This step allows the flour to fully hydrate and gluten to begin developing.
- View Step 9Final Proof (Cold Fermentation)
Gently scoop the shaped dough ball into the floured towel-lined bowl, placing it smooth side down. Cover the bowl with the towel and then seal it tightly with plastic wrap to prevent drying. Refrigerate for 12 hours (or up to 36 hours) for a slow, cold fermentation, which develops a deeper, more complex sourdough flavor. Alternatively, you can let it rise at room temperature for 6-12 hours.
Storage & Leftovers
Keep your leftovers fresh and ready to enjoy.
- RefrigerateUp to 2 days
Refrigerate for 12 hours (or up to 36 hours) for a slow, cold fermentation, which develops a deeper, more complex sourdough flavor.
Variations
Simple ways to adapt this recipe.
- If you don't have a sourdough starter
You can buy one from bakeries or online, or make your own using flour and water over several days.
- You can adjust the number
You can adjust the number of stretch and folds; even doing it twice will still yield a good loaf, though four times is recommended for optimal chewiness.
- If you're short on time
If you're short on time for the final proof, you can place the dough in a warmer spot (like an oven with the light on) to speed up the rise, but slow fermentation is preferred for flavor.
Helpful Tips
Small details that can improve the final result.
More from Preppy Kitchen
Other recipes converted from Preppy Kitchen's cooking videos.
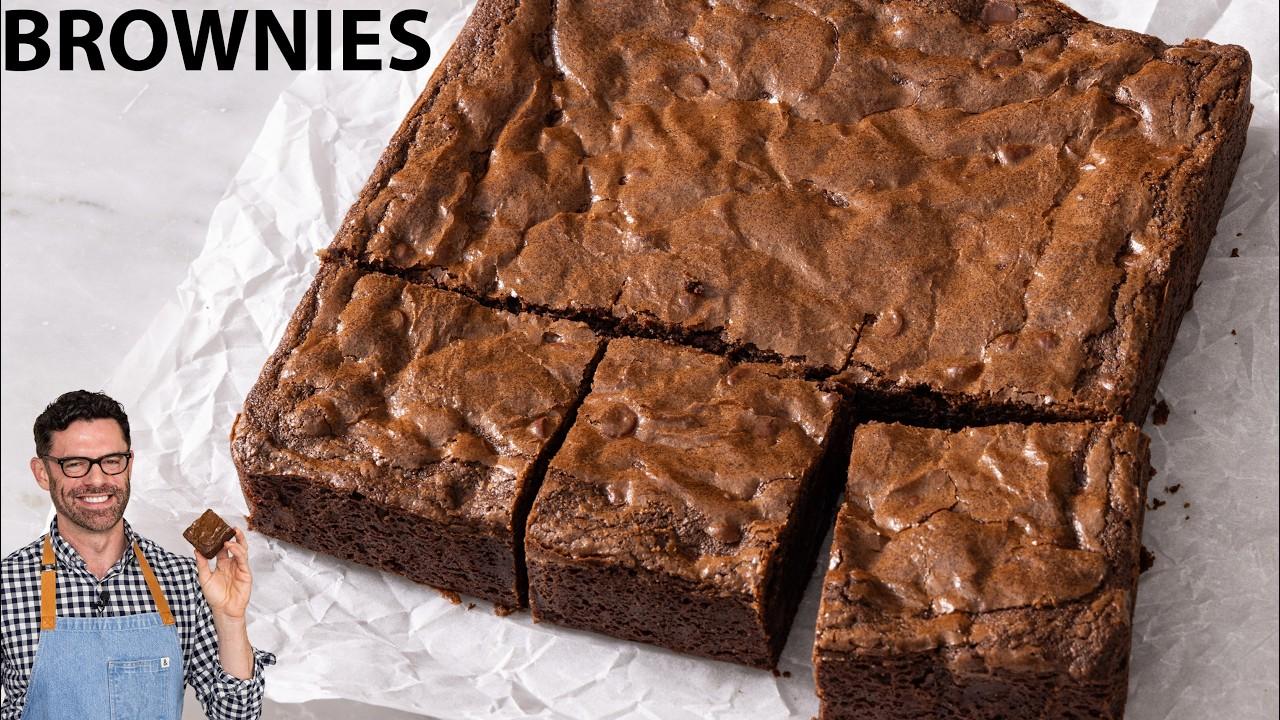
Fudgy Gooey Delicious Brownies – Preppy Kitchen
Cuisine
American
Prep + Cook Time
1 hr 30 min
Difficulty Level
Medium

The Ultimate Carrot Cake – Preppy Kitchen
Cuisine
American · Dessert
Prep + Cook Time
1 hr 30 min
Difficulty Level
Medium

The Only Vanilla Cake You'll Ever Need – Classic
Cuisine
American
Prep + Cook Time
1 hr 55 min
Difficulty Level
Medium
You might also like
Other recipes in the same cuisine, meal type, or style — ready to cook whenever you are.

Instant Oats Dosa
Cuisine
Indian · South Indian
Prep + Cook Time
30 Minutes
Difficulty Level
Easy
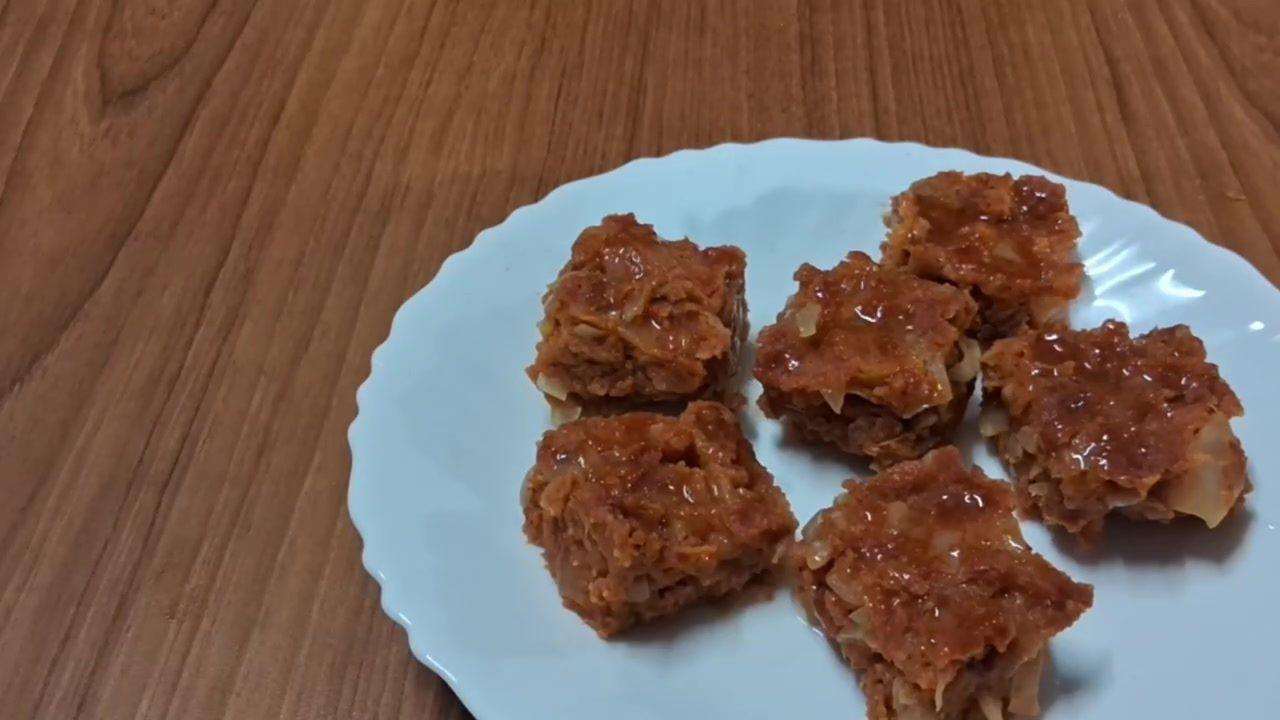
Steamed Spicy Cabbage Idli (Cabbage Sanna Kotto)
Cuisine
Indian · South Indian
Prep + Cook Time
40 Minutes
Difficulty Level
Easy
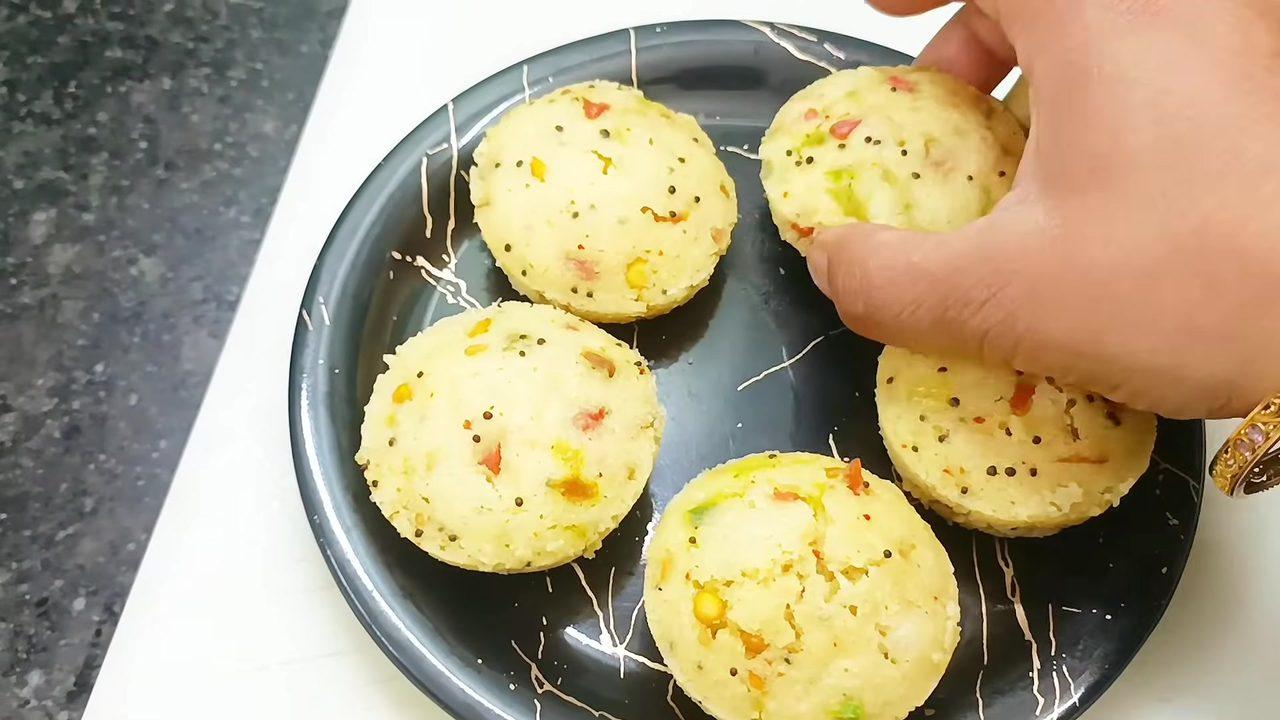
Vegetable Rava Mini Idli (Low Oil)
Cuisine
Indian · South Indian
Prep + Cook Time
35 Minutes
Difficulty Level
Easy
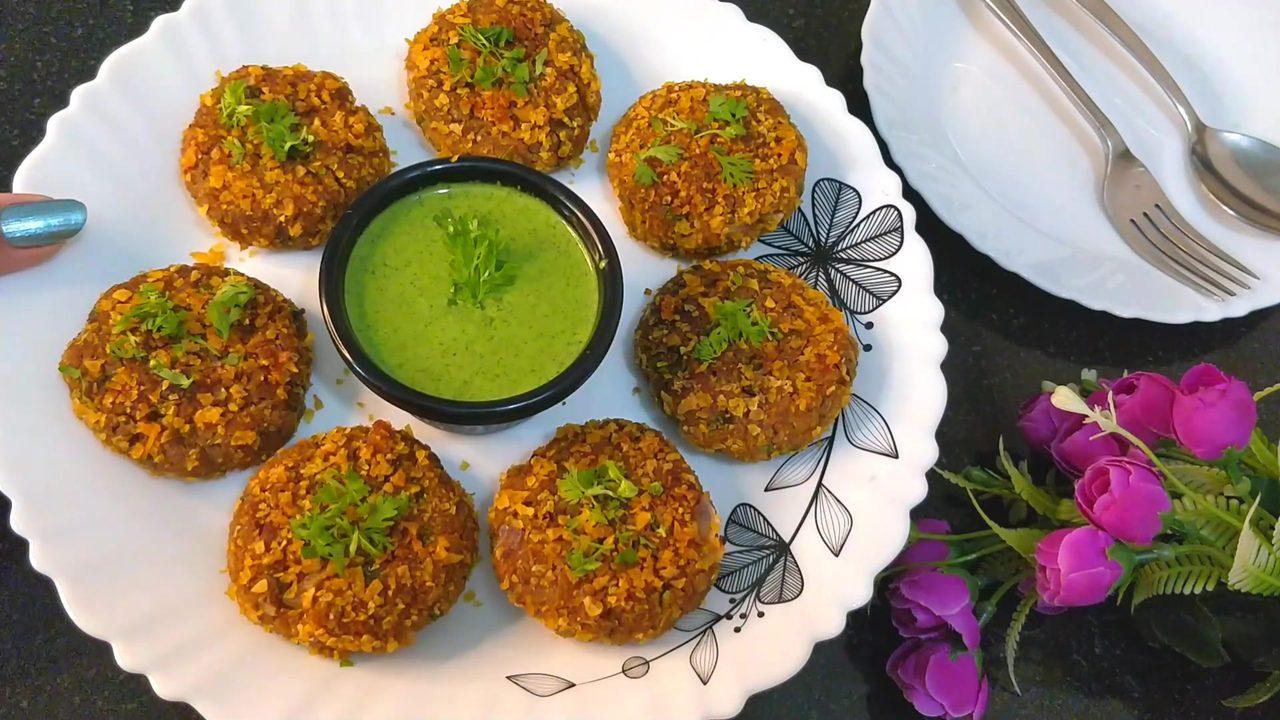
Soya Cutlet / Soya Kabab
Cuisine
Indian
Prep + Cook Time
30 Minutes
Difficulty Level
Easy
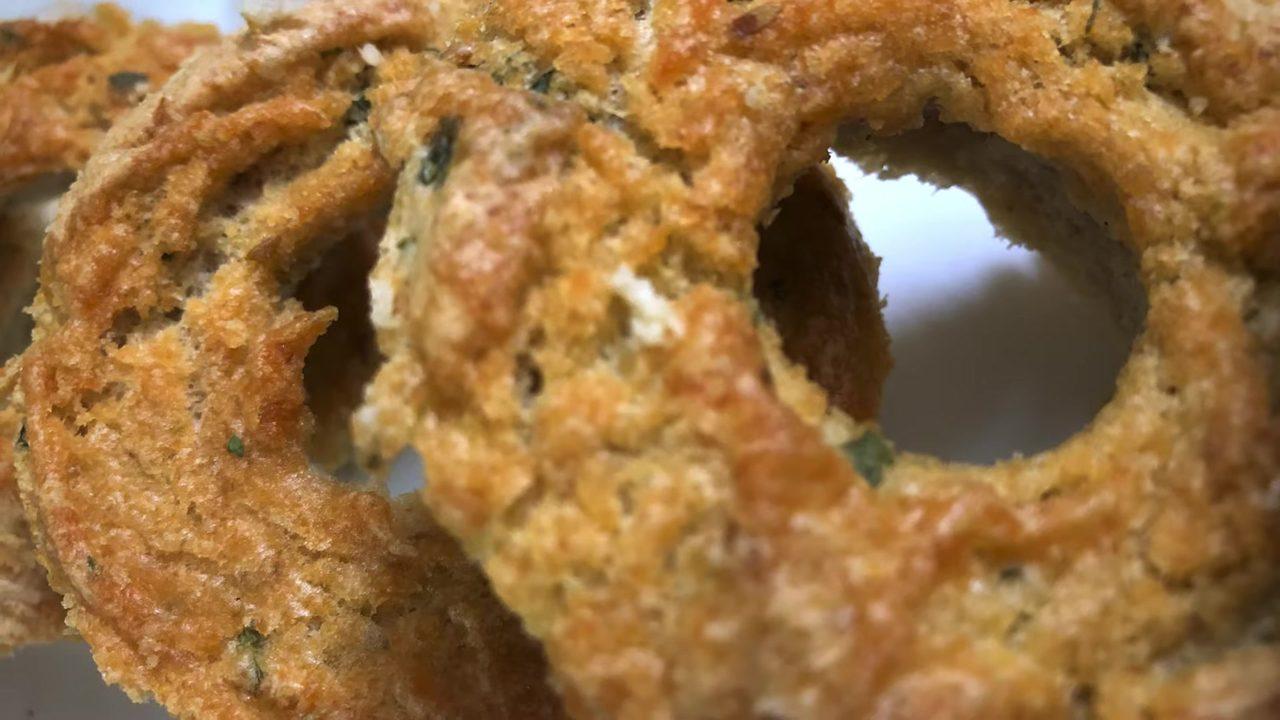
Baked Medu Vada – Healthy Snack
Cuisine
Indian · South Indian
Prep + Cook Time
45 Minutes
Difficulty Level
Medium

Oats Dosa – Healthy Indian Breakfast
Cuisine
Indian · South Indian
Prep + Cook Time
30 Minutes
Difficulty Level
Comments (0)
Sign in to leave a comment on this recipe.
Loading comments...