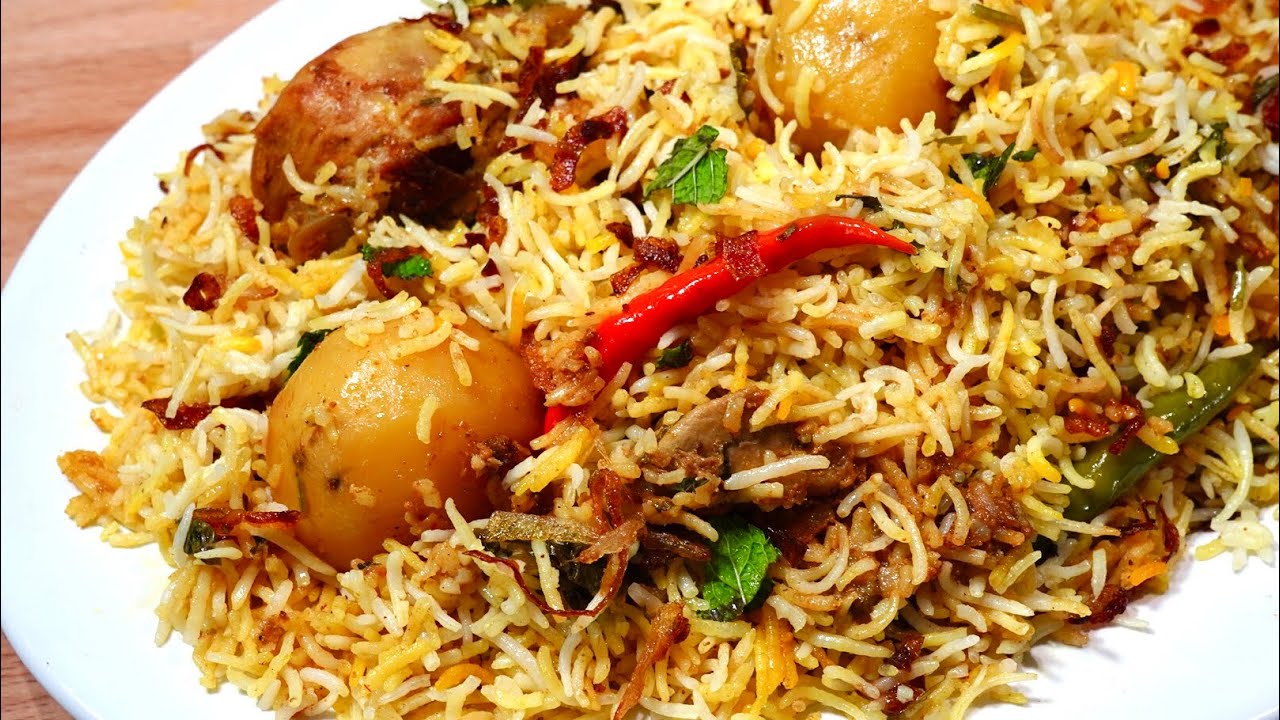
Paul's Biryani - Hyderabadi Dum Style
Summary
- This video features Sudhakar Paul, founder of Paul's Biryani, demonstrating the unique Hyderabadi dum biryani process. He explains the meticulous layering of marinated vegetables or chicken with partially cooked basmati rice, emphasizing the precise cooking techniques and the use of steam to achieve a flavorful and aromatic biryani. The recipe highlights the importance of fresh, in-house ingredients and a controlled dum cooking method.
Video Chapters
Jump straight to any step in the video.
All Ingredients - For Biryani Base (Vegetarian)
- Carrots, chopped as needed
- Potatoes, chopped as needed
- Cauliflower florets as needed
- Green Beans, chopped as needed
- Biryani Masala to taste
- Fresh Coriander, chopped to taste
- Brown Onion (Barista) as needed
- Ginger Garlic Paste (in-house made) as needed
- Oil up to 1 liter (for 9.5kg output)
- Yogurt 1.2 kg (for 9.5kg output)
All Ingredients - For Rice
- Basmati Rice 3 kg
- Biryani Masala to taste
- Fresh Coriander, chopped to taste
- Fresh Mint, chopped to taste
- Ghee as needed
- Shahi Jeera (Cumin seeds) as needed
All Ingredients - For Serving
- Onion Raita as needed
- Mirchi ka Salan as needed
Tools You'll Need
- Pot
Plan Ahead
Up to 5 hrs of hands-off time you can shift to earlier.
- Step 2 · Overnight4 hrs
…, let the vegetable base marinate for at least 4 hours, or preferably overnight, to allow flavors to meld.
- Step 4 · Soak1 hr
Prepare Rice for Boiling Soak basmati rice in water for at least 1 hour. In a separate large pot, b…
Don't have an ingredient? Try these swaps
No Cilantro?
- Flat-leaf parsley (1:1, milder)
- Fresh mint (in chutneys, salads)
No Onion?
- 1 tbsp onion powder (per medium onion)
- 3 tbsp dried minced onion
- Shallots or leeks (1:1)
No Garlic (fresh)?
- 1/4 tsp garlic powder (per clove)
- 1/2 tsp garlic granules (per clove)
No Yogurt?
- Sour cream (1:1)
- Buttermilk (1:1, slightly thinner result)
No Ghee?
- Unsalted butter (1:1)
- Neutral oil (1:1, lacks the toasted note)
⚠ Contains Allergens
Step-by-Step Instructions
Step 1: Prepare Vegetable Base
In a large handi (pot), add chopped carrots, potatoes, cauliflower, and green beans. Add biryani masala, fresh coriander, and ginger garlic paste. Mix thoroughly with gloved hands to ensure all vegetables are coated. Then, add brown onion (barista) and mix again. Finally, pour oil over the mixture and mix well. This ensures the spices adhere to the vegetables.
Step 2: Marinate the Base
Once all ingredients are mixed, let the vegetable base for at least , or preferably overnight, to allow flavors to meld.
Step 3: Add Yogurt
Just before cooking, add a generous amount of yogurt to the vegetable base and mix it in. The yogurt will help boil the vegetables and create for the dum process.
Step 4: Prepare Rice for Boiling
Soak basmati rice in water for at least . In a separate large pot, bring water to a boil. Add biryani masala, fresh coriander, and fresh mint to the boiling water. This will season the water and infuse flavor into the rice.
Step 5: Boil Rice in Layers
Add the soaked basmati rice to the seasoned boiling water. Cook the rice in stages, removing portions at different levels of doneness. First, remove a portion of rice when it is 40-50% cooked. Then, remove another portion when it is 60-70% cooked. Finally, remove the last portion when it is 90-95% cooked. This layered cooking ensures varying textures and spice absorption.
Step 6: Layer Biryani in Handi
Spread the vegetable base (with yogurt) evenly at the bottom of the handi. Layer the first portion of 40-50% cooked rice over the vegetables. Drizzle with ghee, sprinkle shahi jeera, fresh mint, and coriander. Repeat with the second layer of 60-70% cooked rice, adding ghee, shahi jeera, mint, and coriander. Finish with the third layer of 90-95% cooked rice, and top with ghee, shahi jeera, mint, coriander, and a final layer of oil.
Step 7: Seal the Handi for Dum
Take a cotton cloth, soak it in water, wring it out, and wrap it around the rim of the handi. Place the lid tightly over the cloth, pressing down to create an airtight seal. This is the 'dum' process, where the biryani cooks in its own .
Step 8: Dum Cooking Process
Place the sealed handi on a stove. Cook on high flame for the first to build up inside. the flame to medium and cook for another . Finally, lower the flame to its lowest setting and cook for . The biryani is cooked by the generated within the sealed pot, not by direct water. After cooking, for before opening.
Step 9: Serve Biryani
Carefully open the handi. The aroma will be intense. When serving, you can customize the spice level by taking more rice from the bottom layers (spicier due to vegetable masala) or more from the top layers (less spicy). Serve hot with onion raita and mirchi ka salan.
Pro Tips
• Marinate the vegetables/chicken for at least 4 hours, or preferably overnight, for maximum flavor absorption.
• Add oil to the marinated vegetables/chicken last, after all spices, to ensure the spices adhere well and don't wash off.
• Soak the basmati rice for at least 1 hour before boiling to achieve perfect grain separation.
• Ensure the handi (cooking pot) is tightly sealed during the dum process to trap steam, which is crucial for cooking the raw ingredients and infusing flavors.
• Adjust the spice level by varying the proportion of spiced rice (from the bottom layers) to white rice (from the top layers) when serving.
Variations
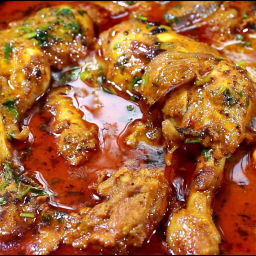
• Chicken Biryani: Replace mixed vegetables with chicken pieces, following the same marination and layering process.
• Spicy Biryani: Increase the proportion of spiced rice from the bottom layers when serving for a more intense flavor.
Your Notes
Jot down your tweaks — swaps you tried, cook-time adjustments, family reactions. Saved on this device only, and printed with the recipe.
You might also like
Other recipes in the same cuisine, meal type, or style — ready to cook whenever you are.
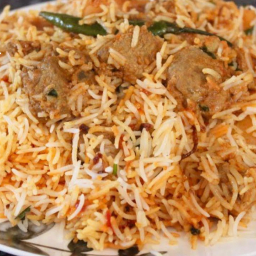
Chicken Biryani - Restaurant Style
Cuisine
Indian · Mughlai
Prep + Cook Time
2 hr 15 min
Difficulty Level
Medium

Poori Kurma - Restaurant Style
Cuisine
Indian · South Indian
Prep + Cook Time
45 Minutes
Difficulty Level
Medium
Degi Biryani - Neelo's Kitchen
Cuisine
Indian · Pakistani
Prep + Cook Time
1 hr 20 min
Difficulty Level
Medium

Creamy Curd Rice - South Indian Style
Cuisine
Indian · South Indian
Prep + Cook Time
25 Minutes
Difficulty Level
Easy
Chicken Curry - Indian Style
Cuisine
Indian · North Indian
Prep + Cook Time
1 hr
Difficulty Level
Medium

North Indian Meal Combo (Matar Paneer, Jeera Rice & Roti)
Cuisine
Indian · North Indian
Prep + Cook Time
3 hr 20 min
Difficulty Level
Comments
Sign in to leave a comment on this recipe.
Loading comments...