
Palkova Recipe – Traditional Indian Sweet
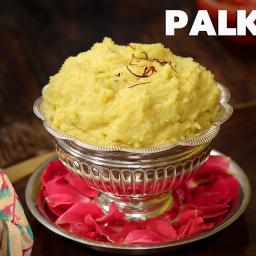
Main Ingredients
Step-by-Step Instructions
Follow each step to make the recipe successfully.
Pour Milk and Begin Reduction
Pour 2 litres of full-fat milk into a wide, heavy-bottomed kadai. Turn on the flame to medium and start stirring continuously. Keep stirring to ensure the milk evenly and does not catch or burn at the bottom. Continue this for about until the milk to half its original quantity and turns slightly off-white and creamier in texture.
Add Saffron
To enhance the color and aroma, add a few saffron strands to the thickening milk. Stir it well and let it for another few minutes, allowing the saffron to impart a subtle golden color and royal fragrance.
Scrape Down Cream
Continuously scrape down the cream that forms along the sides of the kadai and incorporate it back into the milk. This cream is pure flavor and contributes to the richness of the Palkova. You will notice the consistency slowly changing from liquid to a thick, creamy base.
Add Sugar and Continue Thickening
Once the milk has and thickened beautifully, add 1/2 cup of sugar. Continue stirring as the sugar melts, which will cause the mixture to loosen slightly. This is normal. Keep stirring over a low flame until it starts thickening again.
Add Cardamom Powder
Sprinkle about 1/2 teaspoon of cardamom powder for that signature festive aroma. The combination of saffron and cardamom will make your kitchen smell heavenly. Continue stirring until the texture turns grainy and comes together beautifully.
Achieve Fudge-like Texture
Continue stirring until the Palkova starts leaving the sides of the kadai and forms a dense, fudge-like texture. At this point, it should have a rich, glossy look and a delicate grainy finish. Once it has thickened to perfection, turn off the flame.
Serve Palkova
Immediately transfer the Palkova to a serving dish. You can serve it nice and warm, when it's smooth and melts in your mouth. If desired, garnish it with a few saffron strands or chopped nuts for a festive touch. Enjoy your traditional Palkova!
Before You Cook
Helpful details before you startIngredient SubstitutionsMissing something? View suitable alternatives.View 2 swaps
No Milk?
- Unsweetened almond / soy / oat milk (1:1)
- 1/2 cup evaporated milk + 1/2 cup water (per 1 cup)
No Saffron?
- 1/4 tsp turmeric (color only, no flavor match)
- 1/2 tsp safflower threads
Helpful Tips
Small details that can improve the final result.
More from HomeCookingShow
Other recipes converted from HomeCookingShow's cooking videos.
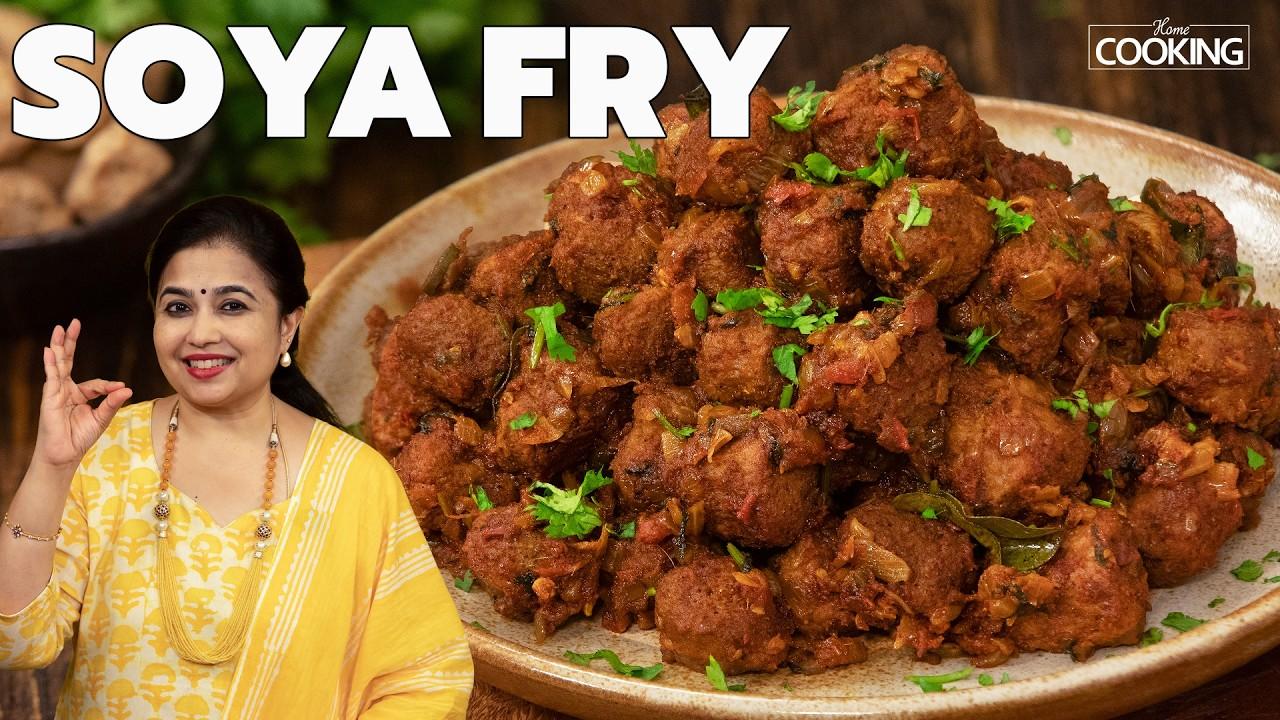
Soya Fry – Home Cooking Style
Cuisine
Indian · South Indian
Prep + Cook Time
40 Minutes
Difficulty Level
Easy
Soya Fry – Spicy Masala
Cuisine
Indian · South Indian
Prep + Cook Time
50 Minutes
Difficulty Level
Easy
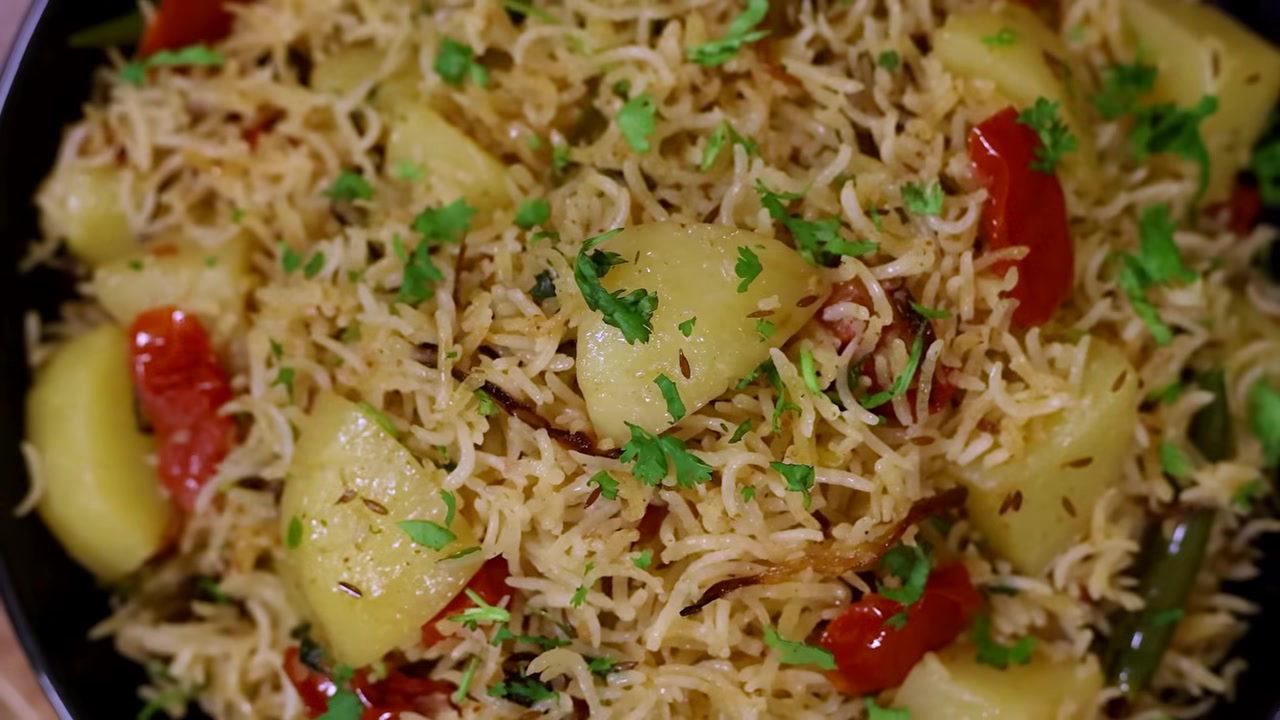
Aloo Pulao – Simple & Flavorful
Cuisine
Indian · North Indian
Prep + Cook Time
45 Minutes
Difficulty Level
Easy
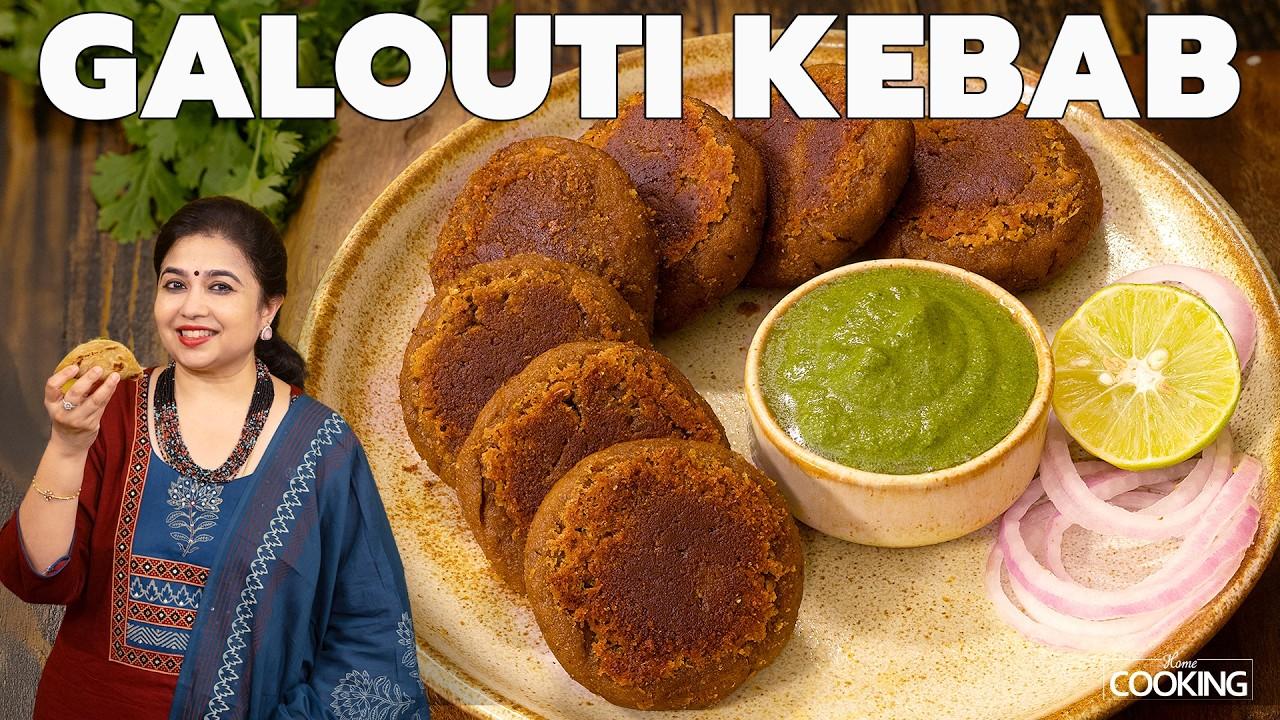
Mushroom Galouti Kebab Recipe
Cuisine
Indian · North Indian
Prep + Cook Time
50 Minutes
Difficulty Level
Medium
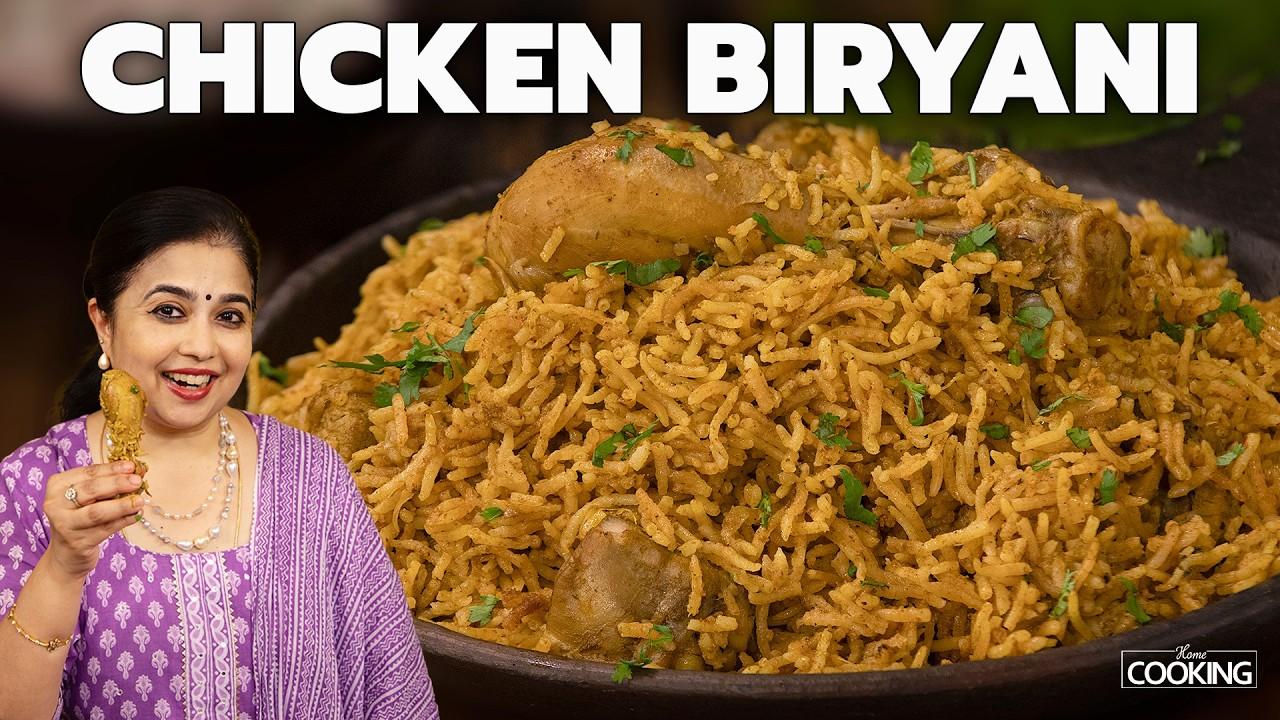
Chicken Biryani – One Pot Style
Cuisine
Indian · South Indian
Prep + Cook Time
1 hr 20 min
Difficulty Level
Medium
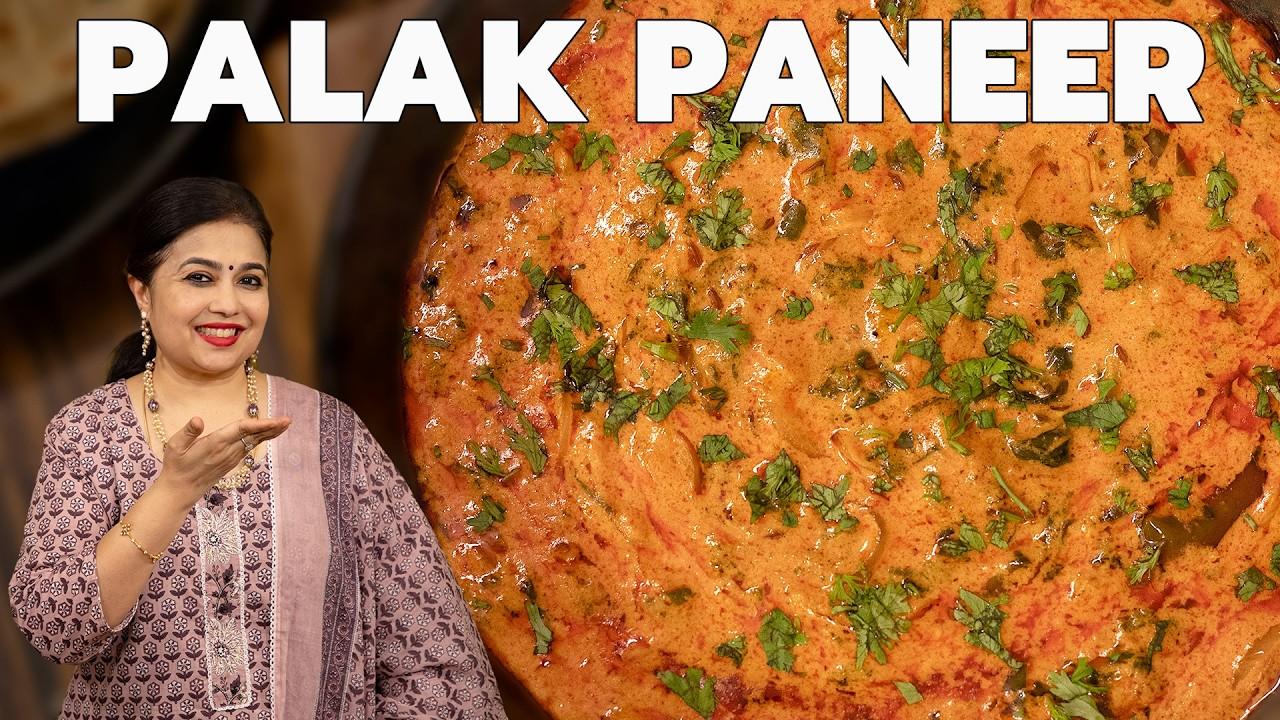
Palak Paneer with a Twist
Cuisine
Indian · North Indian
Prep + Cook Time
35 Minutes
Difficulty Level
Medium
You might also like
Other recipes in the same cuisine, meal type, or style — ready to cook whenever you are.
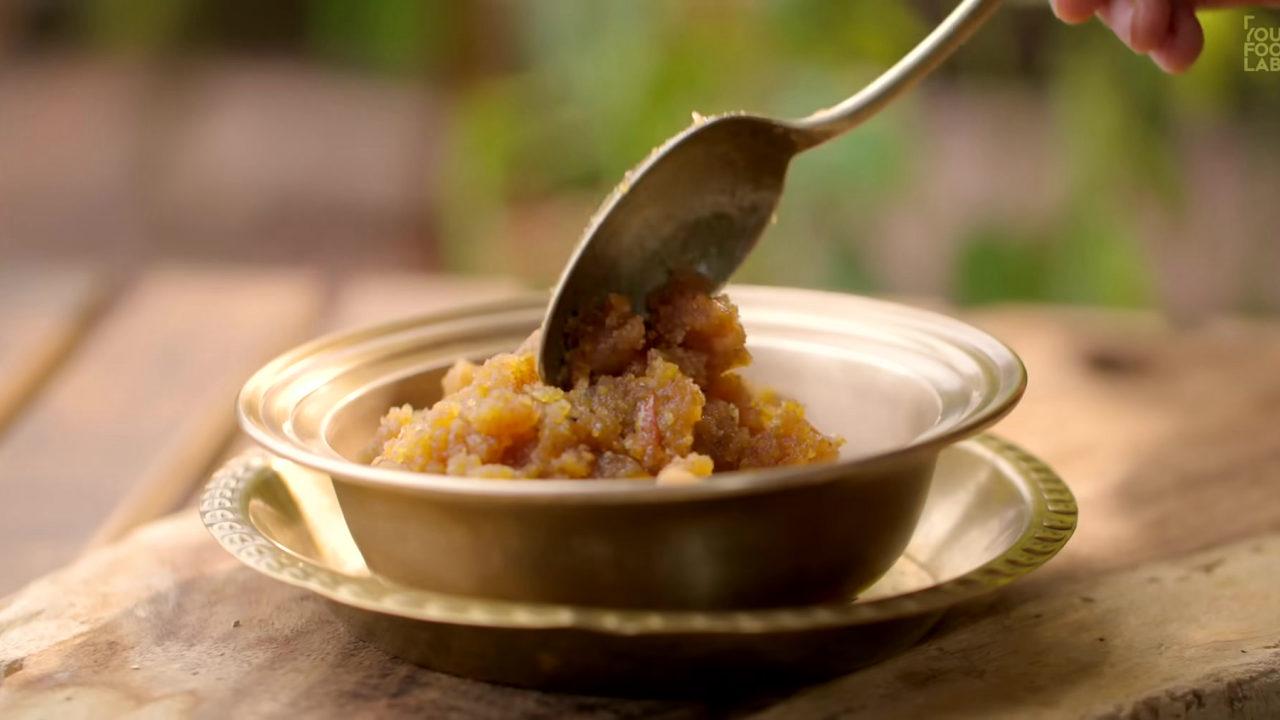
Moong Dal Ka Halwa – Indian Dessert
Cuisine
Indian · North Indian
Prep + Cook Time
1 hr 15 min
Difficulty Level
Medium
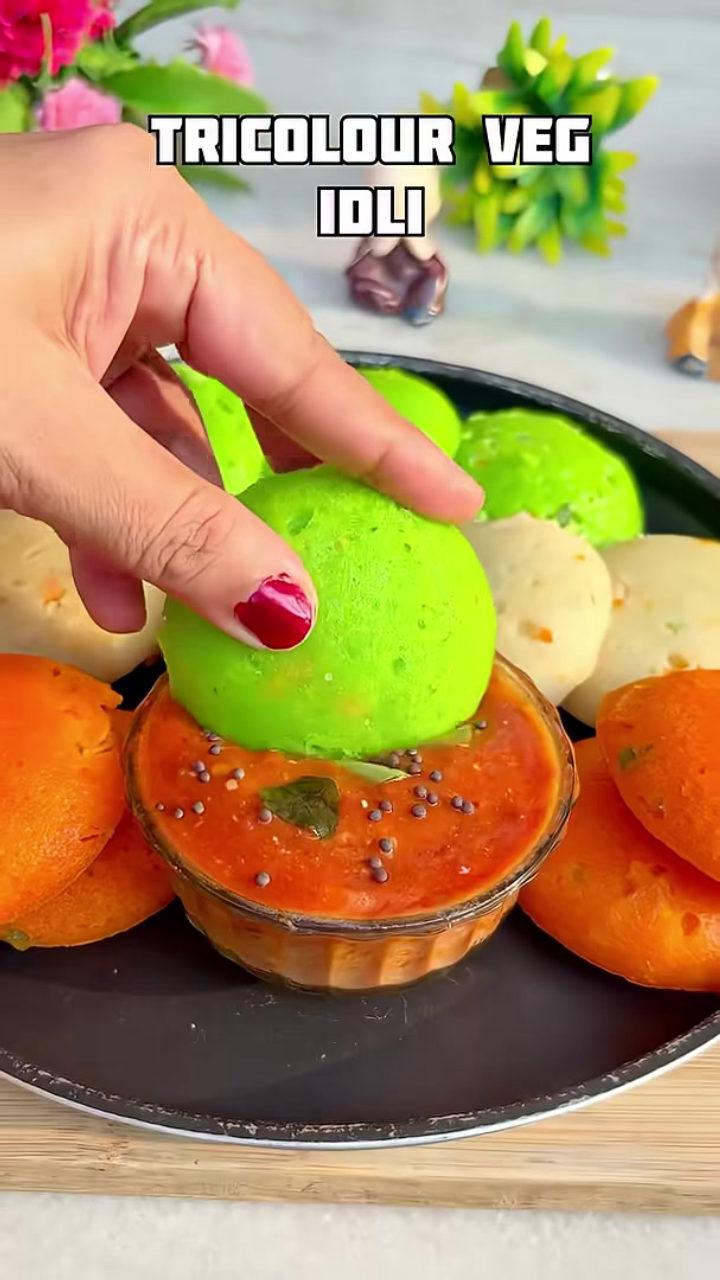
Tricolour Veg Idli – Indian Breakfast
Cuisine
Indian · South Indian
Prep + Cook Time
35 Minutes
Difficulty Level
Easy
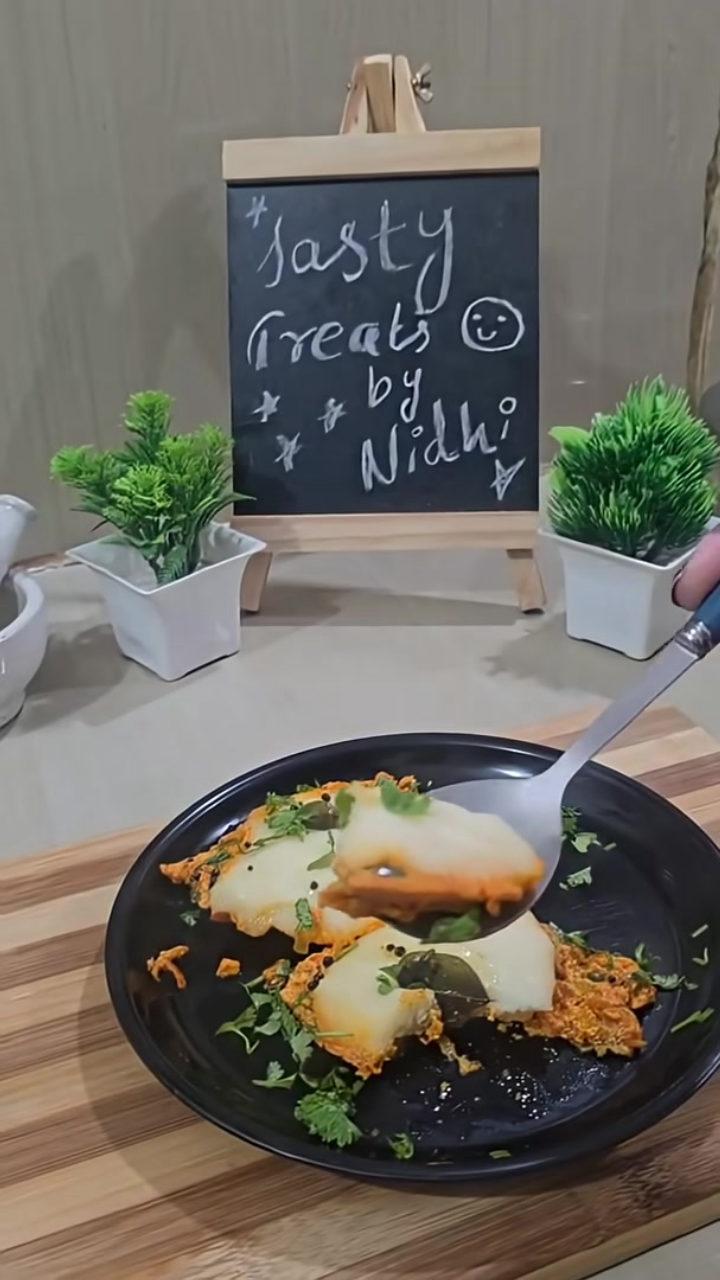
Suji Paneer Delight - Healthy & Tasty Breakfast
Cuisine
Indian · Fusion
Prep + Cook Time
35 Minutes
Difficulty Level
Easy
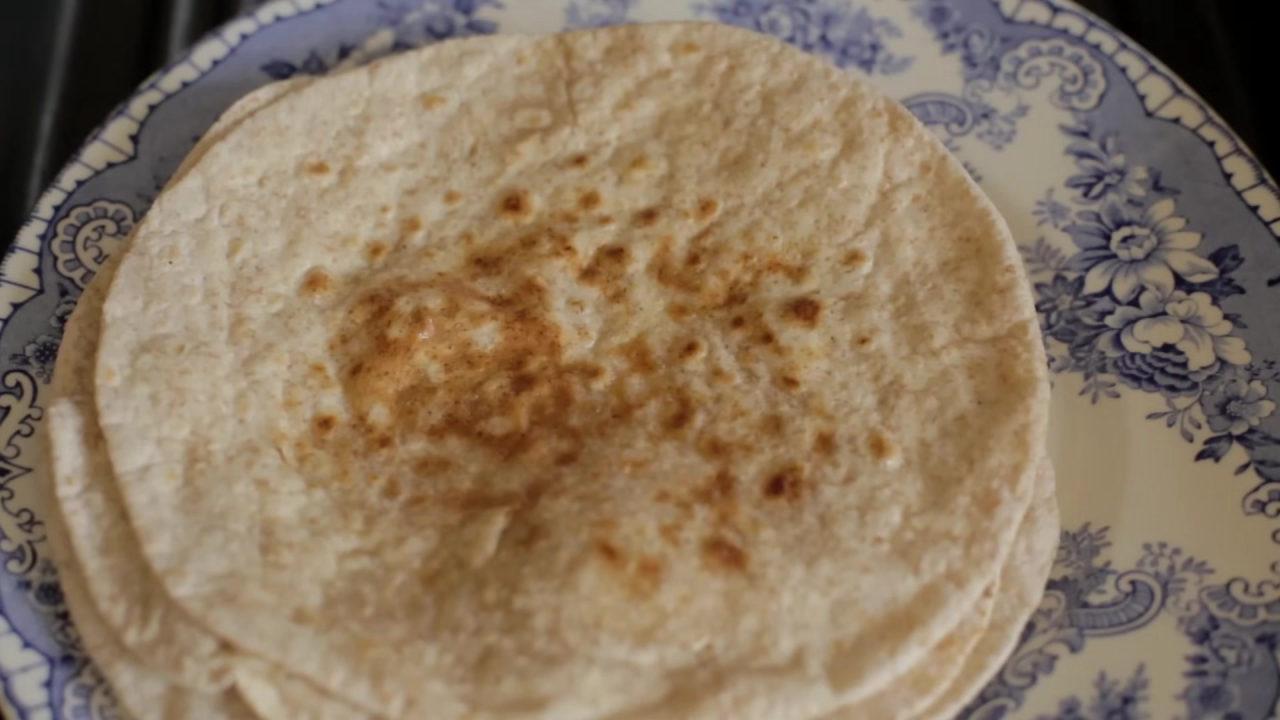
Homemade Soft Chapati – Indian Flatbread
Cuisine
Indian · North Indian
Prep + Cook Time
35 Minutes
Difficulty Level
Easy
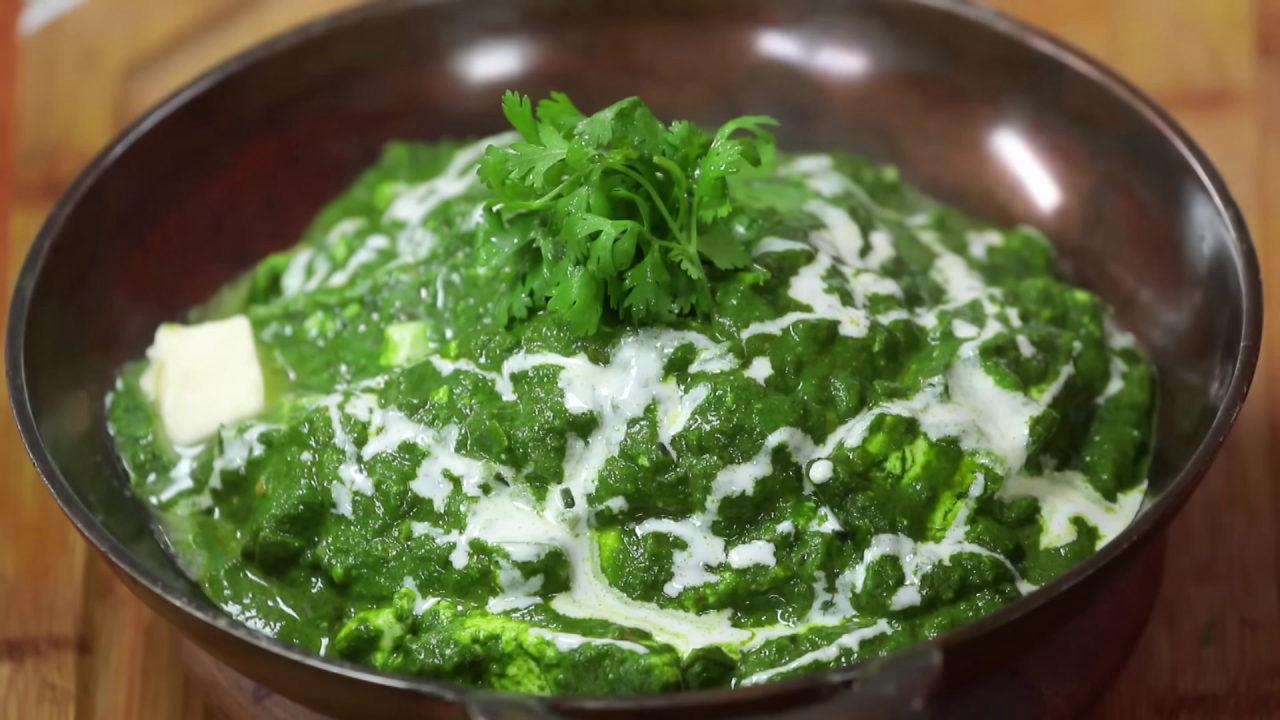
Palak Paneer - Simple & Flavorful
Cuisine
Indian · North Indian
Prep + Cook Time
35 Minutes
Difficulty Level
Easy
Empty Salna – Madras Samayal Style
Cuisine
Indian · South Indian
Prep + Cook Time
45 Minutes
Difficulty Level
Comments (0)
Sign in to leave a comment on this recipe.
Loading comments...