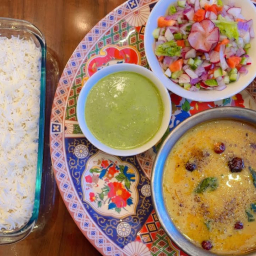
Mixed Dal Chawal – Pakistani Style
Ready in
90 mins
Cuisine
Pakistani · Punjabi
Prep Time
15 min
Cook Time
15 min
Serving
4 People
Difficulty
Easy
Calories / Serving
~450 kcal
Spicy Level

Main Ingredients (Dal)
For Tempering (Tadka)
Step-by-Step Instructions
Follow each step to make the recipe successfully.
Prepare the Lentils
In a bowl, combine 1 cup (150 grams) red lentils and 1 cup (150 grams) yellow lentils. Wash them thoroughly and then soak them in water for .
Cook the Lentils
In a pressure cooker, add 1 liter (4 glasses) of water. Add the soaked lentils, 1 tsp salt, 1 tsp red chili powder, and 1/2 tsp turmeric powder. Mix well. Cover the pressure cooker and cook the lentils for after the first whistle.
Check Dal Consistency
After , release the pressure and open the cooker. Check the consistency of the dal; if it's too thick, add a little hot water. If it's too thin, cook it for a few more minutes until it reaches your desired consistency. Also, taste and adjust salt if needed.
Prepare the Tempering (Tadka)
In a separate pan, heat 1/2 cup cooking oil. Add 3-4 sliced garlic cloves and fry until they turn a light golden color. Be careful not to over-fry, as it can make the garlic bitter. Then, add 1 tsp cumin seeds and button chilies. Add 1 tsp red chili powder (for color) and 1/2 tsp garam masala powder. Mix all the ingredients.
Combine Dal and Tempering
Pour the prepared mixture directly into the cooked dal in the pressure cooker. Stir well to combine.
Add Curry Leaves
In a small amount of oil (about 2 tablespoons), fry a few curry leaves until fragrant. Pour these fried curry leaves over the dal for an extra aromatic touch.
Serve
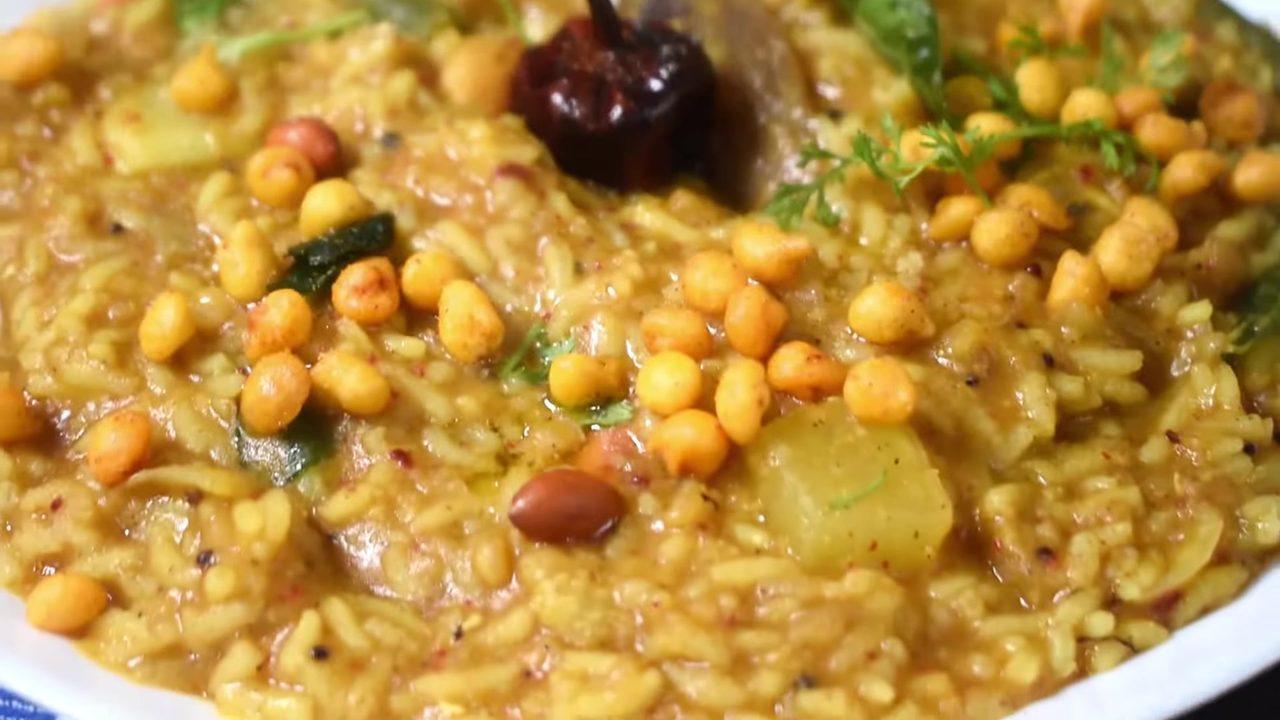
Your delicious Dal Chawal is now ready to be served. Enjoy it hot with plain rice, and optionally with mint-coriander chutney, kachumber salad, and pickle for an enhanced experience.
Before You Cook
Helpful details before you startIngredient SubstitutionsMissing something? View suitable alternatives.View 3 swaps
No Garlic (fresh)?
- 1/4 tsp garlic powder (per clove)
- 1/2 tsp garlic granules (per clove)
No Garam masala?
- 1 tsp cumin + 1/2 tsp coriander + 1/4 tsp cinnamon + 1/4 tsp cardamom
No Curry leaves?
- 1 bay leaf + a pinch of lemon zest — Aroma only — flavor is unique.
Plan Ahead
Complete this step earlier to save time later.
- View Step 1Prepare the Lentils1 hour
In a bowl, combine 1 cup (150 grams) red lentils and 1 cup (150 grams) yellow lentils. Wash them thoroughly and then soak them in water for 1 hour.
Variations
Simple ways to adapt this recipe.
- You can mix more than
You can mix more than two types of lentils for a different flavor and texture profile.
Helpful Tips
Small details that can improve the final result.
Comments (0)
Sign in to leave a comment on this recipe.
Loading comments...