
Idli Rice Kai Murukku – Crispy Diwali Snack
Main Ingredients
Step-by-Step Instructions
Follow each step to make the recipe successfully.
Prepare Idli Rice
Add 1 cup of idli rice to a bowl. Wash the idli rice 2 to 3 times with water. After washing, soak the rice in fresh water for .
Roast and Grind Pulses
Add 1/4 cup of urad dal to a dry pan. Roast the urad dal for until lightly fragrant. Let it cool completely, then transfer to a mixer grinder and grind into a fine powder. Add 1/4 cup of roasted gram (chutney gram) to the same mixer grinder and grind it into a fine powder along with the urad dal powder.
Grind Idli Rice Batter
After , drain the water from the soaked idli rice. Transfer the drained idli rice to a mixer grinder. Add water gradually, grinding it into a super fine and thick batter. Ensure there are no coarse rice particles and the batter is not too watery.
Combine Ingredients for Dough
Transfer the idli rice batter to a large mixing bowl. Sieve the ground urad dal and roasted gram powder into the batter to remove any lumps. Add 1 teaspoon of hing (asafoetida), 1 tablespoon of ajwain (carom seeds), and 1 cube of soft butter to the mixture. Mix these ingredients thoroughly with your hands.
Knead the Dough
Prepare salt water by dissolving salt to taste in a small amount of water (approximately 1/4 cup). Gradually add the salt water to the dough mixture while . Continue until a soft, elastic dough is formed. The dough should not break when stretched, indicating perfect consistency for murukku.
Prepare Murukku Maker
Take a Kai Murukku maker (the video shows a plastic one with a four-leaf clover-like mold). Grease the inside of the murukku maker and the chosen mold plate with 1 tablespoon of oil to ensure smooth pressing. Also, lightly grease a plate or tray where you will shape the murukku.
Shape the Murukku
Take a small portion of the prepared dough and place it inside the greased murukku maker. Hold the murukku maker with both hands, placing your fingers on the handles. Press down on the plunger while rotating the wheel to extrude the dough in a circular motion onto the greased plate, forming the murukku shape. Ensure the ends are sealed to prevent breaking during frying. Repeat for desired number of murukkus.
Deep Fry Murukku
Heat oil for deep frying in a pan over medium heat. Once the oil is hot, carefully drop the shaped murukku into the oil. Fry the murukku on a medium flame until it turns golden brown and crispy. The oil bubbles will subside when the murukku is fully cooked. Flip the murukku to ensure even frying on both sides. Remove the fried murukku from the oil using a slotted spoon and place them on a plate lined with paper towels to absorb excess oil. Repeat the frying process for the remaining dough.
Serve and Store
Allow the Kai Murukku to cool completely. Once cooled, they will be perfectly crispy. Serve them as a delicious snack. Store any leftover murukku in an airtight container at room temperature. They will remain fresh and crispy for up to 1 month.
Before You Cook
Helpful details before you startIngredient SubstitutionsMissing something? View suitable alternatives.View 2 swaps
No Asafoetida (hing)?
- 1/4 tsp garlic powder + 1/4 tsp onion powder
No Butter?
- 3/4 the amount of olive oil (for cooking, not baking)
- Equal parts ghee — Slightly nuttier flavor.
- Equal parts coconut oil (in baking)
Plan Ahead
Complete this step earlier to save time later.
- View Step 1Prepare Idli Rice3 hours
Add 1 cup of idli rice to a bowl. Wash the idli rice 2 to 3 times with water. After washing, soak the rice in fresh water for 3 hours.
- View Step 3Grind Idli Rice Batter3 hours
After 3 hours, drain the water from the soaked idli rice. Transfer the drained idli rice to a mixer grinder. Add water gradually, grinding it into a super fine and thick batter. Ensure there are no coarse rice particles and the batter is not too watery.
Storage & Leftovers
Keep your leftovers fresh and ready to enjoy.
- Room Temperature
Store any leftover murukku in an airtight container at room temperature.
- StoreUp to 1 month
Store the murukku in an airtight container to maintain freshness and consume within 1 month.
Variations
Simple ways to adapt this recipe.
- Add garlic paste for Garlic MurukkuCustomise
- Add finely chopped onions for Onion MurukkuCustomise
- Incorporate mashed boiled potatoes for Potato Murukku
- Add red chili powder orCustomise
Add red chili powder or black pepper powder for a spicier version.
- Add coarsely ground cumin (jeera)Customise
Add coarsely ground cumin (jeera) for an aromatic variation.
Helpful Tips
Small details that can improve the final result.
You might also like
Other recipes in the same cuisine, meal type, or style — ready to cook whenever you are.
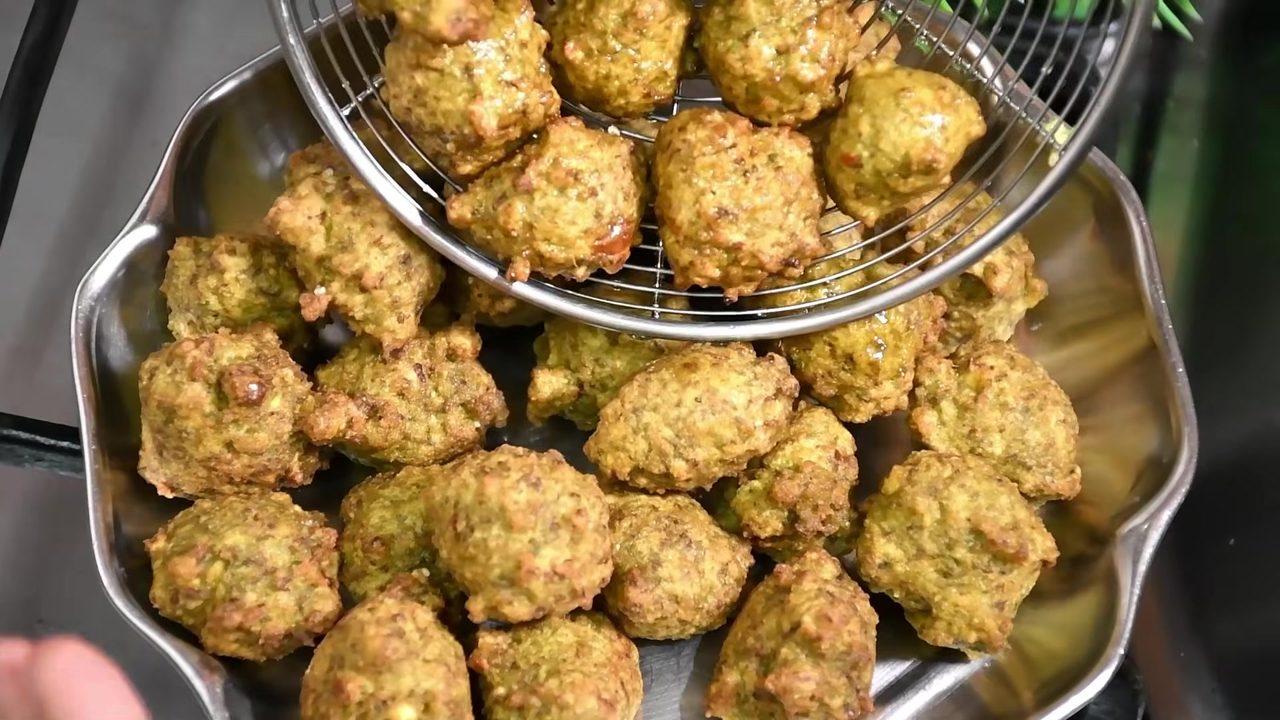
Green Gram Mini Bonda - Kongunadu Style
Cuisine
Indian · South Indian
Prep + Cook Time
30 Minutes
Difficulty Level
Easy
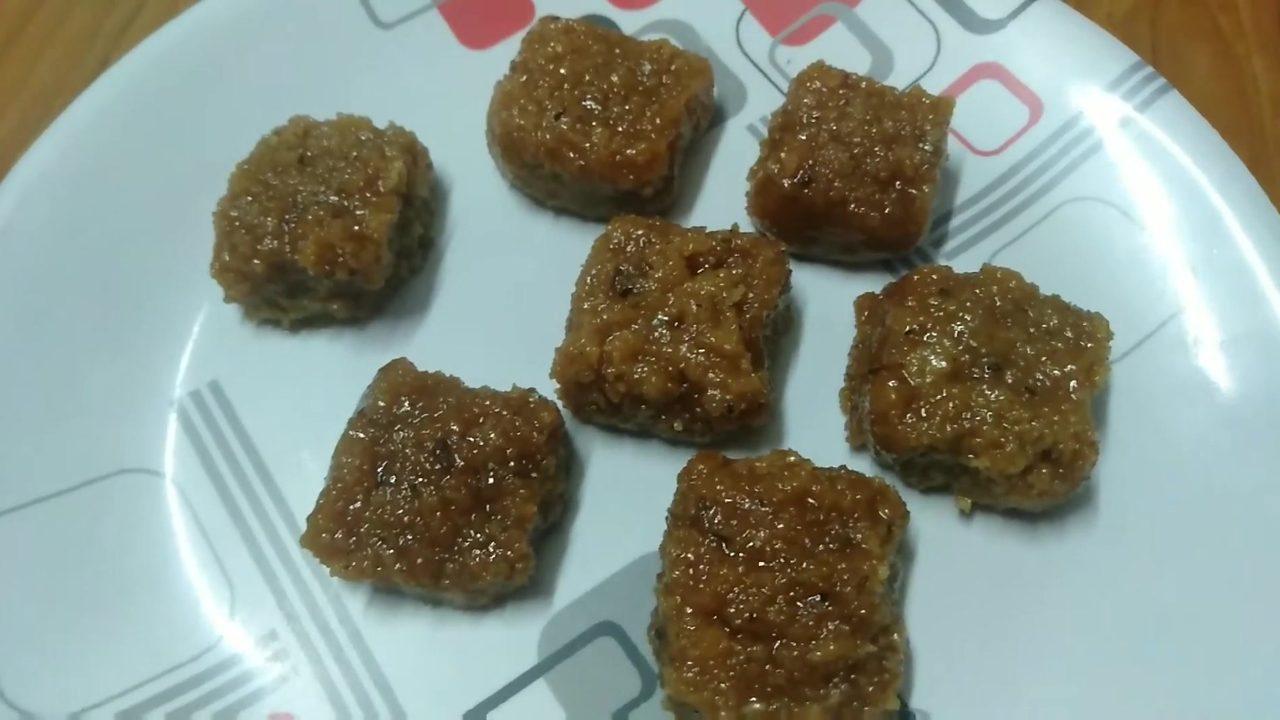
Coconut Jaggery Barfi
Cuisine
Indian · Dessert
Prep + Cook Time
2 hr 17 min
Difficulty Level
Easy
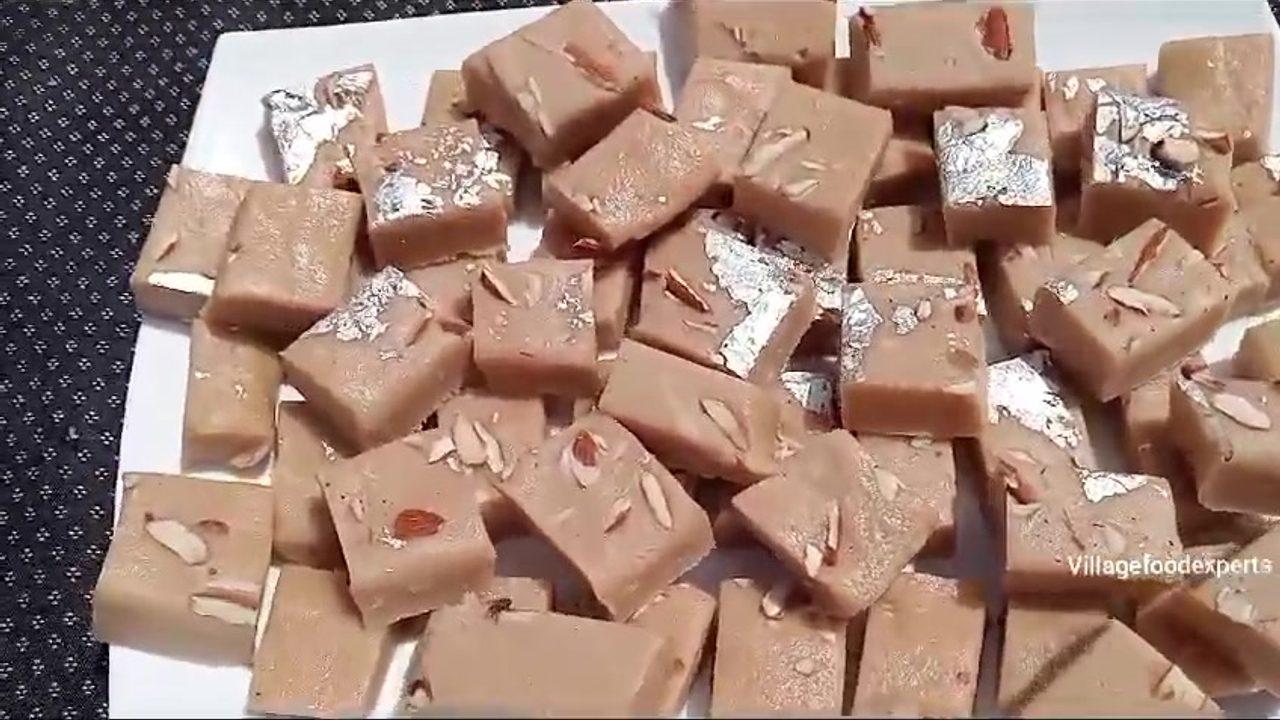
Milk and Maida Burfi – Village Style
Cuisine
Indian · Pakistani
Prep + Cook Time
45 Minutes
Difficulty Level
Medium
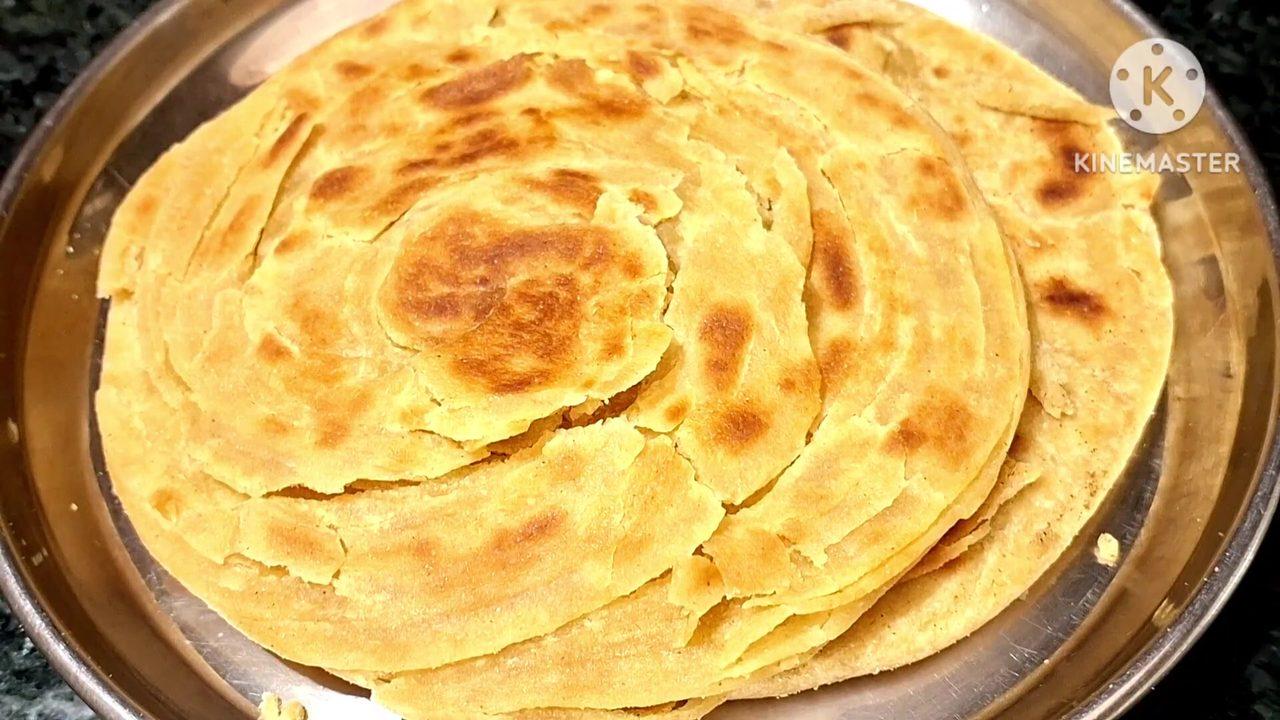
Lachha Paratha – Layered Indian Flatbread
Cuisine
Indian · North Indian
Prep + Cook Time
45 Minutes
Difficulty Level
Medium
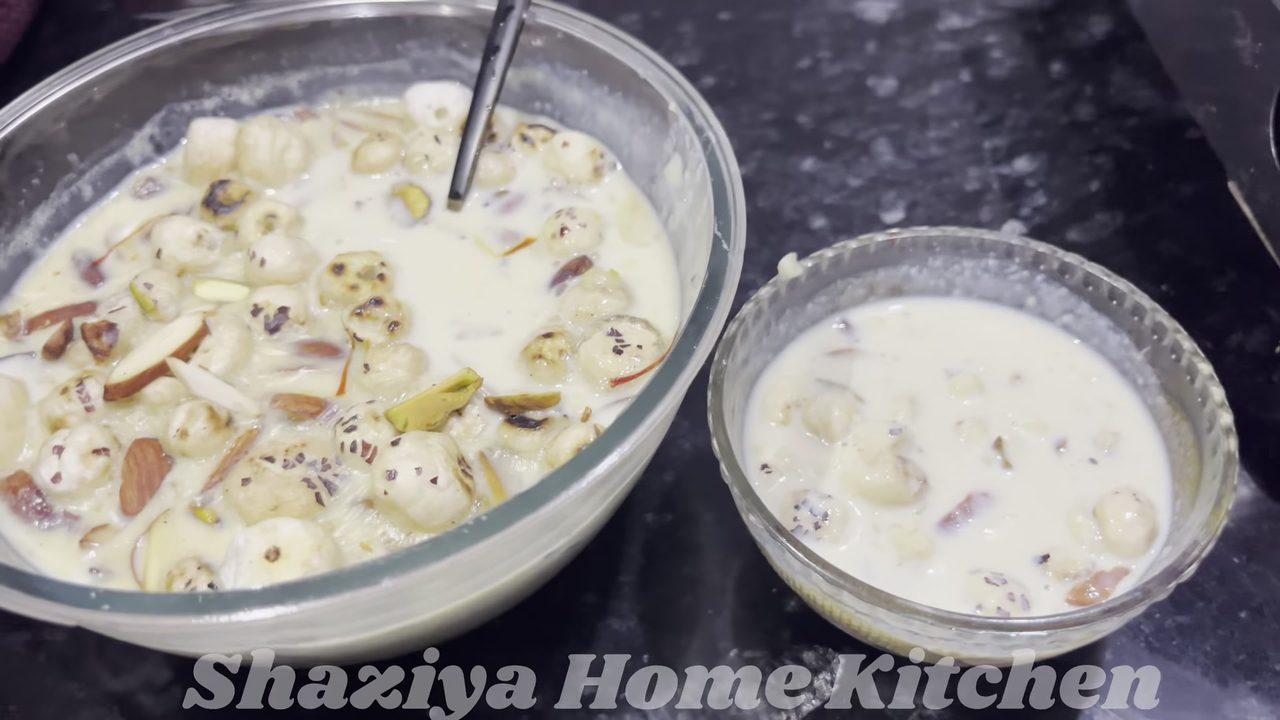
Makhana Kheer – Healthy & Delicious Dessert
Cuisine
Indian · North Indian
Prep + Cook Time
1 hr
Difficulty Level
Easy
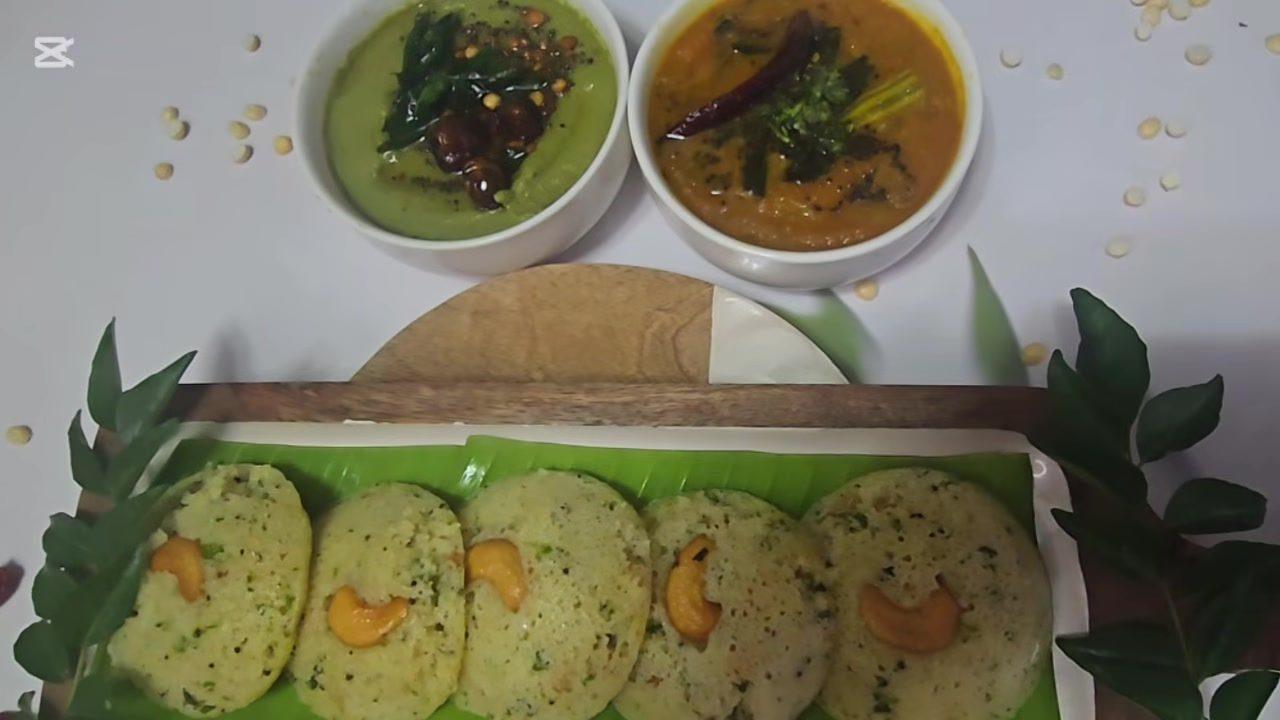
Rava Idli with Coconut Mint Chutney
Cuisine
Indian · South Indian
Prep + Cook Time
1 hr
Difficulty Level
Comments (0)
Sign in to leave a comment on this recipe.
Loading comments...