
How to Make Roti (Indian Flatbread) with Ghee
Main Ingredients
Step-by-Step Instructions
Follow each step to make the recipe successfully.
Prepare the Dough
Add 1.5 cups of whole wheat flour to a large brass bowl. Add 1/2 teaspoon of salt to the flour. Gradually add approximately 3/4 cup of warm water to the flour and salt mixture. Begin the mixture by hand, incorporating the water until a shaggy dough forms. Continue vigorously for about until the dough becomes smooth and elastic. Form the dough into a smooth, round ball. Cover the dough with plastic wrap and for at least to allow the gluten to relax.
Divide and Shape the Dough
After the dough has rested, take it out and roll it into a cylindrical shape. Break off small, equal-sized portions of the dough, roughly the size of a golf ball. Roll each portion between your palms to form a smooth, round ball.
Roll out the Rotis
Lightly dust a dough ball with dry flour on a wooden rolling board (chakla). Gently flatten the dough ball with your palm. Using a rolling pin (belan), roll out the dough into a thin, even circle, approximately 6-8 inches in diameter. Ensure it's not too thick or too thin. Flip the roti and dust with more flour if needed to prevent sticking, continuing to roll until the desired thickness and shape are achieved.
Cook the Rotis
Heat a flat griddle (tava) over medium-high heat until hot. Place the rolled-out roti onto the hot tava. Cook for about until small bubbles appear on the surface and the bottom side has light brown spots. Flip the roti using tongs and cook the other side for another until it also develops light brown spots. Carefully transfer the partially cooked roti directly onto the open flame of the gas burner. Cook for , flipping once, until the roti puffs up completely and develops charred spots.
Serve
Remove the puffed roti from the flame and place it on a plate. Apply a spoonful of organic ghee evenly over the hot roti. Stack the rotis on a plate, applying ghee to each as they are cooked. Serve hot.
Before You Cook
Helpful details before you startIngredient SubstitutionsMissing something? View suitable alternatives.View 1 swap
No Ghee?
- Unsalted butter (1:1)
- Neutral oil (1:1, lacks the toasted note)
Helpful Tips
Small details that can improve the final result.
You might also like
Other recipes in the same cuisine, meal type, or style — ready to cook whenever you are.

Puri and Chana Sabzi – North Indian Style
Cuisine
Indian · North Indian
Prep + Cook Time
1 hr 20 min
Difficulty Level
Medium
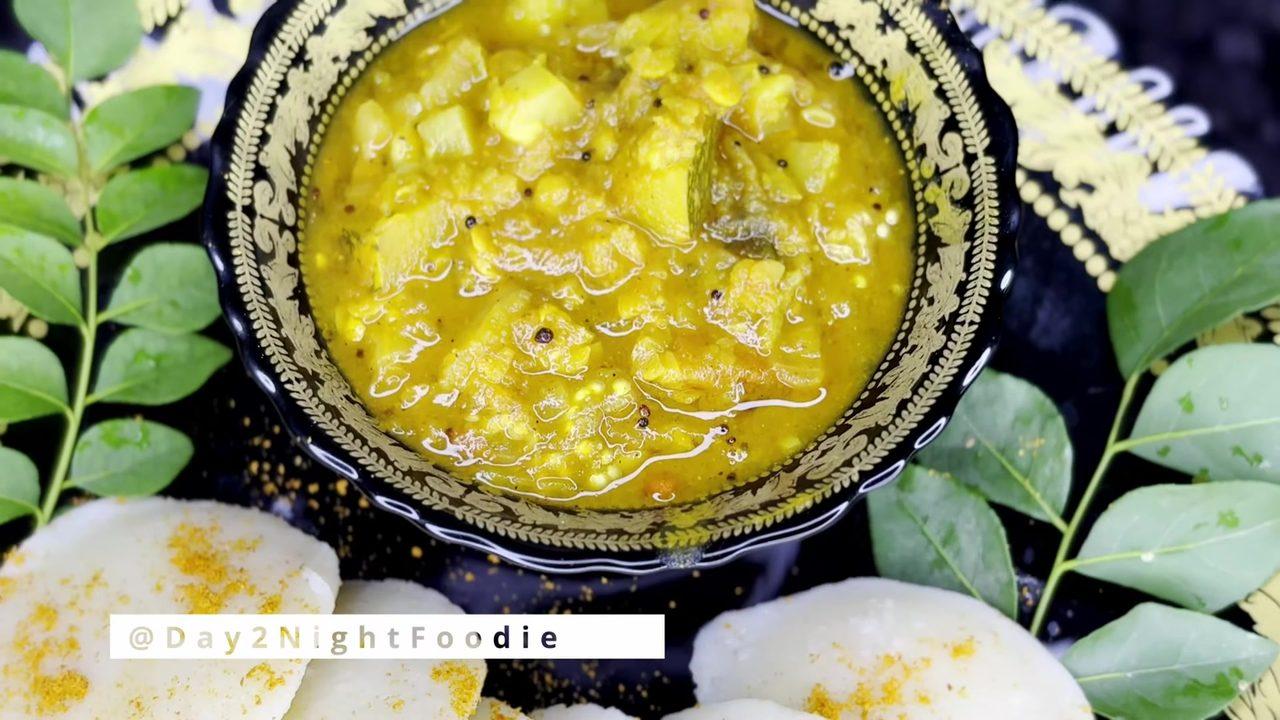
South Indian Style Sambar Recipe
Cuisine
Indian · South Indian
Prep + Cook Time
40 Minutes
Difficulty Level
Easy
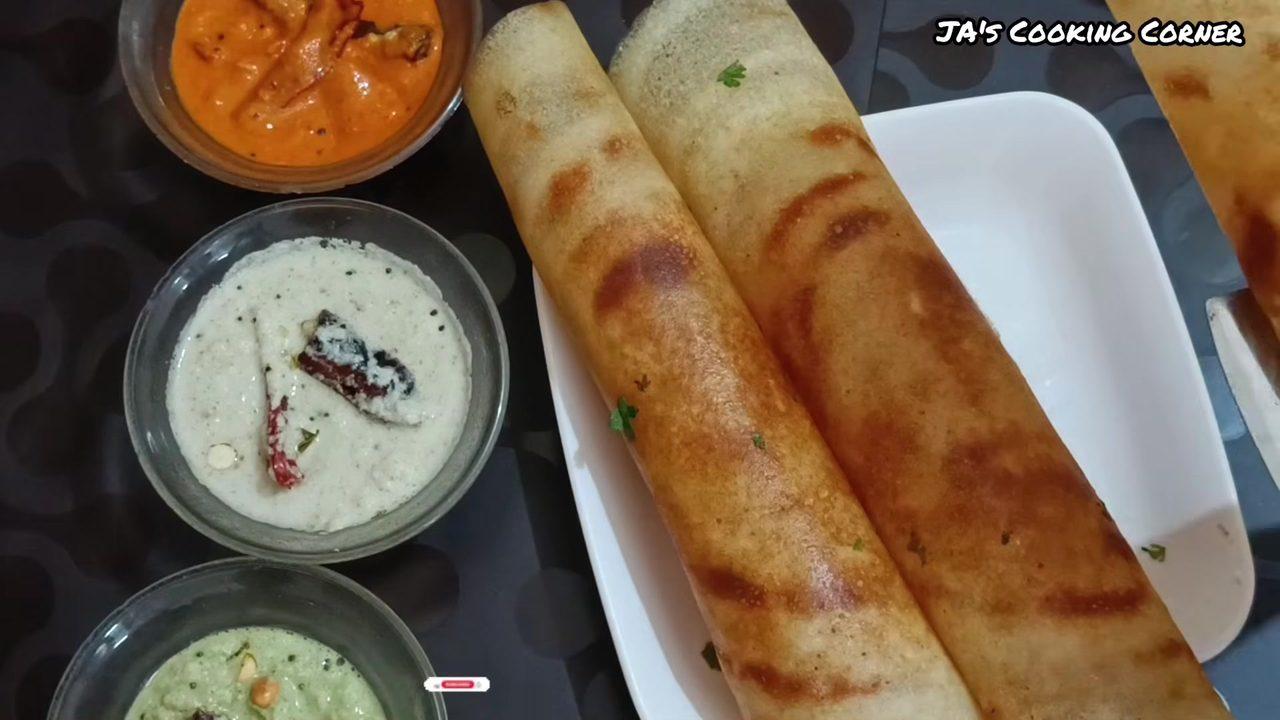
Crispy Dosa Recipe (2 Ingredients)
Cuisine
Indian · South Indian
Prep + Cook Time
30 Minutes
Difficulty Level
Medium
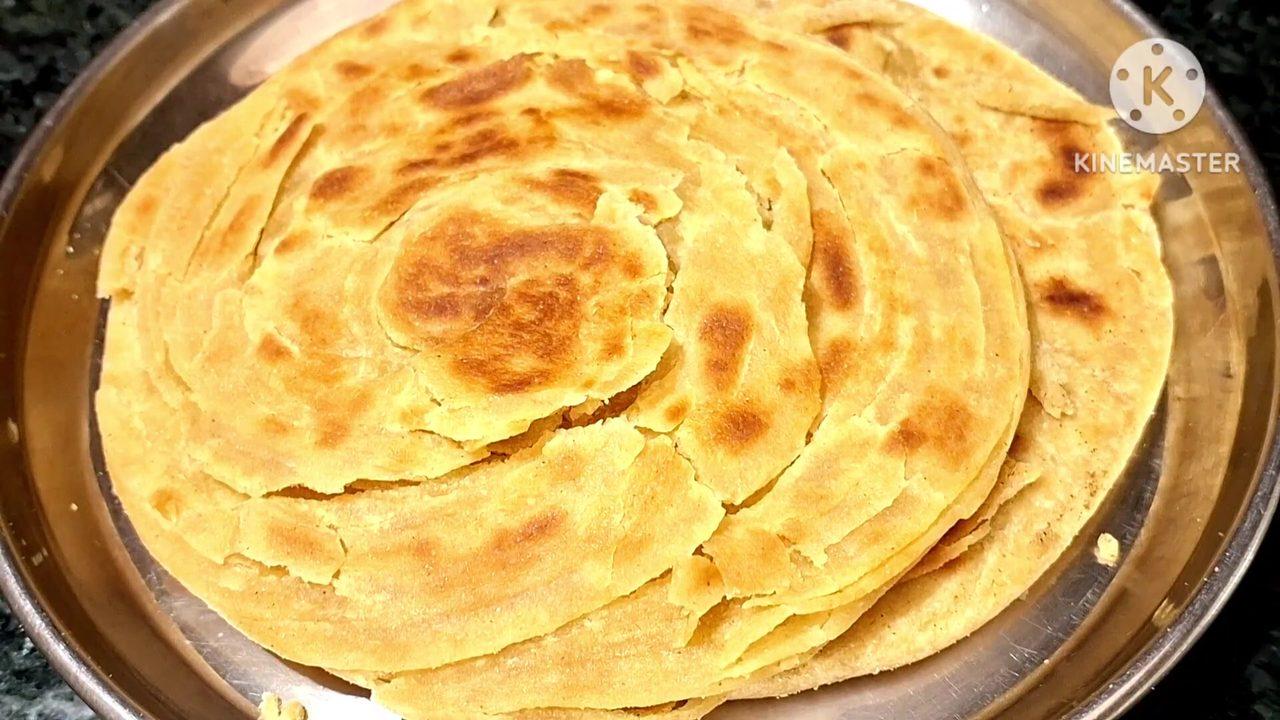
Lachha Paratha – Layered Indian Flatbread
Cuisine
Indian · North Indian
Prep + Cook Time
45 Minutes
Difficulty Level
Medium
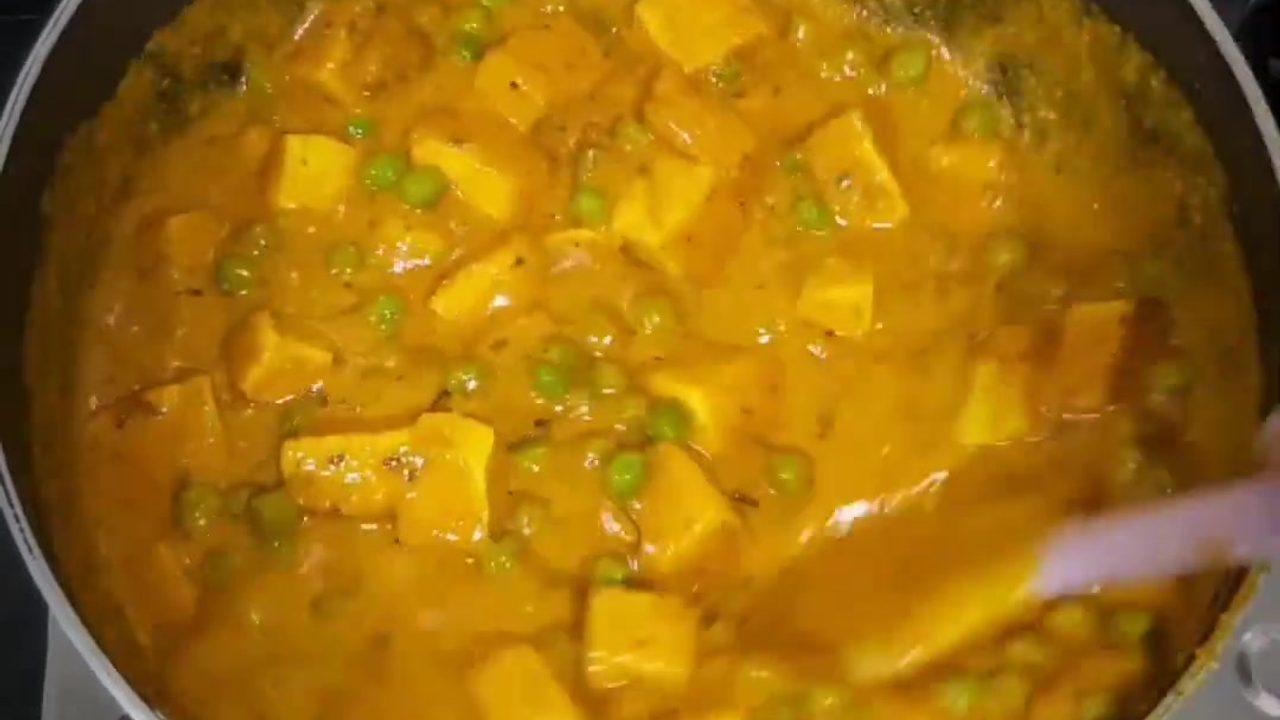
Matar Paneer (No Onion No Garlic)
Cuisine
Indian · North Indian
Prep + Cook Time
40 Minutes
Difficulty Level
Medium
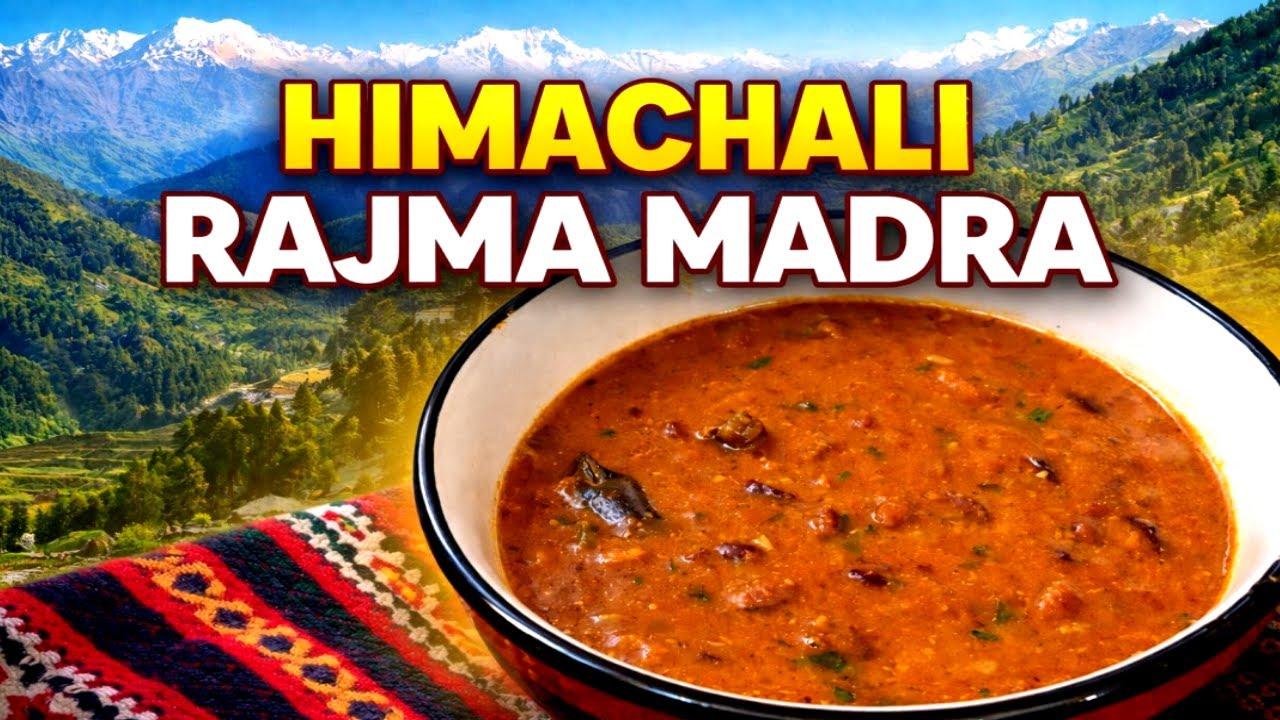
Himachali Rajma Madra
Cuisine
Indian · Himachali
Prep + Cook Time
45 Minutes
Difficulty Level
Comments (0)
Sign in to leave a comment on this recipe.
Loading comments...