Homestyle Chana Dal Masala
Summary
- This video demonstrates how to prepare a delicious and hearty Homestyle Chana Dal Masala. The recipe involves sautéing aromatic whole spices, cooking a rich onion-tomato base, adding a blend of Indian spices, and then simmering pre-boiled chana dal to create a flavorful and comforting curry, perfect to be served with roti or rice.
Video Chapters
Jump straight to any step in the video.
All Ingredients - Main Ingredients
- Cooking oil 2-3 tablespoons
- Bay leaves 2-3
- Cinnamon stick 1 inch piece
- Cloves 2-3
- Onion paste 1 cup
- Water (for cooking onion) 1/4 cup
- Tomato paste 1/2 cup
- Ginger-garlic paste 1 tablespoon
- Red chilli powder 1 teaspoon
- Turmeric powder 1/2 teaspoon
- Coriander powder 1 tablespoon
- Salt 1 teaspoon
- Garam masala 1/2 teaspoon
- Boiled Chana Dal 1.5 cups
- Water (for gravy) 1-1.5 cups
- Fresh coriander leaves 2 tablespoons, chopped
Tools You'll Need
- Pan
Don't have an ingredient? Try these swaps
No Bay leaf?
- 1/4 tsp dried thyme (per leaf)
- Pinch of dried oregano
No Onion?
- 1 tbsp onion powder (per medium onion)
- 3 tbsp dried minced onion
- Shallots or leeks (1:1)
No Garlic (fresh)?
- 1/4 tsp garlic powder (per clove)
- 1/2 tsp garlic granules (per clove)
No Garam masala?
- 1 tsp cumin + 1/2 tsp coriander + 1/4 tsp cinnamon + 1/4 tsp cardamom
No Cilantro?
- Flat-leaf parsley (1:1, milder)
- Fresh mint (in chutneys, salads)
Step-by-Step Instructions
Step 1: Heat Oil and Add Whole Spices
Heat 2-3 tablespoons of cooking oil in a pan. Once hot, add 2-3 bay leaves, a 1-inch cinnamon stick, and 2-3 cloves. for a few seconds until the spices become fragrant.
Step 2: Cook Onion Paste
Add 1 cup of onion paste to the pan. Stir continuously and cook the onion paste for until it starts to turn golden brown and the raw smell disappears.
Step 3: Continue Browning Onion
Add about 1/4 cup of water to the onion paste to prevent it from burning and to help it cook evenly. Continue stirring and cooking until the onion paste turns a deep golden brown and the oil begins to separate from the mixture, which should take another .
Step 4: Add Tomato Paste
Add 1/2 cup of tomato paste to the pan. Mix well with the onion mixture and cook for until the raw smell of tomatoes disappears and the oil starts to separate again.
Step 5: Incorporate Ginger-Garlic Paste
Add 1 tablespoon of ginger-garlic paste to the pan. Stir thoroughly and cook for until its raw aroma fades.
Step 6: Simmer Base Gravy
Cover the pan with a lid and let the gravy for on low heat to allow the flavors to meld. Then, uncover and give it a good stir.
Step 7: Add Dry Spices
Add 1 teaspoon of red chilli powder, 1/2 teaspoon of turmeric powder, 1 tablespoon of coriander powder, 1 teaspoon of salt (or to taste), and 1/2 teaspoon of garam masala to the gravy. Mix the spices thoroughly with the onion-tomato mixture.
Step 8: Cook Spices and Add Water
Cook the spices for , stirring constantly, until the raw spice smell is gone and the oil separates. Add a small amount of water (about 1/4 cup) to prevent the spices from burning and to form a smooth gravy base.
Step 9: Add Boiled Chana Dal
Add 1.5 cups of pre-boiled chana dal to the gravy. Mix well, ensuring that the dal is thoroughly coated with the masala.
Step 10: Adjust Consistency and Simmer
Add 1-1.5 cups of water to achieve the desired gravy consistency. Bring the curry to a boil. Once boiling, cover the pan and let it for on low heat to allow the dal to absorb the flavors.
Step 11: Garnish and Serve
Uncover the pan, give the curry a final stir, and garnish with 2 tablespoons of fresh chopped coriander leaves. Serve the Homestyle Chana Dal Masala hot with roti, naan, or rice.
Your Notes
Jot down your tweaks — swaps you tried, cook-time adjustments, family reactions. Saved on this device only, and printed with the recipe.
You might also like
Other recipes in the same cuisine, meal type, or style — ready to cook whenever you are.

Poori Kurma - Restaurant Style
Cuisine
Indian · South Indian
Prep + Cook Time
45 Minutes
Difficulty Level
Medium
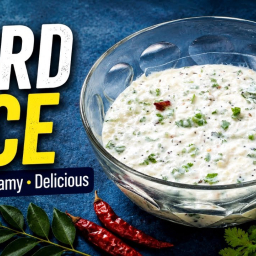
Creamy Curd Rice - South Indian Style
Cuisine
Indian · South Indian
Prep + Cook Time
25 Minutes
Difficulty Level
Easy
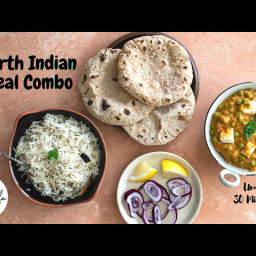
North Indian Meal Combo (Matar Paneer, Jeera Rice & Roti)
Cuisine
Indian · North Indian
Prep + Cook Time
3 hr 20 min
Difficulty Level
Medium
Indian Dahl with Prema (Love)
Cuisine
Indian · North Indian
Prep + Cook Time
40 Minutes
Difficulty Level
Easy
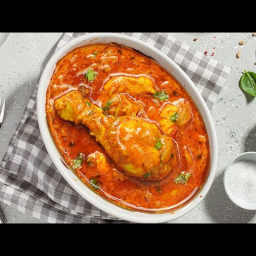
Chicken Gravy
Cuisine
Indian · North Indian
Prep + Cook Time
1 hr 5 min
Difficulty Level
Medium
Chicken Biryani - Restaurant Style
Cuisine
Indian · Mughlai
Prep + Cook Time
2 hr 15 min
Difficulty Level
Comments
Sign in to leave a comment on this recipe.
Loading comments...