
Handmade Roti
For the Roti Dough
For Cooking
Step-by-Step Instructions
Follow each step to make the recipe successfully.
Prepare the Dough
In a large mixing bowl, combine 2 cups of wholemeal flour, 1 cup of plain flour, and 1 teaspoon of salt. Add 2 tablespoons of vegetable oil and 1 cup of warm water. Mix the ingredients by hand until a shaggy dough forms.
Knead the Dough
Transfer the dough to a clean, lightly floured surface. the dough for about until it becomes smooth and elastic. Form it into a ball.
Rest the Dough
Cover the dough ball with plastic wrap and at room temperature for . This allows the gluten to relax, making the dough easier to roll.
Divide and Shape
Lightly flour your work surface. Roll the rested dough into a log and then divide it into 8 equal portions using a knife. Take each portion and gently flatten it into a small disc.
Roll the Roti
Take one dough portion, dust it lightly with flour, and roll it out using a rolling pin into a thin, round disc, approximately 6-8 inches in diameter. Ensure it's evenly thin.
Cook the Roti
Heat a flat pan or tawa over medium-high heat. Once hot, place a rolled roti onto the pan. Cook for about until small bubbles appear on the surface and the edges start to dry. Flip the roti.
Brown and Puff
Cook the other side for another until it puffs up and develops golden-brown spots. You can gently press with a spatula to encourage puffing. Flip it one last time for a few seconds if needed.
Brush with Ghee and Serve
Remove the cooked roti from the pan and place it on a plate. Immediately brush one side with melted ghee. Repeat the rolling and cooking process for the remaining dough portions. Serve hot with your favorite curry or dish.
Before You Cook
Helpful details before you startIngredient SubstitutionsMissing something? View suitable alternatives.View 2 swaps
No All-purpose flour?
- White whole wheat flour (1:1)
- 1 cup minus 2 tbsp + 2 tbsp cornstarch (cake flour swap)
No Ghee?
- Unsalted butter (1:1)
- Neutral oil (1:1, lacks the toasted note)
Plan Ahead
Complete this step earlier to save time later.
- View Step 3Rest the Dough30 minutes
Cover the dough ball with plastic wrap and let it rest at room temperature for 30 minutes. This allows the gluten to relax, making the dough easier to roll.
Variations
Simple ways to adapt this recipe.
- For a vegan versionDietary option
Substitute melted ghee with a plant-based oil or vegan butter for brushing.
- Add finely chopped herbs likeCustomise
Add finely chopped herbs like coriander or mint to the dough for a flavored roti.
- Experiment with different flour ratios for varying textures
More wholemeal flour will result in a denser roti.
Helpful Tips
Small details that can improve the final result.
More from myfoodbook
Other recipes converted from myfoodbook's cooking videos.
You might also like
Other recipes in the same cuisine, meal type, or style — ready to cook whenever you are.

Perfect Chapatti / Roti
Cuisine
Indian · South Asian
Prep + Cook Time
47 Minutes
Difficulty Level
Medium

Homemade Roti (Indian Flatbread)
Cuisine
Indian · North Indian
Prep + Cook Time
32 Minutes
Difficulty Level
Easy

Dhaba Style Curry MUTTER PANEER
Cuisine
Indian · North Indian
Prep + Cook Time
40 Minutes
Difficulty Level
Medium
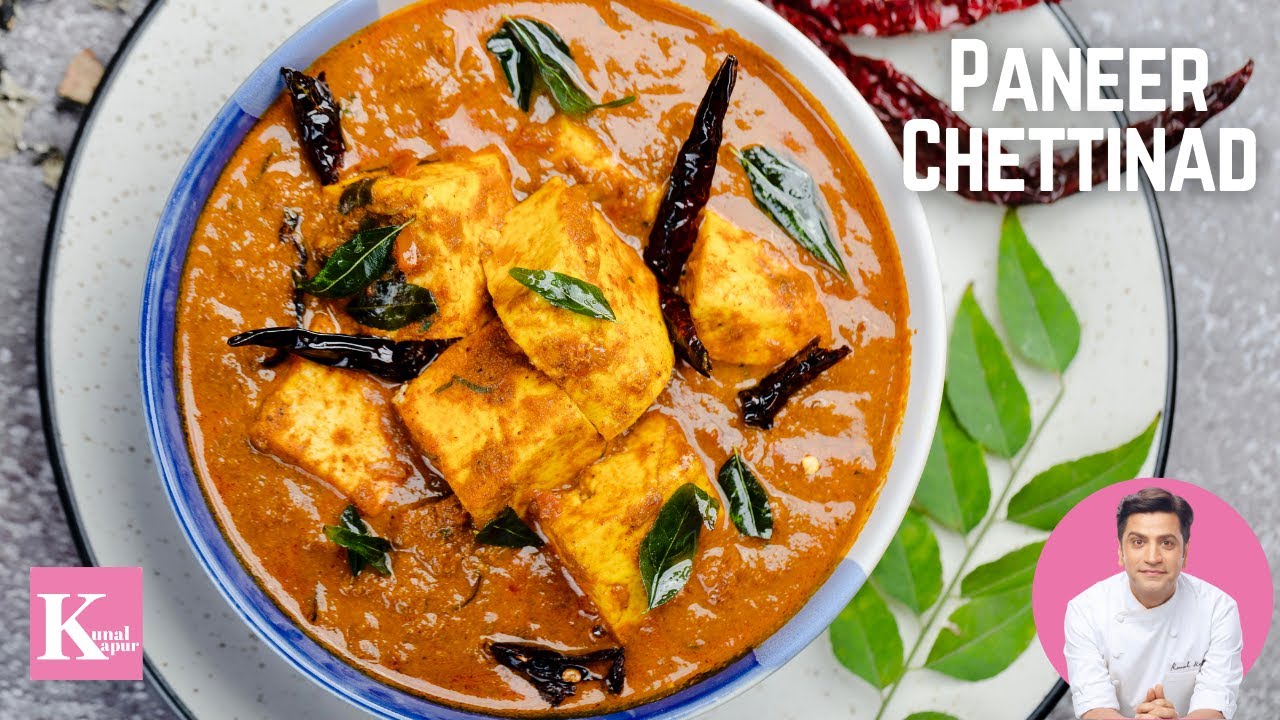
Paneer Chettinad
Cuisine
Indian · South Indian
Prep + Cook Time
1 hr
Difficulty Level
Medium

Malai Paneer - Home Cooking
Cuisine
Indian · North Indian
Prep + Cook Time
50 Minutes
Difficulty Level
Medium

Palak Paneer with a Twist
Cuisine
Indian · North Indian
Prep + Cook Time
35 Minutes
Difficulty Level
Comments (0)
Sign in to leave a comment on this recipe.
Loading comments...