
Fullmeals
HomeExploreCreatorsPantry MatchSurprise Me
HomeExploreCreatorsPantry MatchSurprise MeShopping ListMy Favorites
Fullmeals

Fullmeals helps you cook without watching by converting cooking videos into simple, step-by-step recipes designed for real kitchens.

cook@fullmeals.com

Quick Links

  • How it Works
  • Categories
  • Explore Recipes
  • RSS Feed

Legal

  • Terms of Use
  • Privacy Policy

© 2026 Fullmeals. All rights reserved.

Fullmeals

Crispy Pork Roast (Flæskesteg)

Recipe by Mads Madsen

  • Ready in140 min
  • Prep10 min
  • Cook110 min
  • CuisineDanish
  • Serves4 People
  • Calories~1200 kcal
Crispy Pork Roast (Flæskesteg)

Ingredients

Main Ingredients

  • 1.3 kgPork rib roast (ribbensteg) with skin
  • to tasteCoarse salt
  • enough to cover skinBoiling water
  • a fewBay leaves
  • a fewThyme sprigs
  • as neededAluminum foil

Step-by-Step Instructions

  1. 1.Prepare the Pork Roast

    Take the pork rib roast, approximately 1.3 kg. Check the meat side for any cartilage and remove it if necessary. Ensure the skin is scored properly; if not, use a sharp knife to score it in even strips, cutting through the skin but not into the meat.

  2. 2.Initial Cooking (Skin-Side Down)

    Place the pork roast skin-side down in a roasting pan. Pour boiling water into the pan until the skin is fully submerged. Place the pan in a preheated oven at 200°C (convection/fan setting) and cook for 20 minutes. This step helps to soften the skin for crisping.

  3. 3.Prepare for Crisping

    After 20 minutes, carefully remove the roast from the oven. The skin should be softened. Turn the roast skin-side up. If the roast is not completely level, use crumpled aluminum foil to prop it up so the skin is flat and even. This ensures uniform crisping.

  4. 4.Season and Add Aromatics

    Generously sprinkle coarse salt over the scored skin, making sure it gets into the cuts. Place bay leaves and thyme sprigs *under* the roast in the pan with the water. These aromatics will infuse the drippings, which can be used for a flavorful gravy. Do not stick bay leaves into the skin, as it doesn't add flavor to the skin itself and can hinder crisping.

  5. 5.Final Cooking

    Return the roasting pan to the oven and continue cooking for approximately 1.5 hours at 200°C (convection/fan setting). Cook until the skin is crispy and golden brown all over. The video shows checking the roast after 1 hour, and then for the last 5 minutes to ensure perfect crispness.

  6. 6.Rest and Serve

    Once cooked, remove the roast from the oven. It is crucial to let it rest on a cutting board for at least 15-20 minutes before slicing. This allows the meat juices to redistribute, ensuring a moist and tender result. Slice the roast along the scored lines and serve immediately.

Printed from Fullmeals.com — turn any cooking video into a recipe.

Crispy Pork Roast (Flæskesteg)

Ready in

140 mins

Cuisine

Danish

Prep Time

10 min

Cook Time

110 min

Serving

4 People

Calories / Serving

~1200 kcal
Recipe by Mads Madsen on YouTube
Adjust Servings
Measurements
Tap an ingredient to mark it ready0 of 6 ready
All Ingredients

Main Ingredients

Step-by-Step Instructions

Follow each step to make the recipe successfully.

  1. 1

    Prepare the Pork Roast

    Take the pork rib roast, approximately 1.3 kg. Check the meat side for any cartilage and remove it if necessary. Ensure the skin is scored properly; if not, use a sharp knife to score it in even strips, cutting through the skin but not into the meat.

  2. 2

    Initial Cooking (Skin-Side Down)

    Place the pork roast skin-side down in a roasting pan. Pour boiling water into the pan until the skin is fully submerged. Place the pan in a preheated oven at 200°C (≈390°F) (approximately 390°F) (convection/fan setting) and cook for . This step helps to soften the skin for crisping.

  3. 3

    Prepare for Crisping

    After , carefully remove the roast from the oven. The skin should be softened. Turn the roast skin-side up. If the roast is not completely level, use crumpled aluminum foil to prop it up so the skin is flat and even. This ensures uniform crisping.

  4. 4

    Season and Add Aromatics

    Generously sprinkle coarse salt over the scored skin, making sure it gets into the cuts. Place bay leaves and thyme sprigs *under* the roast in the pan with the water. These aromatics will infuse the drippings, which can be used for a flavorful gravy. Do not stick bay leaves into the skin, as it doesn't add flavor to the skin itself and can hinder crisping.

  5. 5

    Final Cooking

    Return the roasting pan to the oven and continue cooking for approximately at 200°C (≈390°F) (approximately 390°F) (convection/fan setting). Cook until the skin is crispy and golden brown all over. The video shows checking the roast after , and then for the last to ensure perfect crispness.

  6. 6

    Rest and Serve

    Once cooked, remove the roast from the oven. It is crucial to on a cutting board for at least before slicing. This allows the meat juices to redistribute, ensuring a moist and tender result. Slice the roast along the scored lines and serve immediately.

Before You Cook

Helpful details before you start
Ingredient SubstitutionsMissing something? View suitable alternatives.
View 1 swap
  • No Bay leaf?

    • 1/4 tsp dried thyme (per leaf)
    • Pinch of dried oregano
Ingredient Substitutions
  • No Bay leaf?

    • 1/4 tsp dried thyme (per leaf)
    • Pinch of dried oregano

Variations

Simple ways to adapt this recipe.

  • 1
    For a festive touchCustomise

    Add a few whole cloves under the roast during the second cooking phase.

Helpful Tips

Small details that can improve the final result.

  • 1
    Flavour tipUsing Aluminum Foil to Level

    Using aluminum foil to level the roast ensures even crisping of the skin.

  • 2
    Flavour tipPlacing Aromatics Under the Roast

    Placing aromatics under the roast in the water infuses the drippings, perfect for making a flavorful gravy.

  • 3
    PreparationAllowing the Roast to Rest

    Allowing the roast to rest after cooking is crucial for juicy meat, as it allows the juices to redistribute.

Was this recipe helpful?

Comments (0)

Sign in to leave a comment on this recipe.

Loading comments...

You might also like

Other recipes in the same cuisine, meal type, or style — ready to cook whenever you are.

Kolhapuri Chicken

Kolhapuri Chicken

Cuisine

Indian · Maharashtrian

Prep + Cook Time

50 Minutes

Difficulty Level

Medium

Chicken Curry – Indian Style

Chicken Curry – Indian Style

Cuisine

Indian · South Indian

Prep + Cook Time

1 hr 25 min

Difficulty Level

Medium

Authentic Vada Pav - Mumbai Street Food Style

Authentic Vada Pav - Mumbai Street Food Style

Cuisine

Indian · Maharashtrian Street Food

Prep + Cook Time

1 hr 45 min

Difficulty Level

Medium
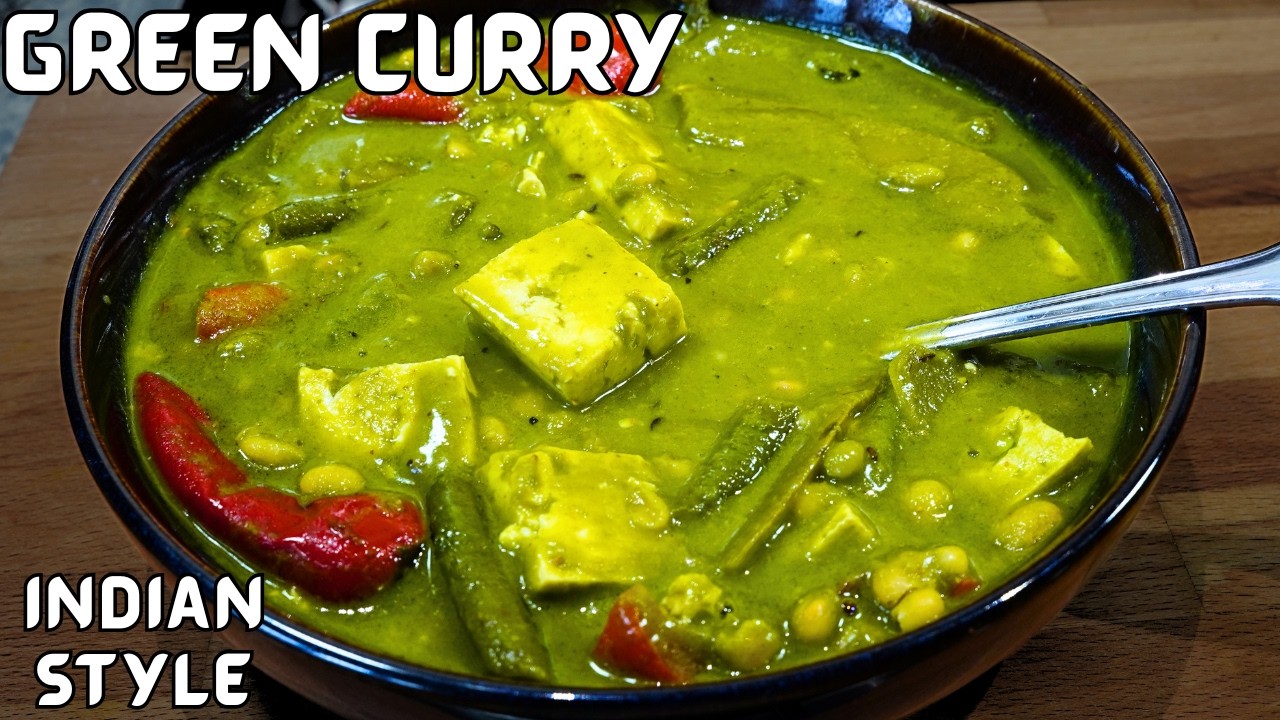
Creamy Green Curry with White Beans and Tofu

Creamy Green Curry with White Beans and Tofu

Cuisine

Indian

Prep + Cook Time

35 Minutes

Difficulty Level

Easy

Aloo Matar - Indian Potato and Peas Curry

Aloo Matar - Indian Potato and Peas Curry

Cuisine

Indian · North Indian

Prep + Cook Time

50 Minutes

Difficulty Level

Easy
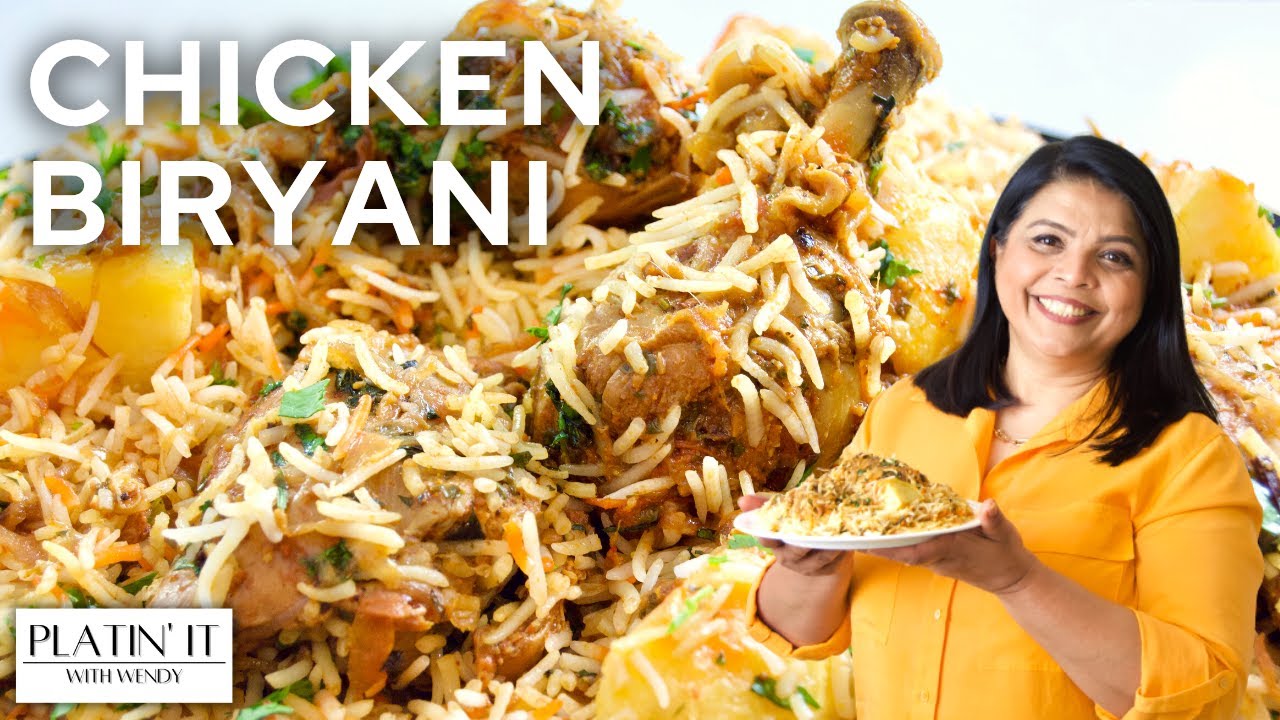
Chicken Biryani - Bombay Style

Chicken Biryani - Bombay Style

Cuisine

Indian · Bombay

Prep + Cook Time

1 hr 30 min

Difficulty Level

Medium