Chicken Kathi Roll – Indian Street Food
Recipe by YOUR FOOD LAB
Ingredients
For Chicken Marinade
- 2 tbspMustard Oil
- 1 tbspKashmiri Lal Mirch Powder (Kashmiri Red Chilli Powder)
- 1/2 tspGaram Masala
- 1/4 tspBlack Salt
- 1 tbspGinger Garlic Paste
- 2 tbspCurd
- 500 gramsChicken Thighs (boneless)
- 1 tspLemon Juice
- To tasteSalt
- 1 small pieceLive Charcoal
- 1 tspGhee
For Paratha Dough
- 2 cupsMaida (Refined Flour)
- 1 tspSalt
- 1.5 tbspPowdered Sugar
- 2 tbspGhee
- As requiredWarm Water
- For greasingOil
For Chicken Sauté & Assembly
- 1 tspOil
- 1-2 medium sizedOnions (sliced)
- 1 mediumCapsicum
- A pinchKashmiri Red Chilli Powder
- 2 Nos.Eggs
- To tasteSalt
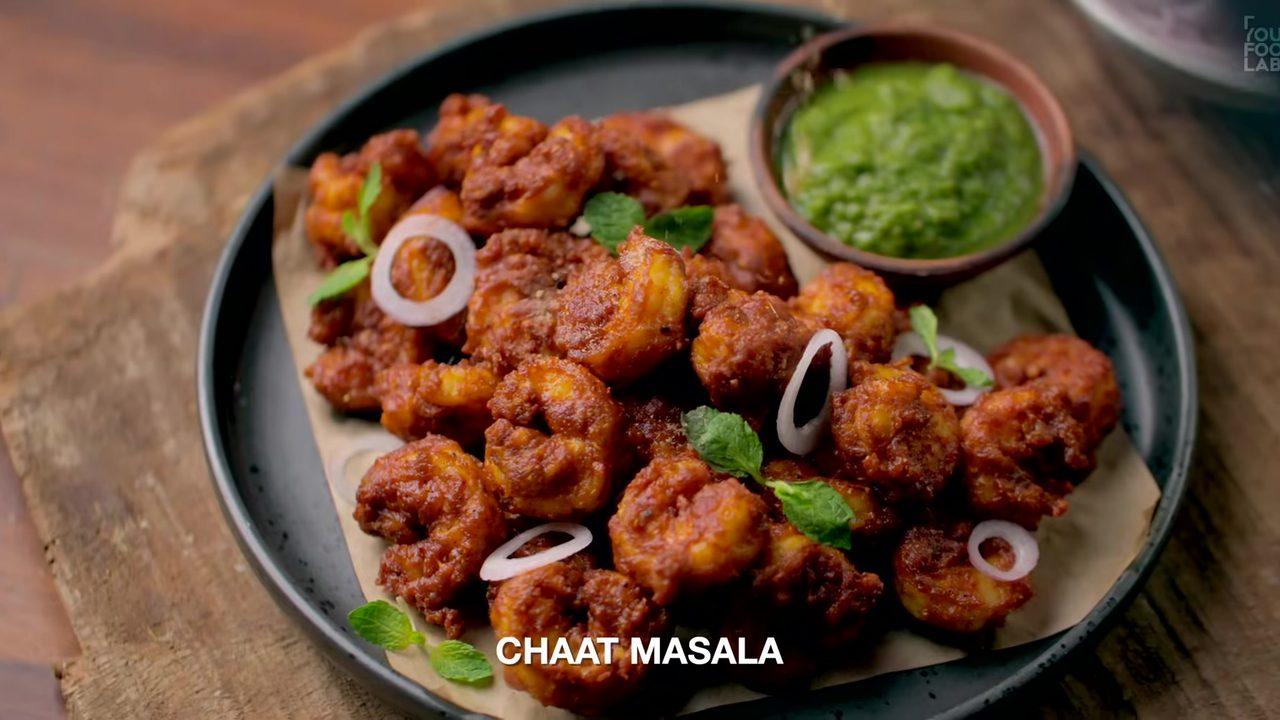
- To tasteChaat Masala
- For toppingGreen Chillies
- For toppingLemon Juice
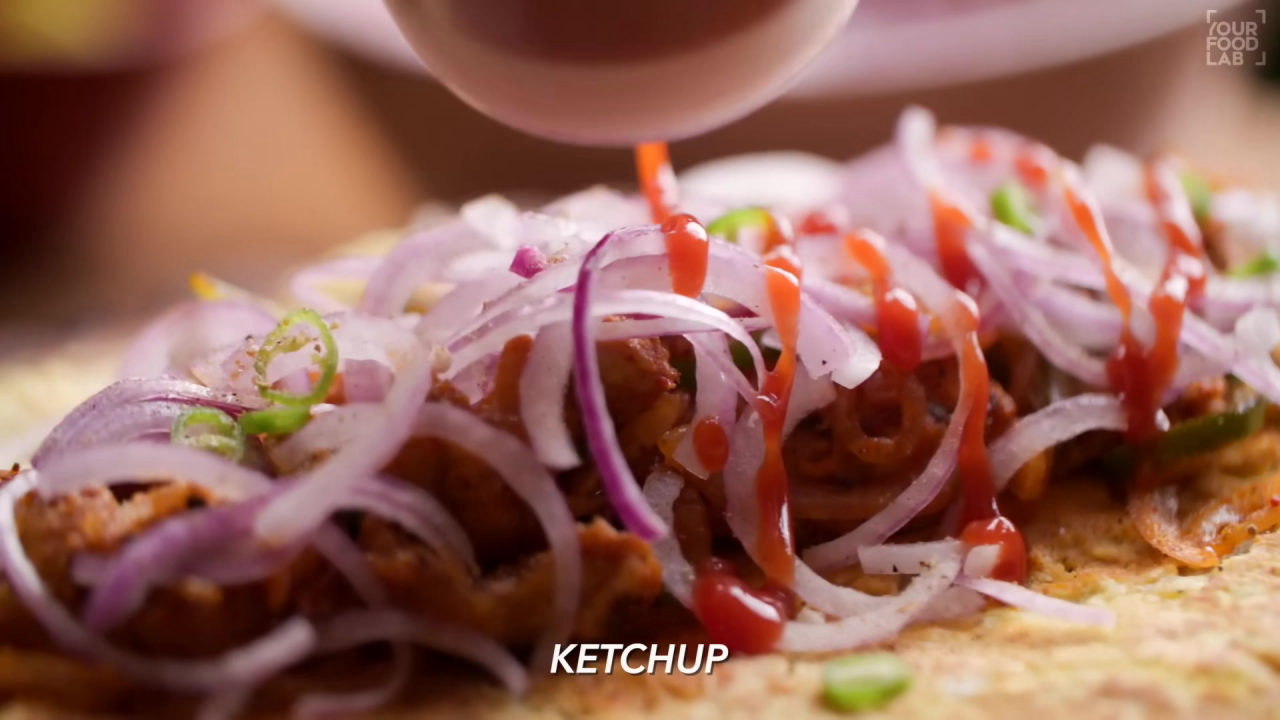
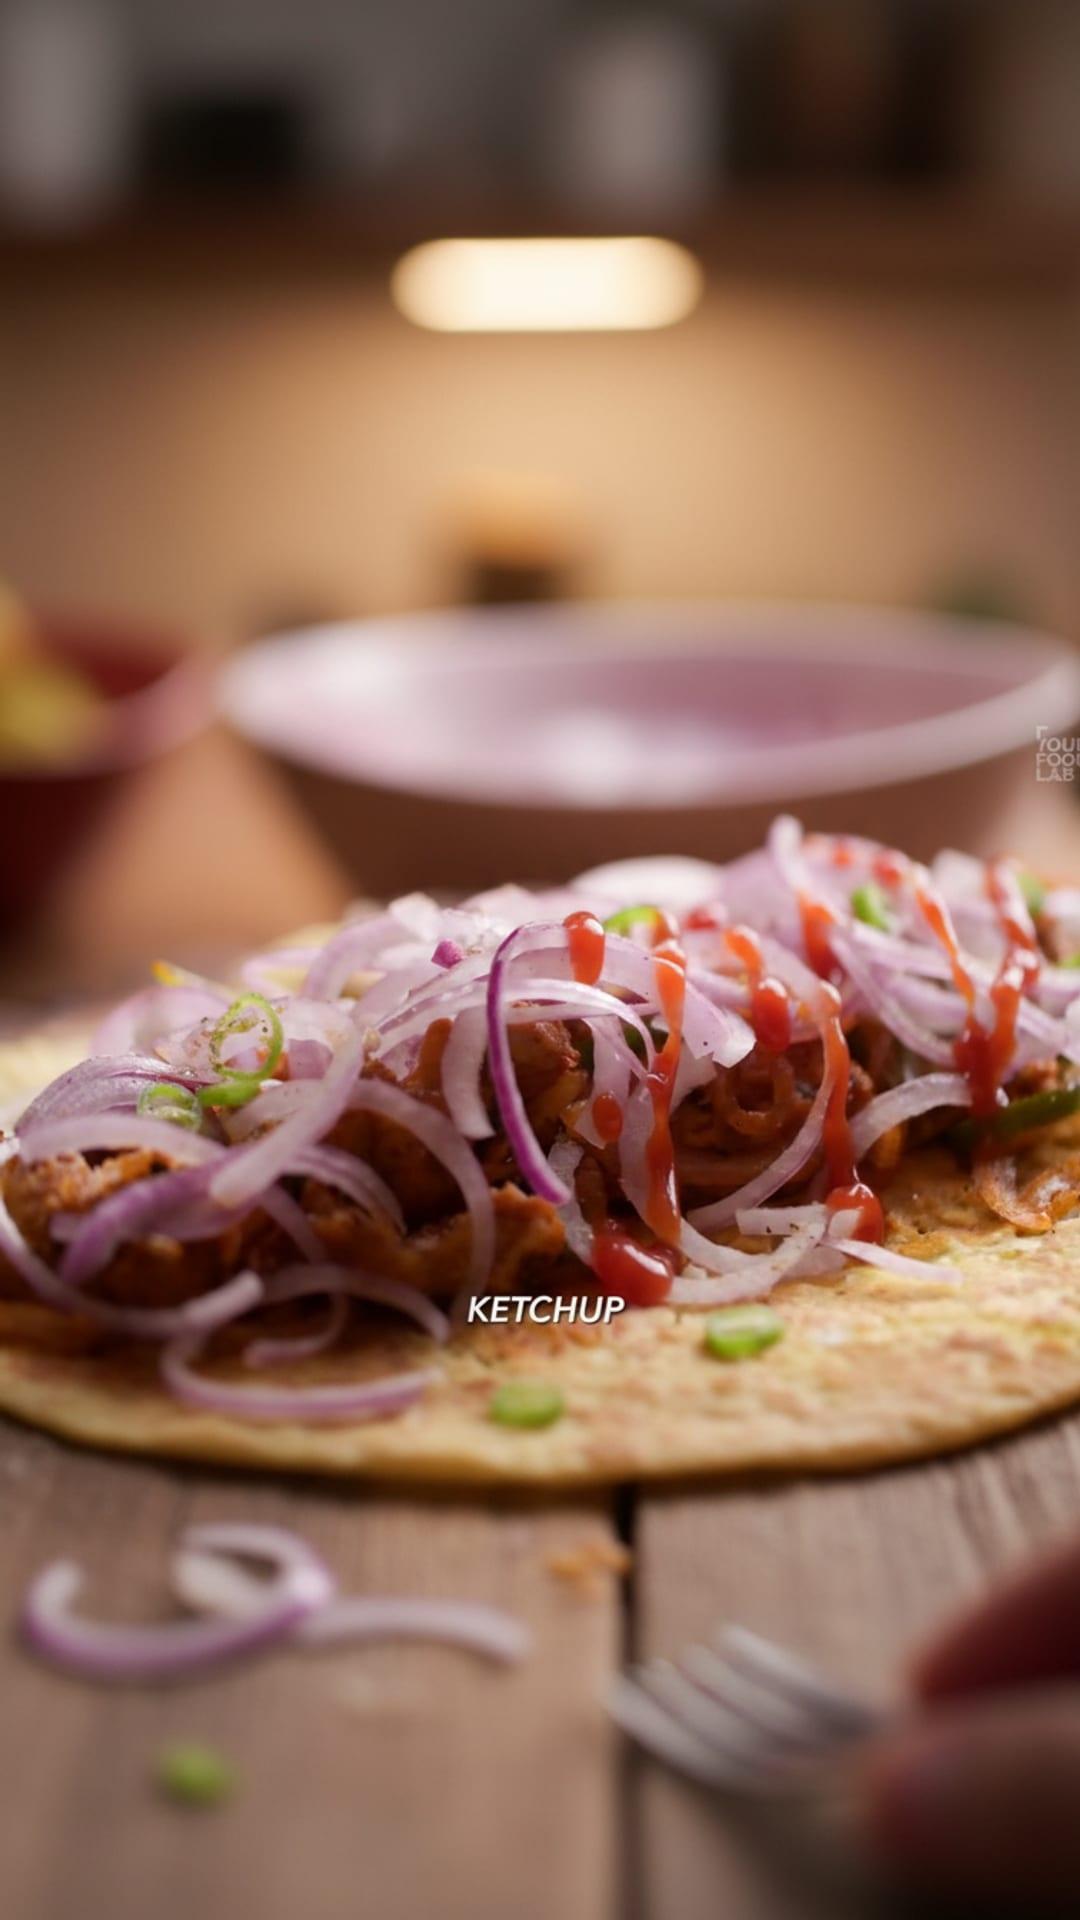
- For toppingKetchup
- For toppingRed Chilli Sauce
Step-by-Step Instructions
- 1.Prepare Chicken Marinade
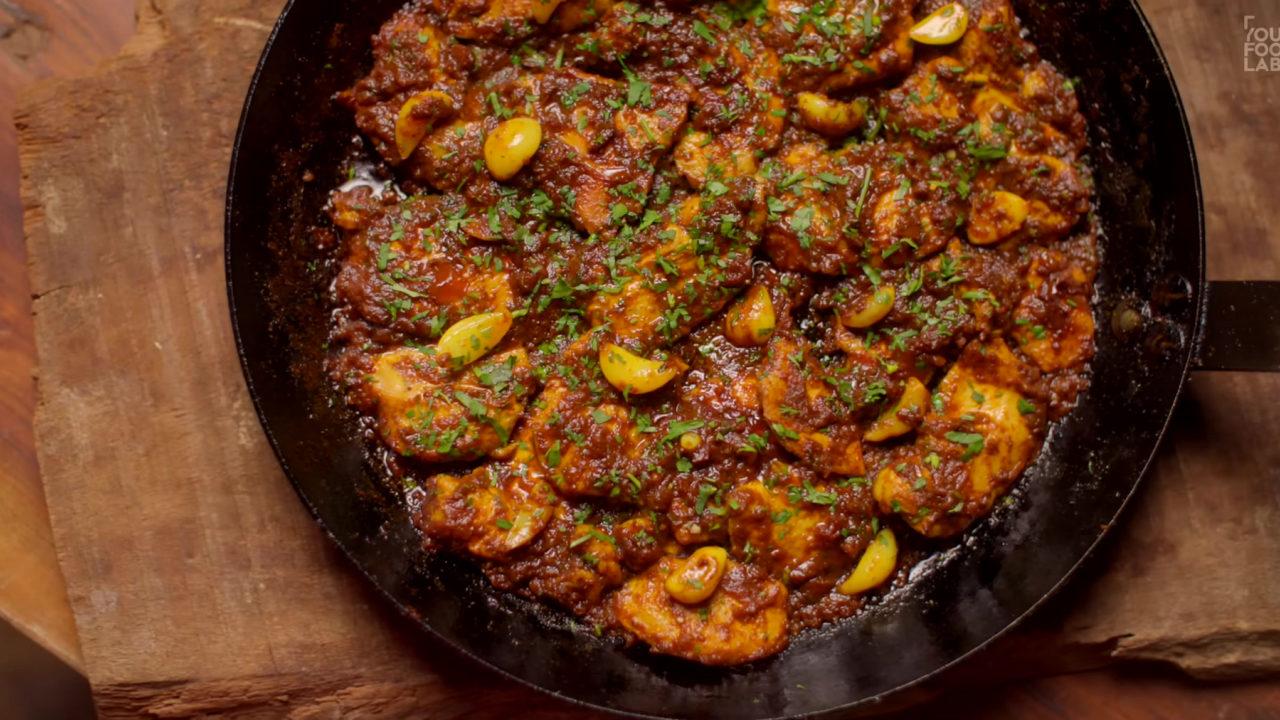
In a bowl, combine 2 tbsp mustard oil, 1 tbsp Kashmiri red chili powder, 1/2 tsp garam masala, 1/4 tsp black salt, 1 tbsp ginger garlic paste, and 2 tbsp curd. Whisk well until a smooth, vibrant red paste forms.
- 2.Marinate Chicken
Add 500 grams of boneless chicken thighs, 1 tsp lemon juice, and salt to taste to the marinade. Massage the chicken thoroughly with your hands to ensure every piece is evenly coated.
- 3.Rest Chicken
Cover the marinated chicken with a clean cloth and refrigerate for a minimum of 1 hour or preferably overnight for deeper flavor penetration.
- 4.Smoke Chicken (Optional)
Place a small, heat-proof bowl containing live charcoal in the center of the marinated chicken. Pour ghee over the hot charcoal to create smoke. Immediately cover the bowl with a lid or cloche and smoke the chicken for 3-4 minutes to impart a smoky flavor.
- 5.Prepare Skewers
Soak bamboo skewers in water for at least 30 minutes to prevent them from burning during grilling.
- 6.Skewer Chicken
Thread the marinated chicken pieces onto the soaked bamboo skewers, ensuring they are evenly spaced.
- 7.Grill Chicken in Microwave
Place the chicken skewers on the grill rack provided with your Morphy Richards 28DCOX DuoChef microwave oven. Close the microwave door. Select the Grill + Convection mode (C-2 or C-3, depending on your model) and set the timer for 18 minutes. Start the cooking process.
- 8.Sauté Chicken & Vegetables
While the chicken grills, heat 1 tsp oil in a pan. Add 1-2 medium-sized sliced onions and 1 medium capsicum (sliced). Sauté briefly. Once the grilled chicken is ready, add it to the pan with the vegetables. Sprinkle a pinch of Kashmiri red chili powder. Sauté on high heat for 2-3 minutes, mixing everything well until the vegetables are slightly softened and the chicken is coated.
- 9.Prepare Paratha Dough
In a bowl, combine 2 cups maida (refined flour), 1 tsp salt, 1.5 tbsp powdered sugar, and 2 tbsp ghee. Lightly mix the ingredients. Gradually add warm water as required, kneading until a semi-soft dough forms.
- 10.Knead the Dough
Transfer the dough to a clean counter top. Knead the dough for 8-10 minutes, stretching it continuously until it becomes smooth and elastic.
- 11.Rest the Dough
Apply some oil on top of the kneaded dough ball to prevent drying. Cover it with a damp cloth and let it rest for at least 45-60 minutes.
- 12.Divide Dough Balls
After resting, divide the dough into equal-sized balls. Apply oil over the dough balls to prevent them from drying out.
- 13.Roll Thin Paratha Base
Take one dough ball, apply some oil, and roll it out into a thin chapati using a rolling pin. Make it as thin as possible, pulling and stretching the edges to achieve an even, thin consistency.
- 14.Create Pleats for Flakiness
Apply oil evenly over the thin chapati. Sprinkle some flour. Fold the chapati while making pleats, then roll and tuck the end towards the bottom to form a round, layered dough ball.
- 15.Roll Final Paratha
Take the pleated dough ball and, using a rolling pin, roll it out just like a regular paratha. Do not use any dry flour to prevent sticking; instead, apply some oil if needed.
- 16.Cook Paratha
Heat a pan on medium-high heat. Place the rolled paratha on the pan. Cook until brown spots appear on both sides. Apply 1 tsp oil and continue cooking, pressing continuously with a spatula, until the paratha is crisp and golden brown.
- 17.Prepare Egg Parota
In a small bowl, crack 2 eggs and add salt to taste. Whisk well. Pour the whisked egg over the cooked paratha in the pan. Flip the paratha and cook until the egg is set and fully cooked. The egg parota is now ready.
- 18.Assemble Kathi Roll
Place the egg parota on a wooden board. Add a generous portion of the sautéed chicken kathi kebab mixture. Top with fresh sliced onions, green chilies, and a squeeze of lemon juice. Drizzle with ketchup and red chili sauce.
- 19.Roll and Serve
Carefully roll the paratha tightly to form the kathi roll. For easy handling, wrap it in paper. Serve the delicious Chicken Kathi Rolls hot.



Comments (0)
Sign in to leave a comment on this recipe.
Loading comments...