Balochi Chicken Handi Recipe
Recipe by COOKING with CHEFS
Ingredients
Main Ingredients
- 500 gramsBoneless Chicken
- 1/2 cup + 1-2 tablespoonsCooking Oil
- 1.5 teaspoons (or to taste)Salt
- 0.5 tablespoonGinger-Garlic Paste
- 0.25 cupHot Water
- 0.5 cupTomato Puree (blended tomatoes)
- 4-5 slicesLemon Slices
- 0.25 cupYogurt
- 5-6 tablespoonsCream
- 1-2 tablespoonsButter/Ghee
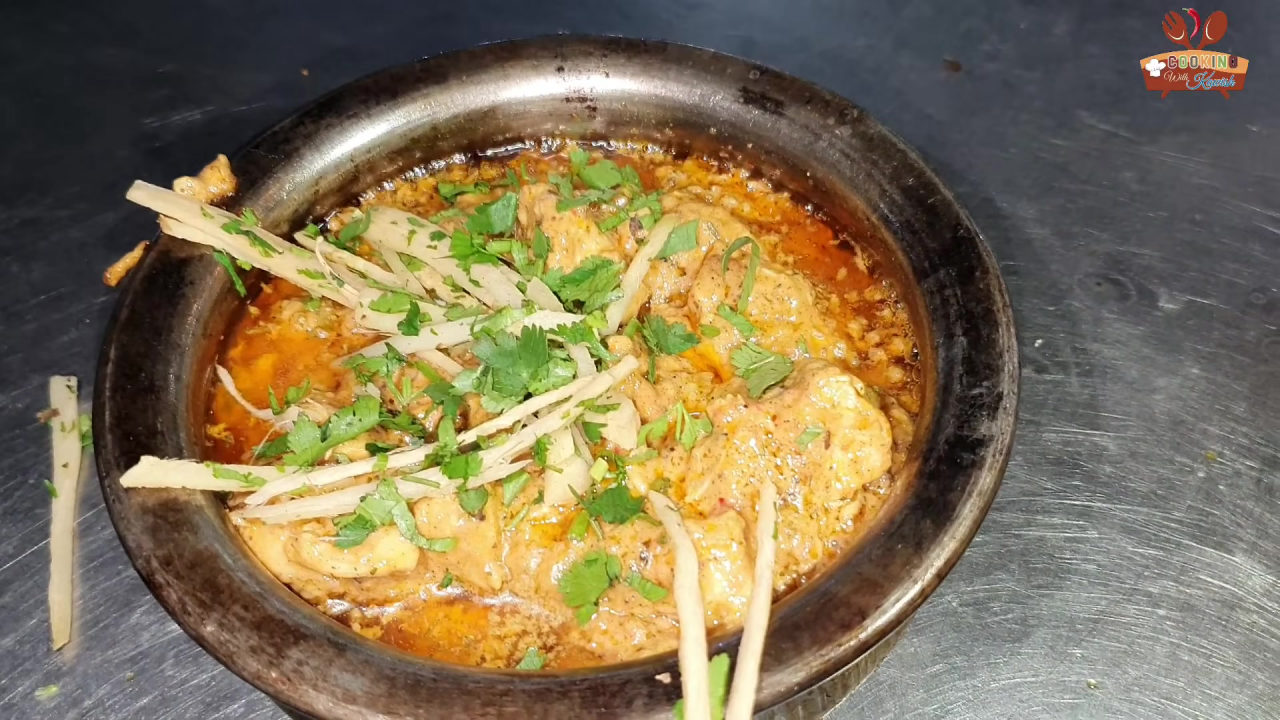
- 2 tablespoonsGinger (julienned, for garnish)
- 2 tablespoonsFresh Cilantro (chopped, for garnish)
Spices
- 1 teaspoonCrushed Coriander
- 1 teaspoonCrushed Red Chili
- 0.5 teaspoonTurmeric Powder
- 4-5Green Chilies (small to medium, sliced)
- 0.5 teaspoonDried Fenugreek Leaves (Kasuri Methi)
- 0.5 teaspoonCumin Powder
- 0.5 teaspoonCrushed Black Pepper
- 1 teaspoonKarahi Masala
- 0.5 teaspoonGaram Masala
Step-by-Step Instructions
- 1.Fry the Chicken
Heat cooking oil in a wok. Add 500 grams of boneless chicken pieces and 1 teaspoon of salt. Fry the chicken on medium flame for 5-6 minutes until it turns white and slightly browned.
- 2.Add Ginger-Garlic Paste and Water
Add 0.5 tablespoon of ginger-garlic paste to the chicken and sauté for 2-3 minutes. Then, add 0.25 cup of hot water and cook on high flame until the water starts to bubble.
- 3.Incorporate Tomato Puree and Initial Spices
Add 0.5 cup of tomato puree (blended tomatoes) to the chicken. Mix well and cook for 4-5 minutes until the tomatoes are well incorporated and the mixture thickens. Add 1 teaspoon crushed coriander, 1 teaspoon crushed red chili, 0.5 teaspoon turmeric powder, 0.5 teaspoon salt, and 4-5 sliced green chilies. Mix thoroughly for 2-3 minutes. Cover the wok and let it cook for 2-3 minutes to infuse the flavors.
- 4.Add Lemon and Yogurt
Uncover the wok and mix the chicken again for 4-5 minutes until the oil separates. Add 4-5 lemon slices and mix for 1-2 minutes. Then, add 0.25 cup of yogurt and mix well for 1-2 minutes on medium-high flame until the yogurt is fully combined and the mixture is well-bhunai (sautéed).
- 5.Add Remaining Spices and Cream
Add 0.5 teaspoon dried fenugreek leaves, 0.5 teaspoon cumin powder, 0.5 teaspoon crushed black pepper, 1 teaspoon karahi masala, and 0.5 teaspoon garam masala. Mix for 2-3 minutes. Finally, add 5-6 tablespoons of cream and mix thoroughly for 2-3 minutes on medium-high flame until the cream is well-blended and the handi achieves a rich, creamy consistency.
- 6.Prepare for Serving and Garnish
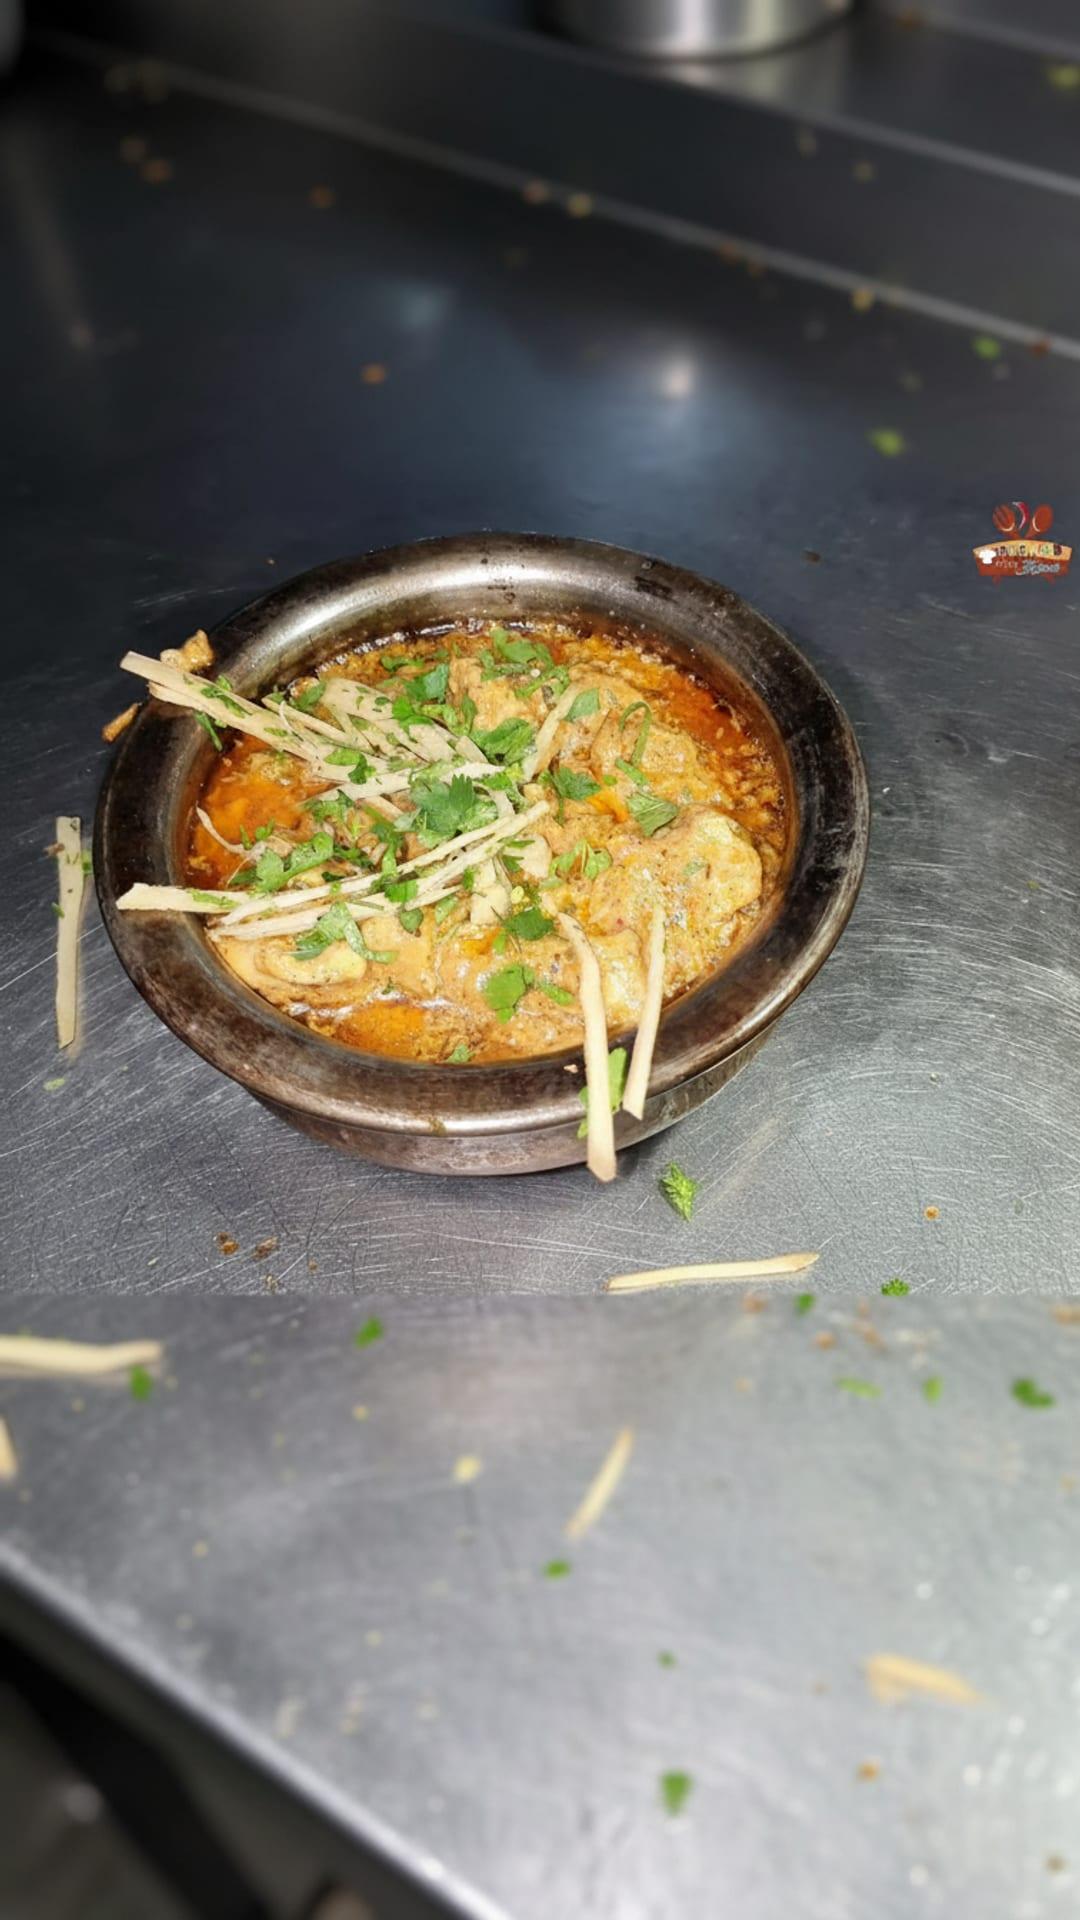
In a separate small bowl, melt 1-2 tablespoons of butter or ghee over a flame. Transfer the cooked Balochi Chicken Handi into the heated serving bowl with the melted butter. Garnish with fresh ginger juliennes and chopped cilantro before serving.

Comments (0)
Sign in to leave a comment on this recipe.
Loading comments...