Spicy Rasam Vada
Recipe by Kanak's Kitchen

Ingredients
For Homemade Rasam Powder
- 12-15 pcsDried Red Chillies (Kashmiri or Byadgi)
- 2 tspsGhee
- 1 tbspChana Dal
- 1 tspToor Dal
- 5-6 tbspsCoriander seeds
- 3 tbspsCumin seeds
- 1-2 tspsMethi dana (Fenugreek seeds)
- 2 tbspsBlack Peppercorns
- 1/2 tspAsafoetida
- 20-25 pcsCurry leaves
- 1/4 tspHaldi powder (Turmeric powder)
For Rasam
- 1/4 cupToor Dal
- 1.5 cupsWater (for cooking dal)
- 1/2 tspCumin seeds
- 1/2 tspCoriander seeds
- 5-6Garlic pods
- someTamarind
- 1 cupWarm water (for soaking tamarind)
- 2 tbspsOil
- 1/2 tspRai (Mustard seeds)
- 3-4 pcsDried Red Chillies
- 10-12 pcsCurry leaves
- 1/4 tspAsafoetida
- 2 pcsFinely chopped Tomatoes
- 1/2 tspSalt
- a fewChopped Coriander stalks
- 2-3 tspsPrepared Rasam powder
- 1-1.5 cupsWater
- 1-2 pcsJaggery
- 1/4 tspBlack Pepper powder
- for garnishFresh Coriander
For Vada
- 1.5 cupsWhite Urad dal
- 2-3Ice cubes
- 1 tspSalt
- to tasteCrushed Black Peppercorns
- 1/2 tspCumin seeds
- 5-6 pcsCurry leaves
- 1-2 pcsFinely chopped Green Chillies
- 1 tbspFinely chopped Adrak (Ginger)
- for fryingOil
Step-by-Step Instructions
- 1.Prepare Homemade Rasam Powder
Dry roast 12-15 pieces of dried red chillies (Kashmiri or Byadgi or a combination) in a pan on low-medium flame for 5-6 minutes until well roasted. Remove them into a bowl and keep aside. Next, heat 2 tsps of Ghee in the same pan. Once heated, add 1 tbsp Chana Dal and 1 tsp Toor Dal. Roast these on low flame for 2 minutes. Once roasted, add 5-6 tbsps Coriander seeds, 3 tbsps Cumin seeds, 1-2 tsps Methi dana, and 2 tbsps Black Peppercorns. Roast on low-medium flame for 3-4 minutes. Then add 1/2 tsp Asafoetida, 20-25 pieces of Curry leaves, and 1/4 tsp Haldi powder. Roast these for another 2 minutes. Remove the roasted mixture over the dried red chillies. Once cooled, transfer this into a blender and grind it into a fine powder. Store it in an airtight container for months.
- 2.Cook Toor Dal
Soak 1/4 cup Toor Dal in water for half an hour. Remove the water and transfer the soaked dal into a pressure cooker. Add 1.5 cups of water. Cover the cooker and cook on medium-high flame until 3-4 whistles.
- 3.Prepare Rasam Base
In a mortar, take 1/2 tsp Cumin seeds, 1/2 tsp Coriander seeds, and 5-6 Garlic pods. Crush these well until coarse. Keep this mixture aside. Next, in a bowl, soak some Tamarind in 1 cup of warm water for 15-20 minutes. Next, I am using an authentic Earthen pot for cooking. Add 2 tbsps of Oil. Once heated, add 1/2 tsp Rai. Once it starts to crackle, add the ground mixture (cumin, coriander, garlic). Sauté it a little. Then add 3-4 Dried Red Chillies and 10-12 pieces of Curry leaves. Add 1/4 tsp Asafoetida. Cook everything for a minute. Next, add 2 pieces of finely chopped Tomatoes, 1/2 tsp Salt (to speed up cooking), and a few chopped Coriander stalks. Mix and cook this on medium-high flame until the tomatoes turn soft. Once done, add 2-3 tsps of the prepared Rasam powder. Toss it well here. Next, mash the soaked Tamarinds and add its water to the pot. Mix and cook it well. Next, add 1-1.5 cups of Water. Mix and cook this as well. Rasam has a soupy consistency, and we'll keep the same consistency here. Add the cooked Dal into the earthenware pot. Then add 1-2 pieces of Jaggery to tone the sourness. Mix this and let it boil now. The flame should be on medium, and cook it for 5-6 minutes. Rasam has boiled well here. Adjust Salt if needed. Lastly, add 1/4 tsp Black Pepper powder and Fresh Coriander. Mix it well. Our hot and flavorful Rasam is ready. This is the consistency that is needed. Keep it aside.
- 4.Prepare Vada Batter
For the Vada's, I've taken 1.5 cups of White Urad dal. I washed this and let it soak for 3-4 hours. Remove all of its water using a strainer. Transfer this into a mixer. To this, add 2-3 Ice cubes. Blend this well until it forms a sticky and coarse mixture. This is ready, just as I wanted it to be. Transfer the batter over a Kadai (or a large bowl). Start to beat the mixture in only one direction. Keep beating this for 5-6 minutes. This will provide great aeration to the batter, helping it to become soft and fluffy. You can also beat it with the help of a beater or use your bare hands. Now I'll show you the difference in the batter. Before beating, it was dense, and after beating, it has become so airy and fluffy; it doesn't even drop this way. I'll drop a dollop of batter in water to check its doneness; it floats and is airy like a cotton ball, which means it's perfectly beaten. Now to this, I'll add 1 tsp Salt, crushed Black Peppercorns, 1/2 tsp Cumin seeds, 5-6 pieces of Curry leaves, 1-2 pieces of finely chopped Green Chillies, and 1 tbsp of finely chopped Adrak. Mix and beat it again for a minute. So our Vada batter is ready.
- 5.Fry Vada
Next, we'll heat Oil on medium-high flame. Soak your fingers in Water and pick the batter this way. Slide it over the Hot Oil. Repeat the same process for all the Vada's. Immediately start to pour Oil over them. So these have started to set nicely. At this stage, switch gas flame to medium. You can see them rolling over on their own. This means the batter is beaten perfectly. So we'll let it turn Golden brown on Medium flame. It has started to turn Golden brown and is pretty crunchy as well. We'll remove these out. Similarly, fry the other batches as well.
- 6.Serve Rasam Vada
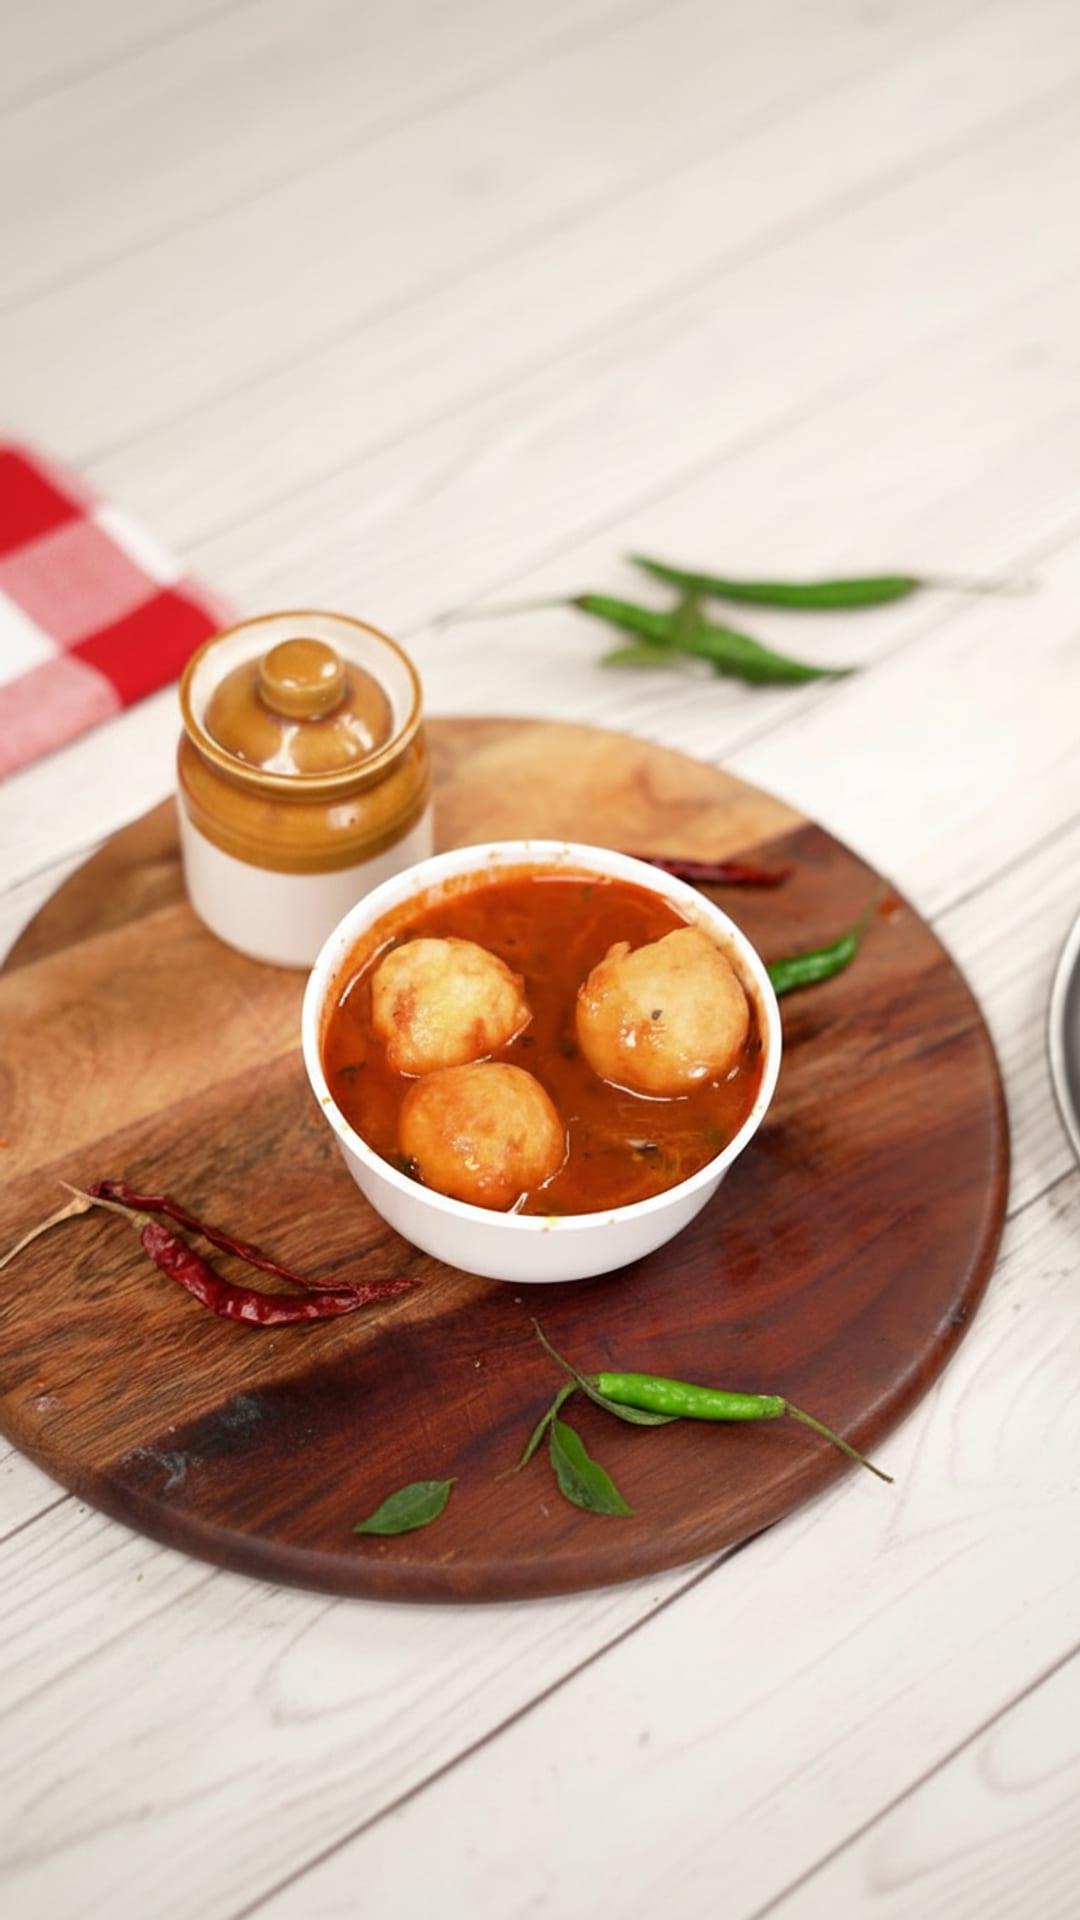
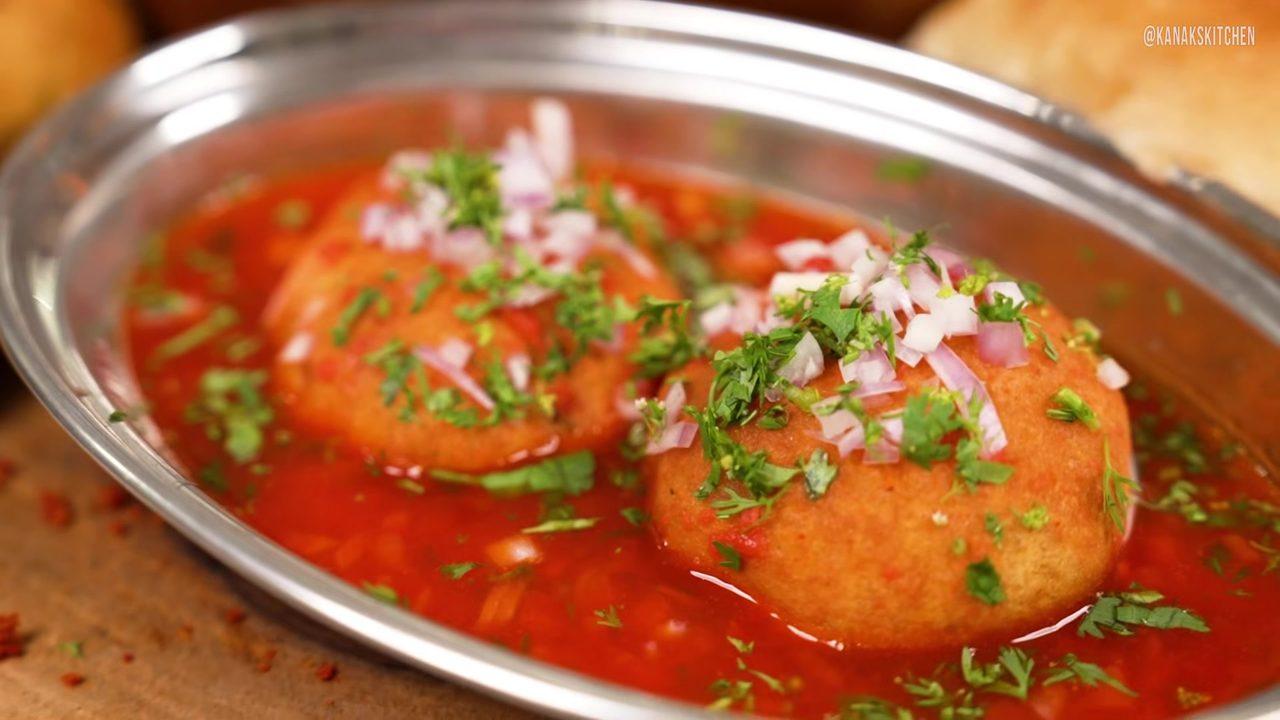
I'll break one Vada and show you. It's crunchy from the outside but soft from within. You can enjoy these with chutney as well. But today we'll serve it with the prepared Rasam. Pour some hot hot Rasam over the Vadas. OMG!! This is so so tempting. Let's quickly scoop a bite. I can say no more about this recipe. Please do give this recipe a try and comment below how it turned out for you. I hope you loved watching this recipe. Like & Share this recipe in your circle and Subscribe to Kanak's Kitchen. I'll see you soon with another recipe. Bye bye !!


Comments (0)
Sign in to leave a comment on this recipe.
Loading comments...