Spicy Mutton Stew

Ingredients
Main Ingredients
- 3 large tablespoonsMustard oil
- 1Bay leaf
- 2-3Green cardamom
- 1Black cardamom
- 3-4Cloves
- 1 inchCinnamon stick
- 3Onions, medium-sized, sliced
- 250gMutton
- 1Garlic, whole bulb, peeled and chopped
- 4-5Dried red chilies
- 2 large tablespoonsGinger-garlic paste
- 2 large tablespoonsSalt
- 1 large tablespoonRed chili powder
- 2 large tablespoonsCoriander powder
- 1 tablespoonTurmeric powder
- 1 tablespoonGaram masala (homemade)
- 3 cups (1 cup + 2 cups)Water
- 3-4Green chilies, slit
- for garnishFresh coriander, chopped
Step-by-Step Instructions
- 1.Heat Oil and Add Whole Spices
Heat 3 large tablespoons of mustard oil in a pressure cooker until hot. Add 1 bay leaf, 2-3 green cardamoms, 1 black cardamom, 3-4 cloves, and a 1-inch cinnamon stick. Let them crackle for a few seconds.
- 2.Fry First Batch of Onions
Add half of the 3 medium-sized sliced onions to the pressure cooker. Stir-fry them until they turn light pink/golden, ensuring not to brown them too much.
- 3.Add Mutton and Fry
Add 250g of washed mutton pieces to the pressure cooker. Stir-fry the mutton with the onions until its color changes.
- 4.Add Remaining Onions and Aromatics
Add the remaining half of the sliced onions, 1 whole peeled and chopped garlic bulb, and 4-5 dried red chilies (adjust to taste). Mix well and fry for 1-2 minutes on high flame.
- 5.Incorporate Ginger-Garlic Paste
Add 2 large tablespoons of ginger-garlic paste along with an equal amount of water (approximately 2 large tablespoons). Mix thoroughly and continue frying for about 5 minutes until the water evaporates and the mutton is well-fried with the aromatics.
- 6.Season with Salt and Spices
Add 2 large tablespoons of salt (adjust to your taste) and mix well. Fry for 1-2 minutes to allow the salt to penetrate the mutton. Then, add 1 large tablespoon of red chili powder, 2 large tablespoons of coriander powder, and 1 tablespoon of turmeric powder. Mix thoroughly and fry until the oil separates from the masala.
- 7.Add Garam Masala and First Pressure Cook
Add 1 tablespoon of homemade garam masala. Mix briefly. Pour in 1 cup of water. Close the pressure cooker lid and cook on high flame for 5-6 whistles. After the whistles, turn off the heat and let the steam release naturally before opening the lid.
- 8.Fry Again and Add Green Chilies
Open the pressure cooker lid. If there is still water, continue frying on high flame, stirring constantly, until the water dries up and the mutton is well-browned. Add 3-4 slit green chilies and continue frying until the oil separates and the mutton has a golden color.
- 9.Add Water for Gravy and Second Pressure Cook
Add 2 cups of water to create the desired gravy consistency. Close the pressure cooker lid again. Cook on high flame for 3 whistles, then reduce the heat to low and cook for another 15 minutes. Turn off the heat and let the steam release naturally.
- 10.Serve Mutton Stew
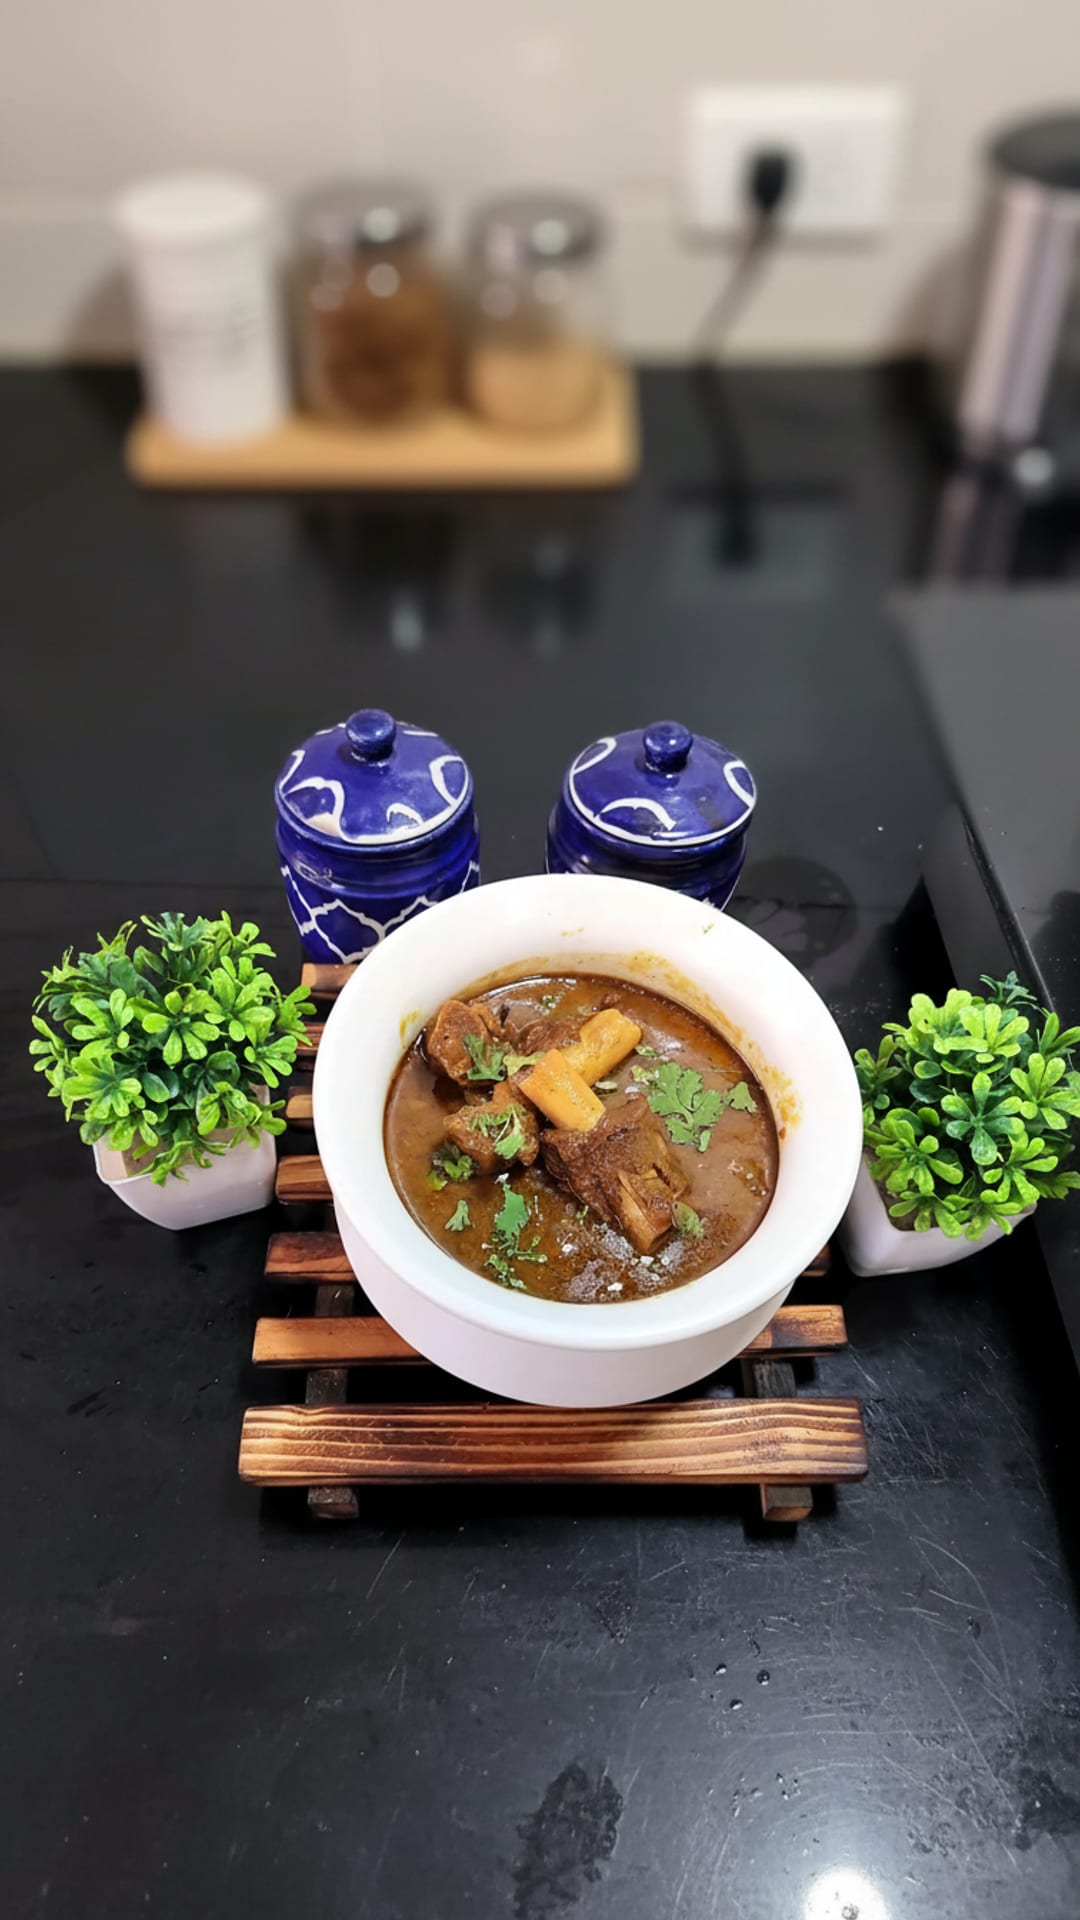
Open the pressure cooker lid. Your spicy mutton stew is ready. Garnish with fresh chopped coriander and serve hot.







Comments (0)
Sign in to leave a comment on this recipe.
Loading comments...